
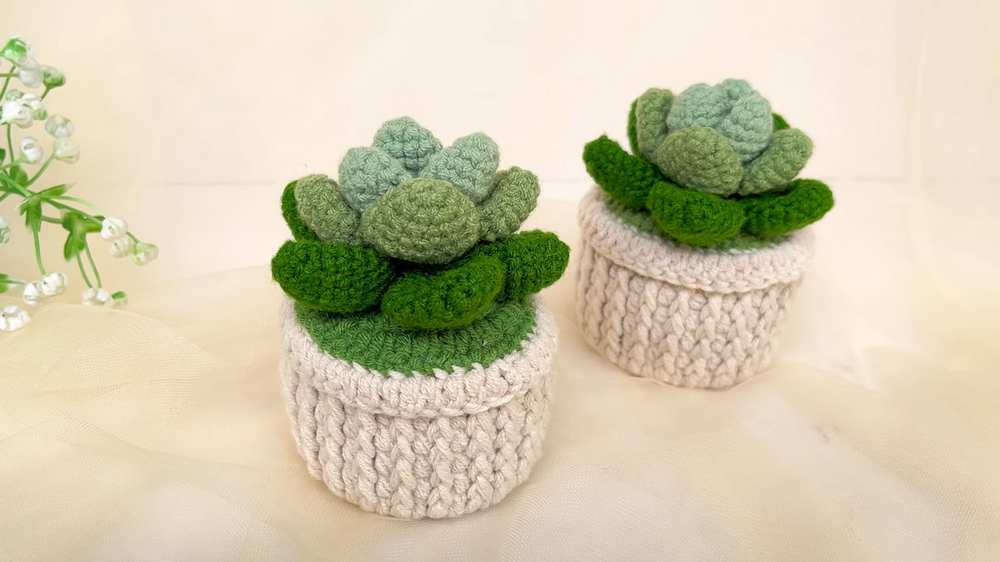
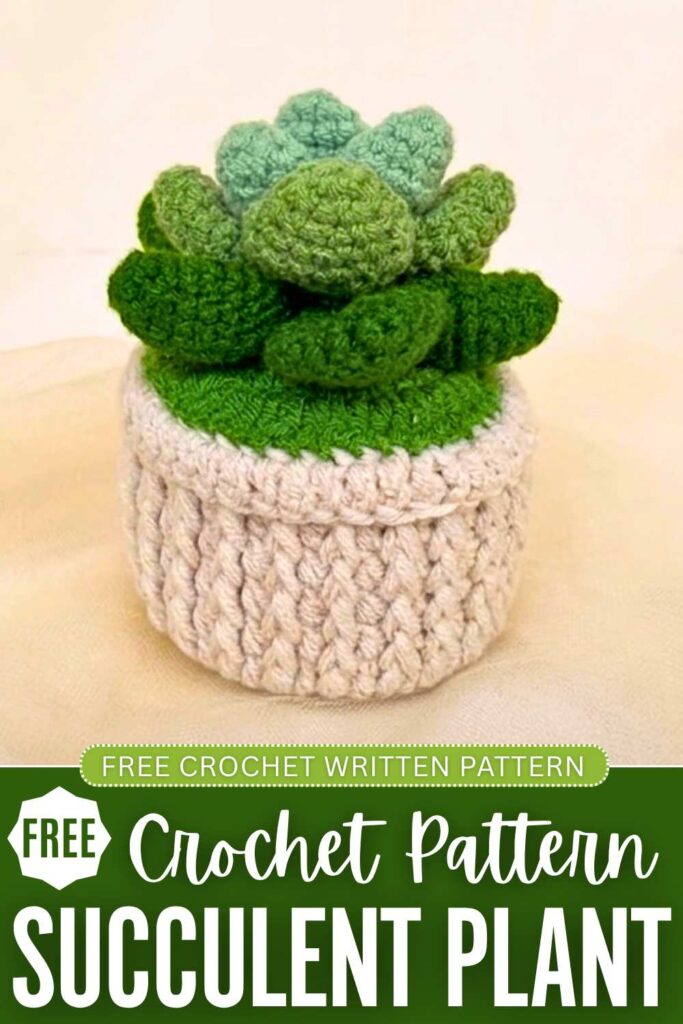
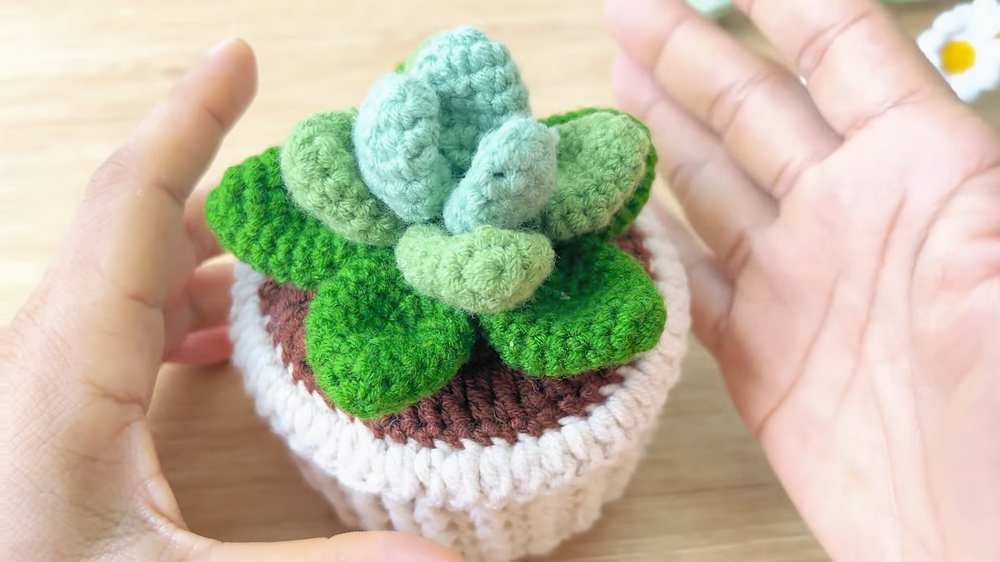
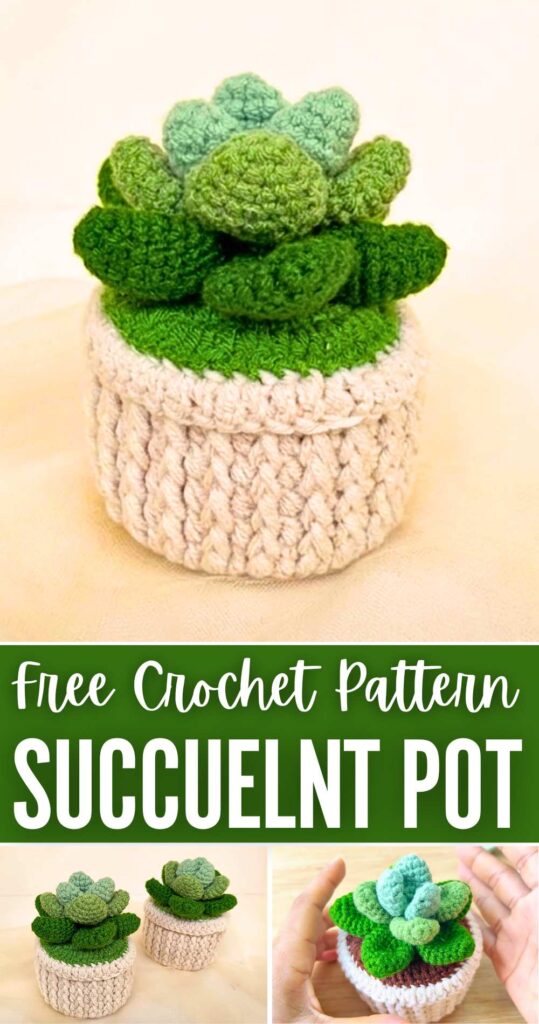
Today, let’s crochet this life-like succulent plant pot for your room or porch decoration with a FREE pattern. You can place it on your desktop, and it will be an eternal decoration and mood lifter for your workplace. We shall crochet this zero-maintenance succulent in three shades of green.
That is to crochet three stacks of stuffed leaf sets. That makes it look SUPER ELEGANT and realistic. Unlike the Jellycat flower pots, we will crochet a no-sew ribbed pot with a green solid.
You can easily crochet this amigurumi succulent pot in less than 60 minutes. You can also crochet the soil in brown if you want. Also, you are free to use only one color for each leaf stack. Now, continue reading for the full crochet succulent plant pot pattern in US terms.
[ez-toc]
Crochet Succulent Pot from Cactus Series: Written Instructions
This beautiful crochet project creates a lifelike, layered succulent plant. By creating leaves in three different sizes and three gradient shades of green, you assemble a stunning botanical piece that looks perfect in a crocheted or real mini pot.
The pattern is quick, works up in continuous pieces, and relies on simple increases and invisible decreases to create the perfect plump succulent leaf shape.
Here is the complete pattern based on the video tutorial.
Materials
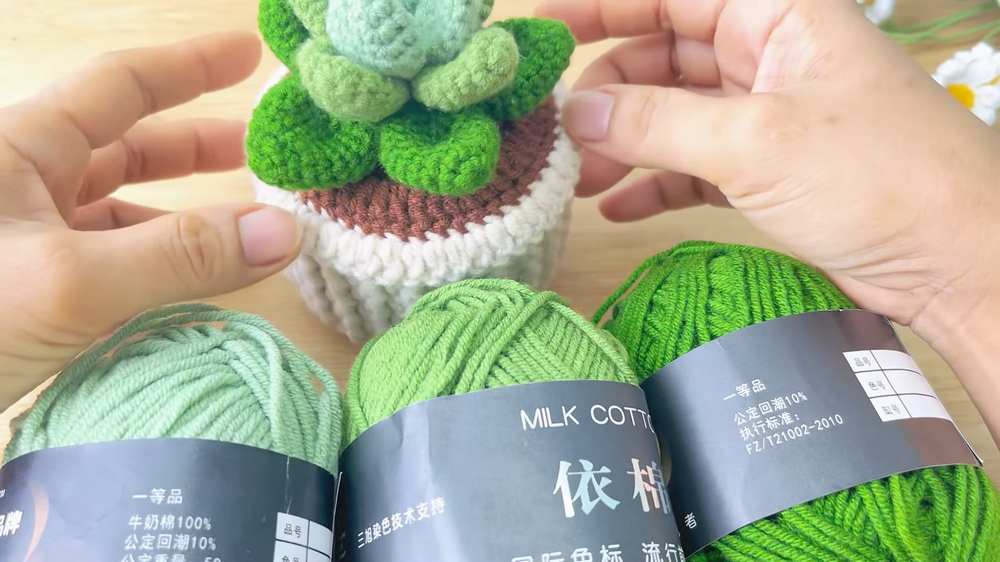
- Milk Cotton yarn (50g) in three shades of green: dark green, medium green, and light green
- 2.5mm crochet hook
- Tapestry needle (yarn needle)
- Hot glue gun and glue sticks
- Scissors
Abbreviations (US Terms)
- MR: Magic Ring
- ch: chain
- sc: single crochet
- inc: increase (2 single crochets in the same stitch)
- dec: invisible decrease (single crochet 2 stitches together using the front loops only)
- sl st: slip stitch
- Rnd: round
- ( … ) x: repeat the instructions within the parentheses the specified number of times
- [ … ]: total number of stitches at the end of the round
Pattern: Pot Base:
-
R1: MR, 8 sc. Join with sl st. (8)
-
R2: 8 inc. Join with sl st. (16)
-
R3: (1 sc, 1 inc) * 8. Join with sl st. (24)
-
R4: (2 sc, 1 inc) * 8. Join with sl st. (32)
-
R5: (3 sc, 1 inc) * 8. Join with sl st. (40)
-
R6: (4 sc, 1 inc) * 8. Join with sl st. (48)
Pattern: Pot Body:
-
R7: Working in BLO, 48 sc. Join with sl st.
-
R8 – R12: 48 sc (crochet in both loops). Join with sl st at the end of each round.
Pattern: Pot Rim:
-
R13: Working in BLO, 48 sc. Join with sl st.
-
R14: Ch 2, then work a round of double crochet stitches, inserting the hook through the entire stitch from the previous round to create a decorative edge. Join with sl st and fasten off.
Pattern: Bottom Base Trim:
-
Join yarn to the remaining loops left from R7 at the base of the pot. Work 48 sc around the base. Join with sl st and fasten off.
Pattern: Soil:
-
Follow the same pattern as the “Pot Base” (R1 through R6). Leave a long tail (approx. 60 cm) for sewing the soil to the pot rim later.
Large Leaves (Make 5 using dark green yarn)
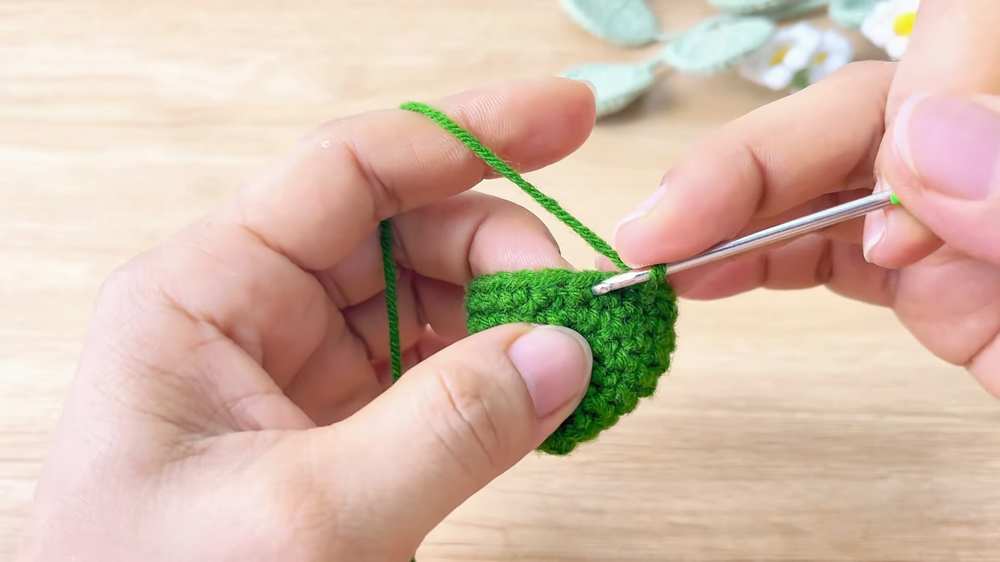
- Rnd 1: Start with a MR, ch 1, make 6 sc into the ring. Join with a sl st to the first sc. [6]
- Rnd 2: ch 1, (1 sc, 1 inc) x 3. Join with a sl st. [9]
- Rnd 3: ch 1, (2 sc, 1 inc) x 3. Join with a sl st. [12]
- Rnd 4: ch 1, (3 sc, 1 inc) x 3. Join with a sl st. [15]
- Rnd 5: ch 1, (4 sc, 1 inc) x 3. Join with a sl st. [18]
- Rnd 6: ch 1, (5 sc, 1 inc) x 3. Join with a sl st. [21]
- Rnd 7: ch 1, (5 sc, 1 dec) x 3. Join with a sl st. [18]
- Rnd 8: ch 1, (4 sc, 1 dec) x 3. Join with a sl st. [15]
- Rnd 9: ch 1, (3 sc, 1 dec) x 3. Join with a sl st. [12]
- Rnd 10: ch 1, (2 sc, 1 dec) x 3. Join with a sl st. [9]
- Rnd 11: ch 1, (1 sc, 1 dec) x 3. Join with a sl st. [6]
- Finishing the leaf: Fasten off, leaving a 12 cm tail. Thread the tail onto your tapestry needle. Weave the needle through the front loops only of the 6 remaining stitches. Pull tight to close the bottom so it comes to a point (just like the top of the leaf). Flatten the leaf shape.
Medium Leaves (Make 4 using medium green yarn)
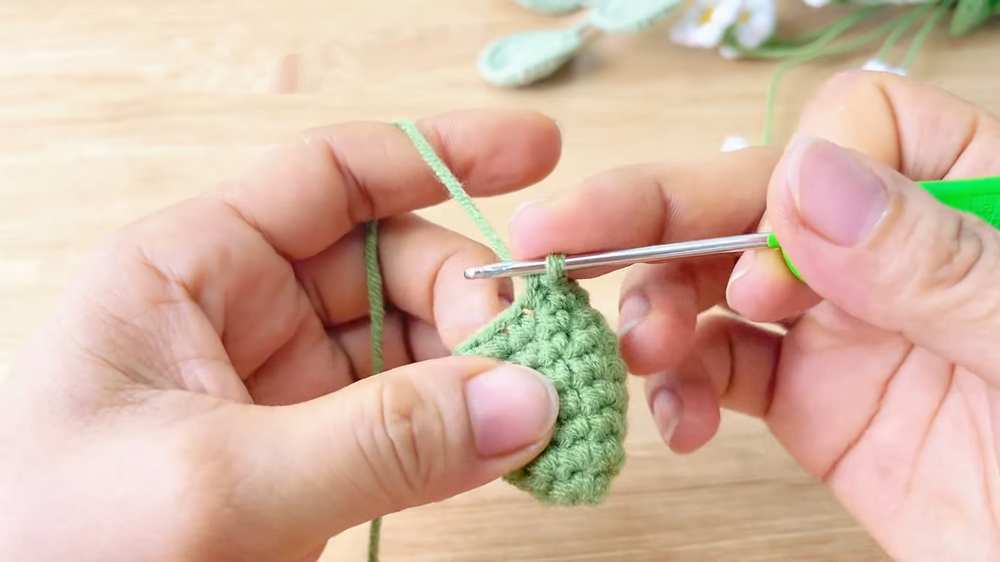
- Rnd 1: Start with a MR, ch 1, make 6 sc into the ring. Join with a sl st. [6]
- Rnd 2: ch 1, (1 sc, 1 inc) x 3. Join with a sl st. [9]
- Rnd 3: ch 1, (2 sc, 1 inc) x 3. Join with a sl st. [12]
- Rnd 4: ch 1, (3 sc, 1 inc) x 3. Join with a sl st. [15]
- Rnd 5: ch 1, (4 sc, 1 inc) x 3. Join with a sl st. [18]
- Rnd 6: ch 1, (4 sc, 1 dec) x 3. Join with a sl st. [15]
- Rnd 7: ch 1, (3 sc, 1 dec) x 3. Join with a sl st. [12]
- Rnd 8: ch 1, (2 sc, 1 dec) x 3. Join with a sl st. [9]
- Rnd 9: ch 1, (1 sc, 1 dec) x 3. Join with a sl st. [6]
- Finishing the leaf: Fasten off and close the bottom the exact same way as the large leaves. Flatten the leaf.
Small Leaves (Make 3 using light green yarn)
- Rnd 1: Start with a MR, ch 1, make 6 sc into the ring. Join with a sl st. [6]
- Rnd 2: ch 1, (1 sc, 1 inc) x 3. Join with a sl st. [9]
- Rnd 3: ch 1, (2 sc, 1 inc) x 3. Join with a sl st. [12]
- Rnd 4: ch 1, (3 sc, 1 inc) x 3. Join with a sl st. [15]
- Rnd 5: ch 1, (3 sc, 1 dec) x 3. Join with a sl st. [12]
- Rnd 6: ch 1, (2 sc, 1 dec) x 3. Join with a sl st. [9]
- Rnd 7: ch 1, (1 sc, 1 dec) x 3. Join with a sl st. [6]
- Finishing the leaf: Fasten off and close the bottom as you did with the previous sizes. Flatten the leaf.
Assembly Instructions
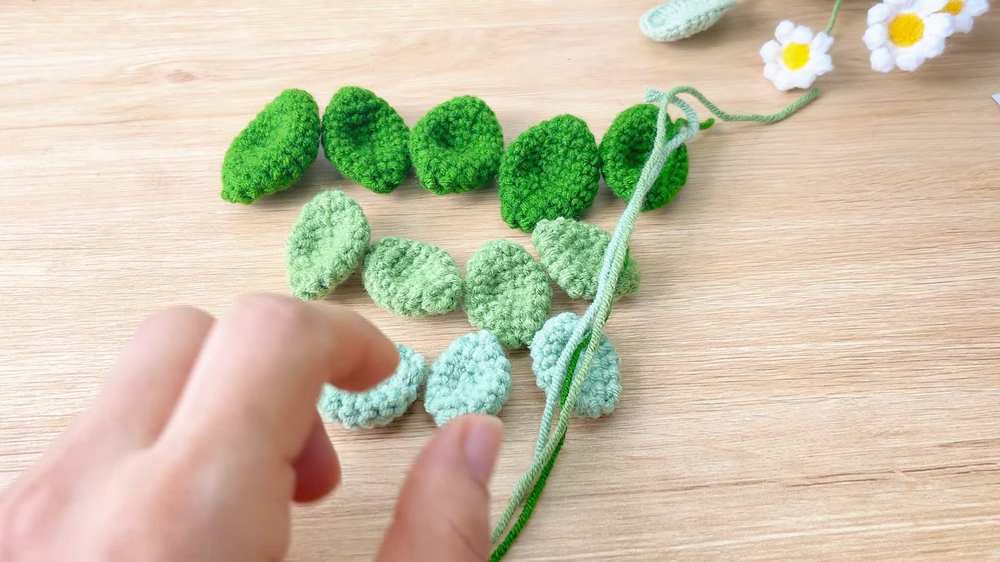
- Cut three 15 cm strands of yarn, one in each shade of green.
- Large Petal Base: Thread the dark green strand through your tapestry needle. String all 5 large leaves together by passing the needle right through the bottom point of each leaf. Tie the two ends of the yarn together to form a ring. Tie it securely, but leave it slightly loose so the leaves flare open. Trim the tails to about 1 cm.
- Medium Petal Layer: Thread the medium green strand and string the 4 medium leaves together through their bottom points. Tie them into a ring, leaving it slightly looser than the small layer but tighter than the large base.
- Small Center Bud: Thread the light green strand. For these 3 small leaves, do not string them through the bottom point. Instead, run the needle through Rnd 2 of each leaf. Pull the yarn tight and tie a secure knot. By stringing them higher up and pulling tight, the leaves will cup inward to form a closed center bud. Push the yarn tails downward so they can be hidden.
- Stacking and Gluing: Apply hot glue to the center hole of the large leaf base. Place the medium leaf ring on top, rotating it so the medium leaves rest in the gaps between the large leaves (staggering the petals).
- Applying the Center: Apply hot glue inside the center of the medium ring. Take your small bud (make sure the yarn tails are tucked underneath) and press it firmly into the center.
- Potting: Apply a ring of hot glue to the bottom of your completed succulent head and firmly press it into your chosen pot.
Learn with the Video Tutorial