
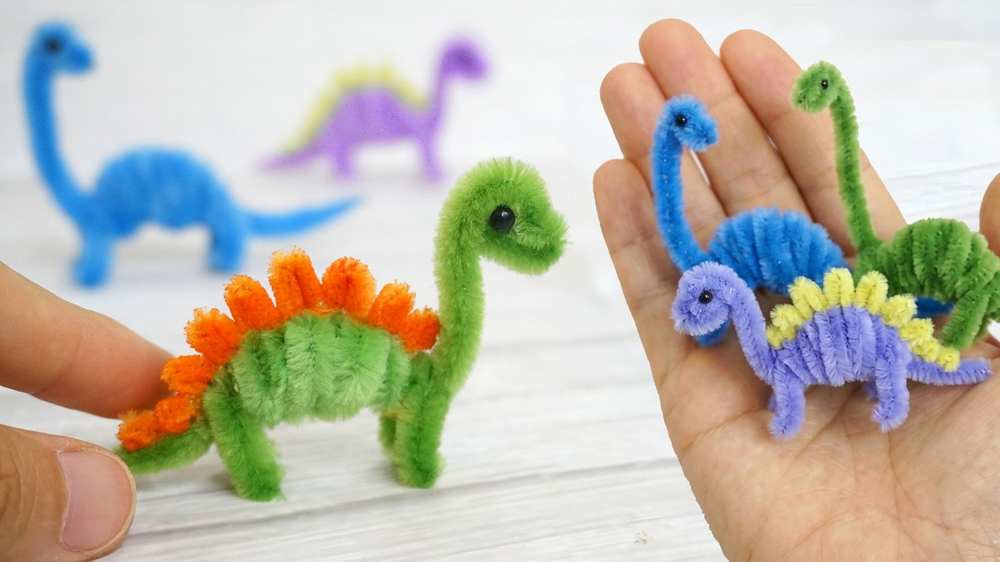
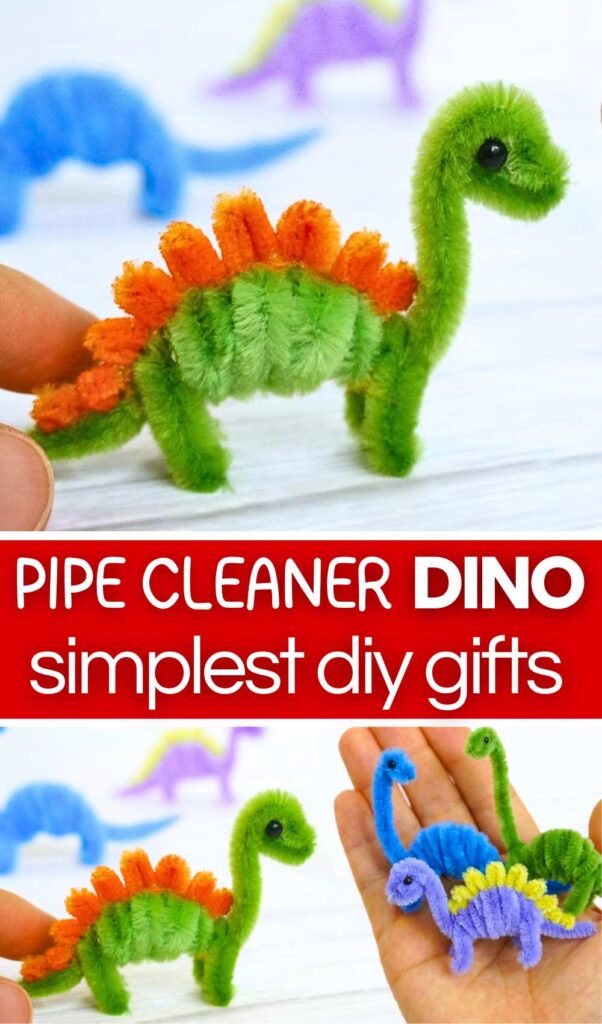
Learn how to craft little standing Triceratops & Brontosaurus dinosaurs using pipe cleaners, some glue, and half beads in 5 minutes with this step-by-step tutorial. Place a set of these dinosaur plushies in cute color combinations such as green-orange, blue-purple & purple-yellow for the Triceratops and green & blue for the Brontosaurus. You can turn them into back-to-school pencil toppers or zipper pouch loop charms and craft table buddies. Only 3 pipe cleaners are needed, so be sure to add some in your fall craft fair inventory.
[ez-toc]
Tutorial to DIY Triceratops & Brontosaurus Dinosaurs
This project is about making a small dinosaur toy using pipe cleaners. You will use colorful pipe cleaners, scissors, and glue. First, you bend the pipe cleaners to make the dinosaur’s body, neck, head, and tail. Then, you make four legs and attach them.
To make the dinosaur look thick, you wrap more pipe cleaner around the middle. After that, you cut small pieces of a different color to make the spikes on its back. Finally, you glue on tiny beads for the eyes. It is a fun and easy craft for everyone to do.
Materials Needed:
-
Pipe cleaners (Light blue for the body, Purple for spikes)
-
Scissors
-
Craft glue
-
Tiny black beads (for eyes)
-
A ruler
-
A lighter (for adult use only)
Video Tutorial?
Step-by-Step Instructions:
Step 1: Prepare the Main Wire
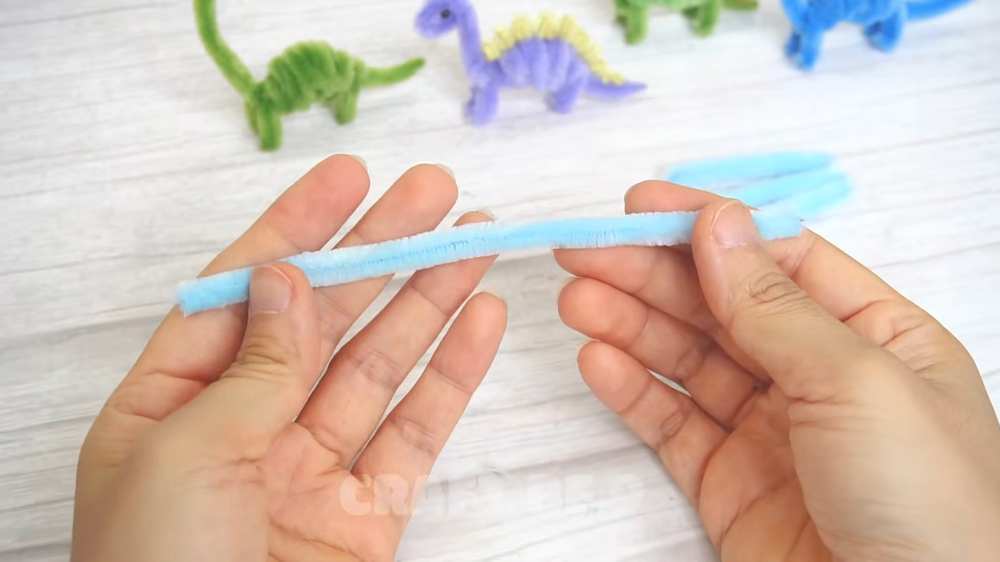
Take a long light blue pipe cleaner and fold it in half. Use scissors to cut it at the fold so you have two equal pieces. Measure about 5cm from one end of the pipe cleaner, then cut 3 equal parts from one half.
Step 2: Shape the Head and Neck
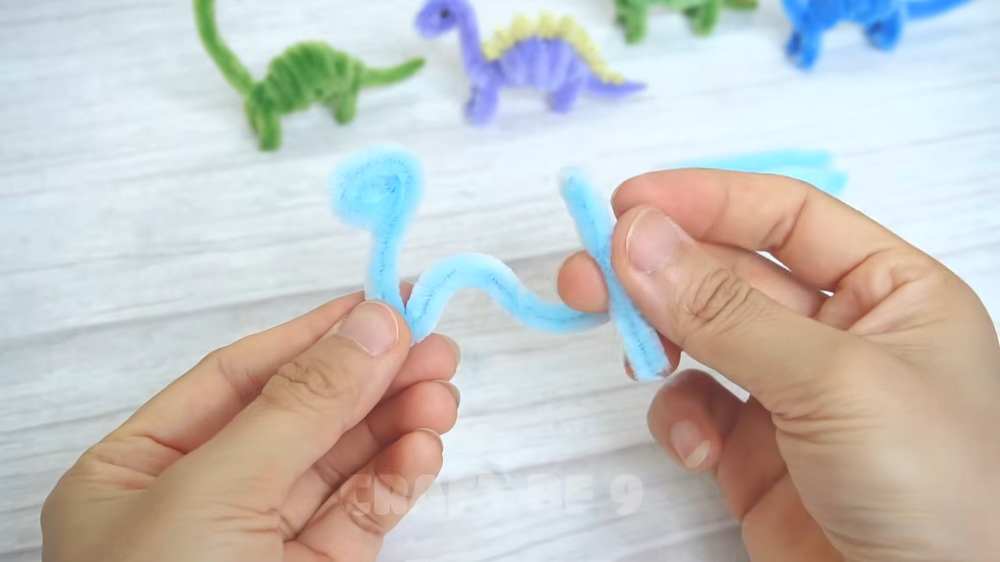
Take the other of the light blue pieces. Measure about 1 cm from the end. Bend the tip and roll it into a small, tight circle. This circle will be the dinosaur’s head. Bend the wire just below the head to create a long, curved neck. For brountasaurs, keep the neck longer!
Step 3: Create the Body Frame
Bend the remaining part of that same wire into a “wave” shape downward. The middle curve will be the back, and the end will be the tail. Take 1 of the 3 pieces, anchor its one end at the end of the neck, and twist to secure. Then twist it around the end of the body to the right. This will let you fill the body later on.
Step 4: Make the Legs
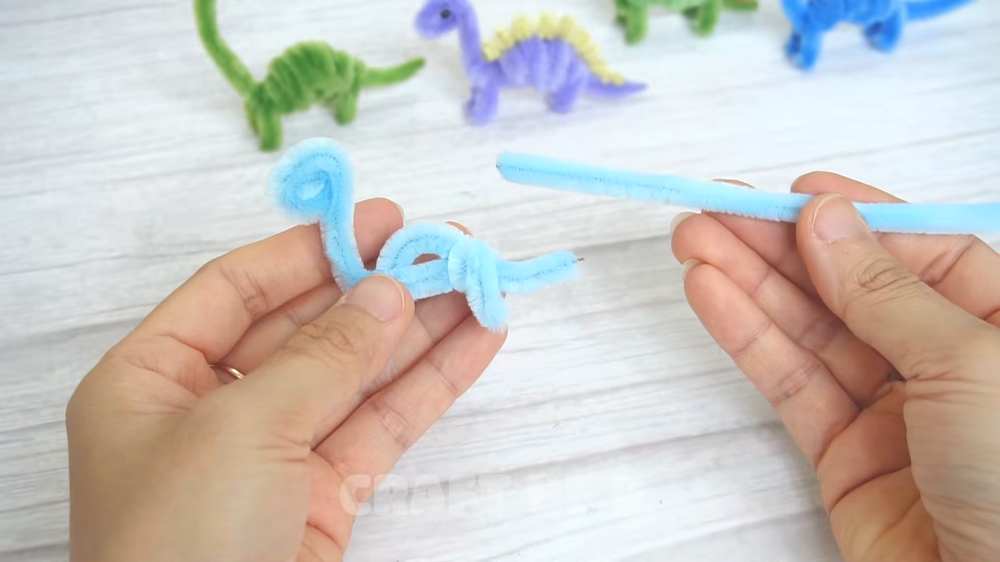
Take another piece of light blue pipe cleaner and cut 3 small pieces (about 5 cm each).
-
Bend the first piece into a “U” shape and hook it over the front of the body frame. Twist it once to lock it. These are the front legs.
-
Bend the second piece into a “U” shape and hook it over the back of the body frame. Twist it to lock it. These are the back legs.
Step 5: Build the Body Volume
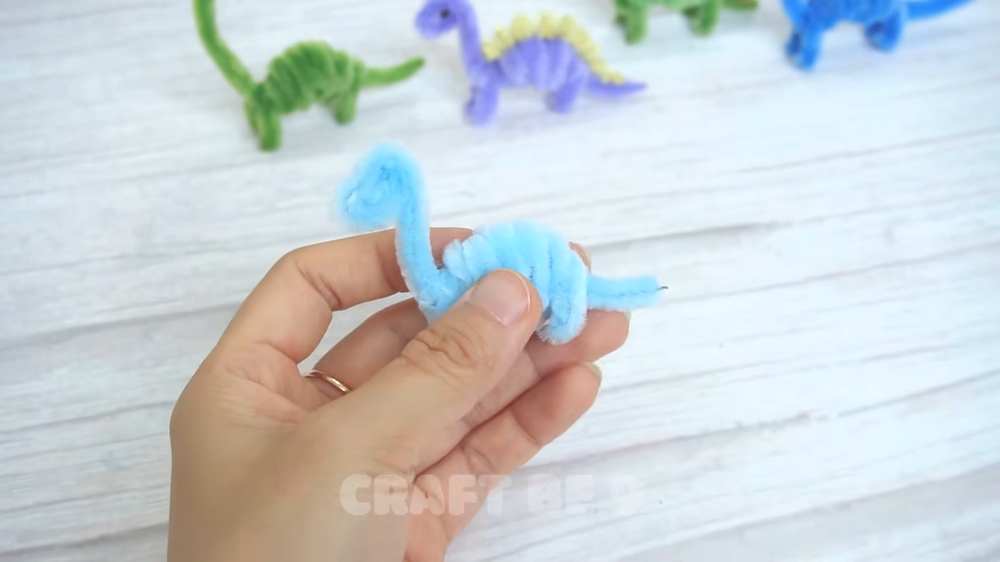
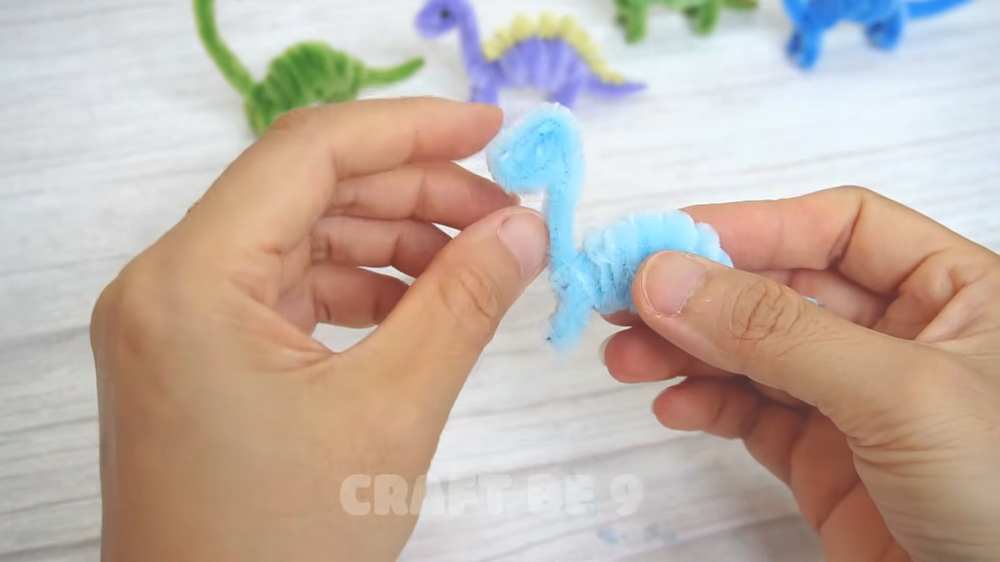
Take a full-length light blue pipe cleaner. Place one end near the neck. Start wrapping the pipe cleaner tightly around the “spine” and the tops of the legs. Keep wrapping around the middle section until the dinosaur has a thick, round belly. Tuck the end of the wire inside the wraps so it doesn’t poke out.
Step 6: Prepare the Spikes
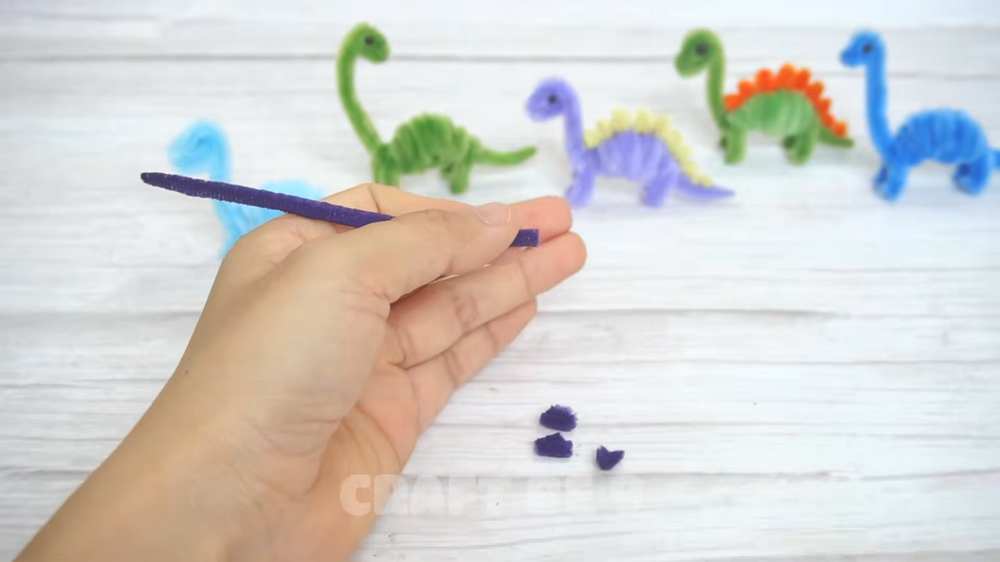
Take a purple pipe cleaner. (Optional: An adult can quickly run a lighter flame over the purple pipe cleaner to singe the long fuzz. This makes the “spikes” look sharper).
Cut the purple pipe cleaner into many tiny pieces, about 1 cm long each.
Step 7: Attach the Spikes
You will skip that step for the Brontosaurus.
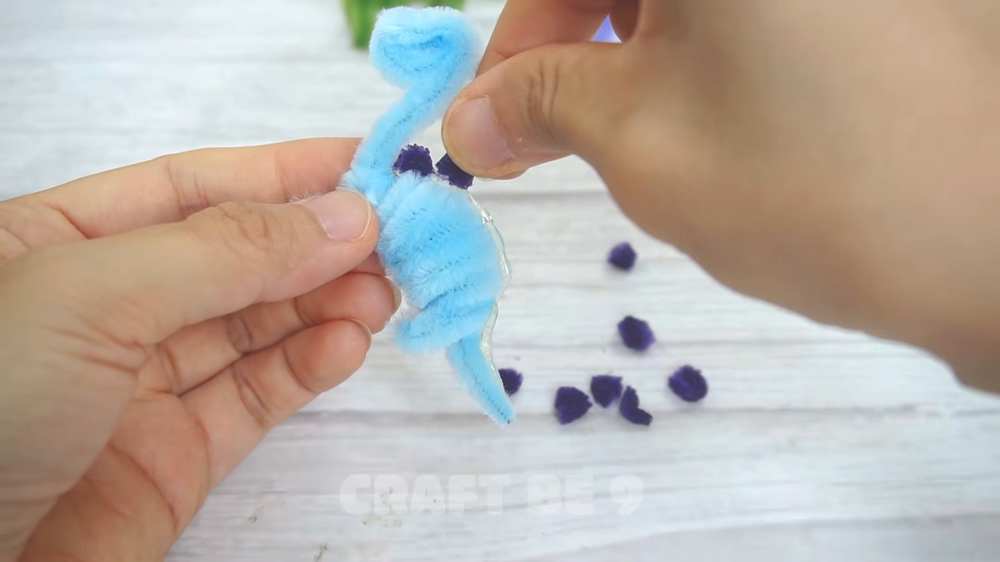
Run a thin line of glue along the top of the dinosaur’s back, from the base of the neck all the way down to the tail. Carefully press the tiny purple pieces into the glue one by one to create a row of spikes.
Step 8: Add the Eyes
Put a tiny dot of glue on both sides of the head. Use tweezers or your fingers to press a small black bead onto the glue.
About "Craftbee 9"
She makes incredible fabric, recycle and pipe cleaner crafts.