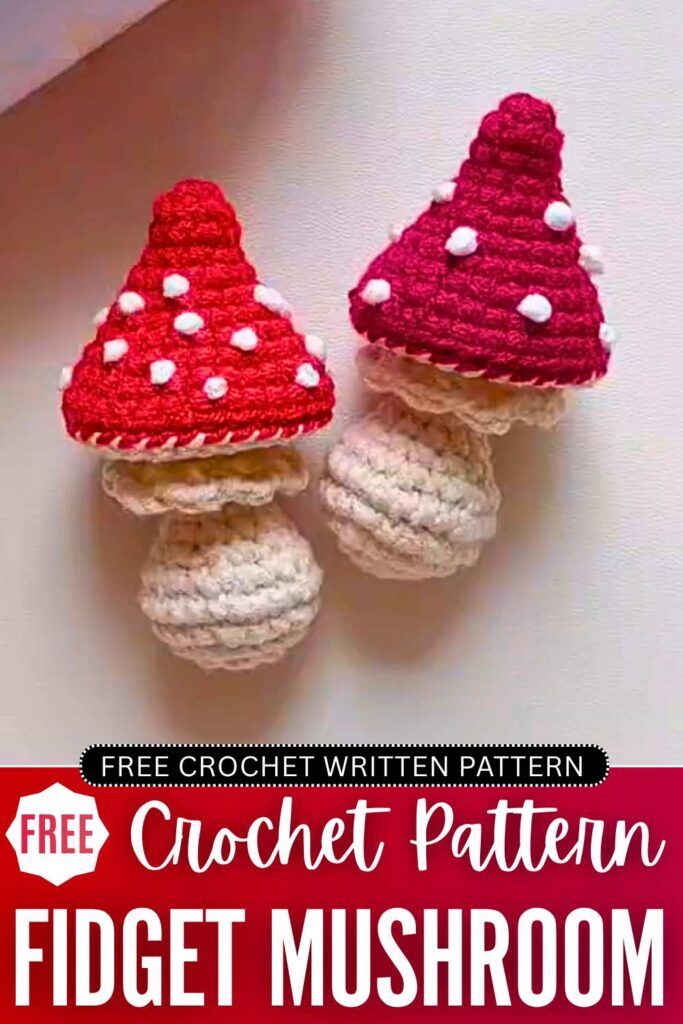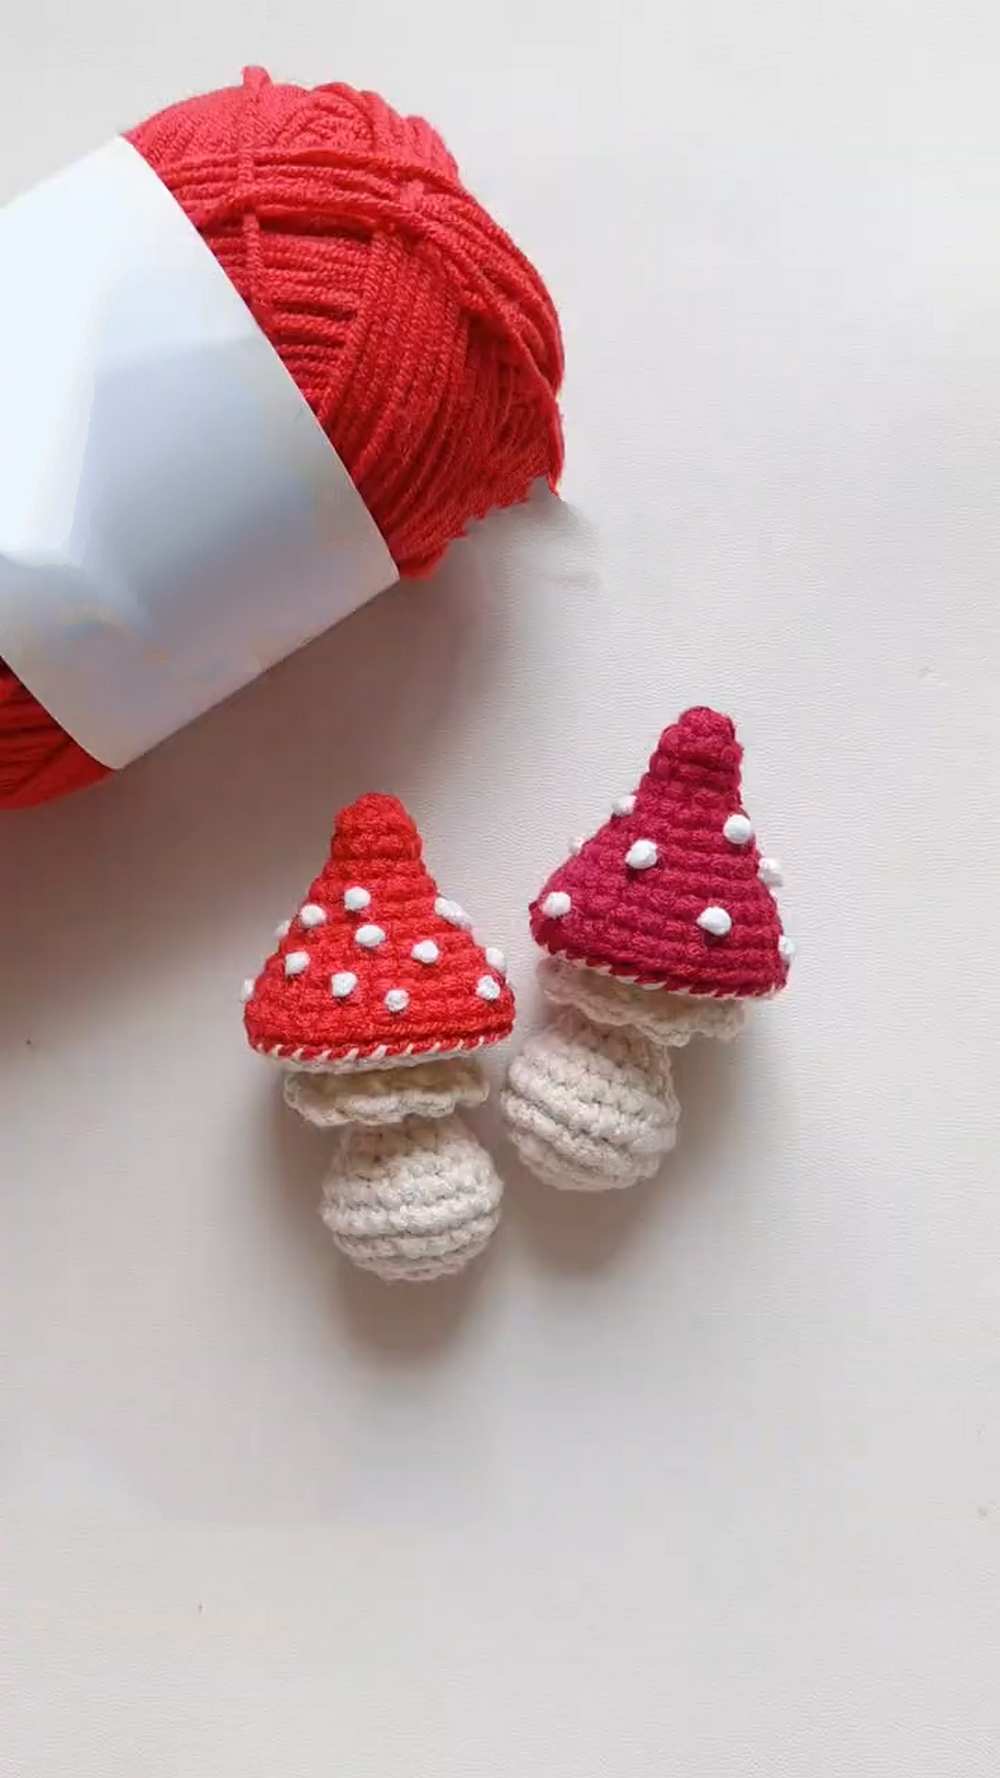
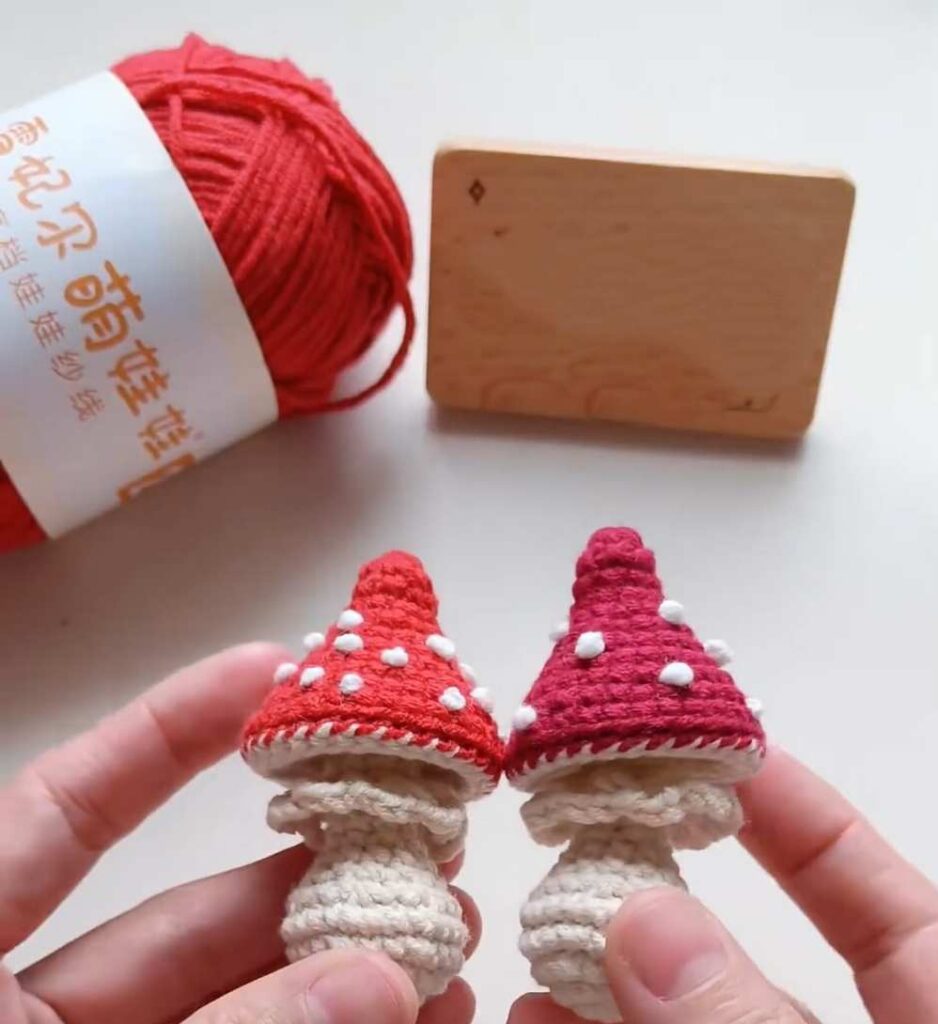
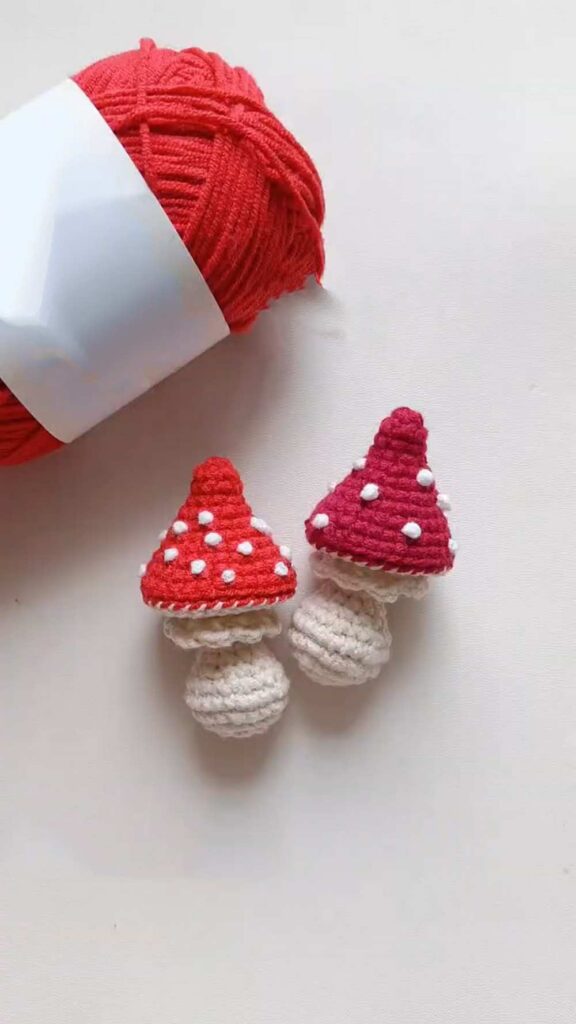
Today, let’s crochet these UNIQUE mini toadstool mushroom amigurumi keychains with a FREE pattern for beginners. These stuffed mushrooms have a faux life-like shape for the both the stem and toadstool cap and it also has a brim. I have named it “fairytale mushroom” fidget toy. Crochet it as a bag charm for your fall tote bag or even beach tote bag and purse.
We shall crochet the stem and the cap separately which still makes it a low-sew amigurumi mushroom. The flexible shaping technique used here will also teach you the amigurumi designing.
It also has small yarn spots that we will sew using the sewing needle. Now, continue reading for the full crochet fairytale mushroom charm pattern. You can also check the other mushroom patterns later-on such as the mushroom pouch and more.
[ez-toc]
Crochet Mini Fall Mushroom Amigurumi Pattern: Written Instructions
This project is a crochet mushroom. It is very quick to make. You can finish it in five minutes. You can use this mushroom as a keychain. You can also use this mushroom as a decoration. It is a small and cute mushroom. The steps are simple to follow.
Materials Needed
To make this mushroom, you will need a few simple things to get started.
- Yarn: Milk Cotton yarn: Beige, white, and red.
- Crochet Hook: 2.5mm crochet hook.
- Fiberfill
- Yarn Needle
- Scissors: To cut your yarn when you finish a section.
- Stitch Marker: To keep track of the start of each row.
Abbreviations Used
Here are the terms used in this pattern.
- MR: Magic Ring
- ch: Chain stitch
- sc: Single crochet stitch
- inc: Increase (make two single crochet stitches in the same stitch)
- dec: Decrease (join two stitches into one single crochet stitch)
- dc: Double crochet stitch
- BLO: Back Loop Only
- FLO: Front Loop Only
- sl st: Slip stitch
- st: Stitch
Mushroom Cap Pattern
Let us start by making the top part of the mushroom.
Round 1: Start with a magic ring. Make 6 sc into the magic ring. Pull the ring tight. Slip stitch to the first stitch. Chain one to start the next round. (6 stitches)
Round 2: Make 1 sc in the first stitch. Make 1 inc in the next stitch. Repeat this exact pattern three times in total. (9 stitches)
Round 3: Make 1 sc in each stitch all the way around. (9 stitches)
Round 4: Make 1 sc in the first stitch, then 1 inc in the next stitch, and 1 sc in the next stitch. Repeat this set three times in total. (12 stitches)
Round 5: Make 1 sc in the first stitch, then 1 inc in the next stitch. Repeat this pattern six times in total. (18 stitches)
Round 6: Make 1 sc in each stitch around. (18 stitches)
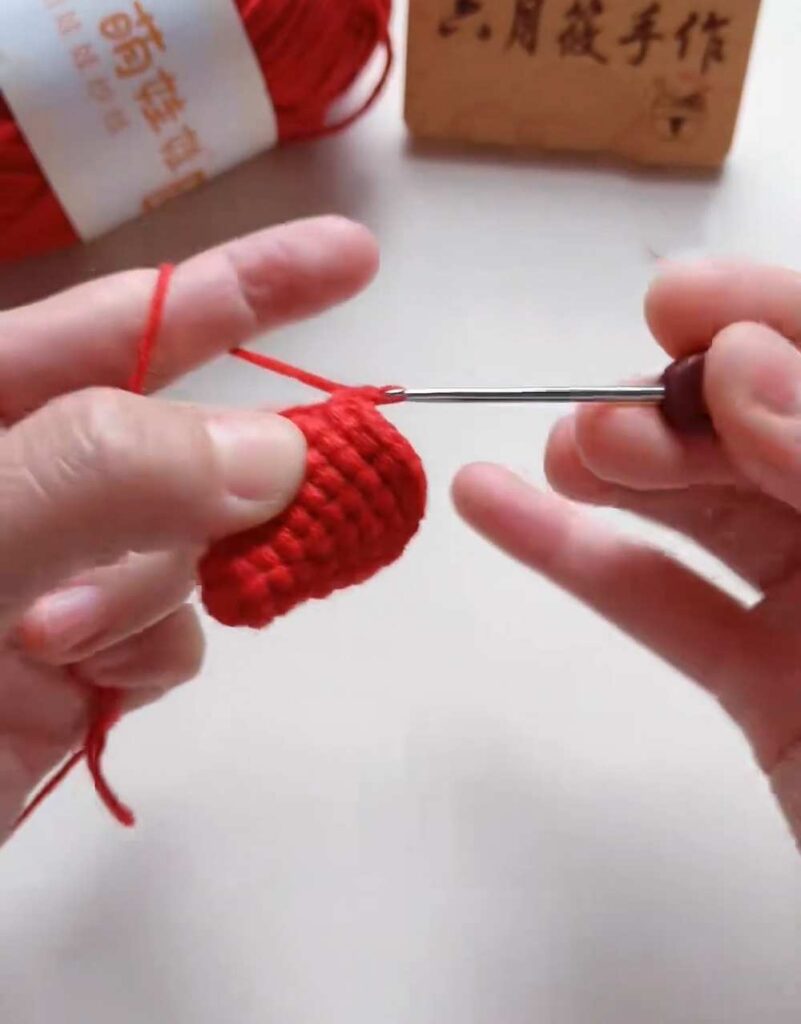
Round 7: Make 1 sc in the first stitch, 1 inc in the next stitch, and 1 sc in the next stitch. Repeat this set six times in total. (24 stitches)
Round 8: Make 1 sc in each stitch around. (24 stitches)
Round 9: Make 3 sc in the next three stitches, then 1 inc in the next stitch. Repeat this pattern six times in total. (30 stitches)
Round 10: Make 1 sc in each stitch around. (30 stitches)
Round 11: Make 1 sc in each stitch around. (30 stitches)
When you finish Round 11, make a slip stitch to end the round. Cut the yarn but leave a very long tail for sewing the pieces together later.
Mushroom Stem Pattern
Now we will make the bottom stem of the mushroom.
Round 1: Start with a magic ring. Make 6 sc into the magic ring. Pull the ring tight. (6 stitches)
Round 2: Make 1 inc in every single stitch around. (12 stitches)
Round 3: Make 1 sc in the first stitch, then 1 inc in the next stitch. Repeat this pattern six times in total. (18 stitches)
Round 4: Make 1 sc, then 1 inc, then 1 sc. Repeat this set six times in total. (24 stitches)
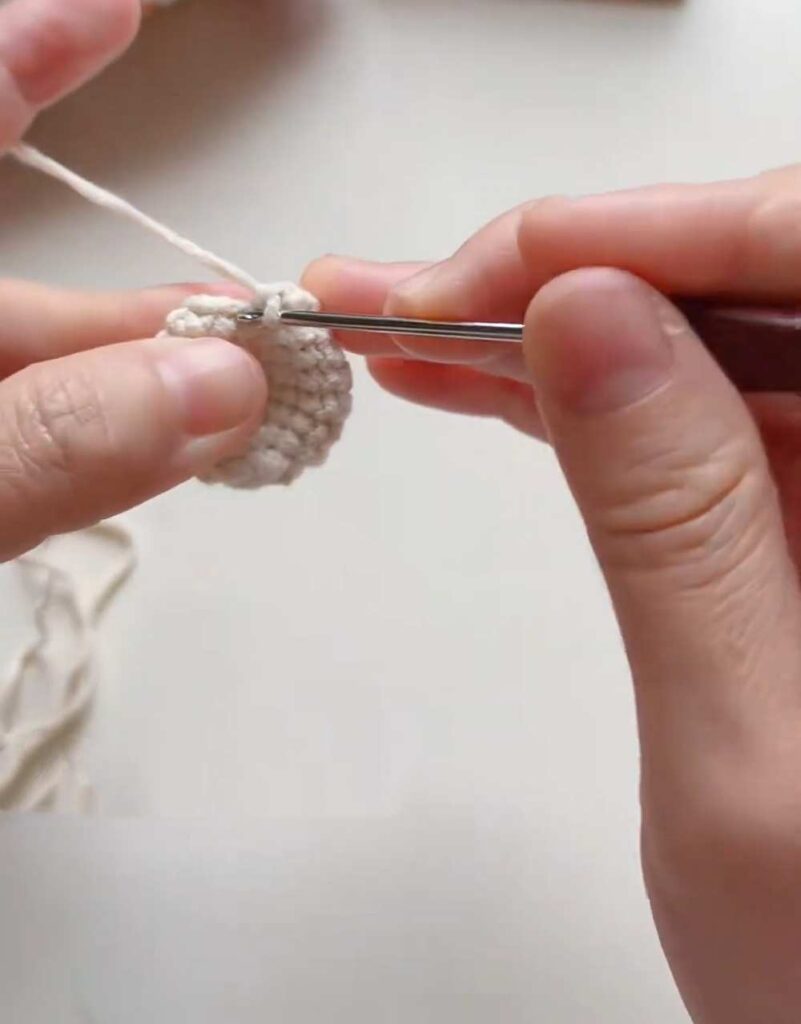
Round 5: Make 1 sc in each stitch around. (24 stitches)
Round 6: Make 1 sc, then 1 dec, then 1 sc. Repeat this set six times in total. (18 stitches)
Round 7: Make 1 sc, then 1 dec. Repeat this pattern six times in total. (12 stitches)
Round 8: Make 1 sc in each stitch around. (12 stitches)
Round 9: Make 1 sc, then 1 dec, then 1 sc. Repeat this set three times in total. (9 stitches)
Stop crocheting here for a moment. Stuff the bottom part of the stem firmly with fiberfill.
Round 10: Make 1 sc in each stitch around. (9 stitches)
Round 11: Make 1 sc in each stitch around. (9 stitches)
Round 12: Work in the Back Loop Only (BLO) for this entire round. Make 1 sc in each stitch around. (9 stitches)
Round 13: Work in both loops normally again. Make 1 sc in each stitch around. (9 stitches)
Round 14: Make 1 sc in each stitch around. (9 stitches)
Round 15: Make 1 sc in each stitch around. (9 stitches)
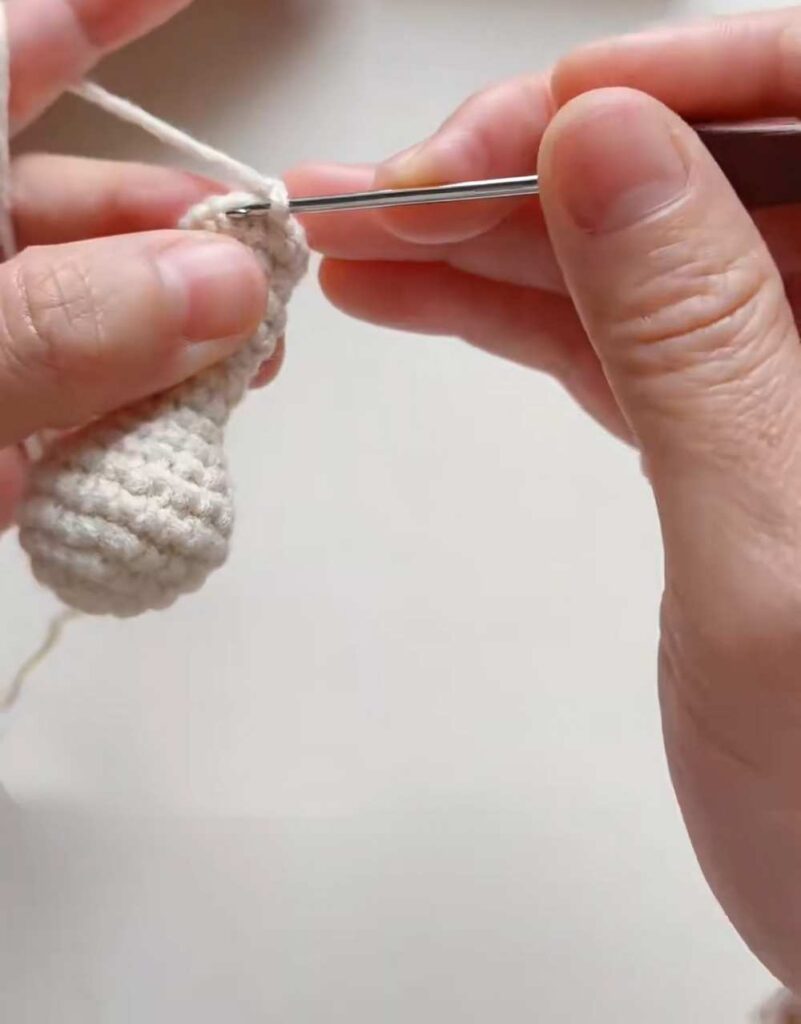
Round 16: Make 1 inc in every single stitch around. (18 stitches)
Round 17: Make 1 sc, then 1 inc, then 1 sc. Repeat this set six times in total. (24 stitches)
Round 18: Make 3 sc, then 1 inc. Repeat this pattern six times in total. (30 stitches)
Round 19: Make 1 sc in each stitch around. (30 stitches)
Round 20: Make 1 sc in each stitch around. (30 stitches)
When you finish Round 20, make a slip stitch to the very first stitch. Cut the yarn and weave in the end to hide it.
Mushroom Ruffle Pattern
We will add a ruffle to the mushroom stem to make it look detailed.
Look at Round 12 on the stem. You will see the unworked Front Loops pointing outside.
Attach your yarn to the Front Loop Only (FLO) of Round 12.
Step 1: Chain 2 to start. Make 1 dc into the exact same stitch.
Step 2: Chain 3.
Step 3: Make 1 dc in the next stitch.
Step 4: Chain 3.
Repeat Step 3 and Step 4 all the way around the outside loops.
When you reach the end, make a slip stitch to the first stitch to join the round. Cut the yarn and weave in the loose ends.
Adding Spots and Assembly
Now it is time to put your mushroom together and finish the details.
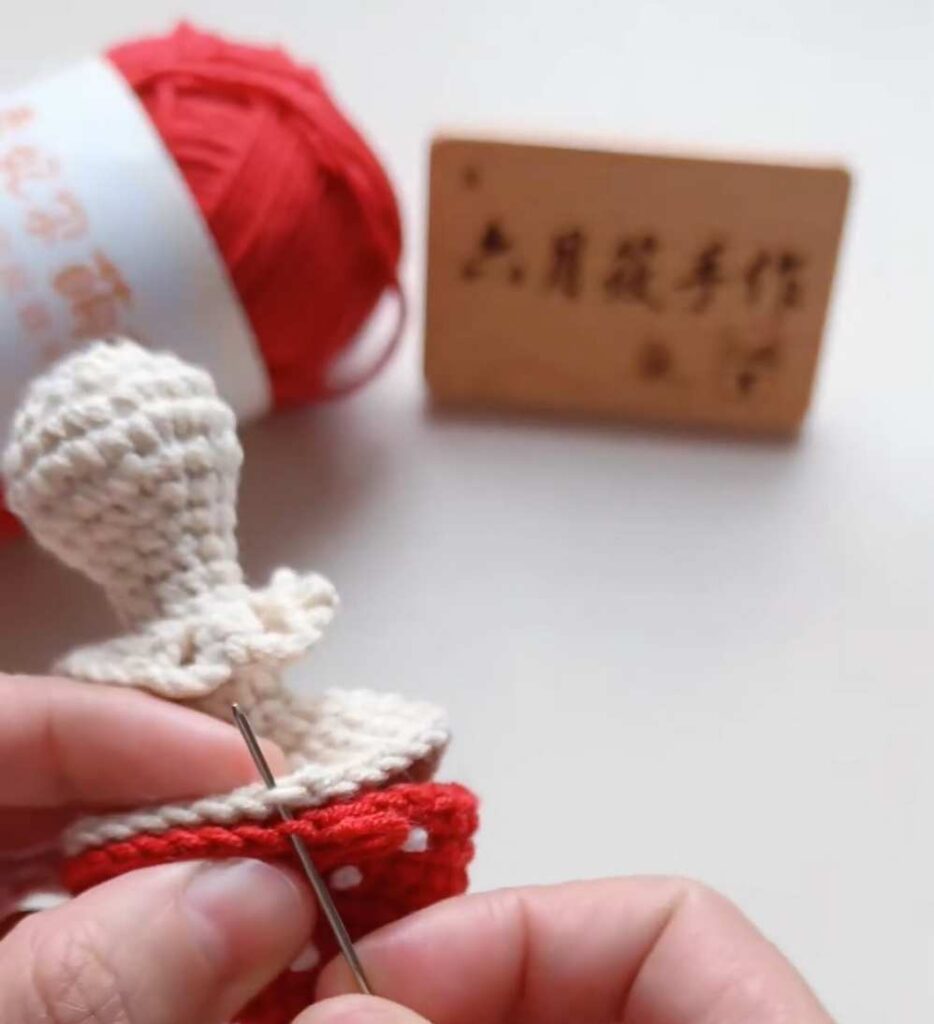
First, take some yarn and a yarn needle. Embroider small French knots on the top of the mushroom cap. These knots will look like the spots on the mushroom.
Next, add fiberfill stuffing inside the open mushroom stem and inside the mushroom cap.
Take the long yarn tail you left on the mushroom cap.
Place the mushroom cap directly on top of the mushroom stem.
Sew the two main pieces together. Make sure to sew through the inner loops of the stitches. This will keep the joined line very neat.
Once you sew all the way around the circle, tie a secure knot.
Hide all the remaining yarn ends inside the stuffed body.
Your crochet mushroom is complete!
Learn with the Video Tutorial
Save for Later!