
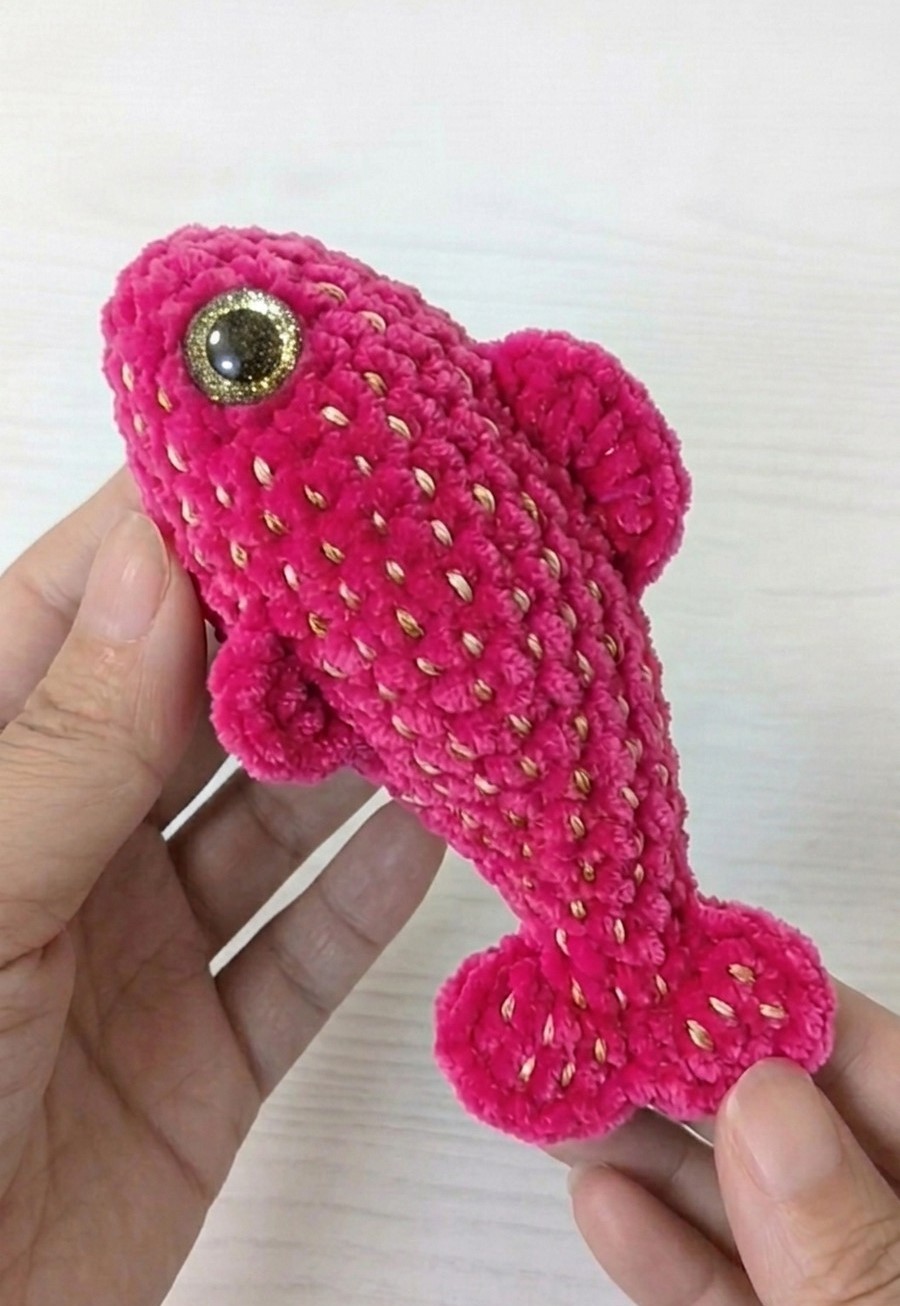
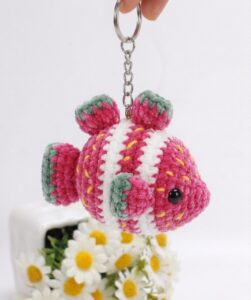
As I promised, here is the free pattern to crochet the strawberry version of the low-sew fish plushie and fidget toy. This crochet plushie has embroidery seeds all along its hot pink body and glitter eyes. All this makes it look even cuter than the first version of the crochet fish plushie. You can also crochet a pair of leaves following the pattern in the crochet strawberry turtle plush.
Again, you can crochet it in just one minute more than you needed to crochet the 1st variation of the low-sew fish plush.
We shall crochet it in separate parts for the body and the fins, but crocheted by surface-stitching. You can also use the normal safety beads, but the glitter ones are recommended. Crochet it as a bag charm for a beach tote bag, fidget toy, or stress plushie. Now, continue reading for crocheting this plushie with a US pattern for all skill levels.
[ez-toc]
Crochet Sparkle Fish Plushie Pattern: Round-by-Round
Note: This pattern is worked in joined rounds. So, at the end of every round, you will slip stitch to the first stitch of that round, pull it tight to keep your seam neat, and chain 1 to start the next round.
Materials Needed
- Yarn A: Super bulky chenille/velvet yarn (e.g., Bernat Blanket or Himalaya Dolphin Baby) in Hot Pink/Crimson.
- Yarn B: Thin metallic gold embroidery thread or lace-weight yarn (to be held together with Yarn A throughout).
- Crochet Hook: 5.0 mm (Size H) or 5.5 mm (Size I) to keep the stitches tight with bulky yarn.
- Eyes: 14 mm or 16 mm Gold Glitter Safety Eyes.
- Stuffing: Premium polyester fiberfill.
- Tools: Tapestry needle, scissors, and a stitch marker (essential for continuous rounds).
Abbreviations Key (US Terms)
- MR: Magic Ring
- ch: Chain
- sc: Single crochet
- inc: Increase (2 sc in the same stitch)
- dec: Invisible decrease (crochet 2 stitches together using front loops only)
- hdc: Half double crochet
- dc: Double crochet
- tr: Treble crochet
- sl st: Slip stitch
- st(s): Stitch(es)
Main Body & Head
Note: Hold Yarn A (Pink) and Yarn B (Gold) together for the entire body. Work in a continuous spiral. Do not join rounds or chain 1 at the end of rounds. Use a stitch marker to track the first stitch of each round.
- R1: 6 sc in MR. (6 sts)
- R2: (1 sc, inc) x 3. (9 sts)
- R3: (2 sc, inc) x 3. (12 sts)
- R4: (1 sc, inc) x 6. (18 sts)
- R5: (2 sc, inc) x 6. (24 sts)
- R6–R11: Sc in each st around. (24 sts for 6 rounds total)
Eye Placement Tip: Insert the gold glitter safety eyes between R4 and R5, spacing them about 10–12 stitches apart on opposite sides of the head. Snap the washers firmly into place before continuing.
- R12: (2 sc, dec) x 6. (18 sts)
- R13–R14: Sc in each st around. (18 sts for 2 rounds)
- R15: (1 sc, dec) x 6. (12 sts)
- R16–R17: Sc in each st around. (12 sts for 2 rounds)
Stuffing Step: Stuff the head and body firmly with fiberfill. Do not overstuff near the tail end so it can be flattened easily. (Note: The fish in the photo relies on dense stuffing and tight stitches rather than wire to hold its shape!)
- R18: (2 sc, dec) x 3. (9 sts)
- R19: Sc in each st around. (9 sts)
- R20: (1 sc, dec) x 3. (6 sts)
- R21: 6 inc. (12 sts)
- R22: (1 sc, inc) x 6. (18 sts)
Fins & Finishing
1. Tail Fin
Flatten the wide flare of R22 horizontally so that the 18 stitches line up flat into 9 pairs. You will crochet through both layers at the same time to close the tail and create the elegant, rounded shape. (Drop the gold thread for the fins if you want them solid pink, or keep it for extra sparkle!)
- Step 1: Ch 2, turn.
- Step 2: In the first 2 pairs of stitches, work 2 dc in each.
- Step 3: In the next 2 pairs, work 2 tr in each.
- Step 4: In the center (5th) pair, sl st to create the center dip of the tail.
- Step 5: In the next 2 pairs, work 2 tr in each.
- Step 6: In the last 2 pairs, work 2 dc in each.
- Step 7: Ch 2, sl st into the very last corner space to finish the curve.
- Fasten off and weave the tail deep into the body.
2. Dorsal Fin (Top Back Fin)
Attach Yarn A directly to the spine of the fish, starting around R9 and working backwards toward the tail.
- Surface sl st into the back to secure yarn, ch 2.
- In the next space along the spine, work 2 dc.
- In the next space, work 1 dc, 1 hdc.
- In the next space, work 1 sc, then sl st into the following space to taper down smoothly.
- Fasten off and pull yarn ends inside the body using your tapestry needle.
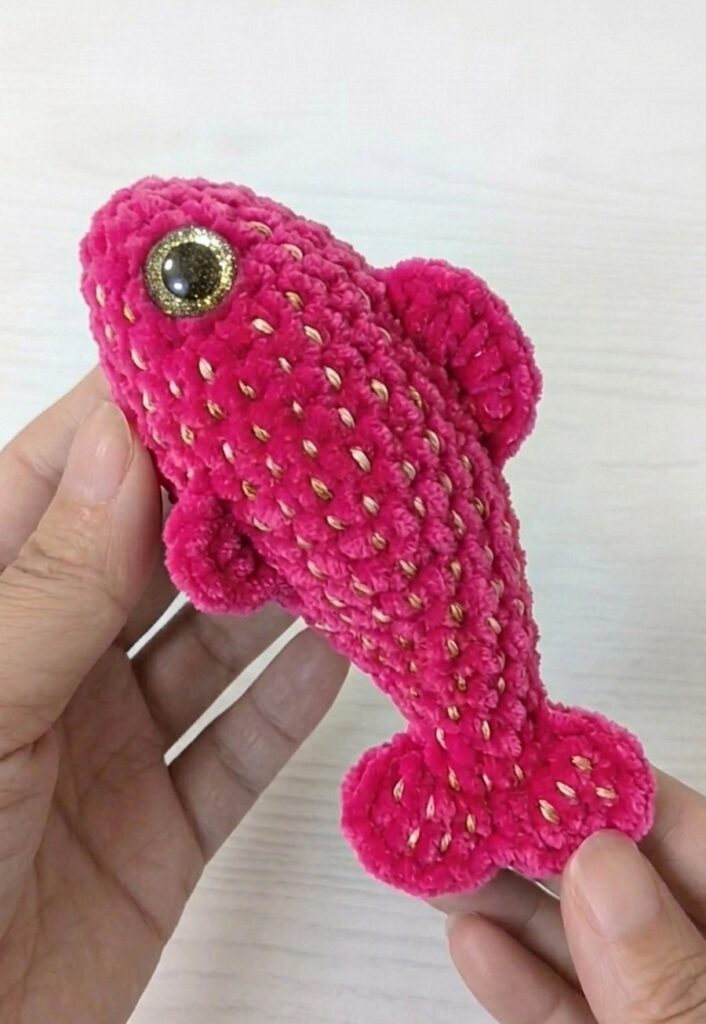
3. Pectoral Fins (Side Fins – Make 2)
Locate the sides of the body, about 3 rounds behind the eyes (around R8).
- Surface sl st into the side of the body, ch 2.
- Work 1 dc and 1 hdc into the same stitch space.
- Sl st into the space directly below it to anchor the fin flat against the body.
- Fasten off, tie a small knot with the two yarn ends, and hide them inside the body.
Assembly
- Take your craft glue and attach your flat-backed eyes to the front sides of the head.
- Bend the internal wire to curve the tail, giving your little fish a dynamic, swimming pose!