

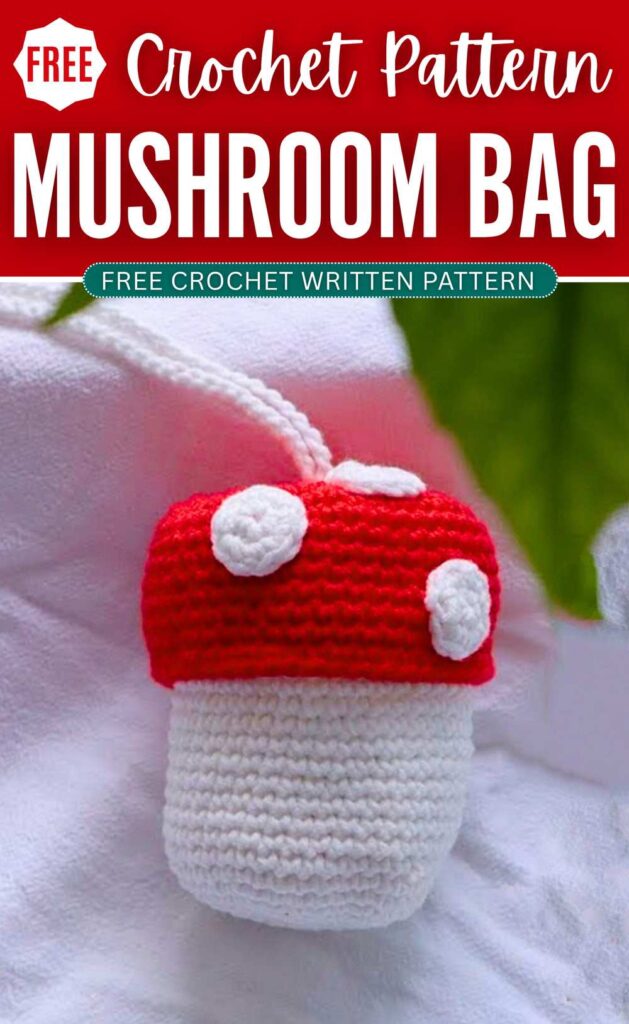
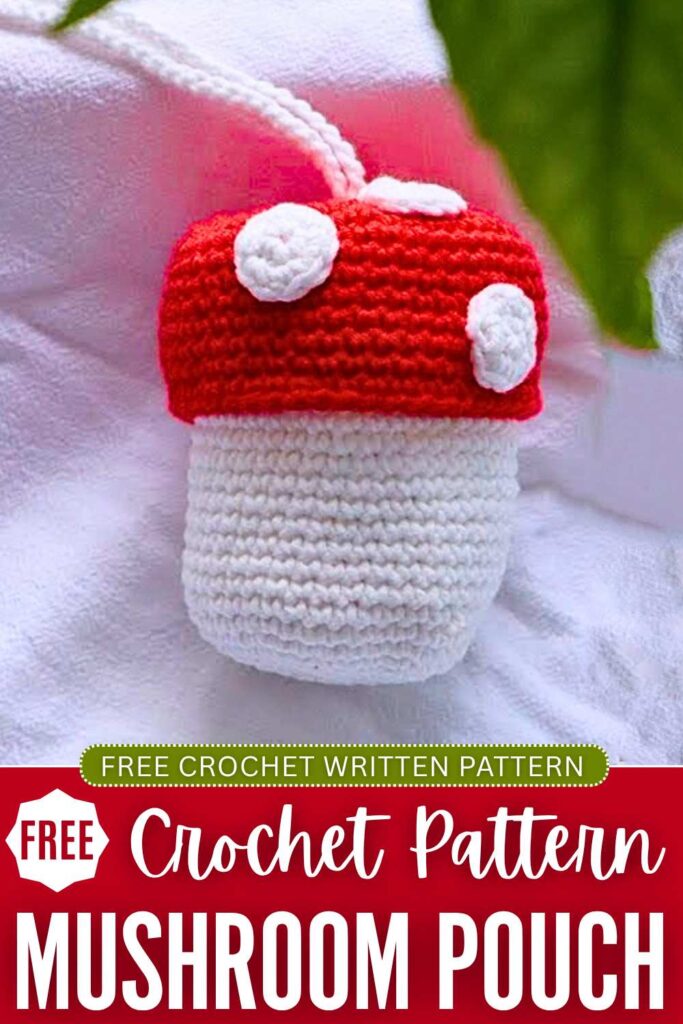
Looking for an upgrade to a crochet mushroom lip balm holder? Learn how to crochet this large toadstool mushroom pouch & sling bag following an easy pattern. This crochet mushroom bag is big enough to hold many more things than just a lip balm, such as the AirPods, a small crochet softie, makeup stuff, and much more. Crochet this mushroom pouch this fall as a travel pouch with a crossbody sling.
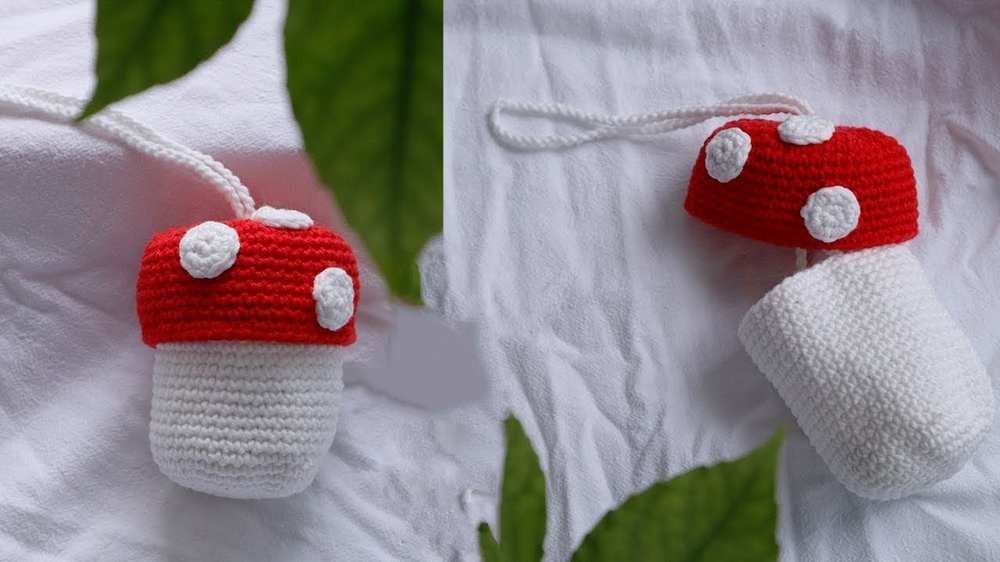
We have the same lip balm holder mechanism, where the mushroom cap will be the lid of the bag. We shall also crochet the mushroom white spots separately by crocheting small circles and attaching them over the mushroom cap. Now, continue reading for the full crochet big mushroom pouch pattern.
[ez-toc]
Crochet Toadstool Mushroom Pouch Bag: Written Instructions
Here is the complete crochet pattern for the big mushroom sling pouch. The assembly in detail is also at the end of this pattern:
Materials Needed
- Yarn: Cotton White yarn (for the bag body, strap, and dots) and Red yarn (for the mushroom cap)
- 2.5mm Crochet hook
- Stitch markers
- Yarn needle/Tapestry needle (for weaving in ends)
- Scissors
Abbreviations (US Terms)
- MR: Magic Ring
- ch: Chain
- sc: Single Crochet
- inc: Single Crochet Increase (2 sc in the same stitch)
- sl st: Slip Stitch
- st / sts: Stitch / Stitches
- Rnd: Round
Pattern Instructions
Bag Body (Using White Yarn)
Note: Always join the end of each round with a slip stitch (sl st) to the first stitch, and start the next round with a chain 1 (ch 1).
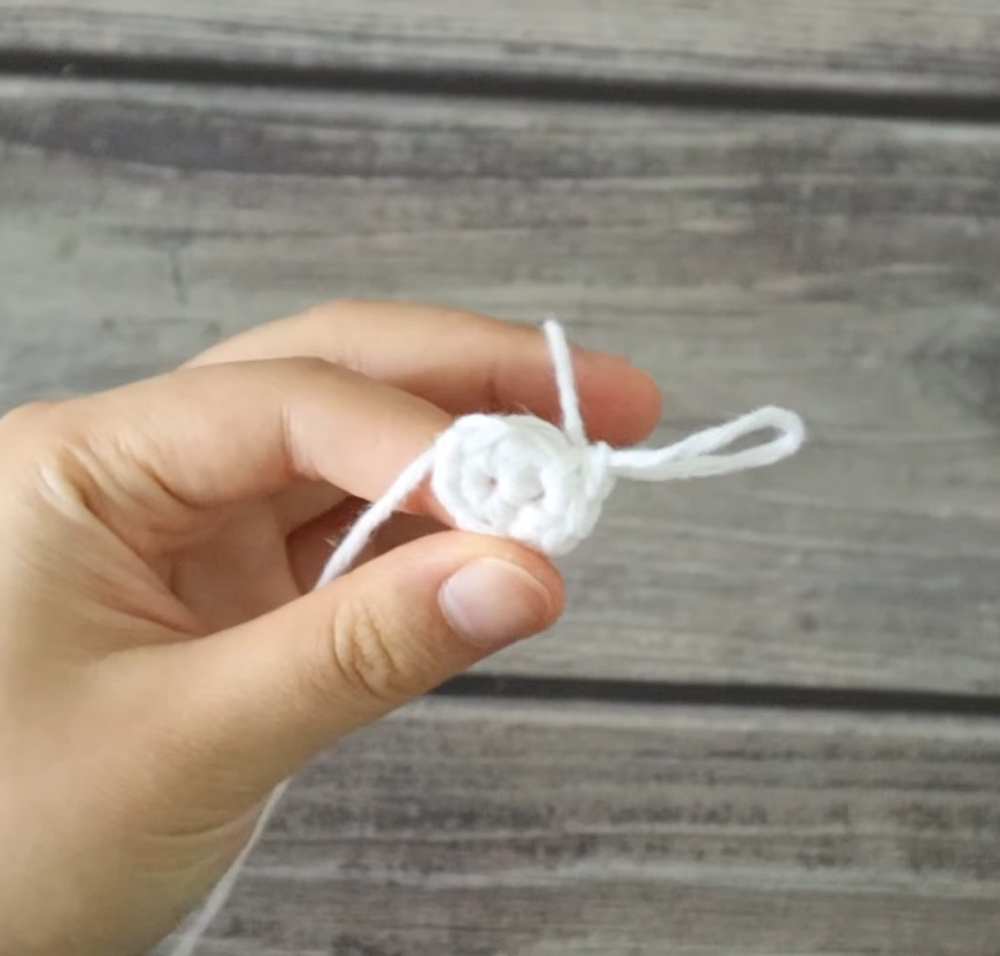
- Rnd 1: Start with a Magic Ring, make 6 sc into the ring. sl st to join. (6 sts)
- Rnd 2: ch 1, 6 inc. sl st to join. (12 sts)
- Rnd 3: ch 1, (1 sc, 1 inc) repeat 6 times. sl st to join. (18 sts)
- Rnd 4: ch 1, (2 sc, 1 inc) repeat 6 times. sl st to join. (24 sts)
- Rnd 5: ch 1, (3 sc, 1 inc) repeat 6 times. sl st to join. (30 sts)
More
- Rnd 6: ch 1, (4 sc, 1 inc) repeat 6 times. sl st to join. (36 sts)
- Rnd 7: ch 1, (5 sc, 1 inc) repeat 6 times. sl st to join. (42 sts)
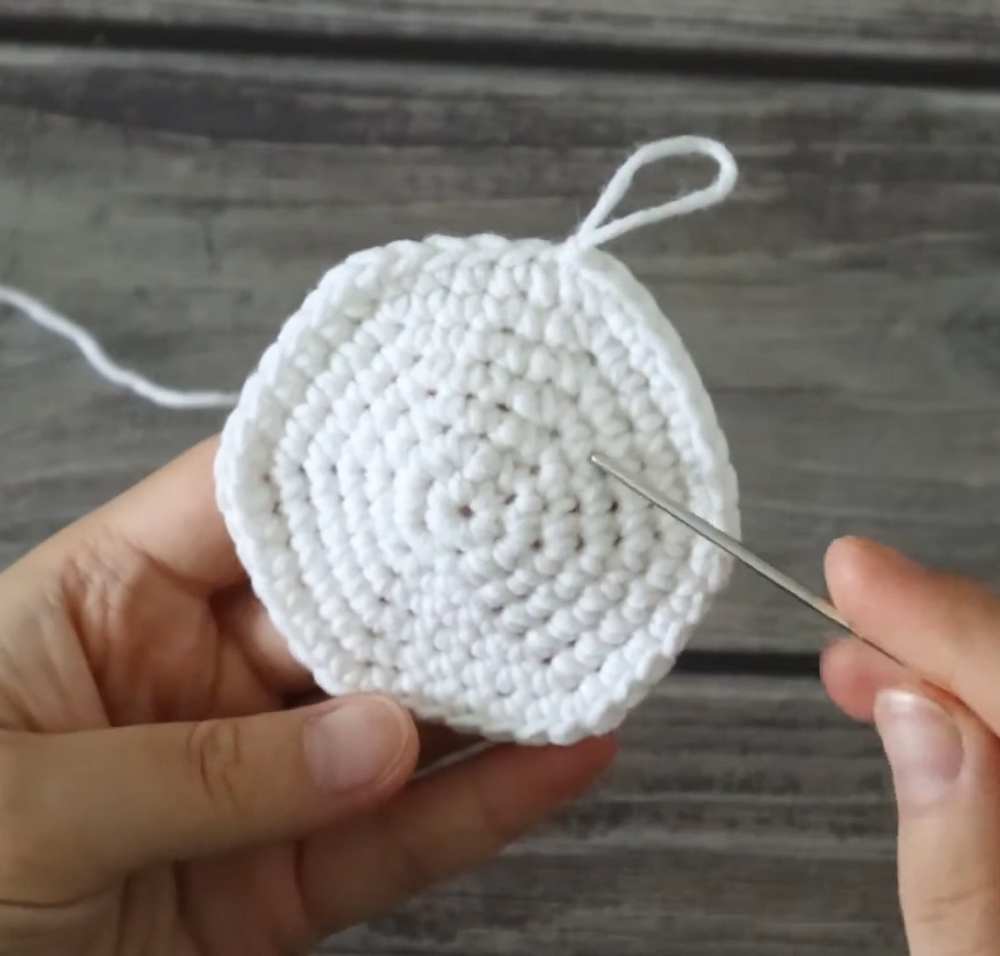
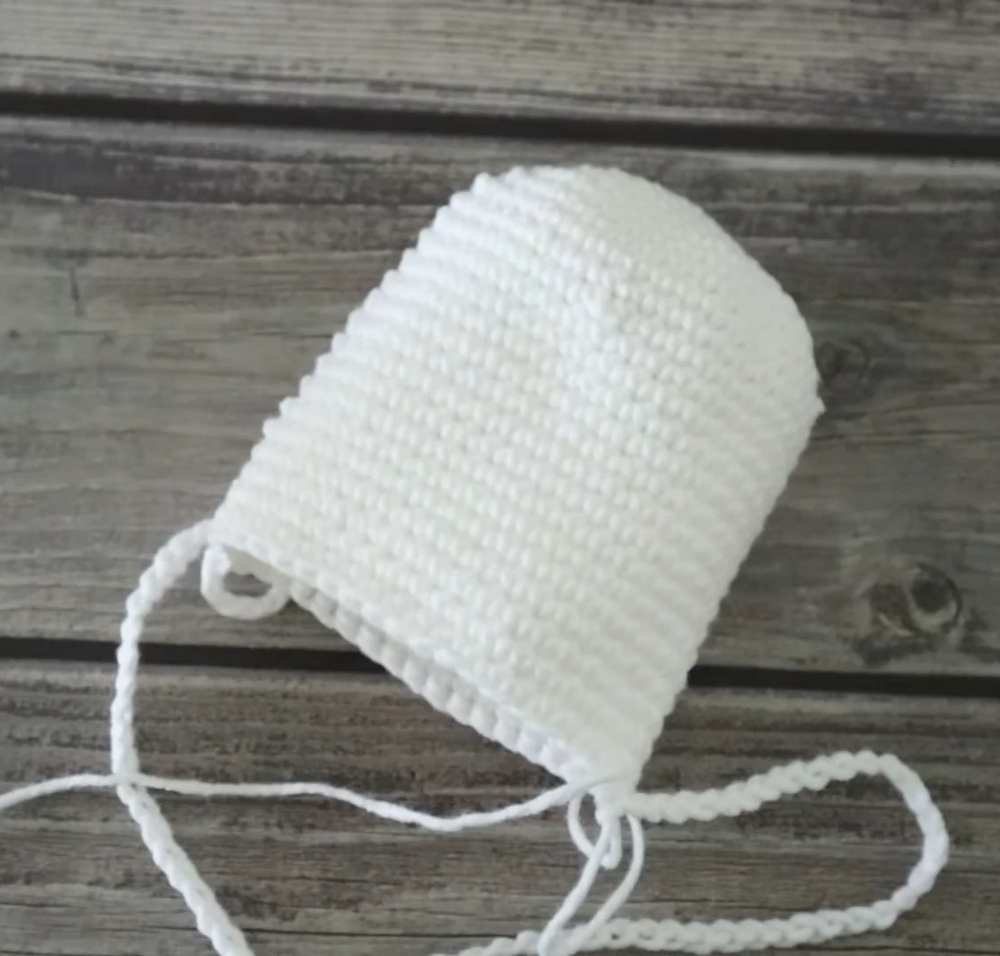
- Rnd 8 – Rnd 25: ch 1, 1 sc in each st around. sl st to join. (42 sts per round)
Bag Strap (Using White Yarn)
- Count 20 stitches across the top edge from your current hook position and place a stitch marker to mark the halfway point across the bag.
- From your current loop, chain 100 (or adjust the number of chains if you want a shorter/longer strap).
More
- Sl st into the stitch marked by your stitch marker to secure the strap to the other side.
- Fasten off, cut the yarn, and neatly weave the ends into the inside of the bag.
Mushroom Cap / Bag Lid (Using Red Yarn)
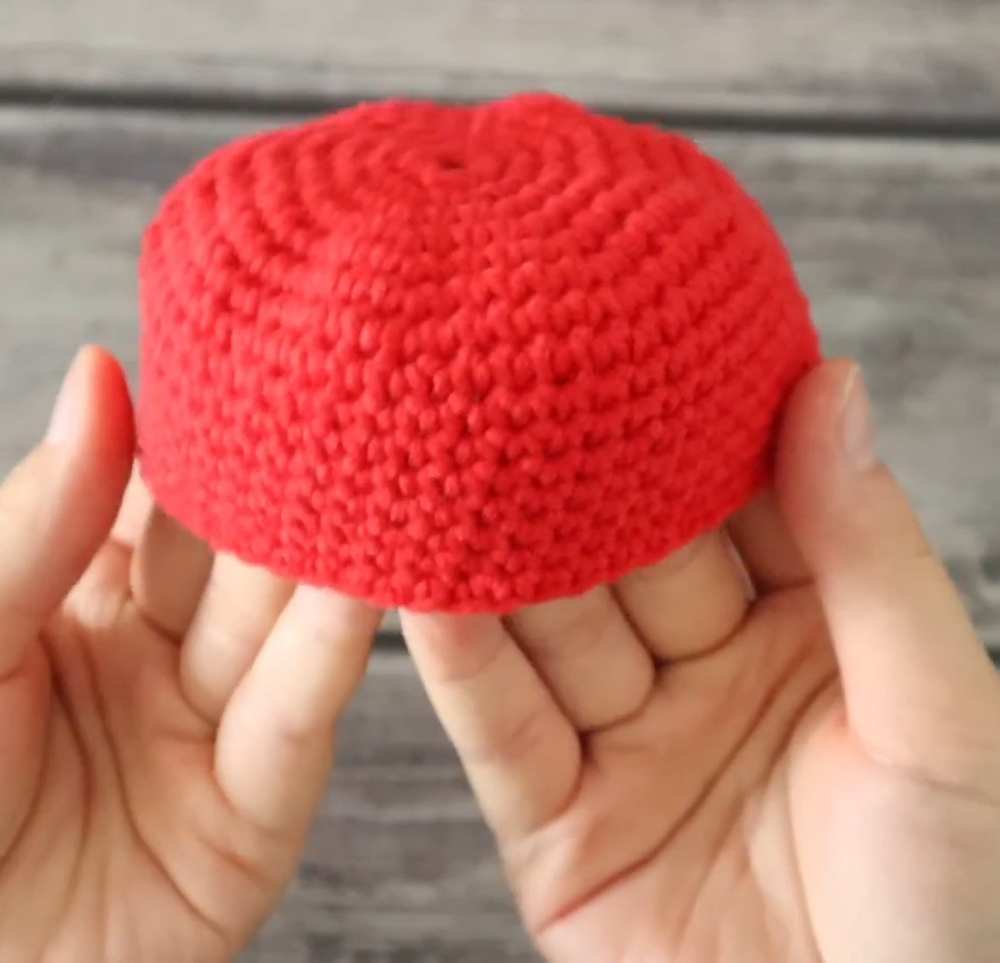
Note: The cap starts with a chain-ring instead of a magic ring to leave a center hole for the bag strap to pass through.
- Rnd 1: ch 5, sl st to the first ch to form a circular ring.
- Rnd 1 (cont.): ch 1, make 8 sc into the center hole of the ring. sl st to the first sc to join. (8 sts)
- Rnd 2: ch 1, 8 inc. sl st to join. (16 sts)
- Rnd 3: ch 1, (1 sc, 1 inc) repeat 8 times. sl st to join. (24 sts)
- Rnd 4: ch 1, (2 sc, 1 inc) repeat 8 times. sl st to join. (32 sts)
More
- Rnd 5: ch 1, (3 sc, 1 inc) repeat 8 times. sl st to join. (40 sts)
- Rnd 6: ch 1, (4 sc, 1 inc) repeat 8 times. sl st to join. (48 sts)
- Rnd 7 – Rnd 15: ch 1, 1 sc in each st around. sl st to join. (48 sts per round)
- Fasten off, cut the yarn, and weave in all loose ends.
Decorations and Assembly
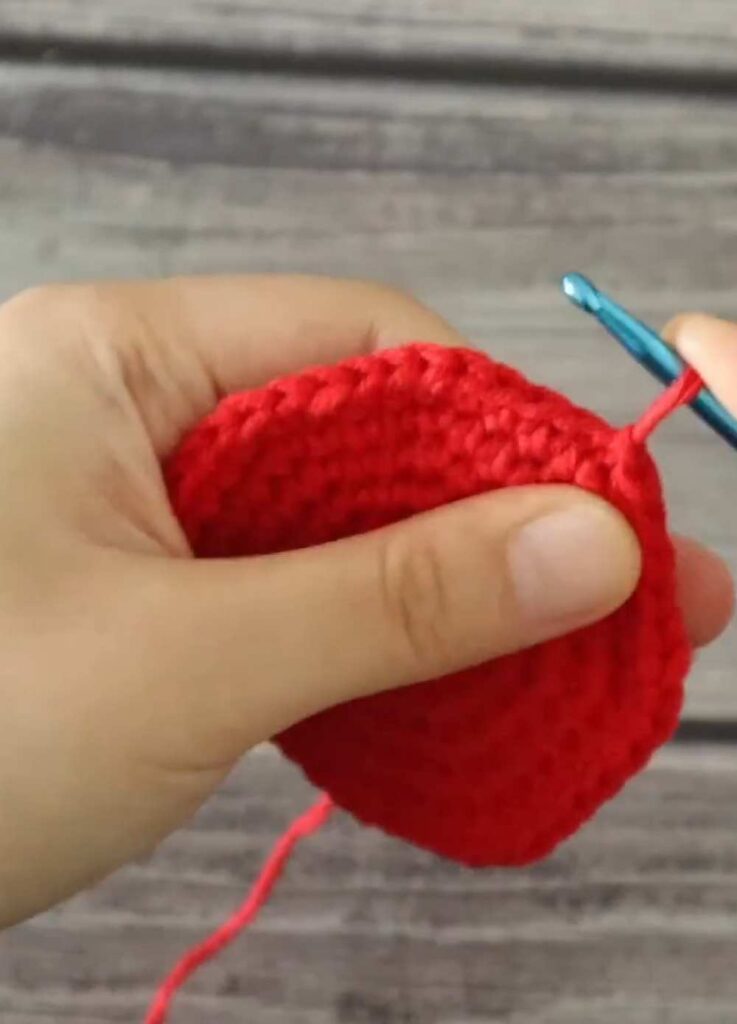
- White Dots: Using white yarn, crochet several small circles (You can make these by creating a Magic Ring, making 6 sc inside, joining with a sl st, and fastening off with a long tail for sewing).
- Use your yarn needle to sew the white dots onto the red mushroom cap.
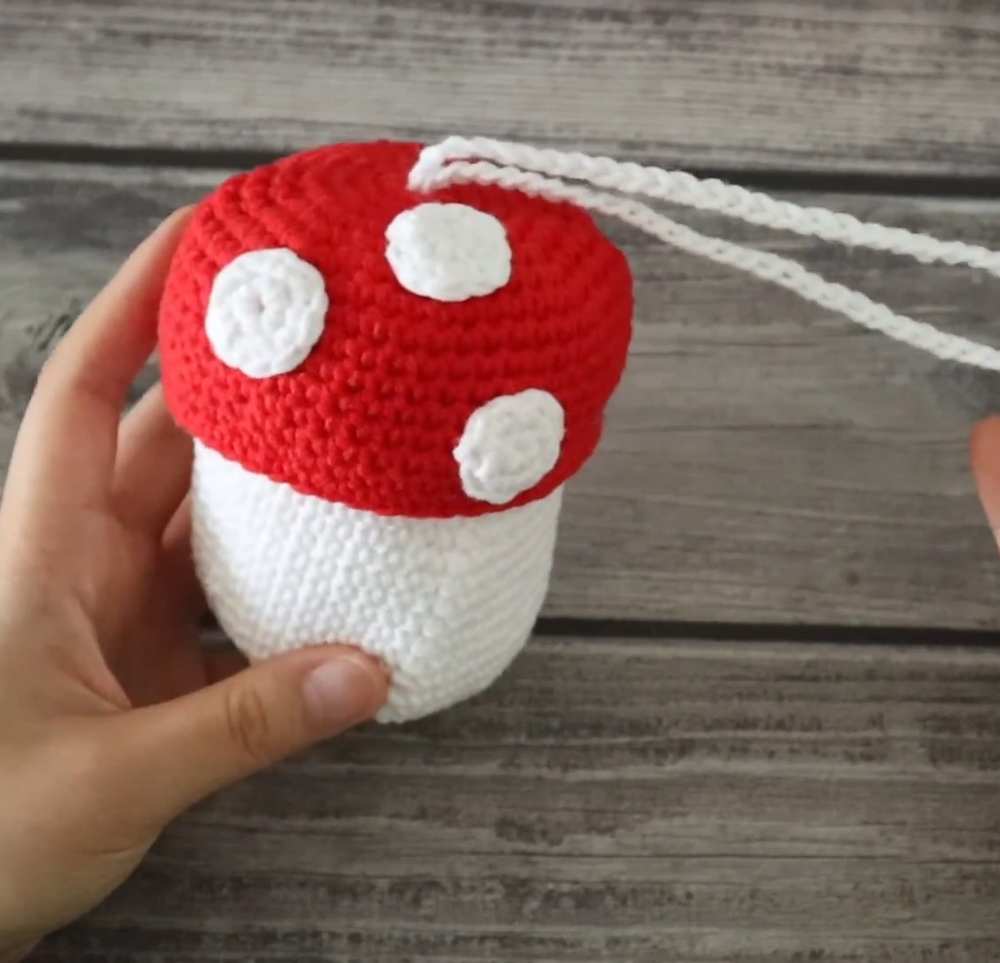
- Assembly: Take the completed white bag body and pass the chain strap up through the center hole at the very top of the red mushroom cap. The cap will naturally slide down the strap to act as a closing lid for your bag.
Save for Later!

About "Talha"
Hey, I’m Talha, the Crafter on Craftstive.com. I love to share guides on folding cute origami models and paper crafts, and I am always ready to inspire your next craft project with my weekly craft discussions.