
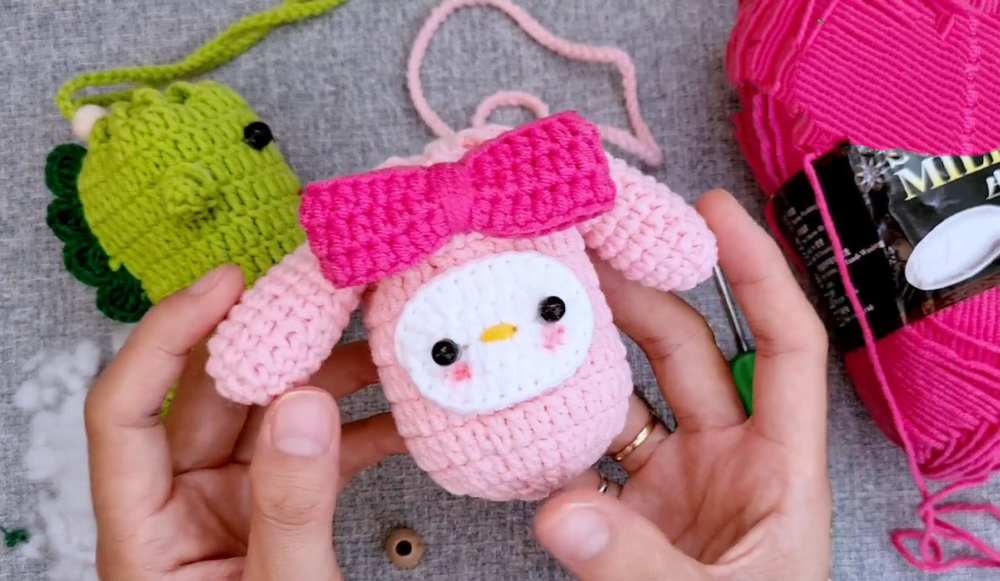
Welcome to Part 1 of the crochet My Melody & Dinosaur sling pouch pattern series! In this tutorial, you will learn how to crochet only the My Melody crossbody pouch to keep your AirPods, money, and coins. This Hello Kitty bag has a sliding bead just like the pig garlic pouch to close it, and it functions as a drawstring pouch. In the next part, you will learn to crochet the dino pouch, and I promise to bring it soon.
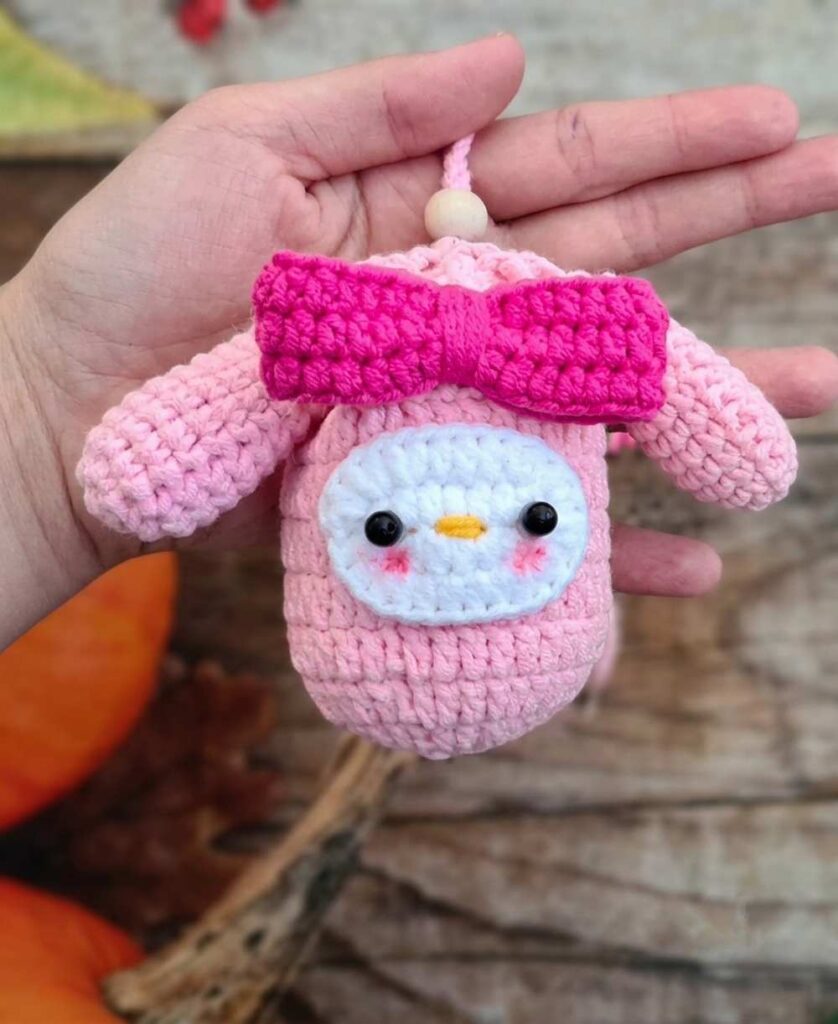
Kids will love to have this crochet Sanrio bunny face pouch and admire it for the Hello Kitty bow, the stuffed ears, and the adorable face. The base pattern for both of the pouches stays the same. So, once you learn crocheting this, you can easily crochet the dino version, too. Now, continue reading for the full My Melody pouch pattern.
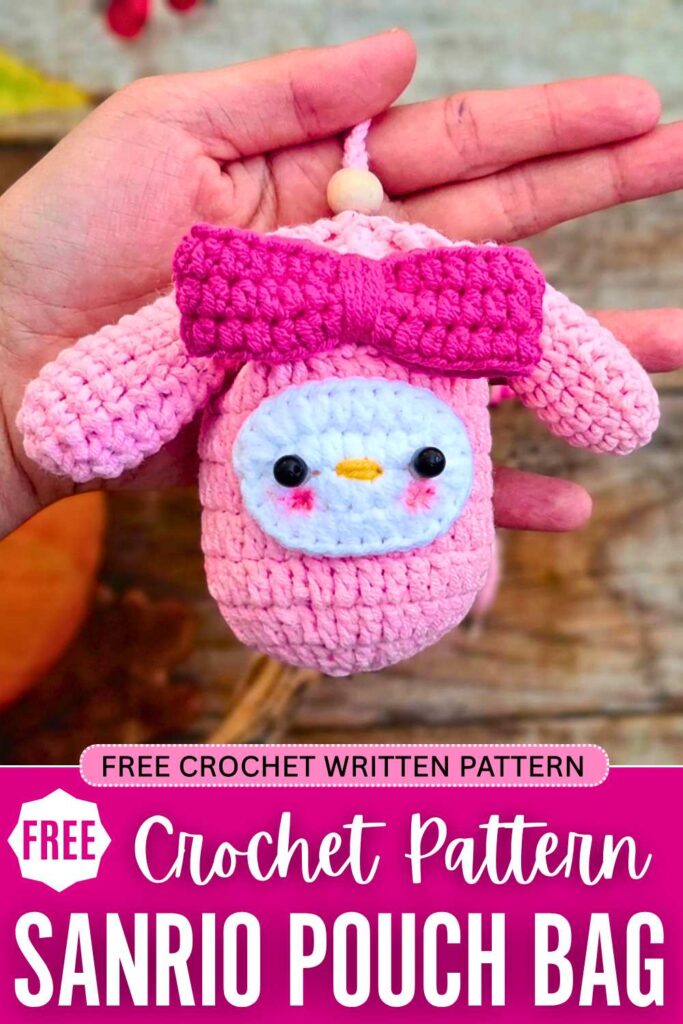
Free Crochet Sanrio Bunny My Melody Bag: Written Instructions
This project is a small crochet pouch bag. People call it a garlic pouch. You can use it to hold small items. You will make a main bag. Then, you will make small parts to decorate it.
You can make a bunny bag. You can also make a dinosaur bag. The pattern is easy to follow. You will use simple stitches. You will use a wooden bead to close the bag. You will crochet a long strap to wear the bag.
Materials Needed
- Yarn: Milk cotton yarn, about 1.75 millimeters to 2.0 millimeters thick.
- Crochet Hook: Size 2.5 millimeters hook.
- Scissors: To cut the yarn.
- Tapestry Needle: To sew the parts together.
- Beads: Small black beads for the eyes.
- Stuffing: A small amount of fiberfill stuffing to fill the parts.
- Wooden Bead: One wooden bead with a large hole to close the bag.
Stitch Abbreviations
- CH: Chain stitch.
- SC: Single Crochet stitch.
- HDC: Half Double Crochet stitch.
- DC: Double Crochet stitch.
- SL ST: Slip Stitch.
- INC: Increase (work two stitches into one stitch space).
Main Pouch Pattern
- Row 1: Make a magic ring. Chain 2. Work 12 DC stitches into the ring. Pull the ring closed. SL ST to the first DC to close the round. You now have 12 stitches.
- Row 2: Chain 2. Work 2 DC stitches into each stitch around. SL ST to close the round. You now have 24 stitches.
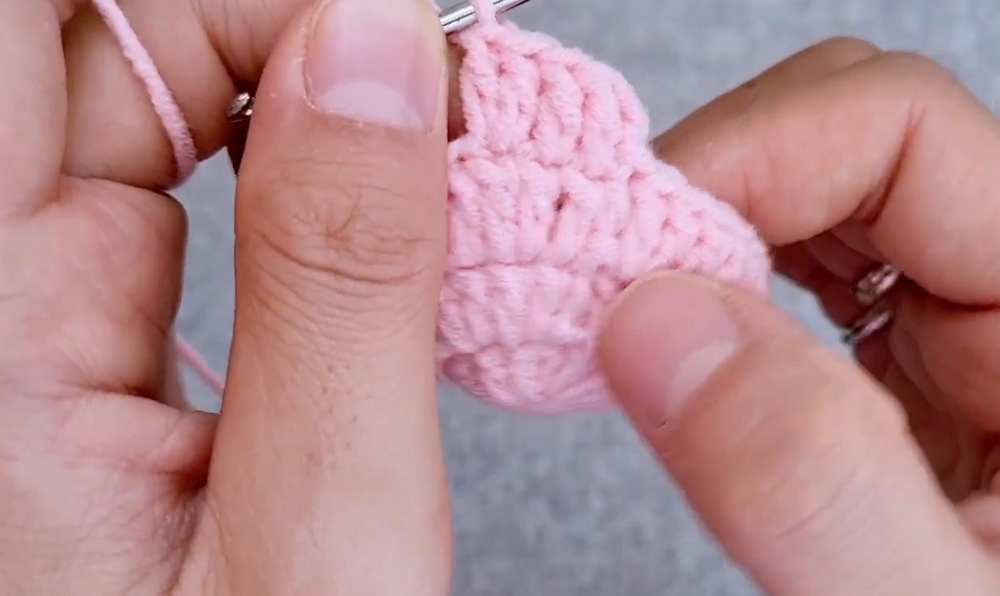
- Row 3: Chain 2. Work 1 DC in the first stitch. Work 2 DC in the next stitch. Repeat this pattern around. SL ST to close the round. You now have 36 stitches.
- Rows 4 to 10: Chain 2. Work 1 DC in each stitch around. Do not increase. SL ST to close the round. You will make 7 rows just like this to build the height of the bag.
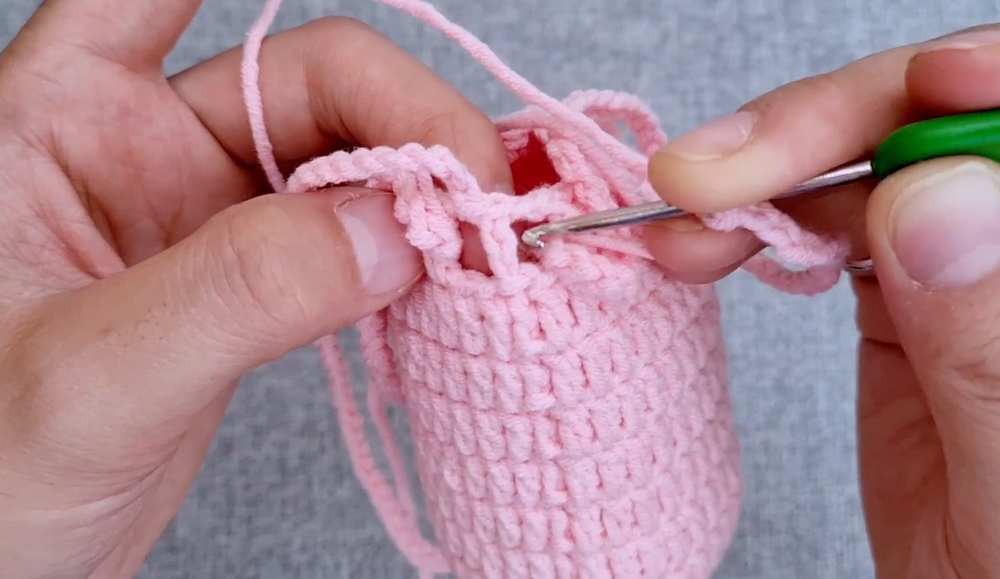
- Row 11 (Eyelet Row): Chain 4. This counts as one DC and one chain. Skip one stitch. Work 1 DC in the next stitch. Chain 1. Skip one stitch. Work 1 DC in the next stitch. Repeat this around. SL ST into the third chain of the starting chain 4.
- Strap and Drawstring: SL ST into the first eyelet space. Chain 160 to make a long strap. Weave the hook and strap in and out of the eyelet spaces around the bag. Pull the yarn through the spaces. Fasten off the yarn. Sew the end to the starting point to make a closed loop.
Bunny Decorations
- Bunny Bow – Foundation: Chain 30. SL ST to the first chain to make a circle.
- Bunny Bow – Row 1: Chain 2. Work 1 HDC in each chain around. SL ST to close the round. You now have 30 stitches.
- Bunny Bow – Rows 2 and 3: Chain 2. Work 1 HDC in each stitch around. SL ST to close the round. Fasten off the yarn. Leave a very long tail.
- Bunny Bow – Finishing: Wrap the long tail tightly around the middle of the circle many times. This makes a bow shape. Sew it to the top of the bag.
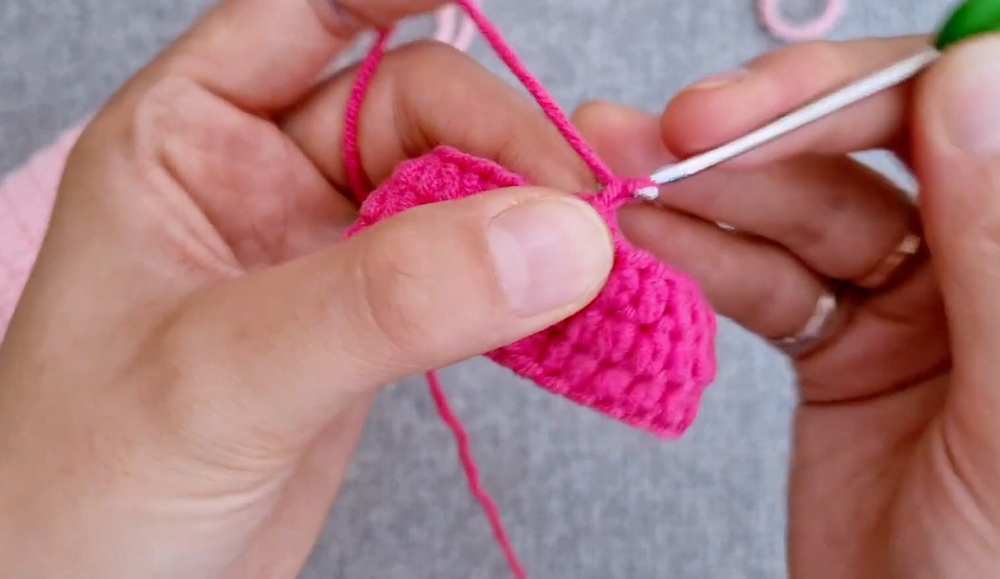
- Bunny Arms – Row 1: Make a magic ring. Chain 1. Work 6 SC stitches into the ring. SL ST to close the round. Make two arms.
- Bunny Arms – Row 2: Chain 1. Work 2 SC in each stitch around. SL ST to close the round. You now have 12 stitches.
- Bunny Arms – Next Rows: Chain 1. Work 1 SC in each stitch around. SL ST to close the round. Repeat this for several rows until the arm is the height you want.
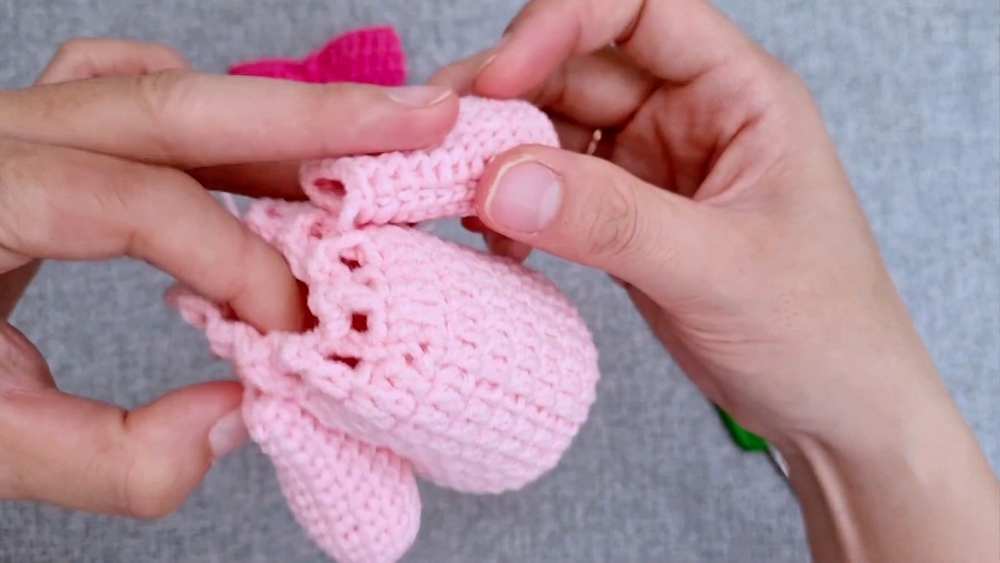
- Bunny Arms – Finishing: Fasten off the yarn. Stuff the bottom part lightly with stuffing. Flatten the top part. Sew the arms to the sides of the bag.
- Bunny Muzzle – Foundation: Chain 5.
- Bunny Muzzle – Row 1: Chain 2. Work 2 HDC in the last chain. Work 1 HDC in the next 3 chains. Work 5 HDC in the very first chain. Turn to work on the other side of the chain. Work 1 HDC in the next 3 chains. Work 2 HDC in the same space as the first stitches. SL ST to close the round.
- Bunny Muzzle – Row 2: Chain 2. Work 2 HDC in the first 2 stitches. Work 1 HDC in the next 3 stitches. Work 2 HDC in the next 5 stitches. Work 1 HDC in the next 3 stitches. Work 2 HDC in the last 2 stitches. SL ST to close the round. Fasten off the yarn. Sew to the front of the bag.
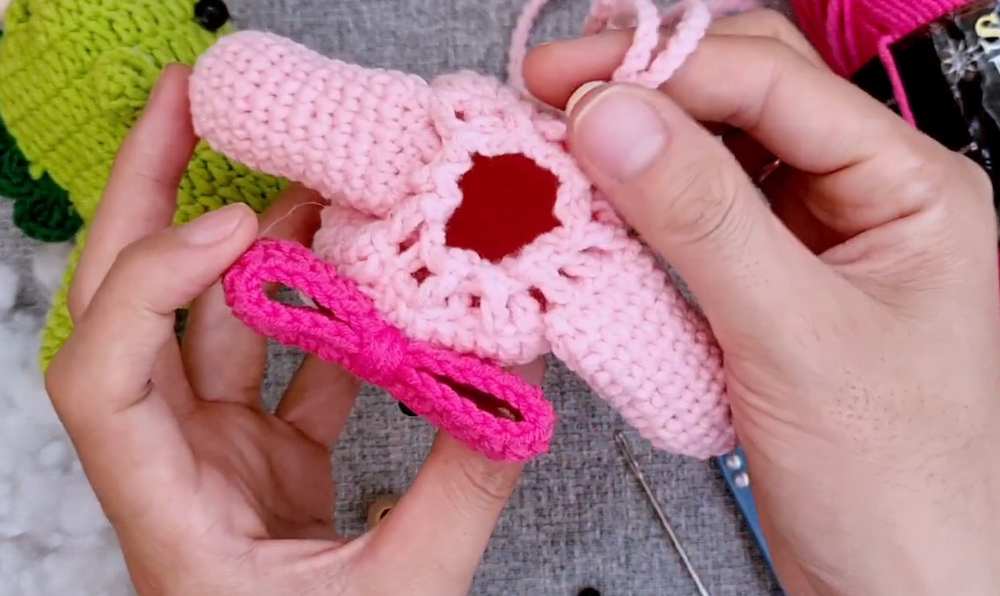
Assembly Instructions
- Step 1: Sew all the decoration parts to the main bag.
- Step 2: Glue or sew the bead eyes and mouth to the face.
- Step 3: Thread the wooden bead onto the loop of the strap.
- Step 4: Slide the wooden bead up and down to open and close the bag.
Learn From Video Tutorial: