
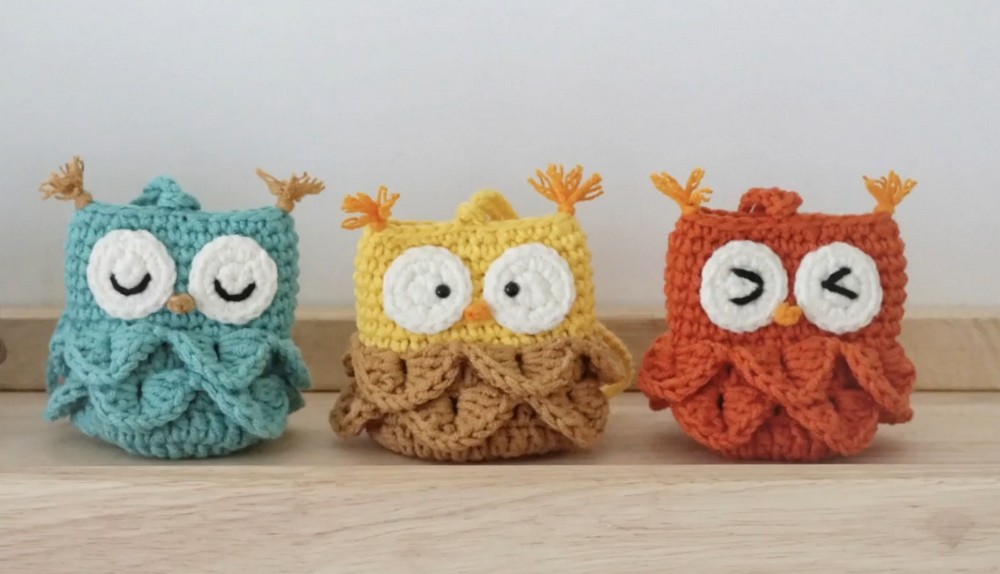
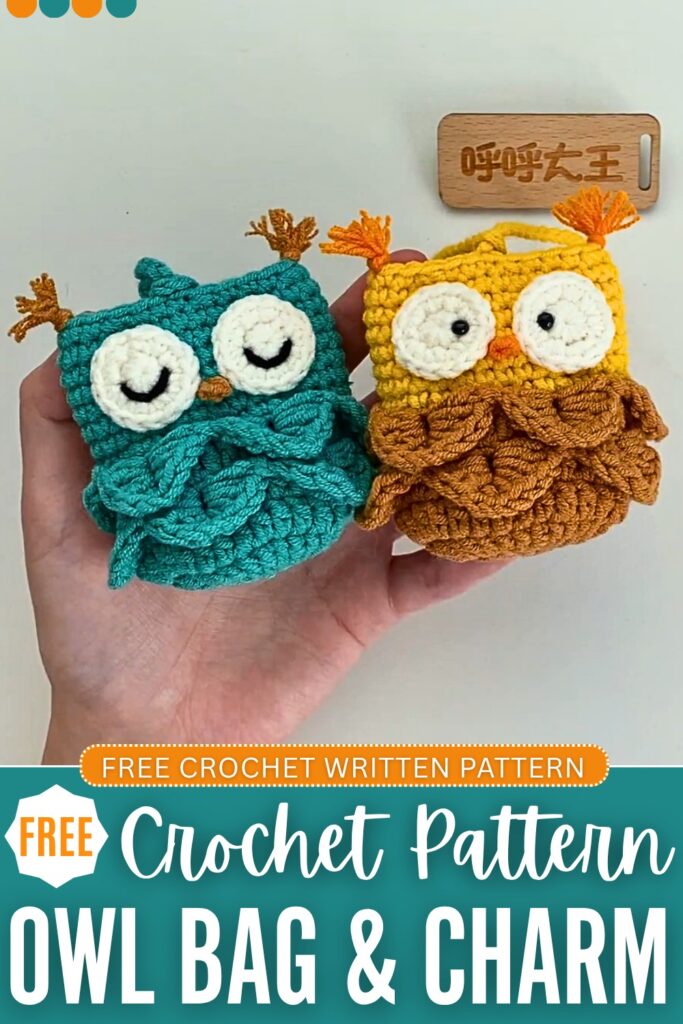
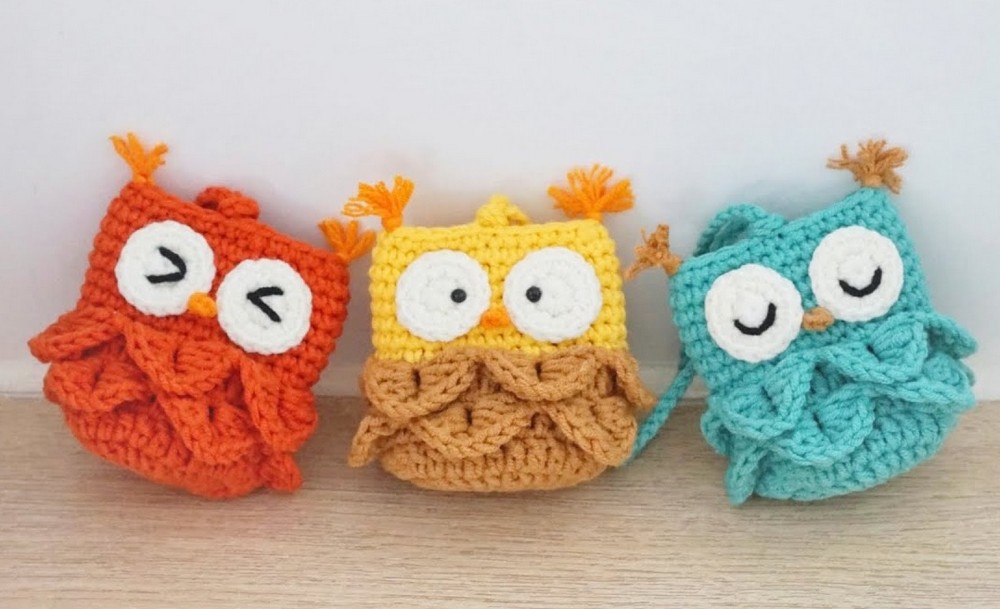
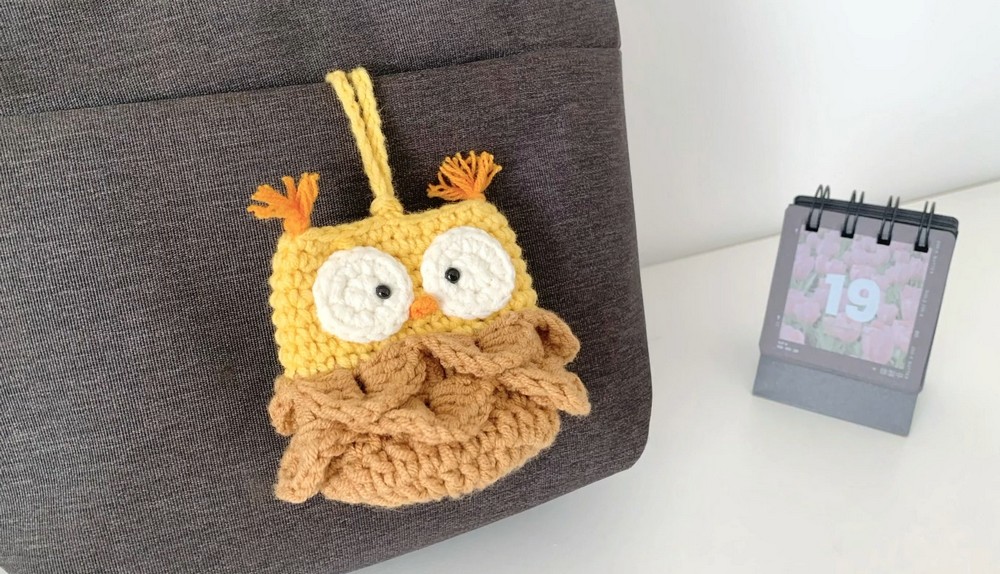
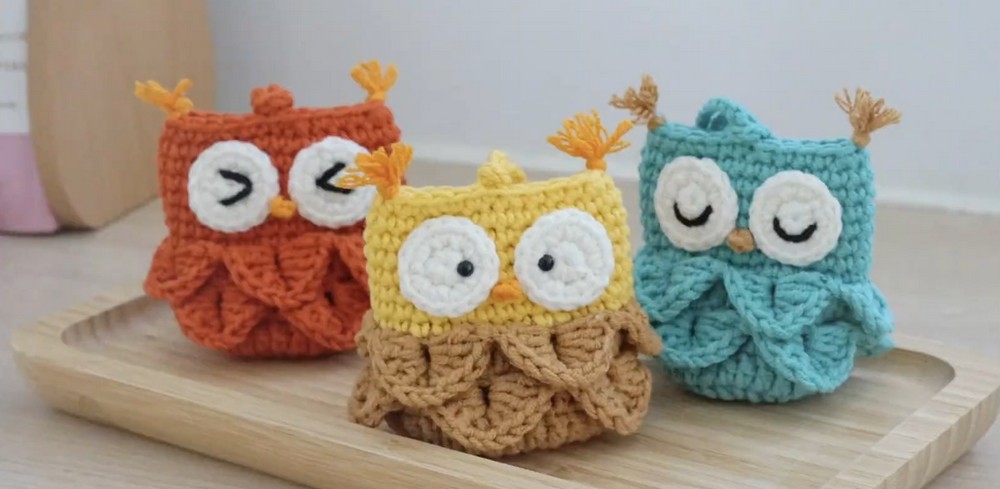
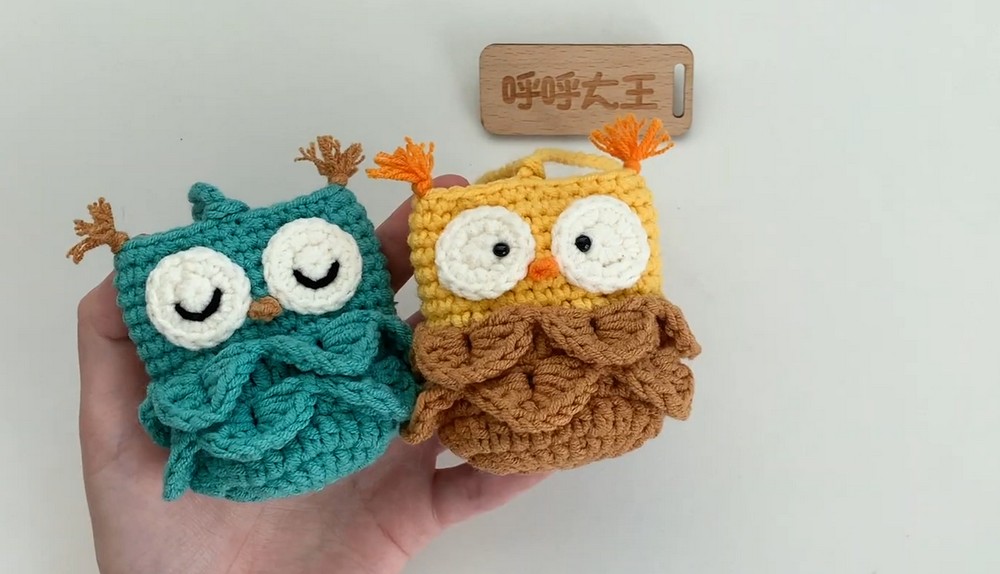
Learn how to crochet a CUTE googly-eyed owl bag charm pouch in any of 3 eye embroidery and color options variations with this pattern. This baby owl charm also has the feather texture of an owl, the fringed owl horns, a hanging string, and a loop method to close it. You can use it as a coin purse and AirPods case, just as the crochet pig pouch. Crochet it for fall, Thanksgiving, Halloween, or New Year’s.
In the first variation, we will use safety beads in the crochet eyes, in the 2nd, the sleeping semi-circle eyes, and in the 3rd one, the V kawaii eyes. You can definitely have your own eye and color variation. For now, you will be inspired by the yellow, orange, and blue versions. It is a low-sew and quick crochet pouch.
Crochet Cute Owl Bag Charm: Round-by-Round Pattern
Below is the free crochet pattern for this CUTE googly-eyed owl pouch and charm in both variations, with the assembly in the end:
Materials Needed
- Yarn: 4-ply Milk Cotton Yarn in your choice of colors (e.g., Color A for the body/feathers, Color B for the top of the head, a tiny bit of orange/yellow for the beak).
- Hook: 3.0 mm crochet hook
- Notions: Stitch markers, tapestry/yarn needle, scissors, glue (optional for attaching eyes).
- Eyes: Black safety eyes, small black beads, or small stick-on eyes. You can also embroider the eyes with black yarn.
Abbreviations (US Terms)
- MR: Magic Ring
- ch: chain
- st(s): stitch(es)
- sl st: slip stitch
- sc: single crochet
- dc: double crochet
- inc: increase (work 2 stitches into the same stitch; typically sc inc unless noted otherwise)
- dc inc: double crochet increase (work 2 double crochets into the same stitch)
- dec: single crochet decrease (sc 2 together)
- (…) x: Repeat instructions within parentheses the indicated number of times
- […] : Total number of stitches at the end of the round
Note: The ch 3 at the beginning of double crochet rounds counts as the first double crochet.
Pattern Instructions
Base of the Bag (Use Color A)
Round 1: Make a Magic Ring (MR). ch 3 (counts as first dc, place a stitch marker in the top/3rd chain). Work 14 dc into the MR. Pull the tail tight to close the ring. Join with a sl st to the 3rd ch of the starting ch-3. [15 sts]
Round 2: ch 3 (counts as first dc). Work 1 dc in the same stitch as the sl st join. Work a dc inc (2 dc) in every stitch around. Join with a sl st to the top of the starting ch-3. [30 sts]
Round 3: ch 3 (counts as first dc). Work 1 dc in each stitch around. Join with a sl st to the top of the starting ch-3. [30 sts]
Round 4: ch 3 (counts as first dc). Work 1 dc in each stitch around. Join with a sl st to the top of the starting ch-3. Place a stitch marker on this sl st to help you locate the start of the round later. [30 sts]
The Crocodile Stitch Feathers (Layer 1)
In this section, you will be working around the POSTS of the dc stitches from the previous round to create the “scales” or feathers. We are working on the round we just completed.
The Feather Pattern:
- ch 3 (counts as first dc).
- Rotate your work 90 degrees clockwise. Working down the post of the ch-3 from the previous round, work 4 dc. (You now have 5 dc total on this side of the scale).
- ch 2.
- Rotate your work 180 degrees clockwise to work up the post of the very next dc stitch. Work 5 dc around the post of this stitch. (This completes ONE feather/scale).
- Skip the next 4 dc posts.
- Working down the post of the 5th dc stitch, work 5 dc.
- ch 2.
- Rotate your work 180 degrees clockwise. Working up the post of the next dc stitch, work 5 dc. (This completes the SECOND feather).
- Repeat steps 5-8 three more times to create a total of 5 feathers around the bag.
Closing the Feather Layer: Remove your hook from the active loop. Insert your hook into the top of the ch-3 from the very first feather. Grab the active loop and pull it through to connect the round.
Preparing for the Next Layer
We need a foundation round of double crochets behind the feathers to build the next layer upon.
- From where you joined the feathers, sl st into the 2nd dc stitch (of the 4 skipped stitches) behind the feathers.
- ch 3 (counts as first dc).
- Work 1 dc into every stitch around, including the stitches hidden behind the feathers. Pay close attention to stitch counts. Note: When you reach the area where the feather connects to the base, ensure you are crocheting into the top “v” of the original stitches.
- Join with a sl st to the top of the starting ch-3. [30 sts]
The Crocodile Stitch Feathers (Layer 2)
You will now repeat the feather process on this new foundation round.
Repeat the instructions for “The Crocodile Stitch Feathers (Layer 1)”. Once you have completed the 5 feathers and connected the round, ch 1 and fasten off Color A.
Top of the Bag / Head (Change to Color B)
Round 1: Attach Color B with a standing sc (or pull up a loop and ch 1, then sc in the same st) into the stitch marked from the foundation round directly behind the feathers. Work 1 sc in every stitch around, being careful to work behind the feathers. Join with a sl st to the first sc. [30 sts]
Rounds 2 – 7 (6 rounds total): ch 1, work 1 sc in each st around. Join with a sl st to the first sc. [30 sts per round]
Round 8 (Decrease Round): ch 1. (3 sc, 1 dec) repeat 6 times around. Join with a sl st to the first sc. [24 sts]
Button Loop Closure
Do not fasten off after Round 8. ch 6. sl st back into the very first chain made (the base of the ch-6) to form a loop. ch 1 and fasten off. Weave in the end securely.
Bag Strap (Optional)
- Locate the top front center of the bag (opposite side of the button loop).
- Attach your yarn to the front loop only of a stitch.
- Chain 50 (or chain to your desired strap length).
- sl st back into the base of the chain to form a loop.
- Fasten off and weave in the ends securely by knotting them inside the bag.
Facial Features
Eyes (Make 2 with White or Cream Yarn)
Round 1: Make a MR, ch 1, work 8 sc into the ring. Pull tight to close. Join with a sl st to the first sc. [8 sts]
Round 2: ch 1, work 1 inc in every stitch around. Join with a sl st to the first sc. [16 sts] Fasten off, leaving a tail for sewing. Weave in the starting tail. Attach the black centers (safety eyes, beads, or black yarn) to the middle of the white circles.
Beak (Orange or Yellow Yarn)
Create a slip knot on your hook. ch 2. sl st into the first chain to form a tiny triangle/bump. Fasten off, leaving a tail for sewing.
Ear Tufts / Horns
Cut a few short strands of yarn (about 3-4 inches long). Using your crochet hook, attach them like fringe to the top left and top right corners of the bag’s opening. Trim them to be short and spiky, resembling an owl’s ear tufts.
Assembly
- Beak: Sew or glue the beak to the center front of the bag, roughly between Rounds 3 and 4 of the head section (Color B).
- Eyes: Sew or glue the large white eyes directly above and slightly to the sides of the beak.
- Closure: Attach a button to the front of the bag, aligning it so the ch-6 loop on the back can stretch over and secure it shut.
Learn with the Video Tutorial

About "Talha"
Hey, I’m Talha, the Crafter on Craftstive.com. I love to share guides on folding cute origami models and paper crafts, and I am always ready to inspire your next craft project with my weekly craft discussions.