
Subscribe to @ArtIDEA4U
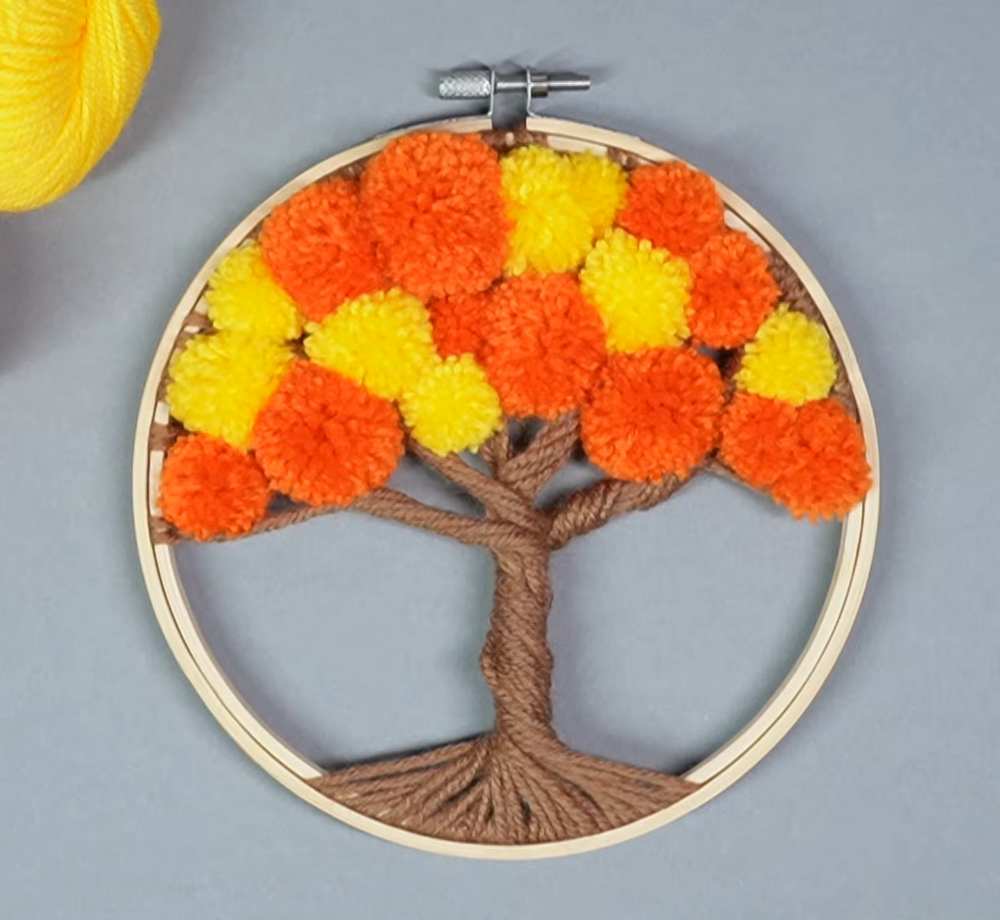
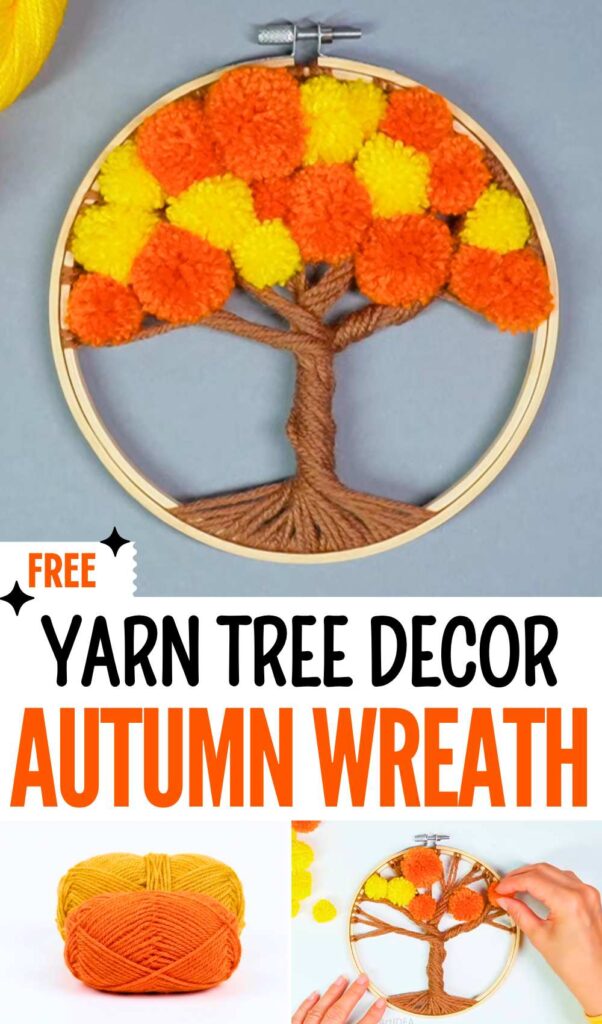
This fall, learn how to make this elegant yarn autumn wreath in a wooden hoop using pom poms and yarn wrappings! Hang this wreath from your front door or make it as a charm for blankets, rugs, or table mats. With the orange and yellow pom pom leaves and lifelike yarn stem, this will be the ultimate autumn decoration for your room.
DIY No-Knit Autumn Tree Yarn
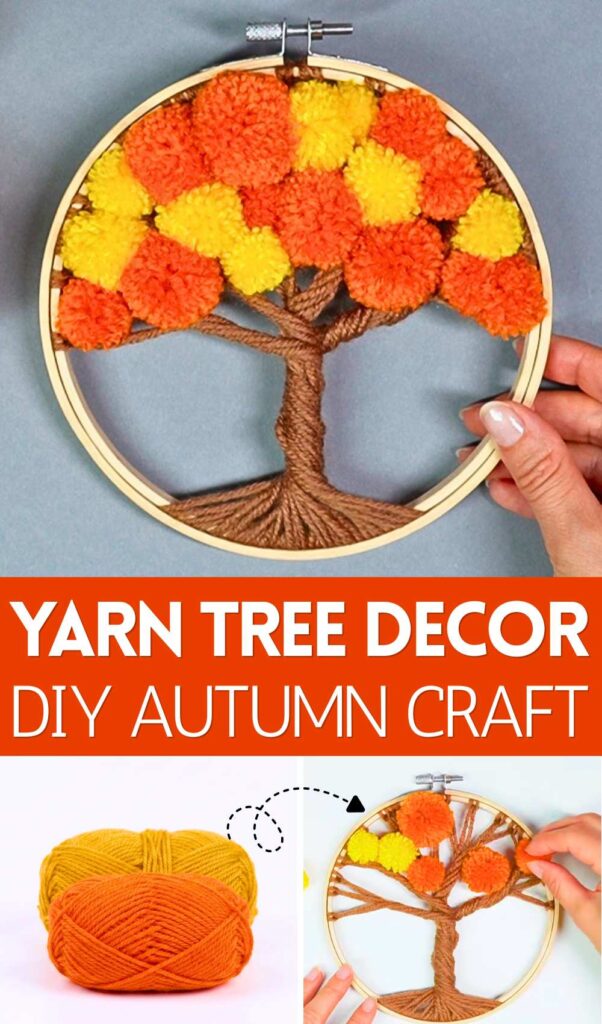
It is named the “TREE OF LIFE,” and the charm this autumn tree wreath offers makes it deserve that name. You can easily finish making your autumn wreath within 30 minutes.
This easy and beautiful decoration that will suit any interior. And fall is around the corner, so be sure you make this yarn project for your room as well. This is a stress-free make that needs a small amount of yarn. You can also turn it into a rainbow yarn. Below, you will also find a video tutorial.
[ez-toc]
Tree of Life Autumn Tree Wreath Tutorial
Skill Level: Intermediate (working with the wooden embroidery hoop, making pom poms, knotting and gluing).
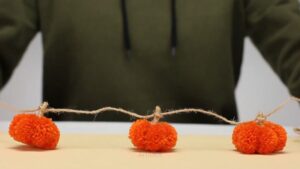
Pom pom variation: Small Sphere + yarn wrappings (unfinished)
Materials Needed
The following are the materials & tools needed for making this quick autumn tree plush:
- Cotton + acrylic blend yarn in orange, yellow, and brown
- Sharp scissors
- Wooden Hoop
- Pom pom clover maker/cardboard base/fingers
- Hot glue gun with glue sticks
Are you a beginner?
Better learn pom pom making and assembling this yarn fall tree with the following tutorial:
Detailed Guide
Step-by-Step Instructions
1. Prepare the Yarn Strands
- Separate the inner and the outer wooden hoops.
- Start by unwinding a long piece of brown yarn from your skein.
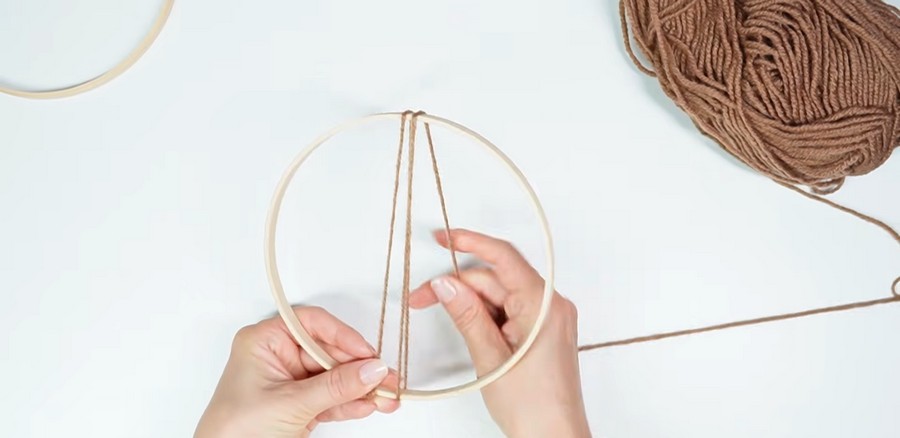
- Around the inner hoop, wrap the brown yarn 2 times.
-
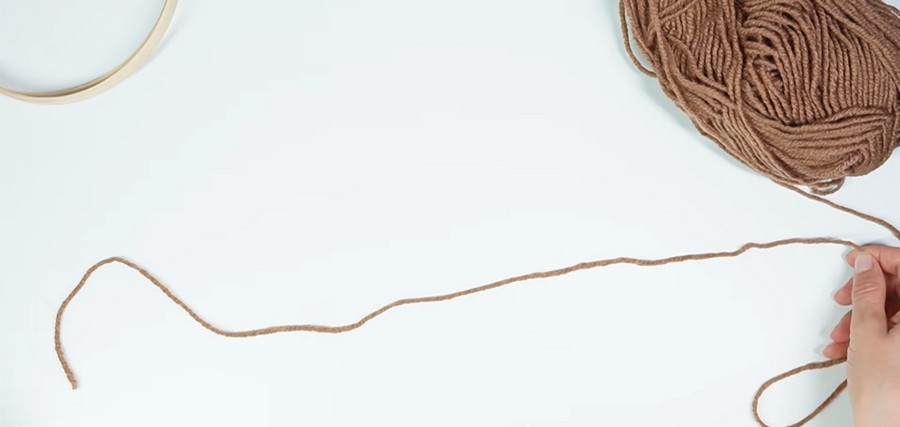
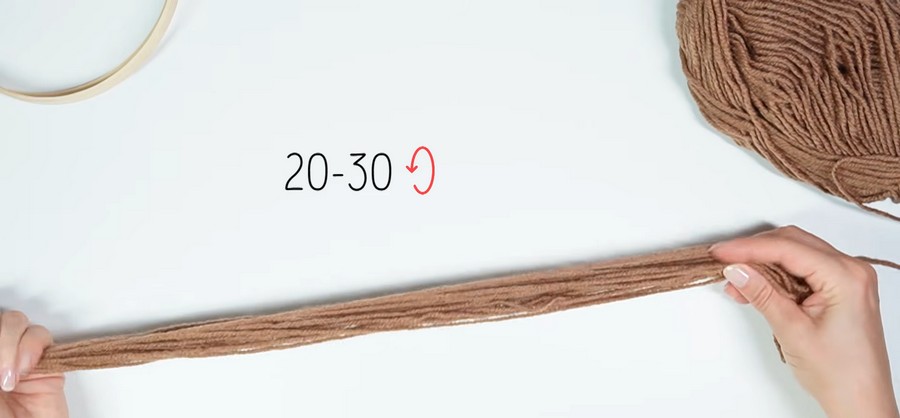
Loop this same length back and forth until you have gathered a thick bundle of 20 to 30 loops.
-
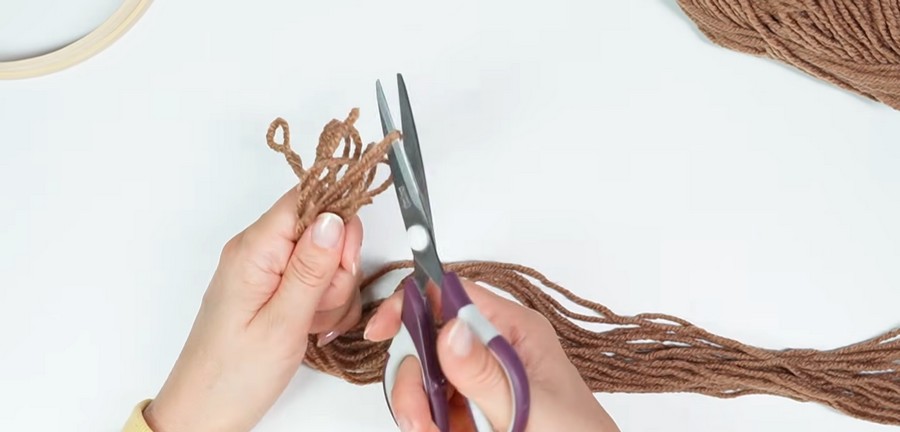
Using a pair of scissors, cut completely through one end of the loops to create long, individual strands of yarn.
-
Take the cut bundle and fold it evenly in half so that there is a clean loop at the top.
2. Attach the Yarn to the Hoop
-
Take 1 folded yarn and drape the looped end over the top of the inner wooden embroidery hoop.
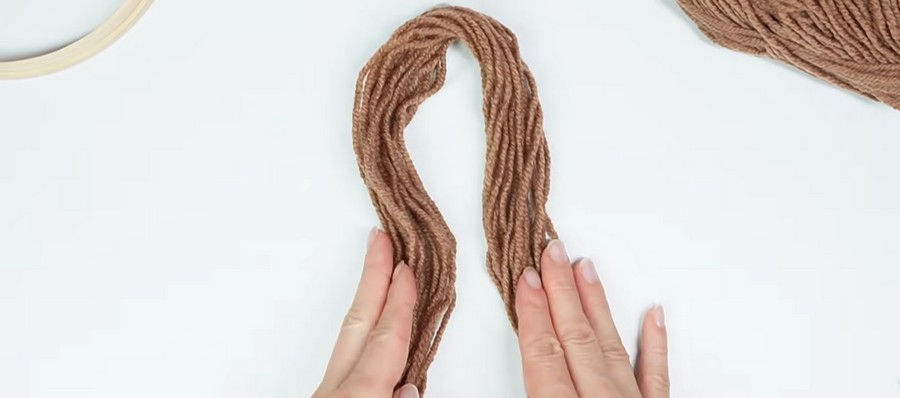
-
Pull the loose, hanging ends of the yarn tightly through the loop to create a knot, securing it firmly to the hoop.
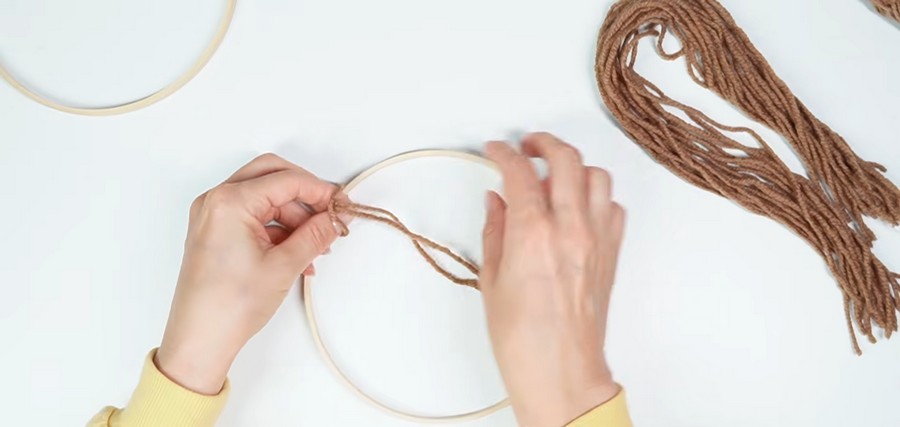
-
Repeat this knotting process, tying more bundles of yarn directly next to the previous ones.
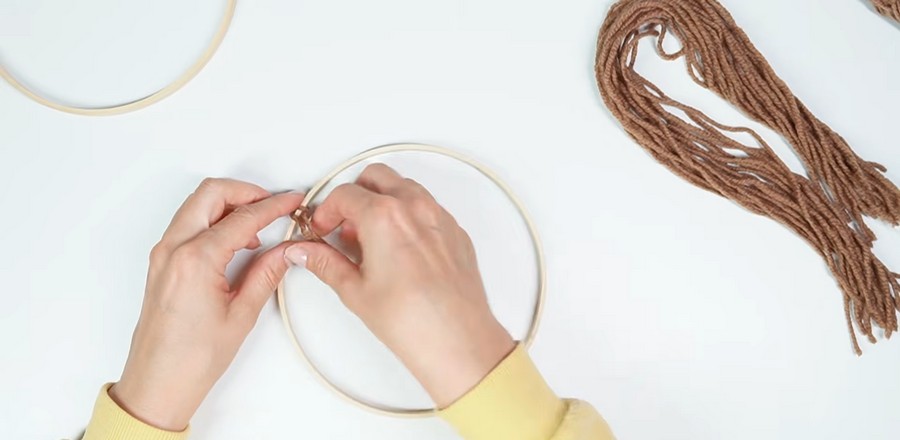
-
Continue filling the top curve of the hoop until you have a thick section of strands hanging straight down across the circle.
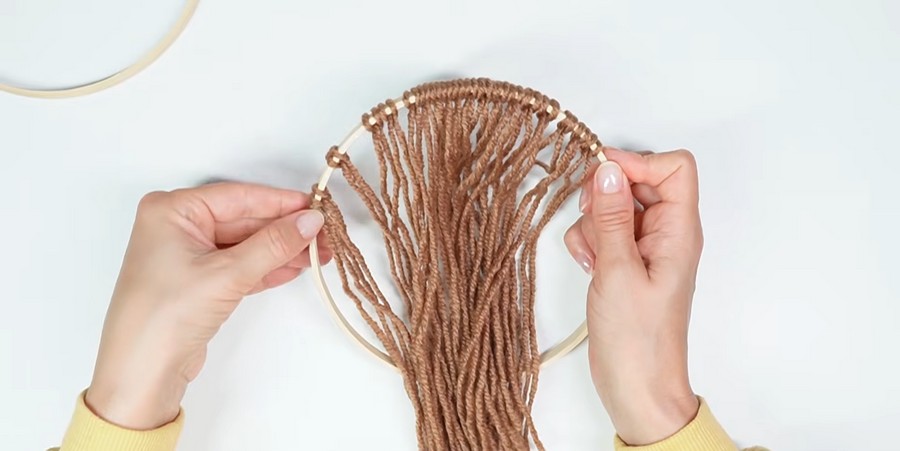
Separate all of the knotted strands so they are easy to work with. Pull each knot firmly to tighten it before you begin twisting.
Working from left to right, divide the strands into groups and twist each group tightly in the same direction.
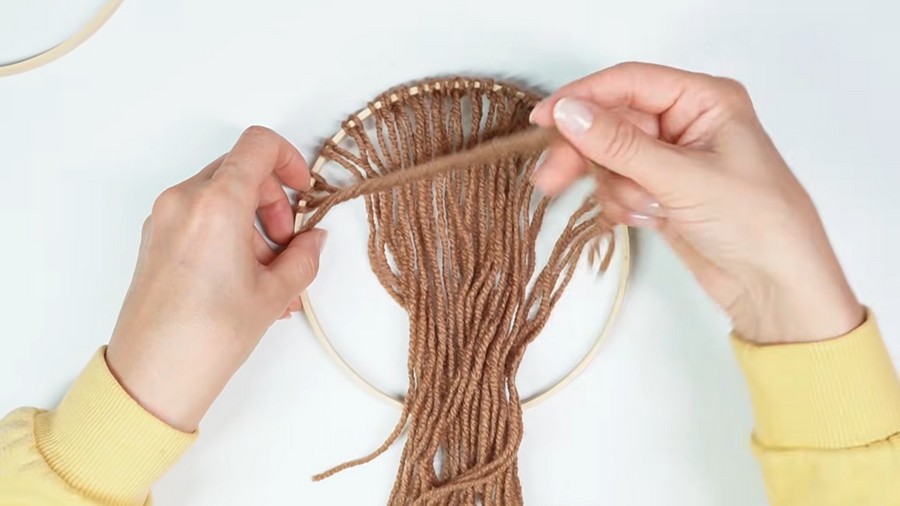
Create the twists in the following order:
-
- 1st twist: Twist 3 strands together.
- 2nd twist: Twist 3 strands together.
- 3rd twist: Twist 4 strands together.
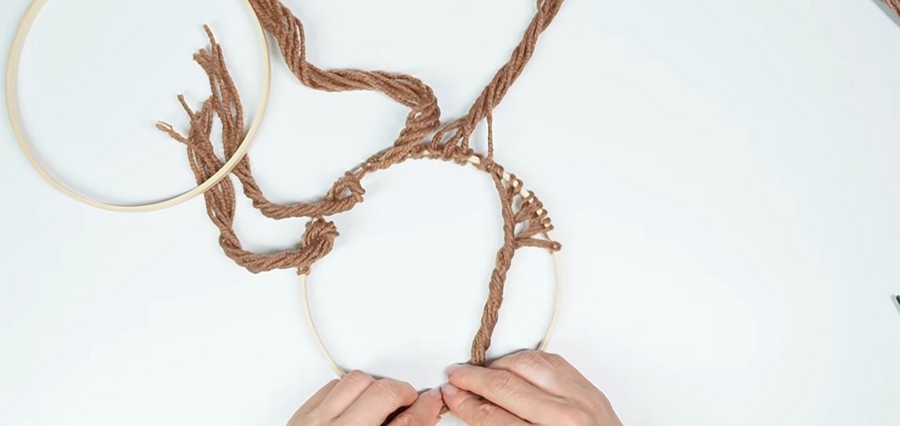
-
- 4th twist: Twist 4 strands together.
- 5th twist: Twist 4 strands together.
- 6th (last) twist: Twist the remaining 3 strands together.
After completing all six twists, temporarily secure each one beneath the outer hoop, placing it on the left side as you work to keep everything organized.
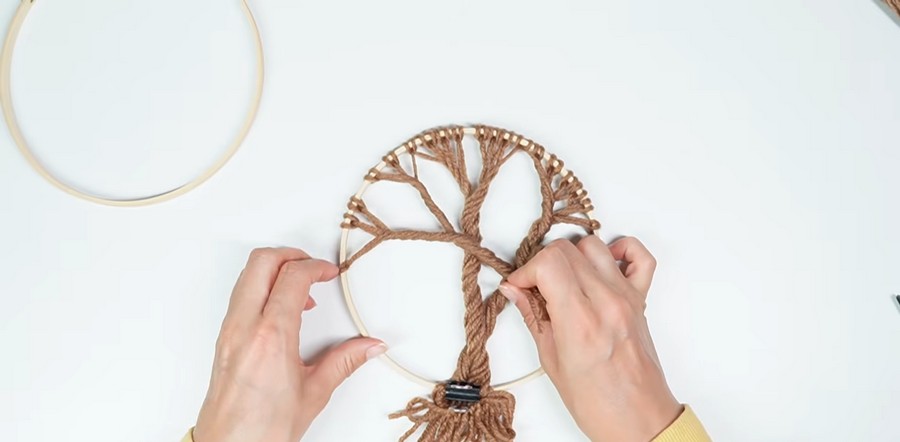
Take the last and second-to-last twists and wrap them around each other inside the hoop. Pin them together at the bottom to hold them in place.
Next, wrap the third-to-last and fourth-to-last twists around each other. Secure them at the bottom in the same position as the first pair.
Wrap the remaining two twists on the left around each other to complete the arrangement.
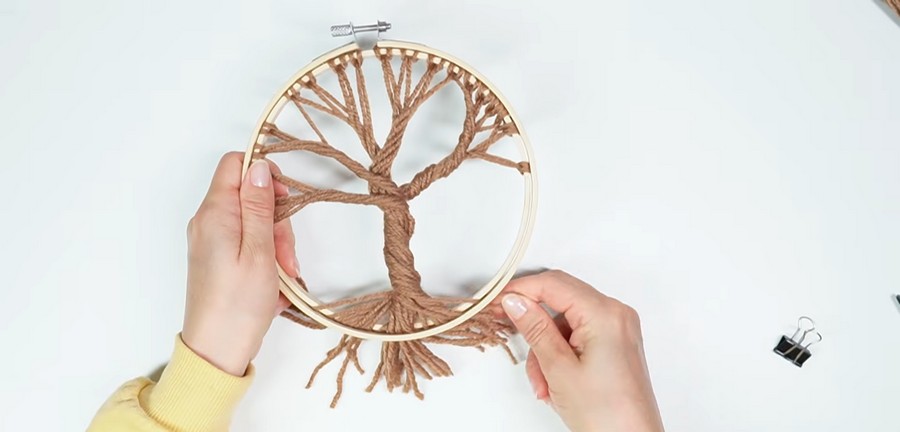
Remove the temporary pin, then gather all of the twisted sections together and twist them into a single, larger twist. Leave the decorative looped sections (barcens) extending neatly from the top.
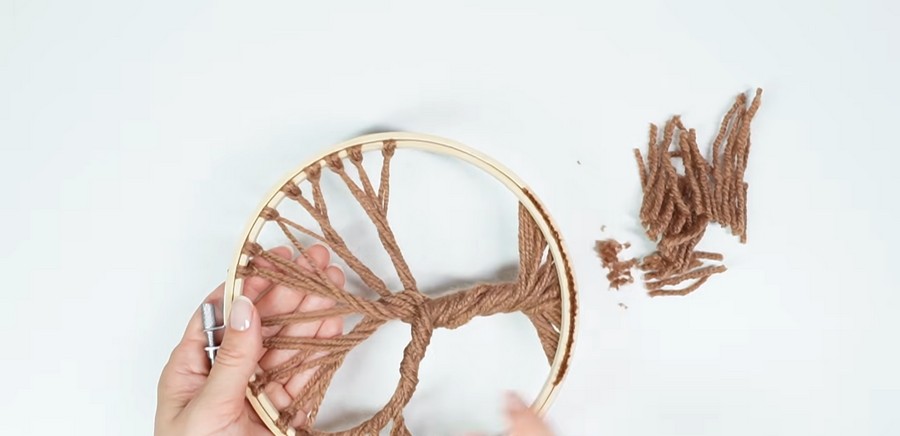
Secure the entire arrangement by reassembling and tightening the hoop, so it firmly holds all of the twisted strands in place.
Trim away any excess cord or loose ends to give the finished piece a clean, neat appearance.
Making and Attaching the Pom-Poms
- Take the orange yarn and wrap it around the hoop 30 times.
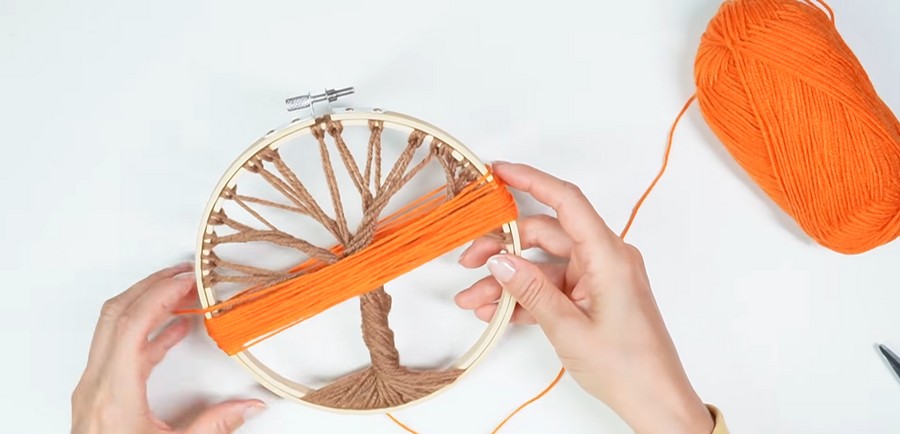
- Carefully slide the wrapped yarn off the hoop and tie a tight knot around the center, positioning the knot at approximately one-fifth (1/5) of the bundle’s length instead of directly in the middle.
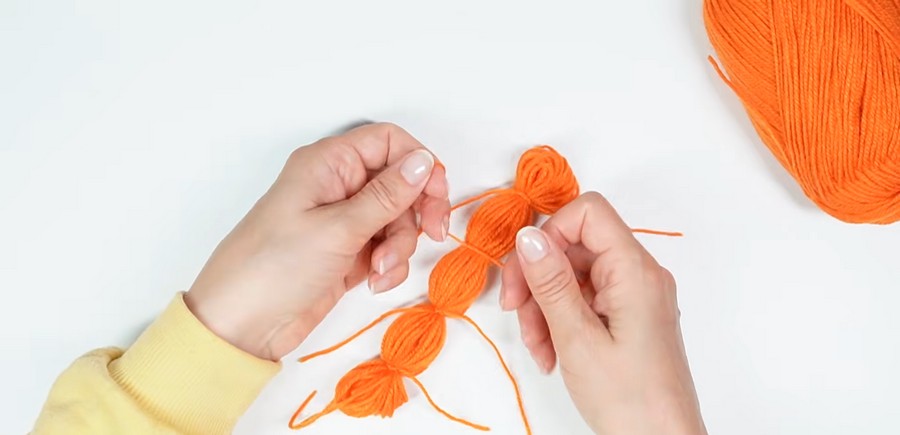
- Cut through the loops at both ends of the bundle to create a small pom-pom. Trim the strands evenly until the pom-pom is round and fluffy.
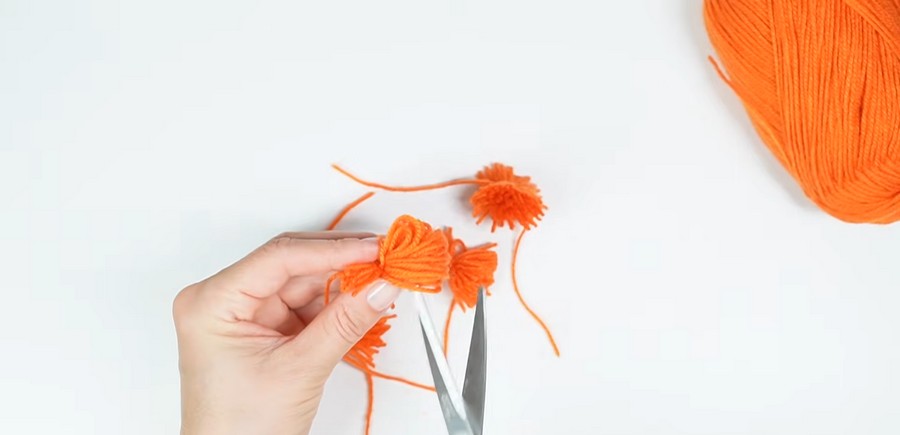
- Repeat this process to make 4 small orange pom-poms.
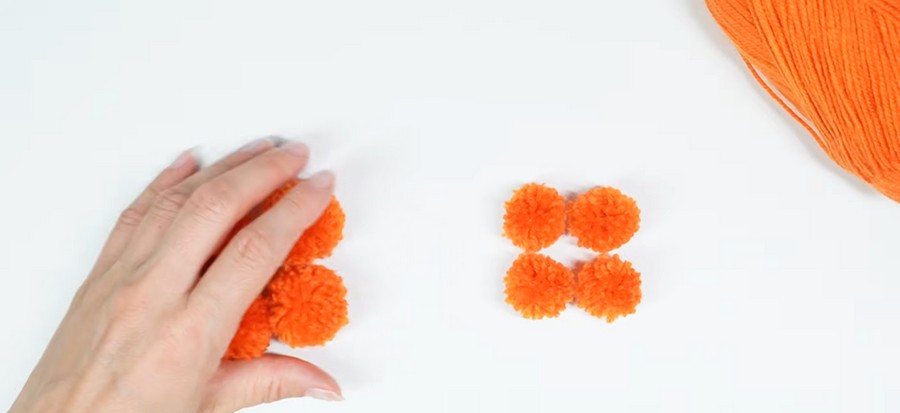
- Next, make 4 larger orange pom-poms by wrapping the yarn 60 times around the hoop. Tie, cut, and trim them using the same method.
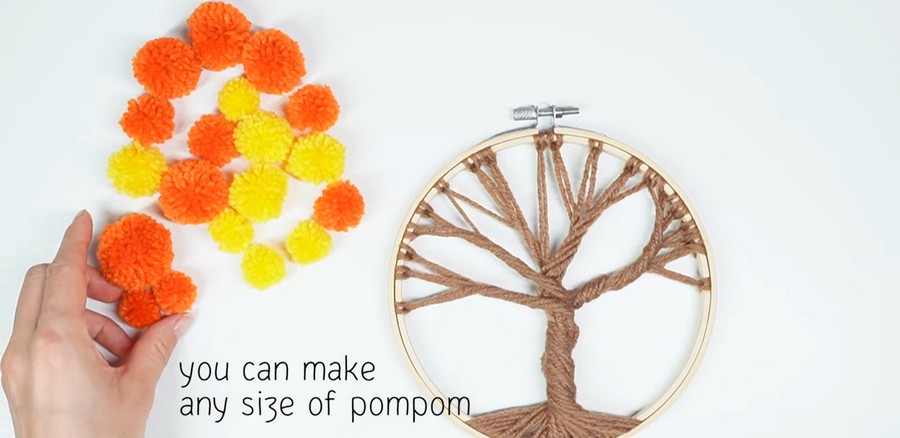
- Repeat the entire process with yellow yarn, making the same number of small and large pom-poms.
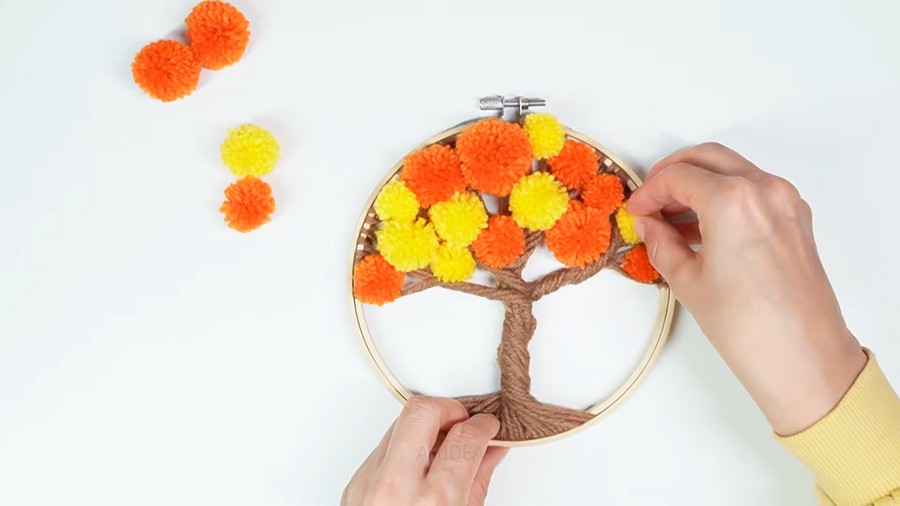
- Once all of the pom-poms are finished, use hot glue to attach them throughout the branches of the tree. Alternate the colors and sizes to create a balanced, full, and colorful appearance. Hold each pom-pom in place for a few seconds until the glue sets securely.

About "Art IDEA"
She will help you make different beautiful things, crafts, gifts, décor and more that can be useful for room décor or as gifts for loved ones and friends.