
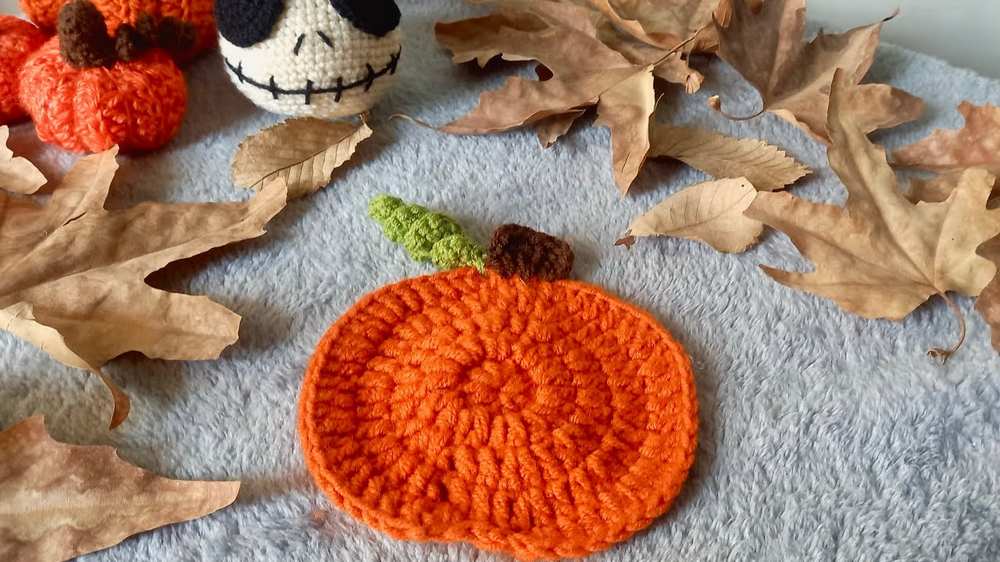
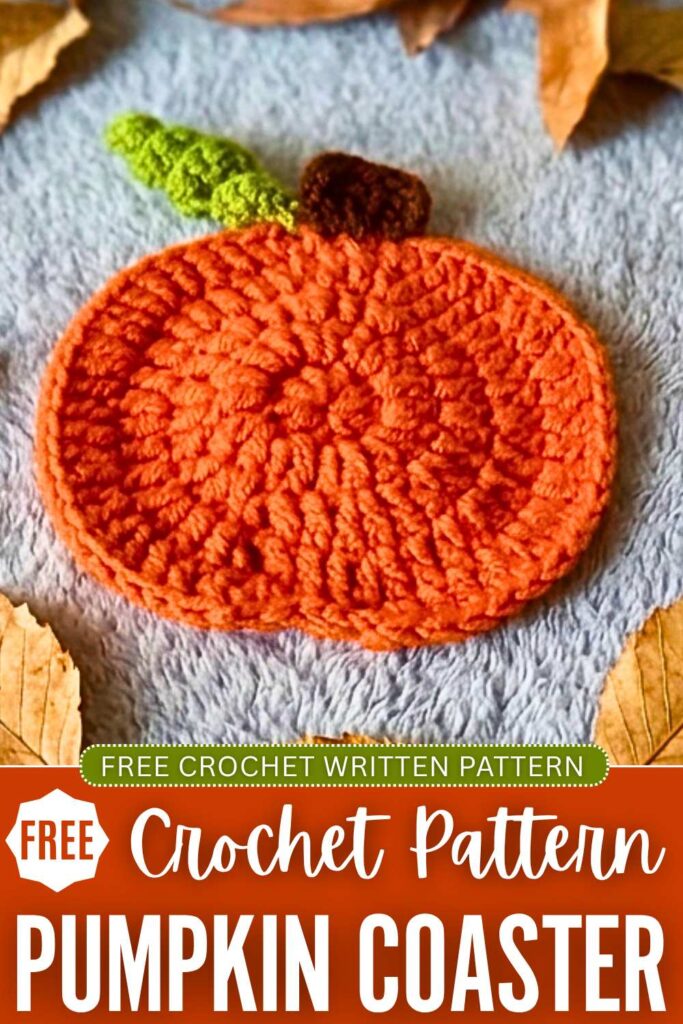
Learn how to crochet a 5-round fall pumpkin coaster with this FREE pattern for absolute beginners. This 20-minute autumn project can make your coffee table ready to welcome the fall in your home. It also has a crochet curly pumpkin wine and a small brown stem, too. It has a NICE flat pumpkin shape that you will learn to crochet in this tutorial.
You can also crochet a small pumpkin applique following this pattern in two rounds and add it to a fall bunting. It is the best functional decoration for the upcoming fall.
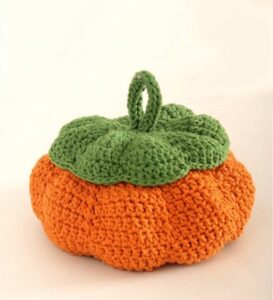
If you are looking for an amigurumi fall pumpkin, I have shared two patterns, including the ribbed pumpkin and the big pumpkin amigurumi. You can also customize this crochet pumpkin coaster pattern for Halloween by adding the jack-o’-lantern embroidery. Now, continue reading for the full pumpkin pattern.
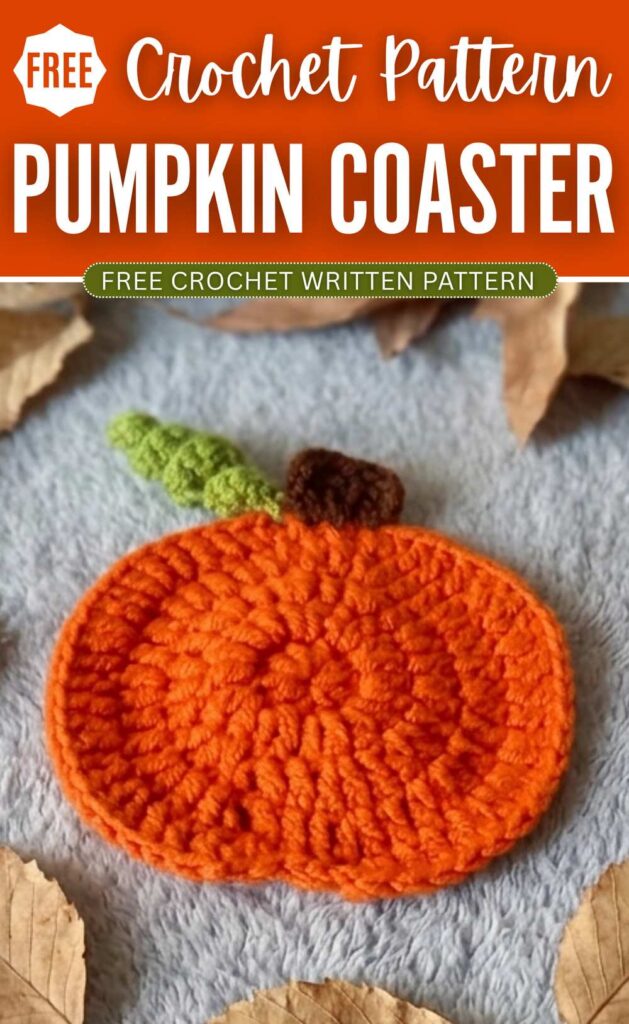
Crochet Pumpkin Coaster Pattern: Written Instructions
Hello! In this post, you will learn how to make a pumpkin coaster. It is functional. It is perfect for fall decor.
We will use yarn. We will use a crochet hook. You will make a circle. Then you will add shape to the circle. Then you will add a stem. It is very easy. It is friendly for beginners. Let us get started.
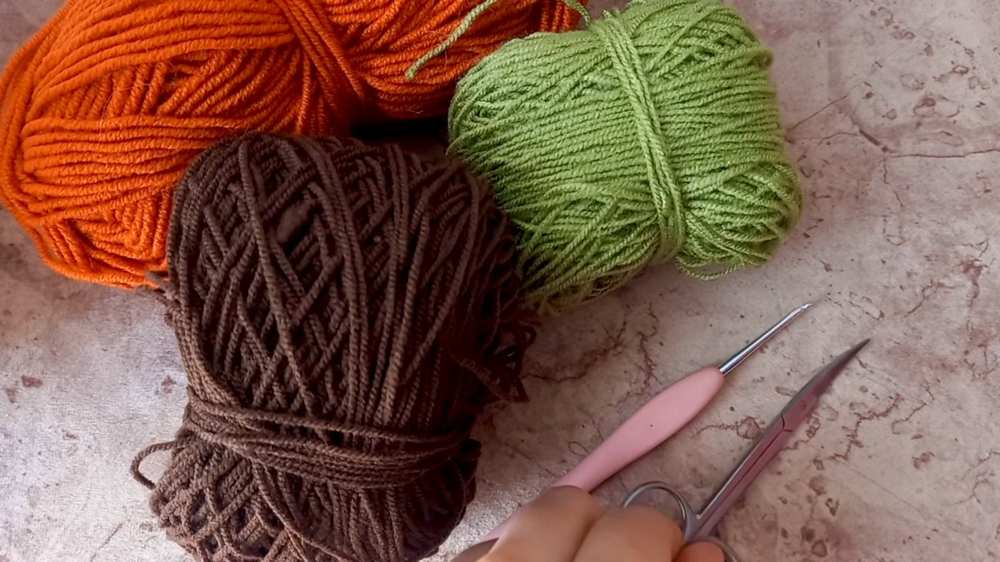
Materials You Will Need
To make this project, you need the following things. Make sure you have all of these before you start.
- 5mm Crochet Hook: This is the perfect size for this project.
- Two Colors of Yarn: You need medium-weight yarn. You need one color for the main pumpkin. You need a second color for the stem.
- Scissors: You will need scissors to cut the yarn when you are done.
- Darning Needle: You need this to weave in your loose yarn ends at the very end.
Abbreviations Used
This pattern uses common US crochet terms. Here is what the short words mean:
ch: chain sl st: slip stitch sc: single crochet hdc: half double crochet dc: double crochet inc: increase (this means you put two stitches into the exact same spot)
Step-by-Step Crochet Pattern
Round 1: Making the Center
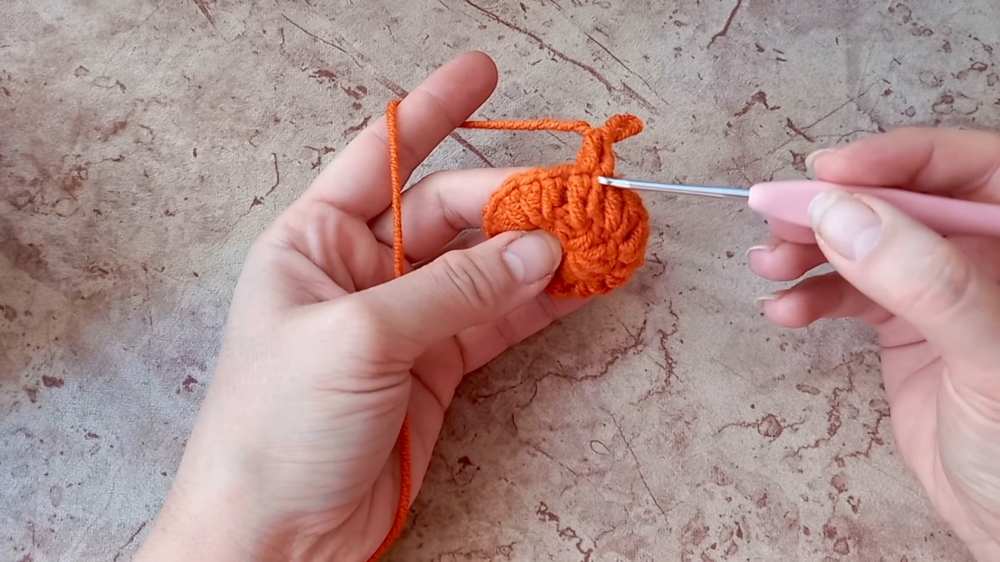
First, you need to start with your main pumpkin color yarn and your 5mm crochet hook.
Make a Magic Circle.
Chain 3. This chain 3 will count as your very first double crochet stitch for this round.
Now, you are going to put 11 double crochets (dc) directly inside your magic circle. Keep in mind that you should be crocheting over the tail of your yarn.
You will have 12 total stitches in this round, counting the chain 3 from the beginning.
Pull the tail of your magic circle to close the hole tightly.
Slip stitch (sl st) into the top of the chain 3 you made at the beginning to close the round.
Round 2: Making it Bigger
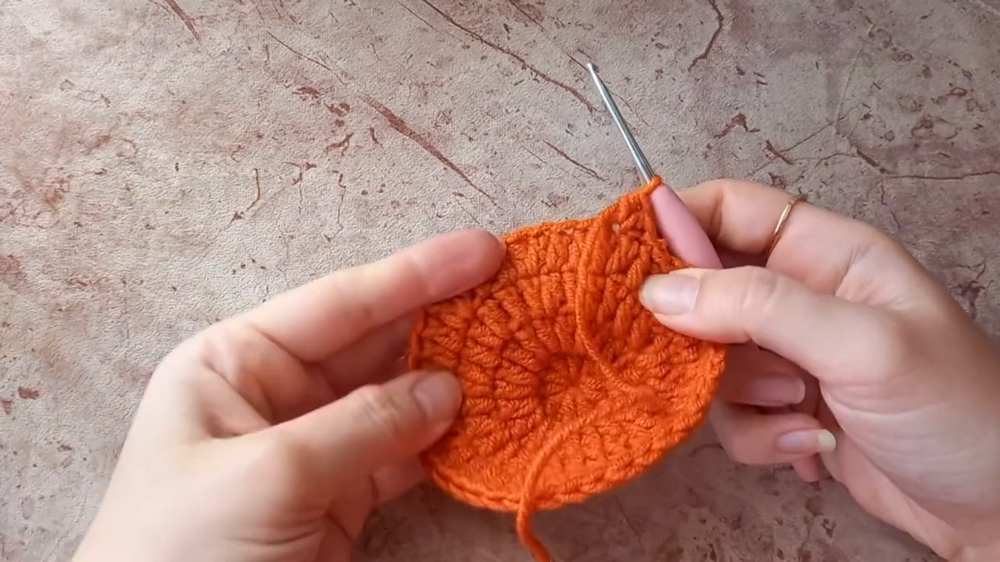
Chain 3. Every new round will start with a chain 3.
Now, you will do an increase (inc) in every single stitch around the circle. Since the chain 3 counts as one stitch, do 1 double crochet (dc) into the exact same spot where you just did your slip stitch.
Move to the next stitch. Do 2 double crochets (dc) into that stitch.
Repeat this all the way around. Put 2 double crochets into every single stitch.
When you finish, you must count your stitches. You should have 24 total stitches. We doubled the amount from the first round.
Slip stitch (sl st) into the top of the chain 3 to close the round.
Round 3: Forming the Pumpkin Shape
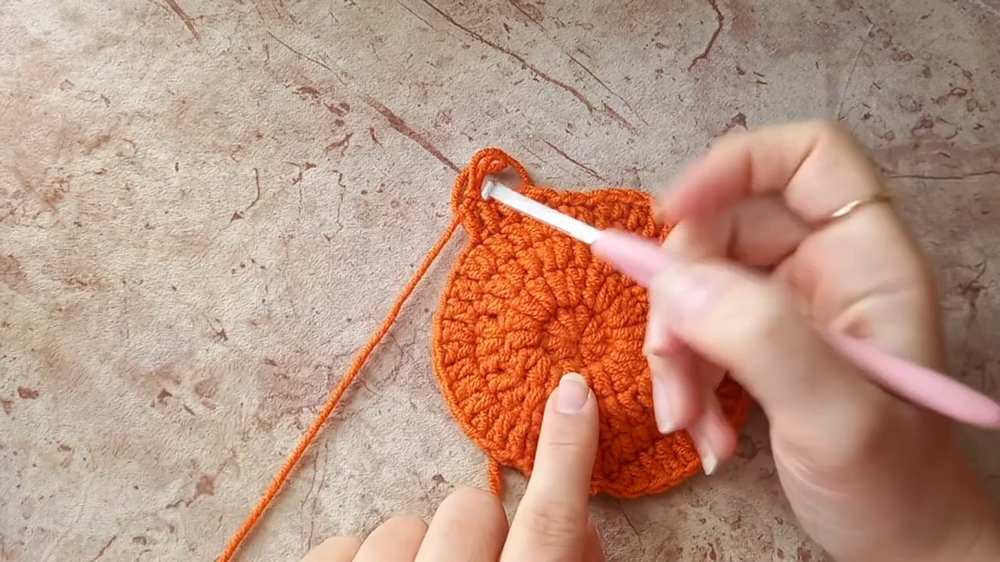
This is where we change the circle into a pumpkin shape. Follow closely!
Chain 3 to start the round.
In the next stitch, do a double crochet increase (dc inc).
In the next stitch, do 1 double crochet (dc).
In the next stitch, do a double crochet increase (dc inc).
In the next stitch, do 1 half double crochet (hdc).
In the next stitch, do a single crochet increase (sc inc).
In the next stitch, do 1 single crochet (sc).
In the next stitch, do a half double crochet increase (hdc inc).
For the next part, you will repeat a set. The set is: 1 double crochet (dc), then 1 double crochet increase (dc inc). You will do this set 4 times in a row.
In the next stitch, do 1 half double crochet (hdc).
In the next stitch, do a single crochet increase (sc inc).
In the next stitch, do 1 single crochet (sc).
In the next stitch, do a half double crochet increase (hdc inc).
To finish the round, you will repeat another set. The set is: 1 double crochet (dc), then 1 double crochet increase (dc inc). You will do this set 2 times in a row.
Count your stitches. You should have a total of 36 stitches. You will see the pumpkin shape forming. The top and bottom will look cinched, and the sides will be wider.
Slip stitch (sl st) into the top of the chain 3 to close the round.
Round 4: Finishing the Pumpkin Shape
Chain 3 to start the round.
In the next stitch, do 1 double crochet (dc).
In the next stitch, do a double crochet increase (dc inc).
Now, do 1 double crochet (dc) in the next two stitches, and then a double crochet increase (dc inc) in the third stitch.
In the next stitch, do 1 double crochet (dc).
In the next stitch, do 1 half double crochet (hdc).
In the next stitch, do a single crochet increase (sc inc).
In the next stitch, do 1 single crochet (sc).
In the next stitch, do 1 half double crochet (hdc).
In the next stitch, do a double crochet increase (dc inc).
For the next part, you will repeat a set. The set is: 1 double crochet (dc) in the next two stitches, then 1 double crochet increase (dc inc). You will do this set 4 times in a row.
In the next stitch, do 1 double crochet (dc).
In the next stitch, do 1 half double crochet (hdc).
In the next stitch, do a single crochet increase (sc inc).
In the next stitch, do 1 single crochet (sc).
In the next stitch, do 1 half double crochet (hdc).
In the next stitch, do a double crochet increase (dc inc).
To finish the round, repeat this set: 1 double crochet (dc) in the next two stitches, then 1 double crochet increase (dc inc). You will do this set 2 times in a row.
Slip stitch (sl st) into the top of the chain 3 to close the round. Fasten off your yarn.
How to Make the Stem
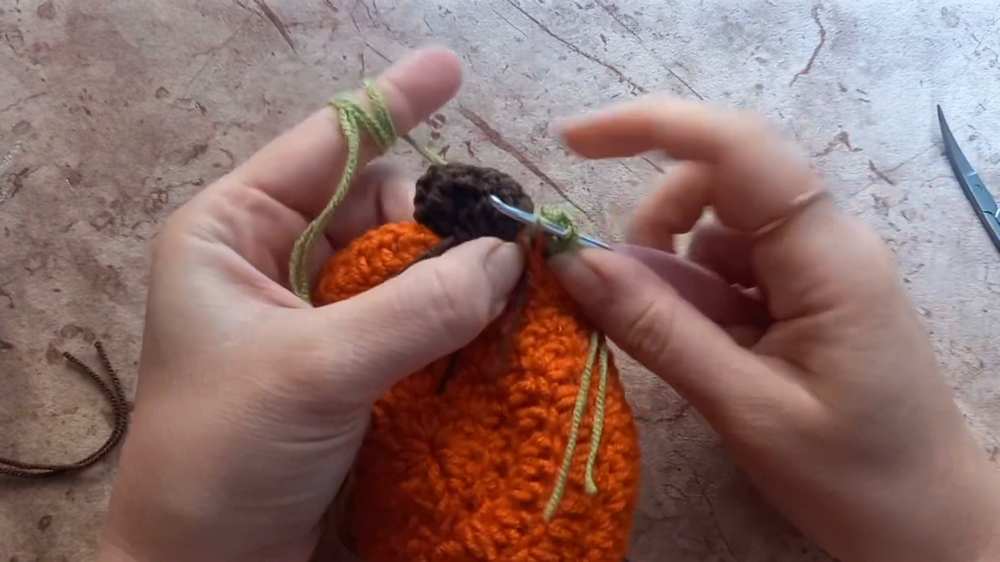
Grab your second color of yarn for the stem.
Look at the top middle of your pumpkin. Find the single crochet increase from the last round. This is the center dip of the pumpkin.
Find the stitch just to the right of the exact middle. Insert your hook into that stitch.
Make a slip knot with your stem color yarn. Put it on your hook and pull it through the stitch.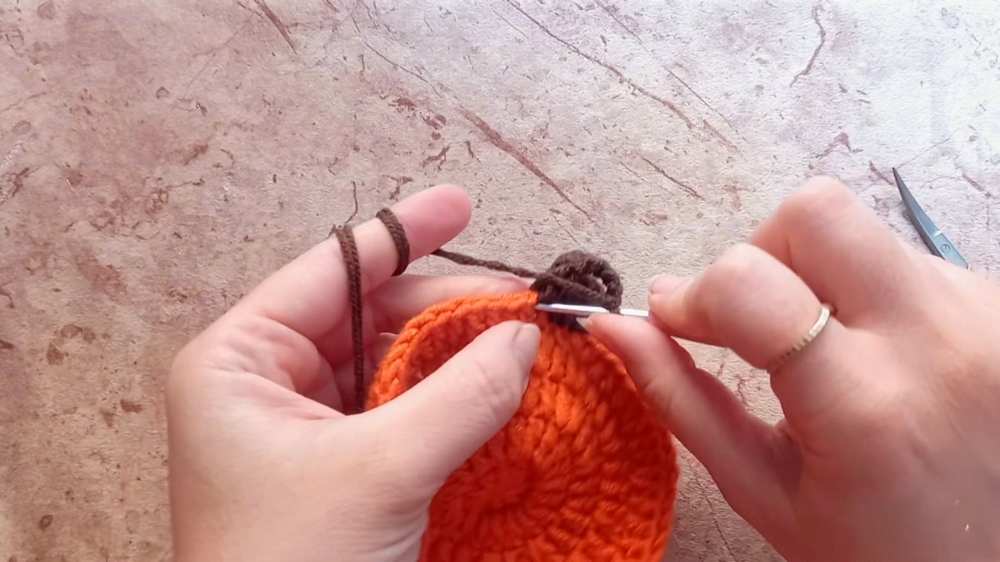
Chain 3.
Look for the second chain from your hook. Do 1 single crochet (sc) into that chain.
Do 1 single crochet (sc) into the next chain.
Now, do a slip stitch (sl st) onto the main pumpkin project, into the next stitch over.
Turn your work.
Do 1 single crochet (sc) into the first stitch on the stem.
Do 1 single crochet (sc) into the second stitch on the stem.
Chain 1, and turn your work again.
Do 1 single crochet (sc) into the first stitch.
Do 1 single crochet (sc) into the second stitch.
Do a slip stitch (sl st) onto the main pumpkin project, into the next stitch over.
Turn your work.
Do 1 single crochet (sc) into the first stitch on the stem.
Do 1 single crochet (sc) into the second stitch on the stem.
Chain 1 and fasten off your yarn. Pull on the stem a little bit to stretch it out and shape it.
Finishing Your Coaster
Your project is almost done!
Take your darning needle. Thread your loose yarn tails into the needle.
Weave all the loose ends into the back side of your work to hide them. Cut off any extra bits of yarn with your scissors.
Vine:
Change to green. Make a chain of 13. You can make your chain as long or as short as you want to change the size of the corkscrew.
Step 2: Working the Stitches
Now, you will work back across the chain.
In the second chain from your hook, make 3 single crochet (sc) stitches.
Continue down the chain. Make 3 single crochet (sc) stitches into every single chain stitch all the way back to the beginning.
As you work, the yarn will naturally start to spiral and form the corkscrew design.
Your pumpkin coaster is now completely finished and ready to use!
Learn with the Video Tutorial
Save for Later!

About "Talha"
Hey, I’m Talha, the Crafter on Craftstive.com. I love to share guides on folding cute origami models and paper crafts, and I am always ready to inspire your next craft project with my weekly craft discussions.