Subscribe to TutaCuteArt!
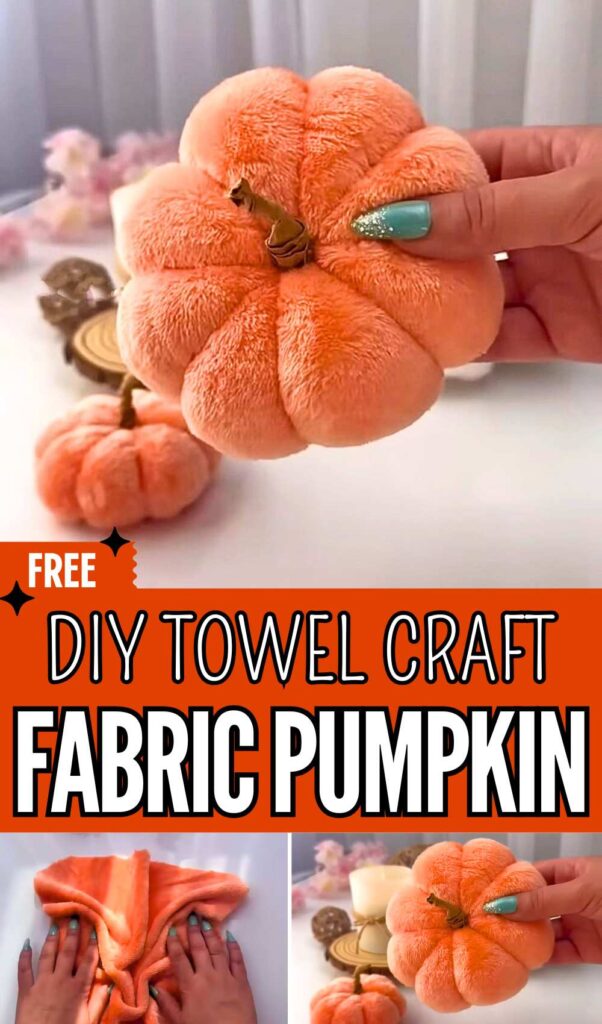
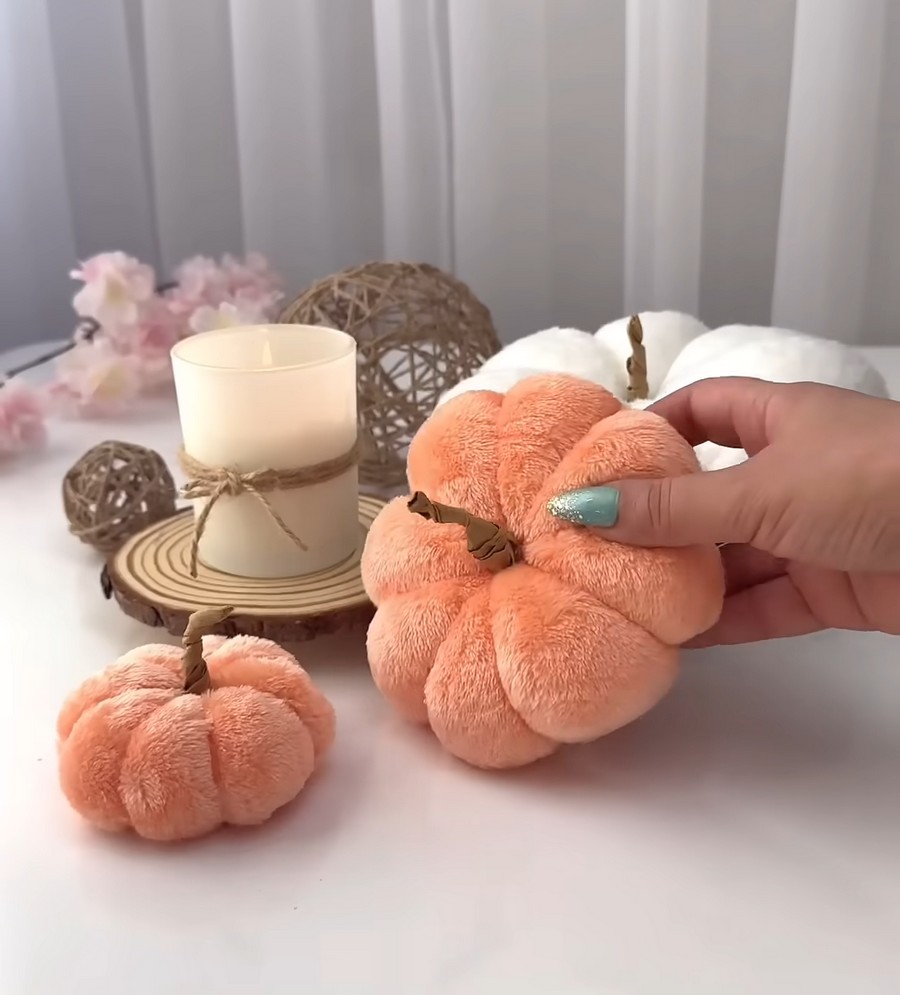
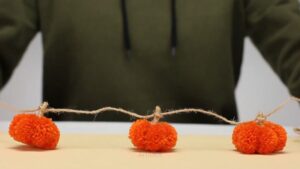
Learn how to DIY at home a cozy, soft, and low-sew fall pumpkin plush & pillow with this towel-folding tutorial. You can make this pumpkin plush in any size, using felt scraps for a keychain pumpkin or a square microfiber towel for a large fall decoration pumpkin. This idea is quite similar to a crochet pumpkin except that you don’t have to follow a pattern.
Just cut the towel in a circular shape, needle-sew all around, fill in the stuffing, and add pumpkin plush ridges using thread! You can also use the velvet fleece to make your pumpkin, and that’s what will be used in the demonstration.
Velvety Fall Pumpkin Decor
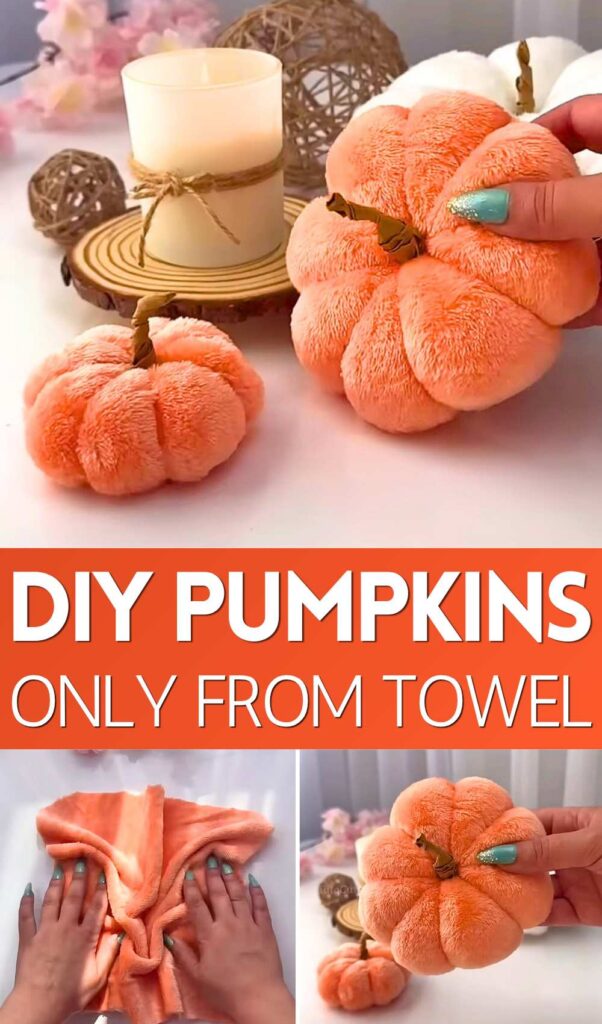
You can choose from the orange, purple, light green, or fall yellow color for your towel and polyester pumpkin plush. You can also attach a cardboard-scrap stem to your pumpkin or make it by rolling a piece of brown fabric. Now, continue reading to learn how to make this pumpkin plush in detail!
Are you a beginner?
Easily and quickly learn by making this cozy fall pumpkin
How to DIY a Perfect Fall Pumpkin Plush: Step-by-Step Instructions
Here is a full guide to crafting a velvet pumpkin plush. You can use fabric scraps and make a charming addition to any seasonal display, especially for Halloween decorations.
Materials Needed
-
Velvet Fabric: One 20cm by 20cm square.
-
Thread: Strong, heavy-duty thread (upholstery or embroidery thread works best) and a sewing needle.
-
Stuffing: Polyester fiberfill (polyfill).
-
Stem: One aged small branch.
-
Tools: Fabric scissors and a hot glue gun.
Step 1: Shape the Fabric
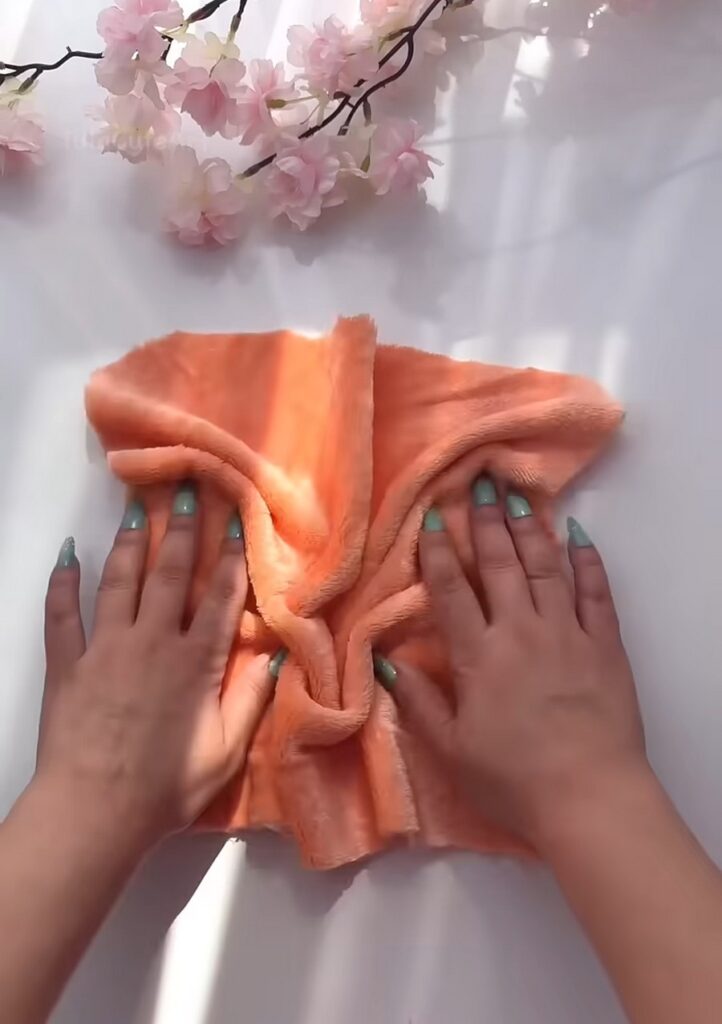
To begin, you will transform your square cloth into a perfect circle, which forms the base of the pumpkin.
-
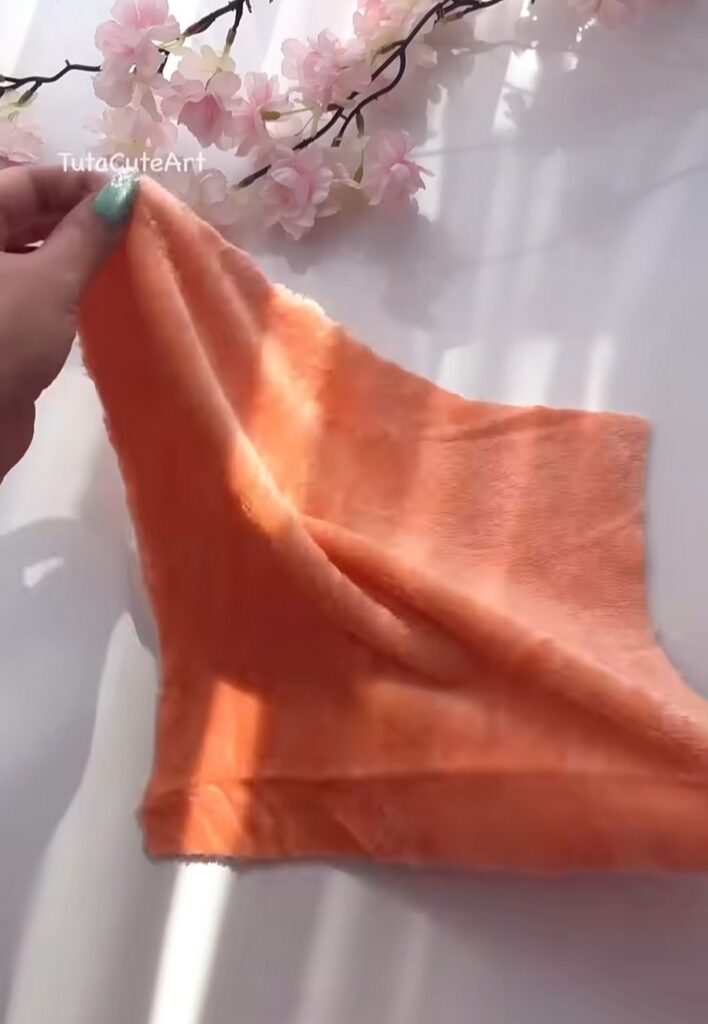
Fold the square: Lay your 20cm by 20cm velvet cloth flat. Fold it in half diagonally to form a triangle.
-
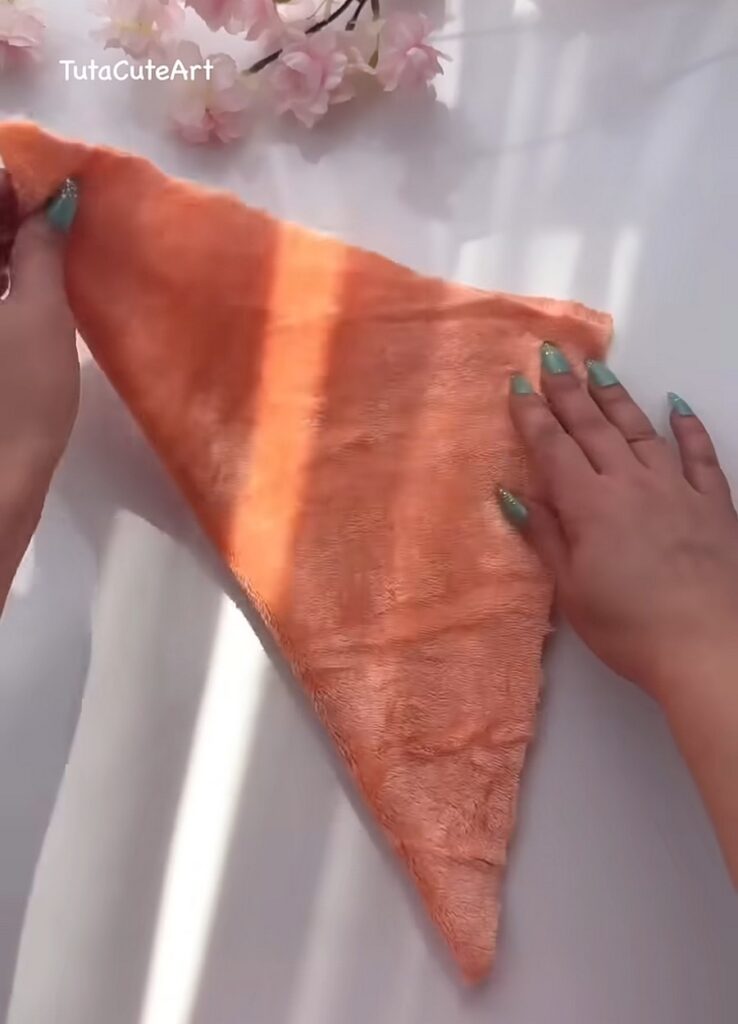
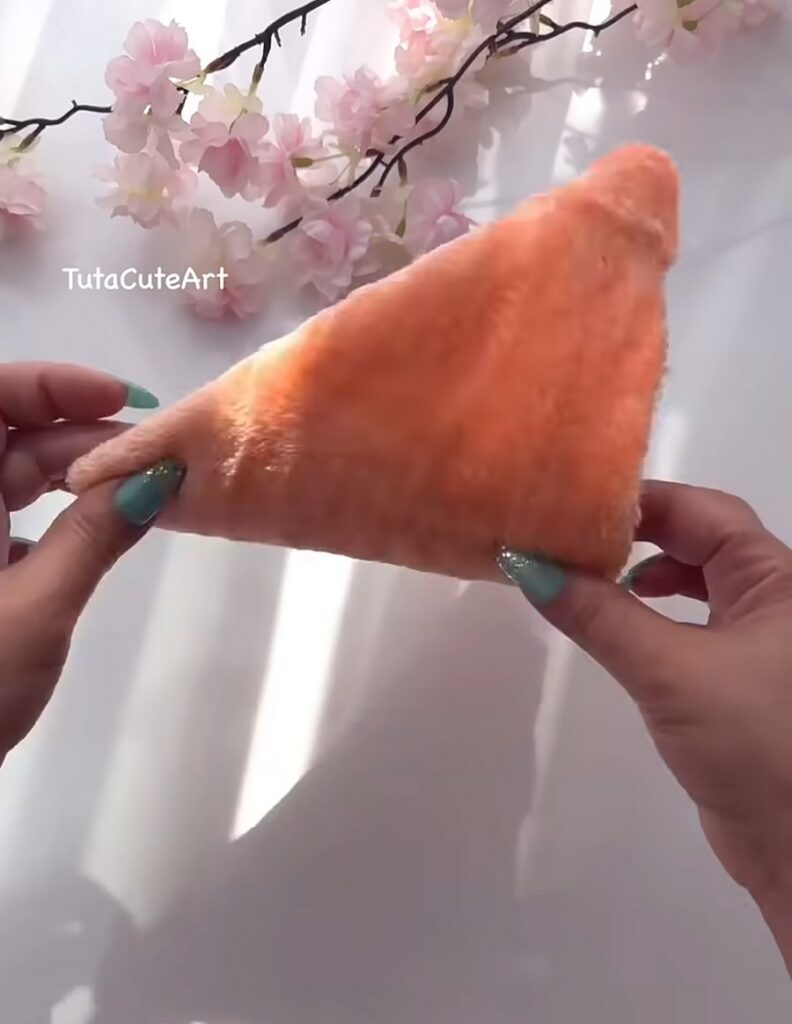
Fold again: Fold the triangle in half again, bringing the corners together to create a smaller, thicker triangle.
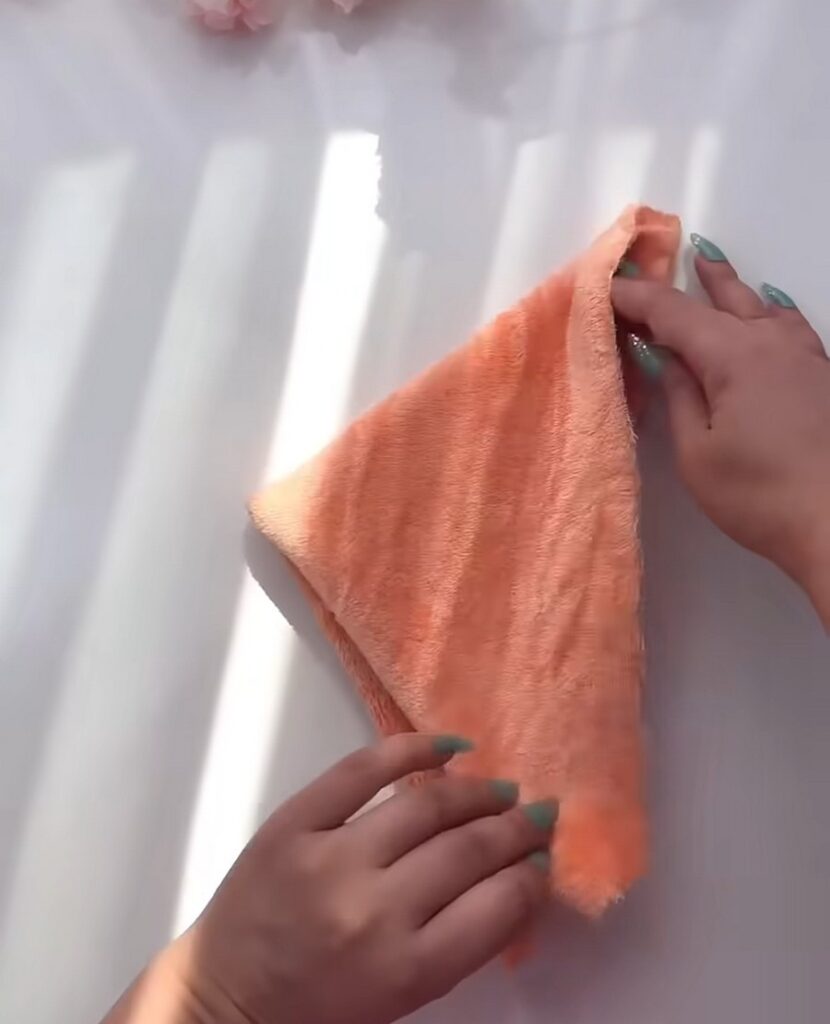
- Fold again: Fold the triangle in half again, bringing the corners together to create a smaller, thicker triangle.
-
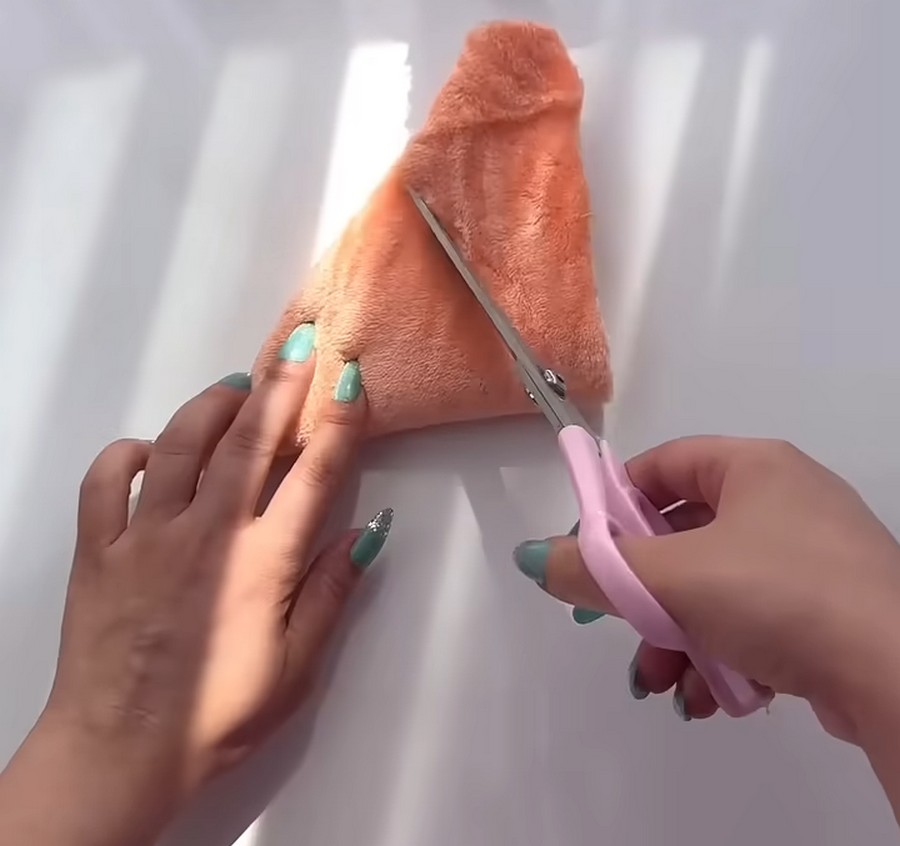
Trim the edge: Hold the folded point securely. Using sharp fabric scissors, cut a curved line across the wide bottom edge of the triangle.
-
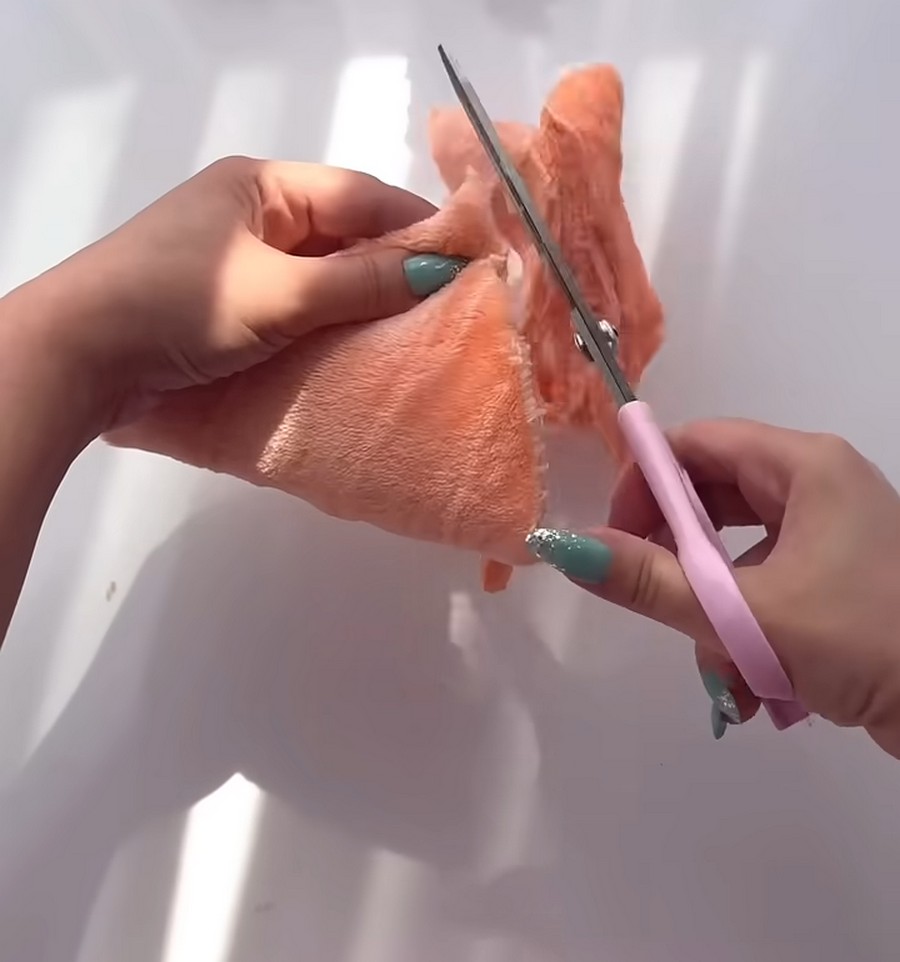
Unfold: When you open the fabric, you will now have a neat, symmetrical circle.
Step 2: Create the Pouch
Next, you will gather the edges of your circular fabric to create a hollow pouch for the stuffing.
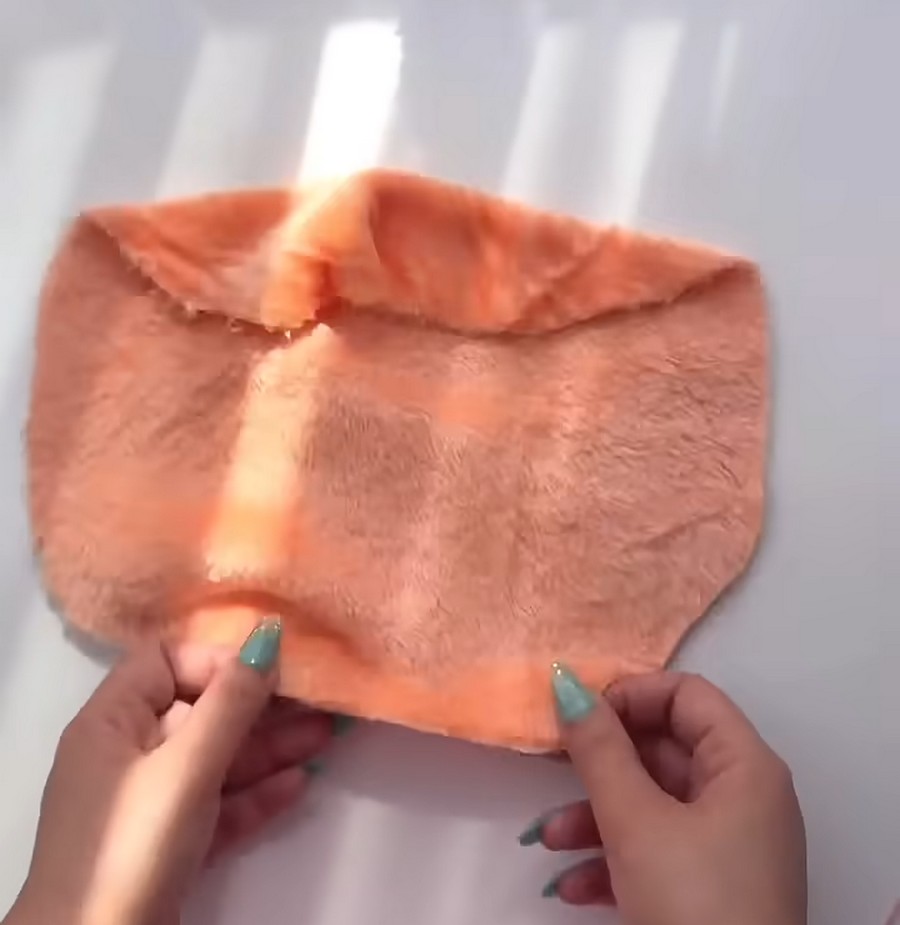
-
Thread your needle: Cut a long piece of your heavy-duty thread and tie a secure knot at the end.
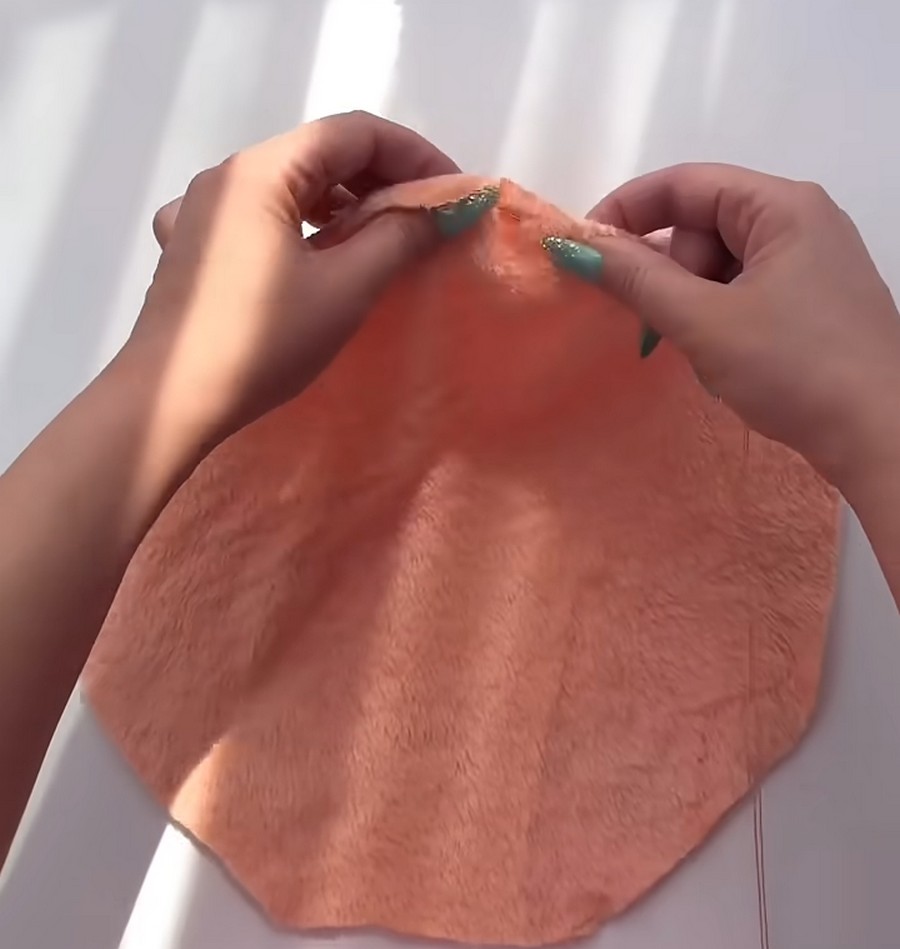
-
Sew the edge: Sew a basic running stitch around the entire outer perimeter of the velvet circle, staying about a quarter-inch away from the raw edge.
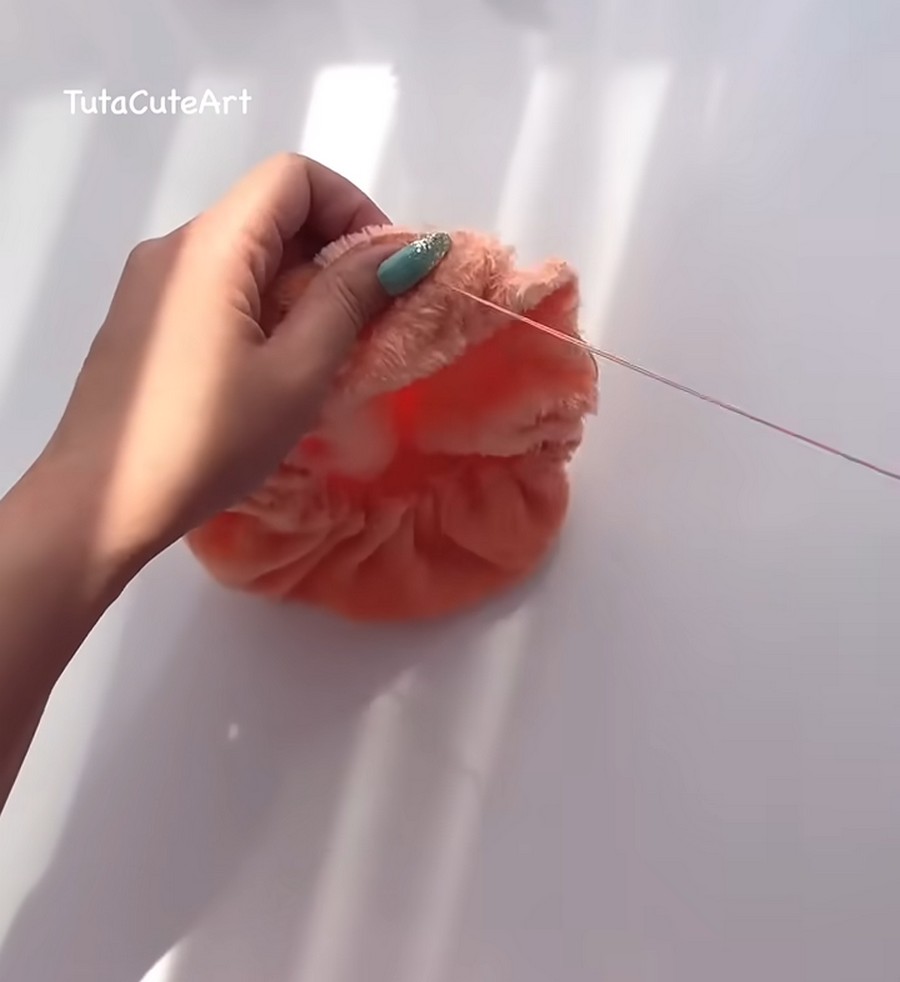
- Leave the thread attached: Do not tie off or cut the thread once you reach your starting point; you will need it to pull the fabric closed.
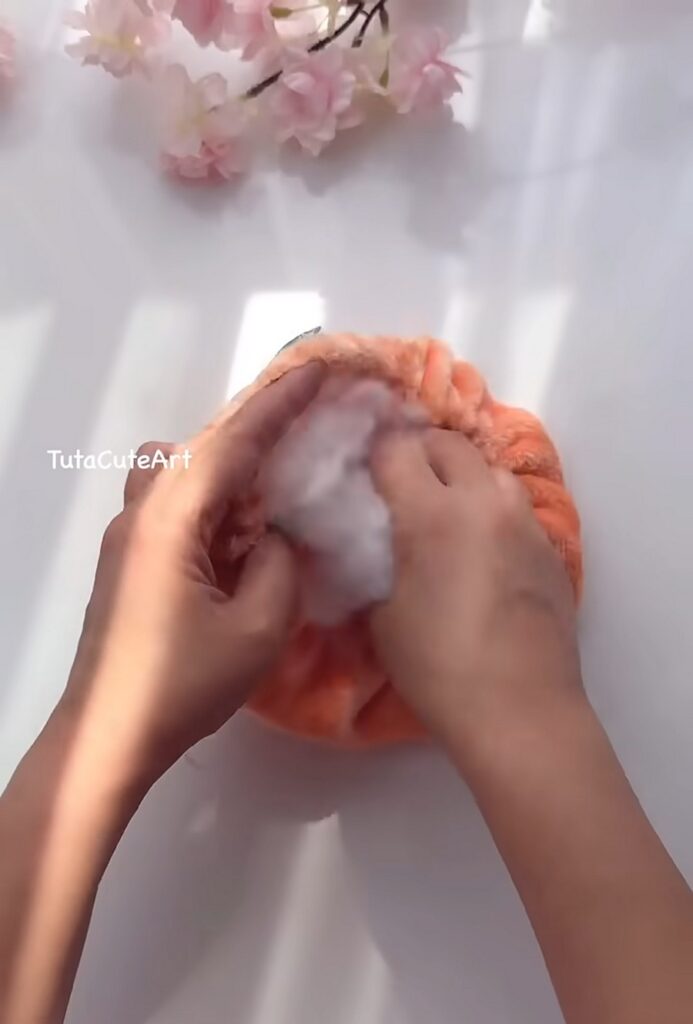
Step 3: Stuff and Seal
Now it is time to give your pumpkin its plush, rounded form.
-
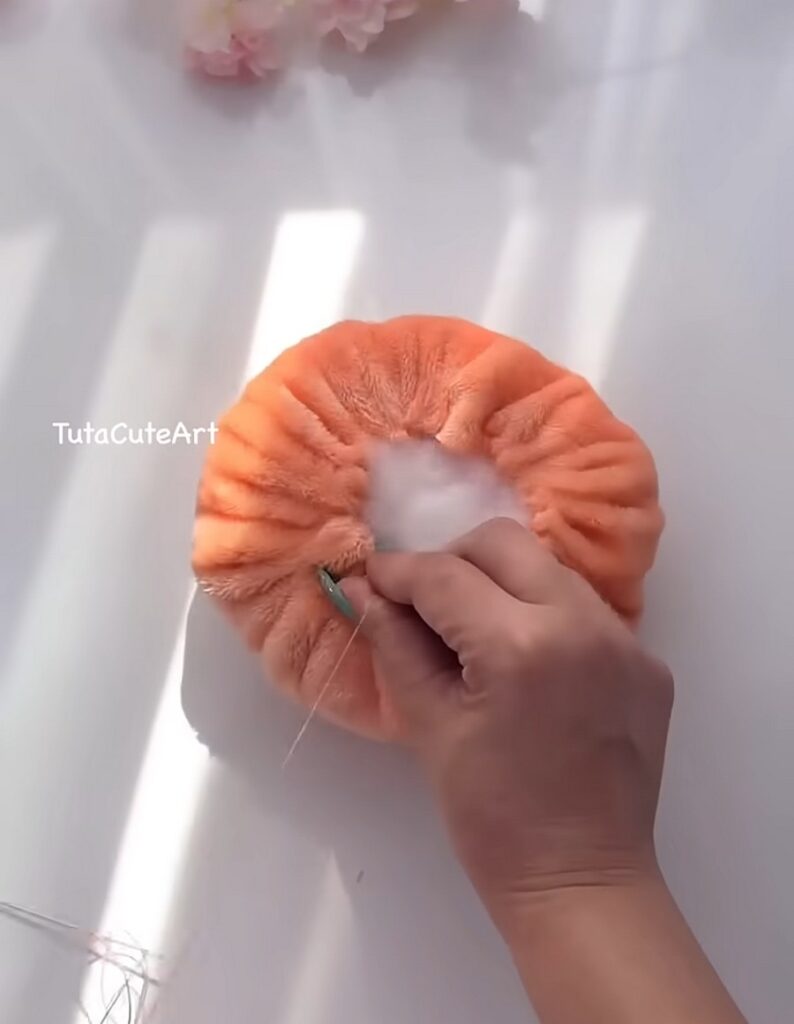
Add the filling: Take handfuls of your polyester stuffing and pack it firmly into the center of the velvet circle.
-
Gather the fabric: Gently pull the working end of your thread. The edges of the fabric will gather and close around the stuffing like a drawstring bag.
-
Secure the opening: Once the opening is pulled completely tight, stitch back and forth across the gathered hole a few times to lock it in place, then tie a sturdy knot.
Step 4: Sculpt the Pumpkin Ridges
This step transforms the round plush into a recognizable, segmented pumpkin.
-
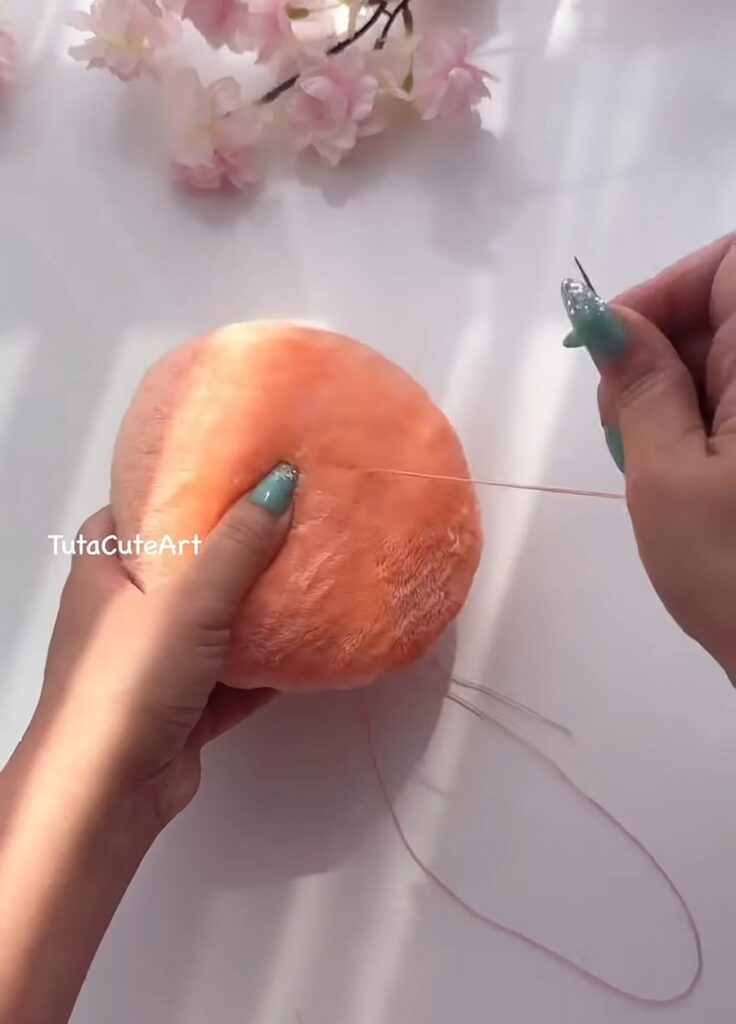
Anchor the thread: Re-thread your needle with a very long piece of strong thread. Push the needle straight down through the top center (the gathered hole) and pull it out through the bottom center of the plush.
-
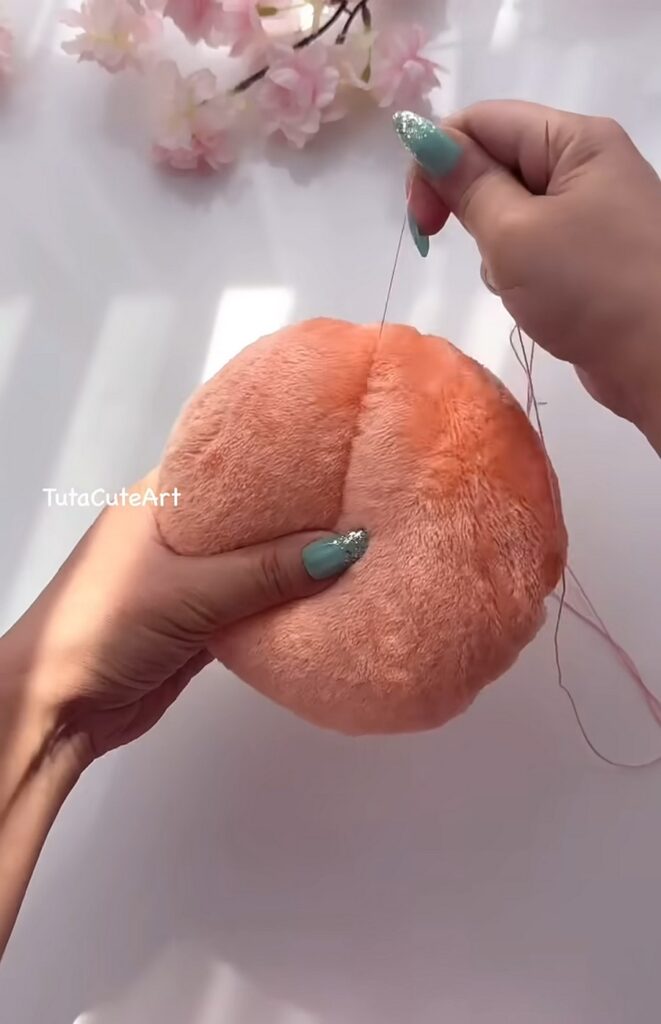
Wrap and pull: Loop the thread over the outside of the pumpkin and push the needle back down through the top center, pulling it out the bottom again. Pull the thread tightly to indent the velvet and create the first deep ridge.
-
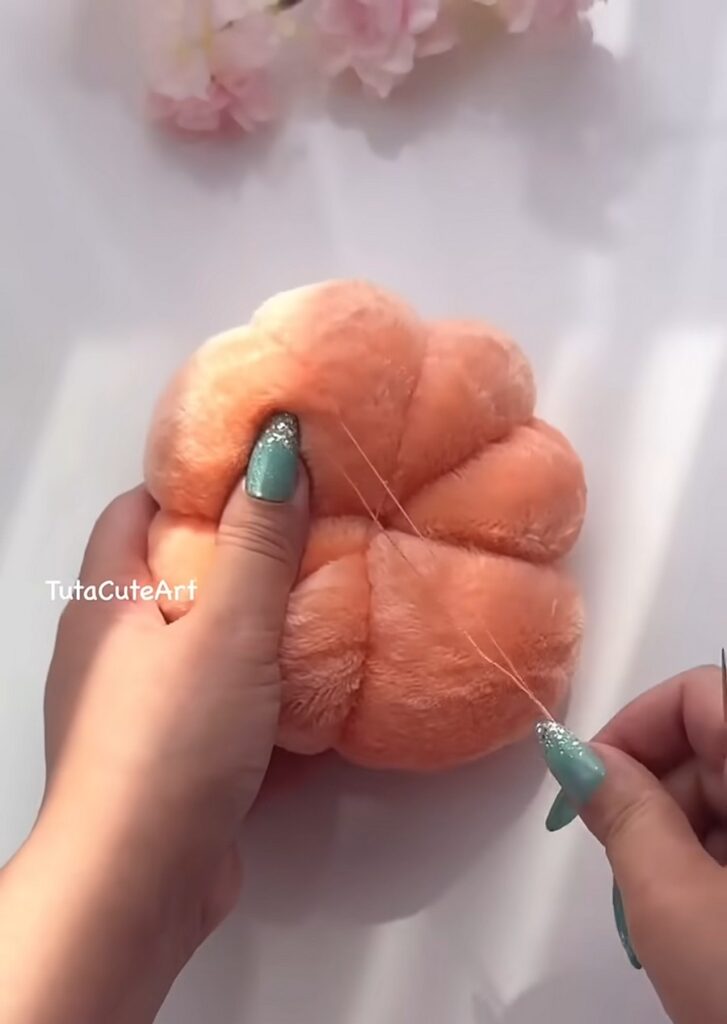
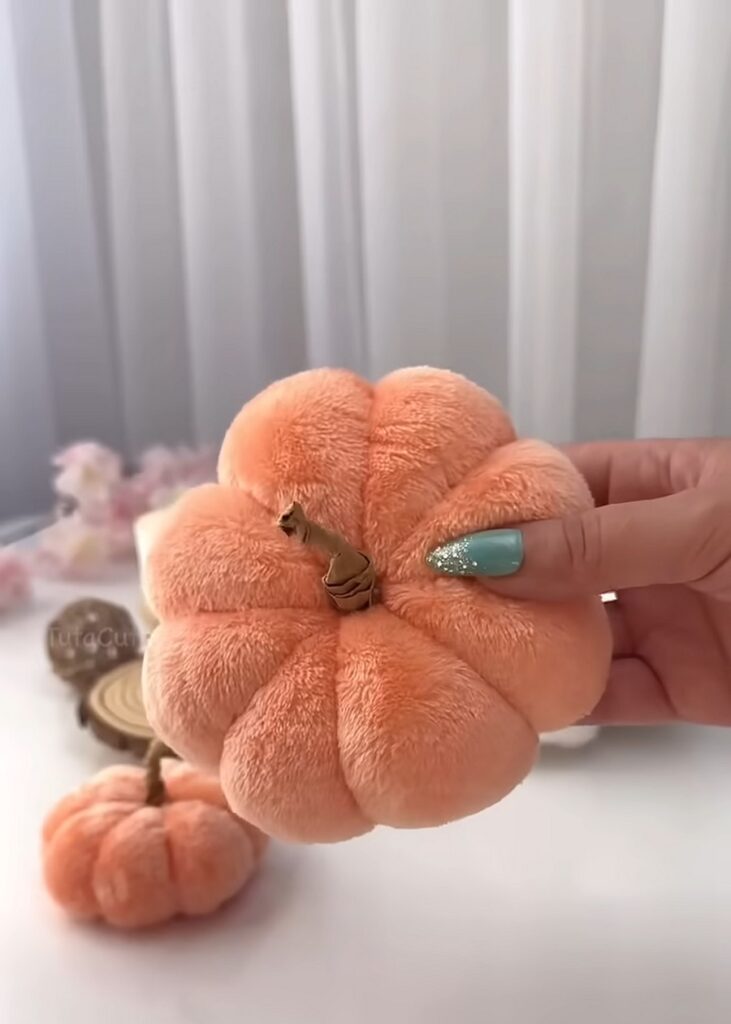
Form the segments: Repeat this wrapping and pulling process, spacing your loops evenly around the plush, until you have 6 to 8 distinct segments. Tie the thread off securely at the bottom.
Step 5: Attach the Stem
The final touch brings the pumpkin to life with a natural element.
-
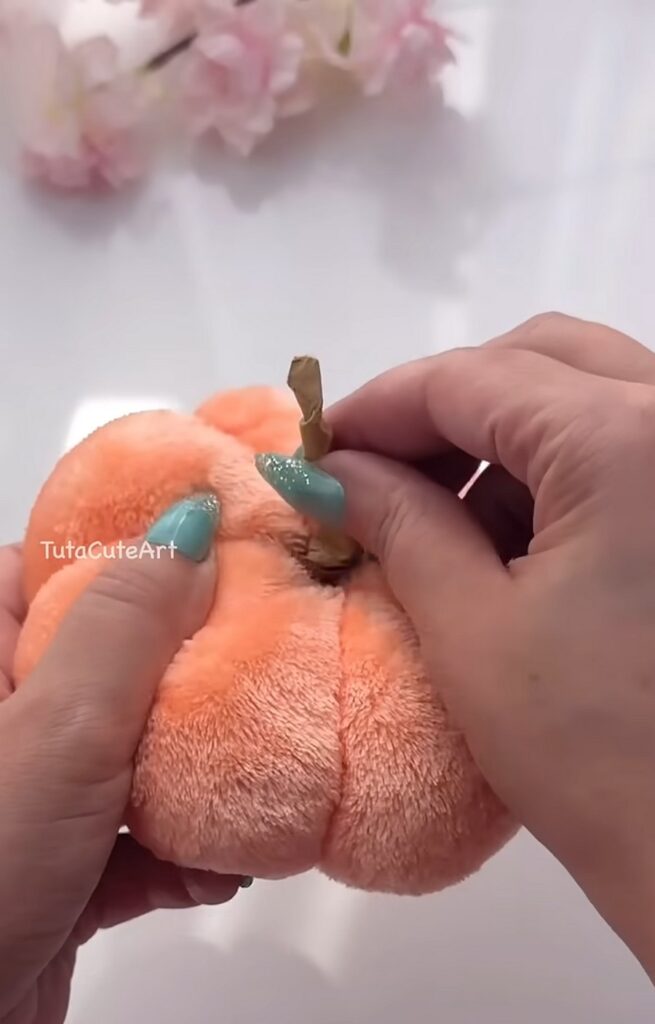
Prepare the branch: Ensure your aged small branch is clean and flat on the bottom.
-
Glue the stem: Apply a generous amount of hot glue to the bottom of the branch.
-
Place and hold: Press the glued end firmly into the gathered center at the top of your pumpkin. Hold it in place for a few seconds until the glue sets completely.
Pro Tips for Success
-
Manage the velvet: Velvet has a “nap” (a directional texture). Ensure the plush side is facing outward before you begin stuffing.
-
Prevent thread breakage: Regular sewing thread will easily snap under the tension required for the pumpkin ridges. Always use embroidery floss, button thread, or upholstery thread for shaping.
-
Control the shape: For a squattier, more realistic pumpkin shape, press down firmly on the center of the plush while pulling your ridge threads tight.