
Subscribe to MiLenaKanzashi.
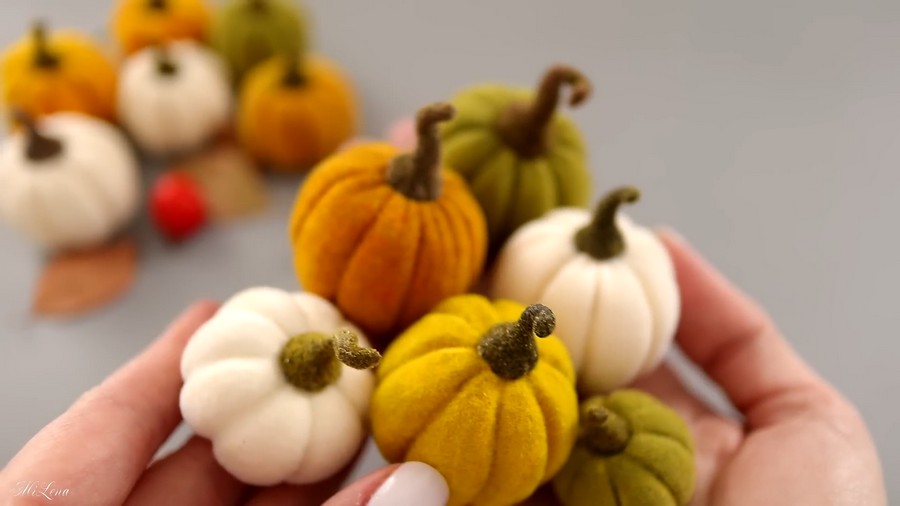
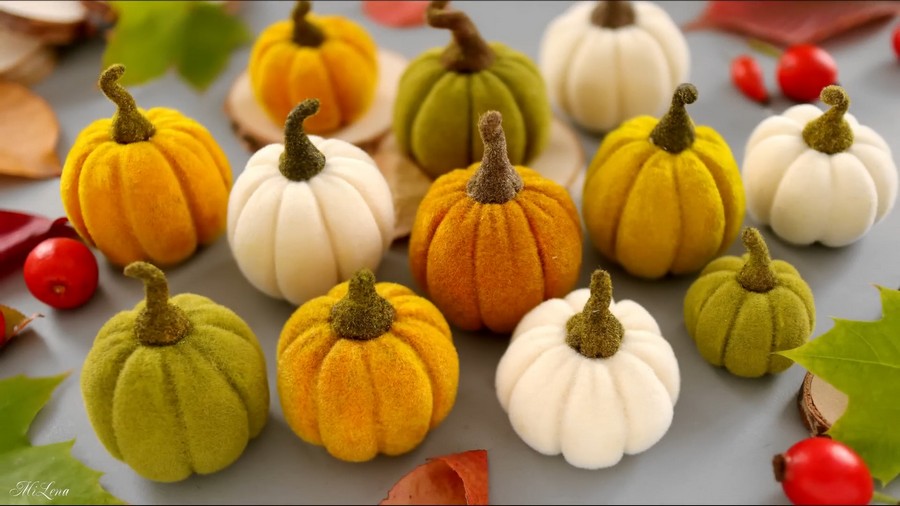
Today’s “DIY pumpkin decoration” method is gonna be SURPRISING, REALLY creative, and perfect for those who don’t like working with a sewing needle. Introducing the ONLY method to make a velvety pumpkin fall decoration plush, all without using a single scrap of velvet fabric. You can make elegant-looking & life-like pumpkins that are perfect for selling at fall craft fairs, decorating your room with, or just because.
Make Velvet Pumpkin Fall Decoration
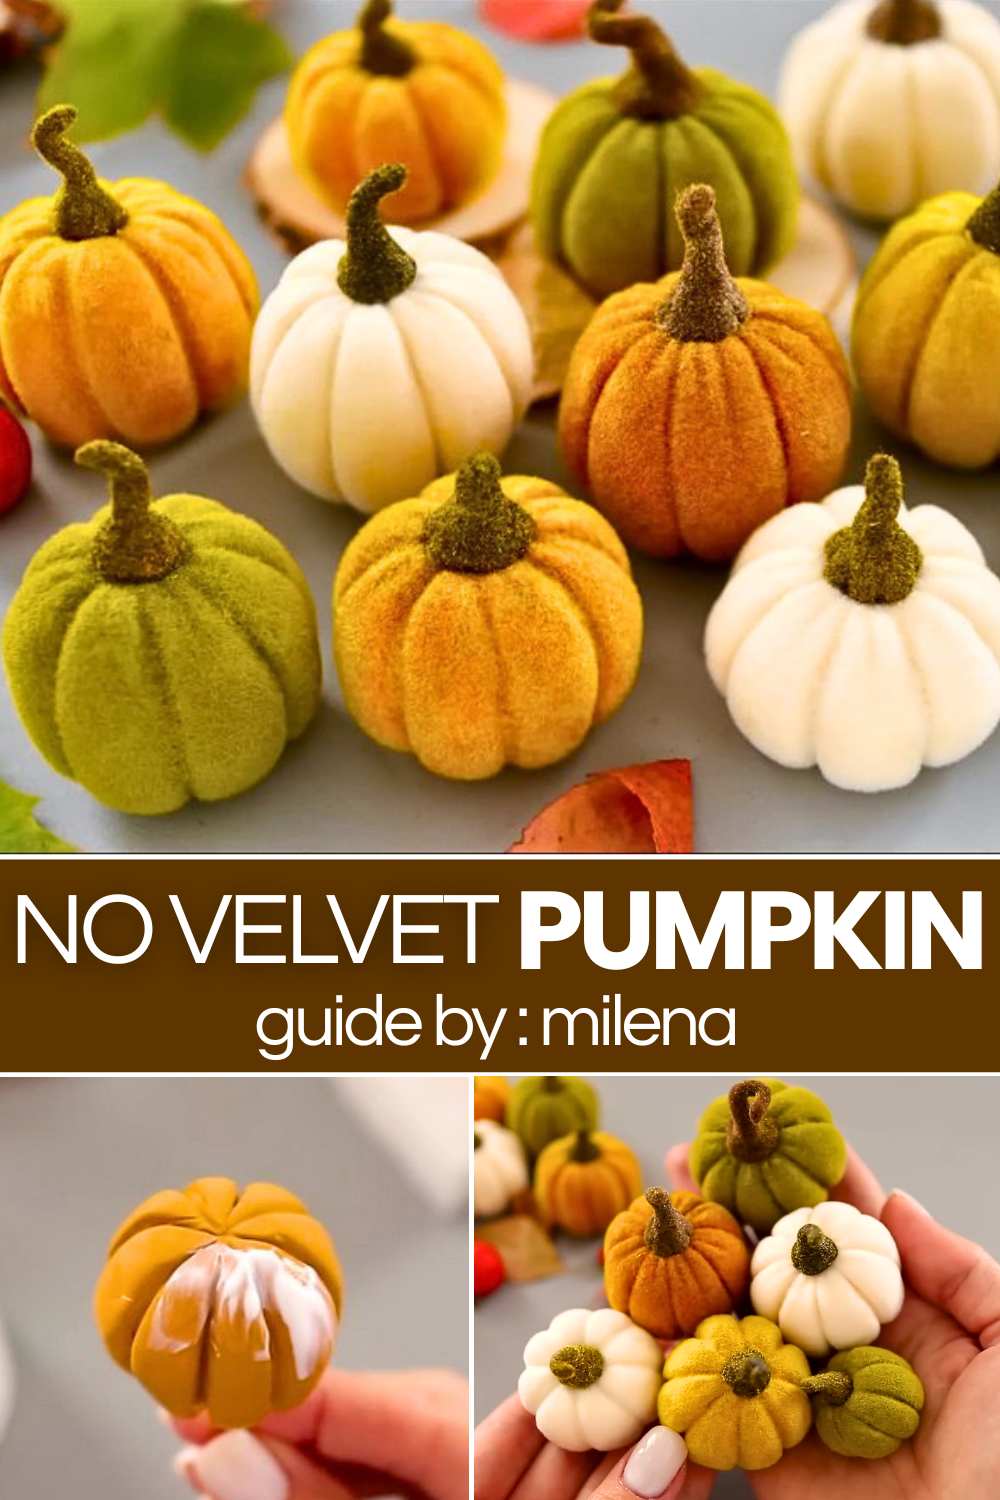
The idea is to make a plush and soft DIY pumpkin using the kids’ favorite ingredient. That is, the polymer clay with an aluminum foil base, some paint, and the star of the show – flocking powder to mimic the velvet texture.
So, you can also call this the clay pumpkin with flocking powder texture, which is often used in nail art. You can also decorate your pumpkins with the beads just like the fabric velvet pumpkins. Now, continue reading to learn how to make this pumpkin plush in detail!
[ez-toc]
Beginner?
Better learn the clay kneading, sculpting, and the process of using the powder and painting the pumpkins!
Faux Velvet Pumpkins: A No-Sew, No-Fabric Autumn DIY
Want the luxurious, cozy look of velvet pumpkins without having to measure, cut, or sew a single piece of fabric? This incredibly clever DIY uses an unexpected technique to create beautiful, velvety-soft pumpkins in any size or color you desire.
By using air-dry clay and flocking powder, you can sculpt the perfect autumn decor piece that looks and feels just like real velvet. Let’s dive into how it’s done!
Materials You Will Need:
- Air-Dry Clay: Lightweight modeling clay like Padico or Deco works best.
- Aluminum Foil: For creating the inner core (saves clay and keeps it lightweight).
- Tools for Sculpting: A long needle and a crochet hook (or similar blunt, rounded tool).
- Acrylic Paint: In the color of your choice.
- Flocking Powder (Flock for Needlework): This is the magic ingredient that creates the velvet texture!
- Flock Glue / Tack Glue: A specialized adhesive that dries clear but remains extremely tacky (often called “adhesive tape” glue).
- A Fan Brush: For dusting and spreading the flocking powder.
- Toothpicks & a Foam Base: To hold your pumpkin and stem while they dry.
- Craft Glue: To attach the stem at the end.
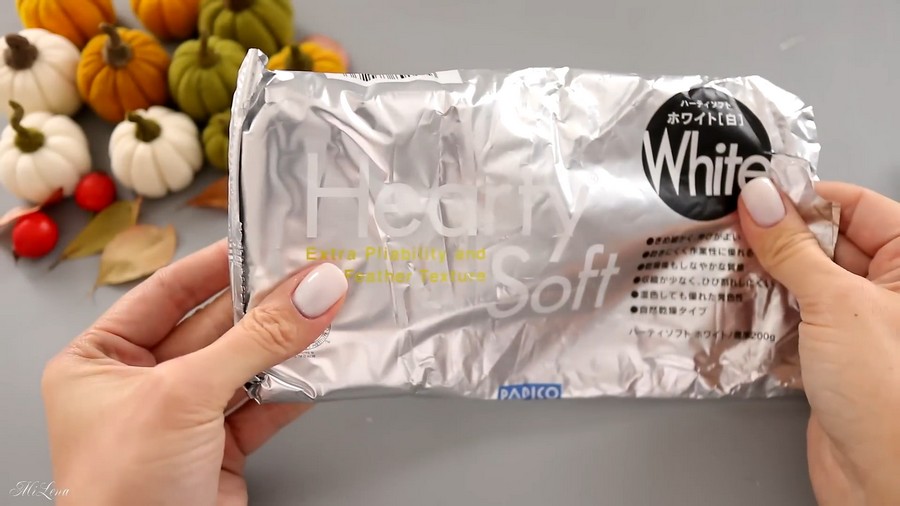
Beginner?
Better learn the clay kneading, sculpting, and the process of using the powder and painting the pumpkins!
Step-by-Step Instructions
Step 1: Prep Your Clay and Foil Core
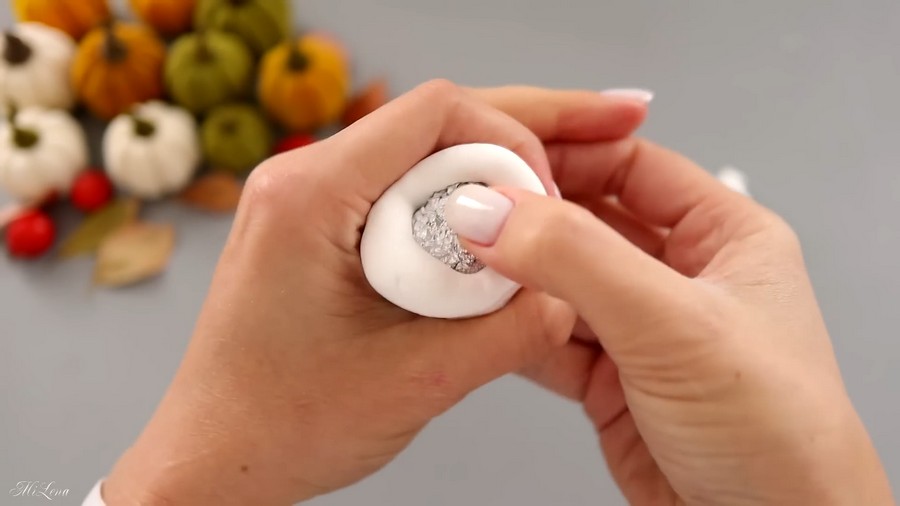
To keep the pumpkin lightweight and save on clay, start by crushing a piece of aluminum foil into a tight, round ball. This will serve as your inner base.
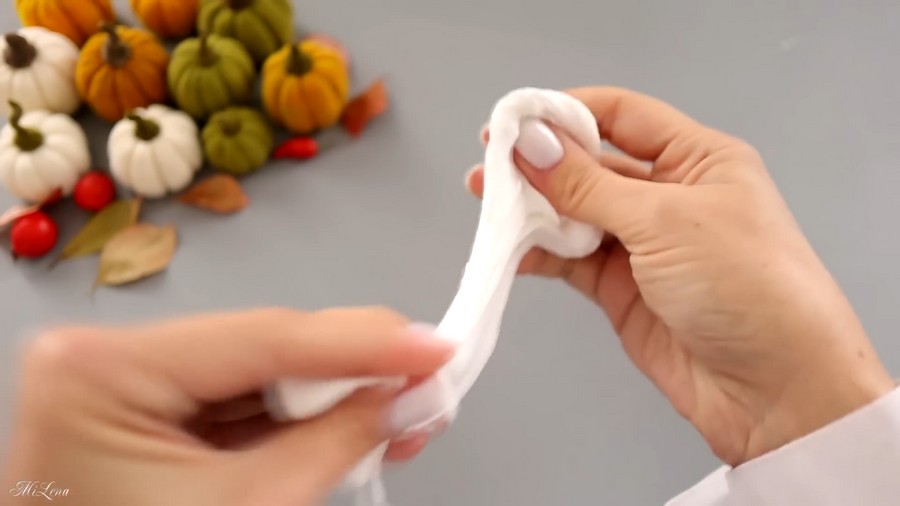
Next, take a piece of air-dry clay and knead it in your hands until it becomes very soft, viscous, and almost creamy in texture. Pinch off a small piece of clay and set it aside to use later for the pumpkin’s stem.
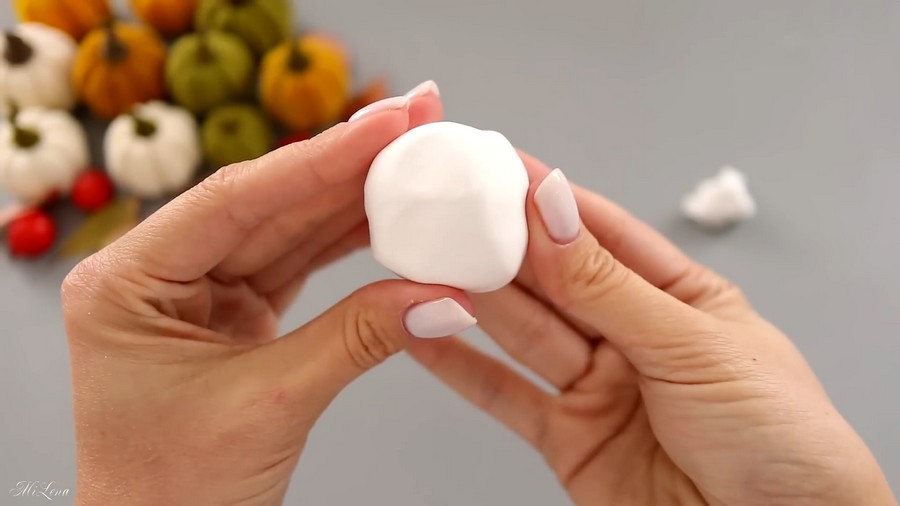
Step 2: Cover the Core
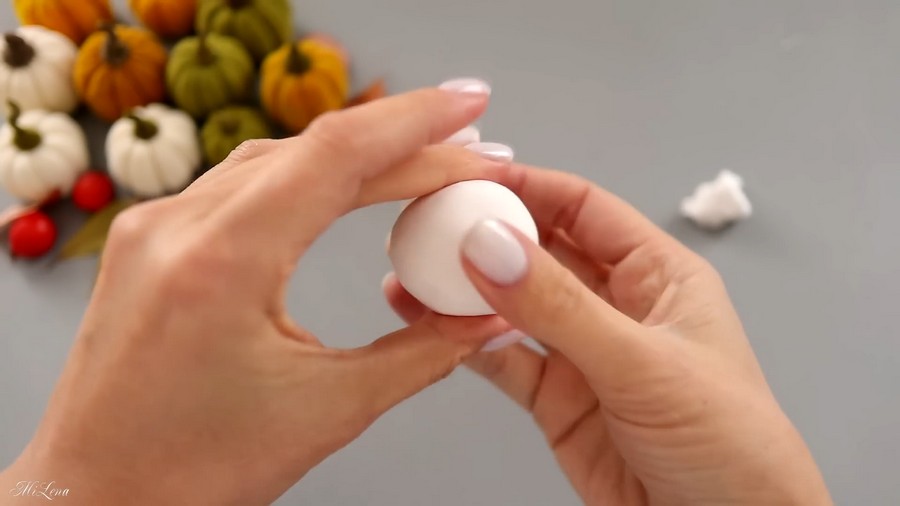
Roll the remaining clay into a smooth ball, then flatten it slightly. Carefully wrap the clay completely around your foil ball. Make sure to press it firmly so no air gets trapped inside.
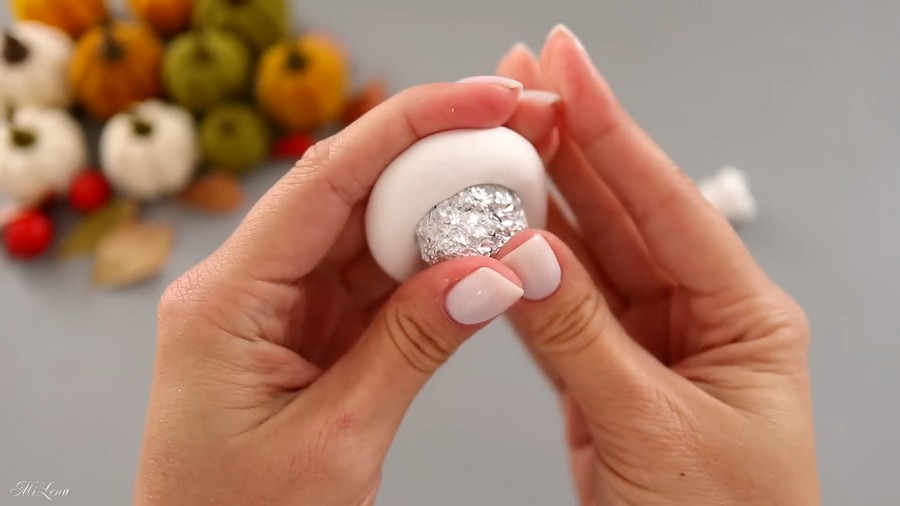
Smooth the surface with your hands and gently press the top and bottom to give it a classic, slightly flattened pumpkin shape.
Step 3: Sculpt the Pumpkin Grooves
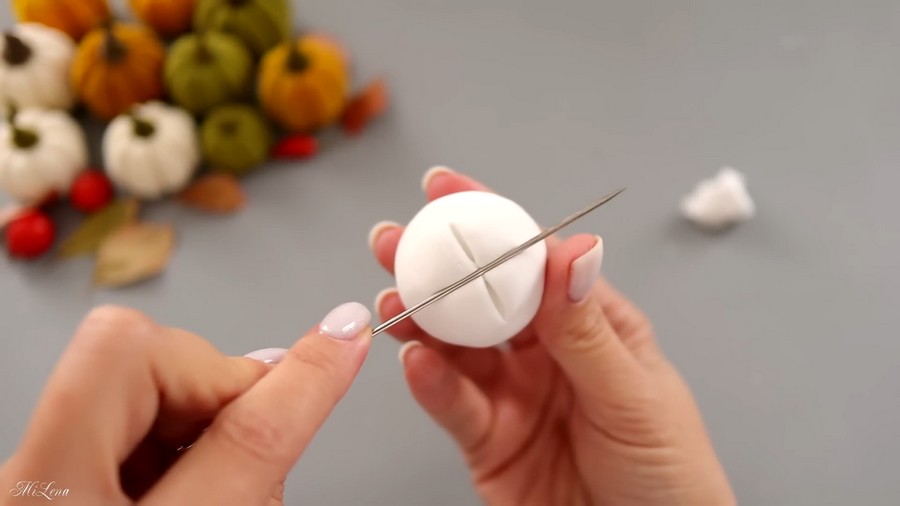
- Mark the slices: Using a long needle, press gently into the clay to divide the pumpkin into segments. Start by making a cross (dividing it into four sections), and then cut each of those sections in half to create eight equal slices. Do this on the top, sides, and bottom.
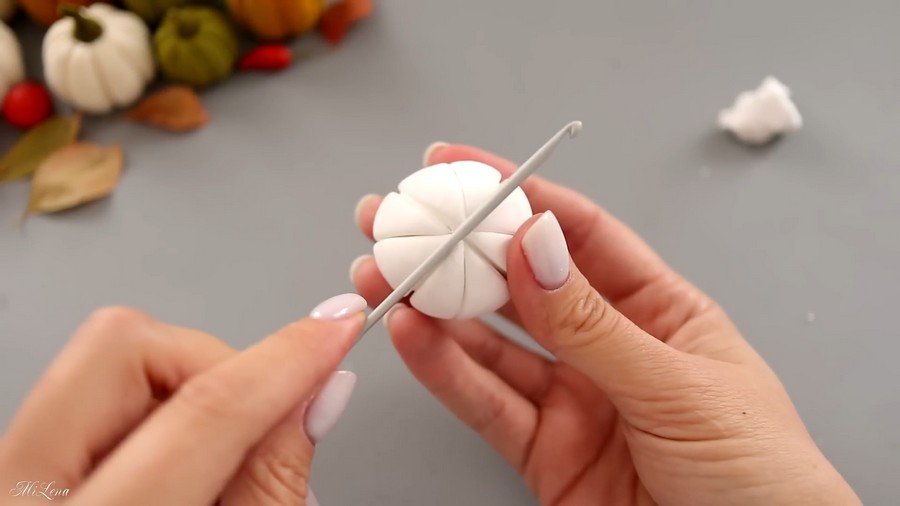
- Deepen the grooves: Take a thicker, rounded tool (like a crochet hook) and press firmly into the lines you just made. This will widen the indentations and make the pumpkin slices look plump and expressive.
- Make the stem indent: Press a small indentation right into the top center of the pumpkin where the stem will eventually sit.
Step 4: Sculpt the Stem
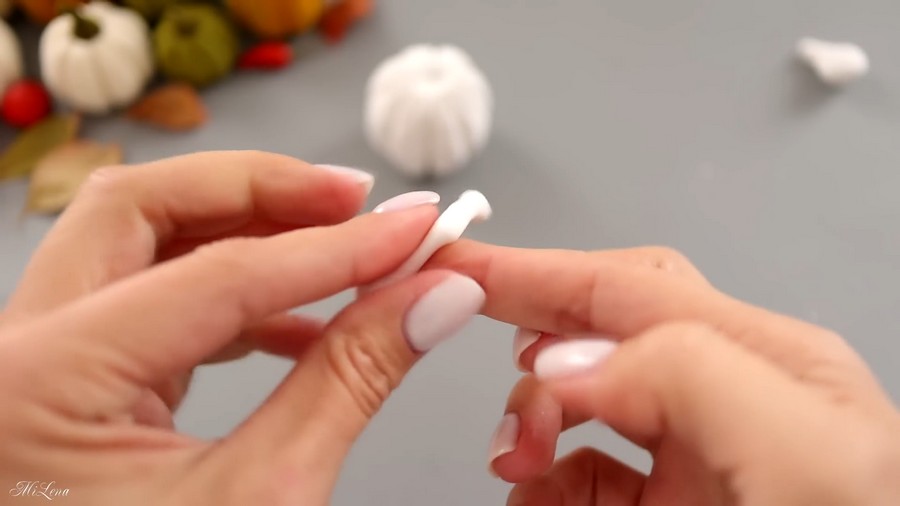
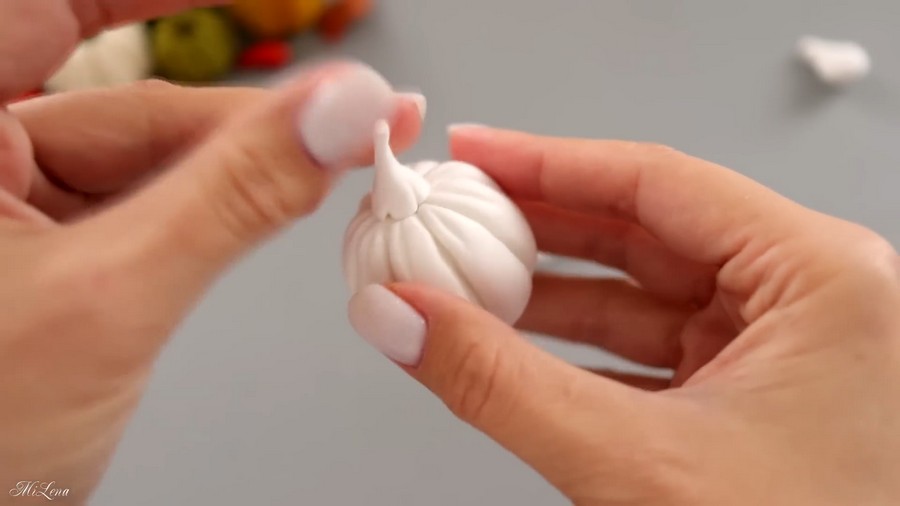
Take the small piece of clay you set aside earlier. Knead it and roll it between your fingers to form a small, slightly tapered tail. Flatten the bottom edge so it will sit securely inside the top indentation of your pumpkin. Add a slight curve to the tip for a natural look.
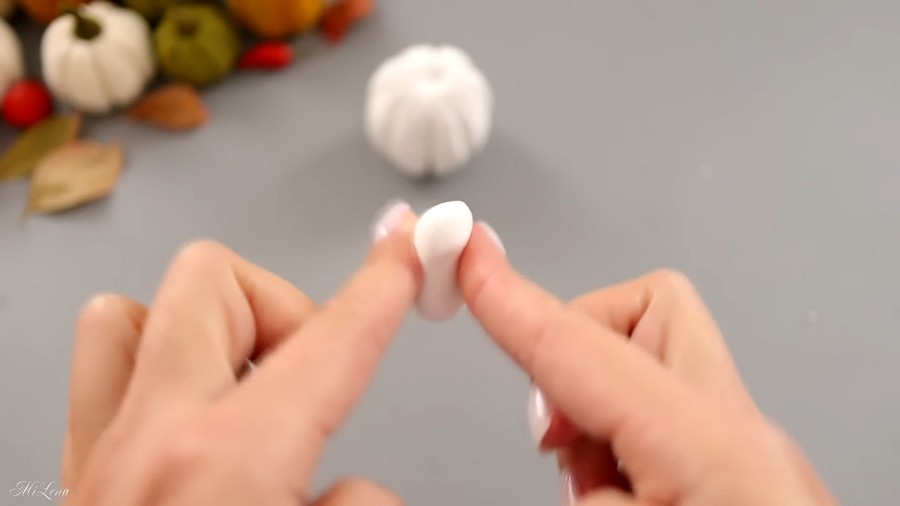
Set both the pumpkin and the stem aside to dry completely (this usually takes about 12 hours, depending on the brand of clay).
Step 5: Paint the Base Color
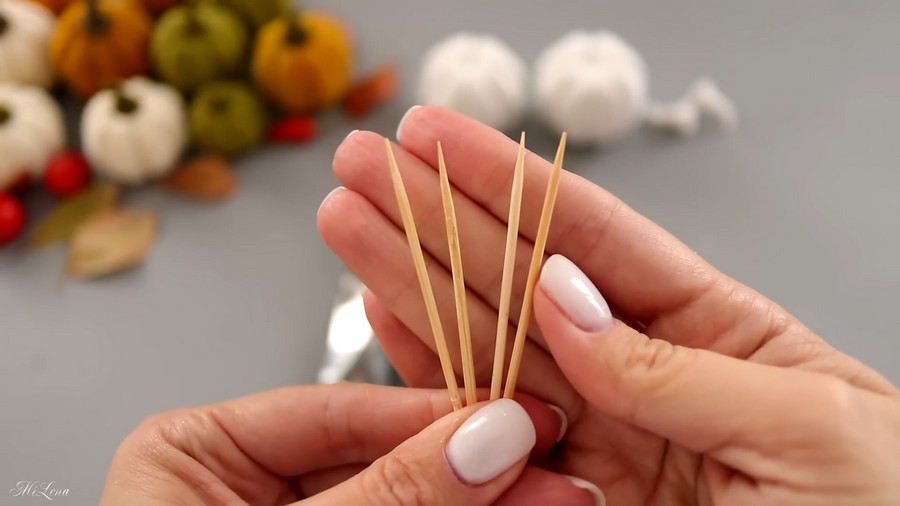
Once the clay is bone dry, insert a toothpick into the bottom of the pumpkin and the bottom of the stem.
Stick the other end of the toothpicks into a thick piece of foam or a stable base to hold the pieces up.
Paint the pumpkin and the stem with a thin, even layer of acrylic paint. Ensure there are no unpainted patches. Let the paint dry completely.
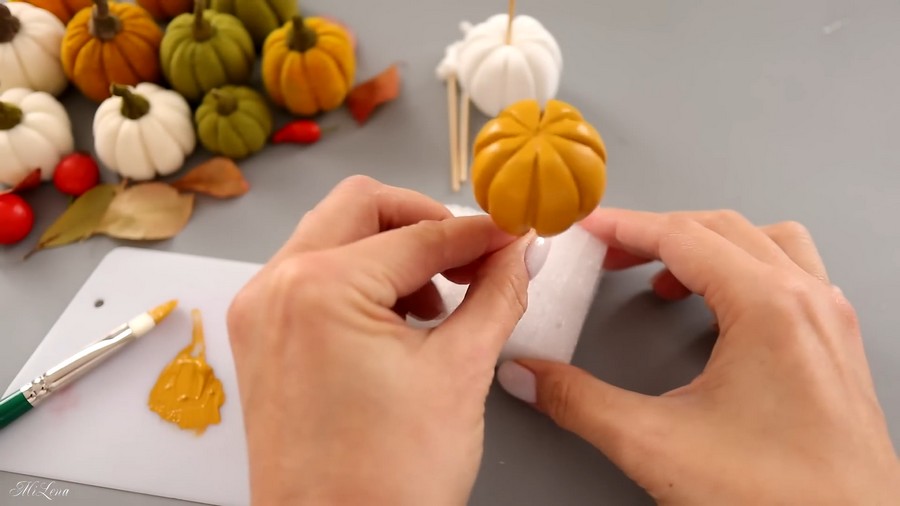
Step 6: Apply the Tacky Glue
This step is crucial for the velvet effect! Apply a thin, even layer of your flocking glue (tack glue) over the entire painted surface of the pumpkin and the stem.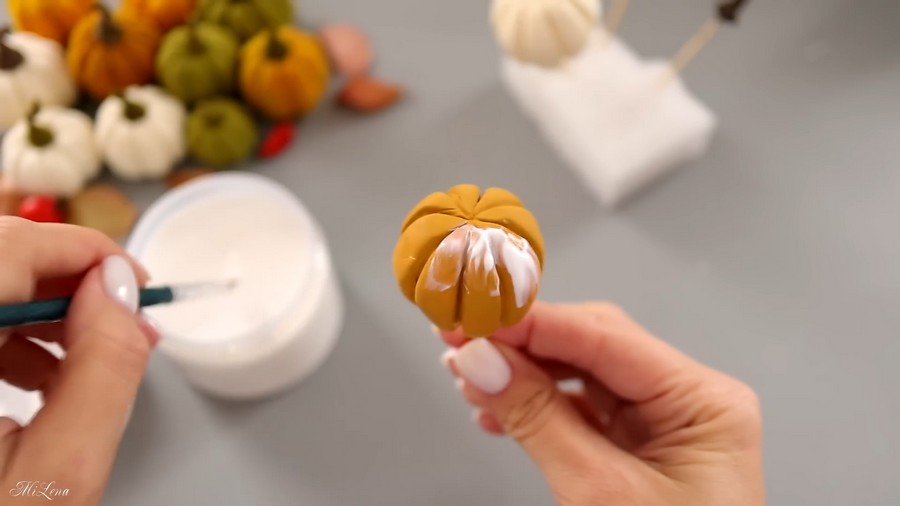
Important Pro Tips:
- Do not touch the glue with your fingers to check if it’s dry! The glue is ready when it turns completely transparent.
- Once applied, do not let the glued surfaces touch anything. When dry, this glue acts like strong adhesive tape and will fiercely cling to any surface, which can ruin your smooth base.
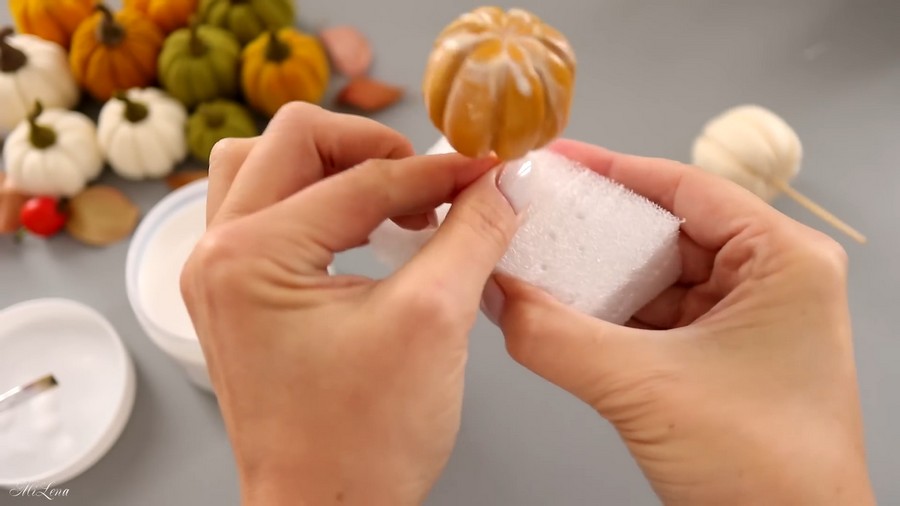
Step 7: Add the “Velvet” (Flocking)
Once the glue is transparent but highly sticky, it’s time to flock!
- Carefully hold the pumpkin by its toothpick base.
- Generously sprinkle your flocking powder over the pumpkin.
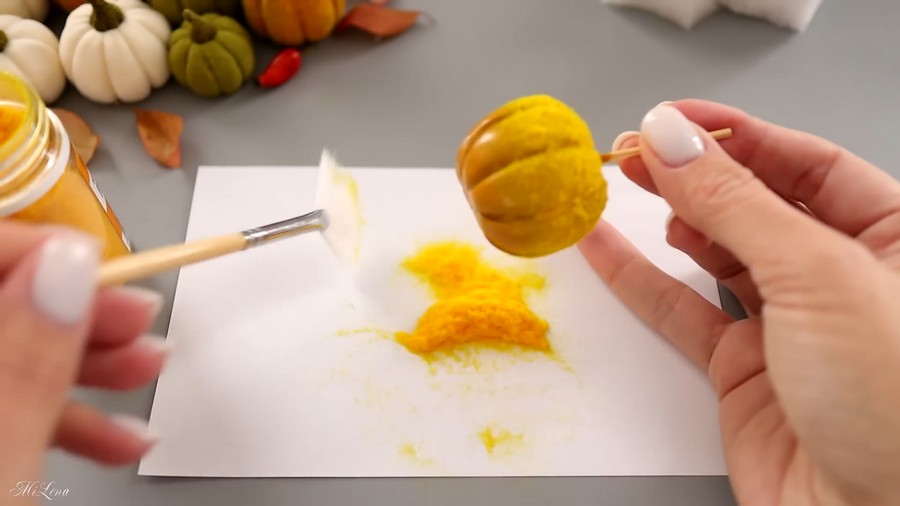
- Take your fan brush and use very light, gentle stroking motions to spread the flock evenly across the surface. Make sure you brush it deep into all the folds and grooves.
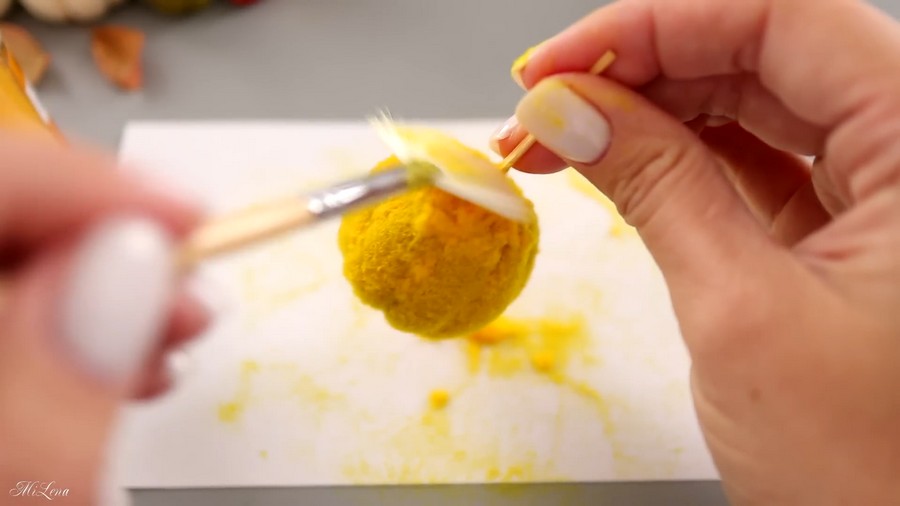
- The powder is very light and will stick immediately to the glue. Once the entire surface is covered, gently brush away any excess powder. (Tip: Do this over a clean sheet of paper so you can funnel the excess flocking powder back into its jar!)
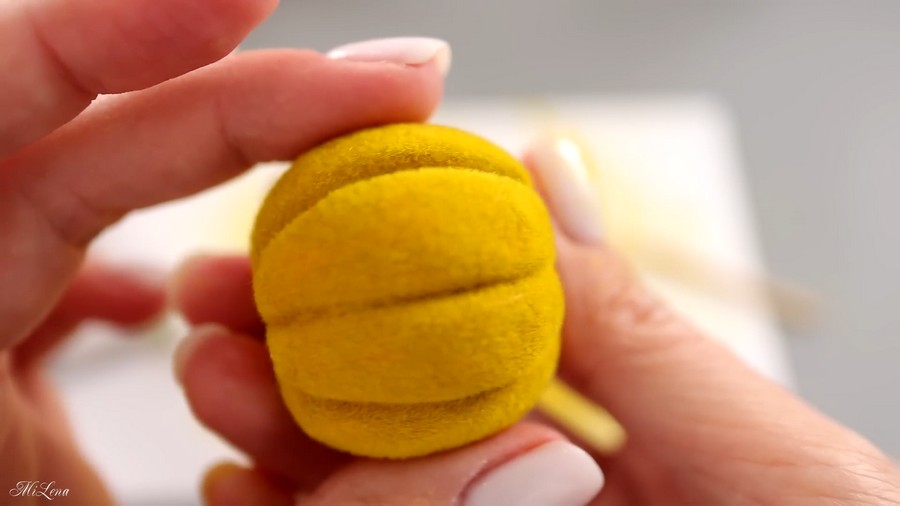
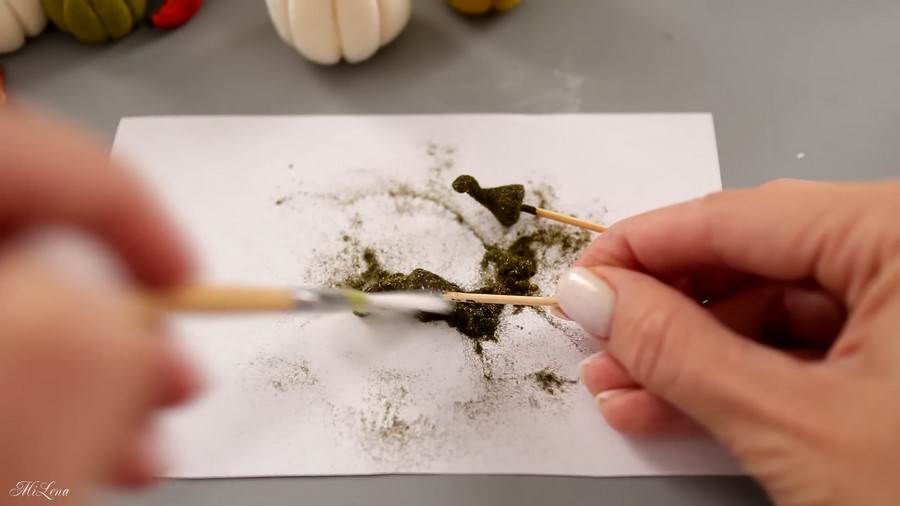
- Repeat the exact same process for the stem.
Step 8: Final Assembly
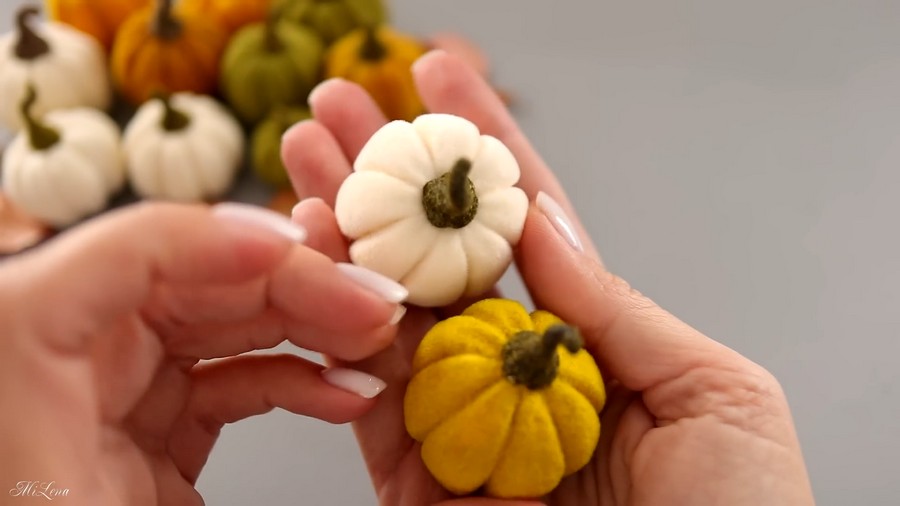
You now have pieces with an incredibly realistic, soft velvet texture. Add a dab of craft glue to the flattened bottom of your flocked stem, and press it firmly into the top indentation of the pumpkin.
And you are done! You have just created a gorgeous, elegant velvet pumpkin without touching a needle, thread, or piece of fabric. Make them in different sizes and shades to create a stunning, tactile centerpiece for your autumn decor!
About "MiLena"

About "Talha"
Hey, I’m Talha, the Crafter on Craftstive.com. I love to share guides on folding cute origami models and paper crafts, and I am always ready to inspire your next craft project with my weekly craft discussions.