
Subscribe to MiLenaKanzashi. The video tutorial is below!
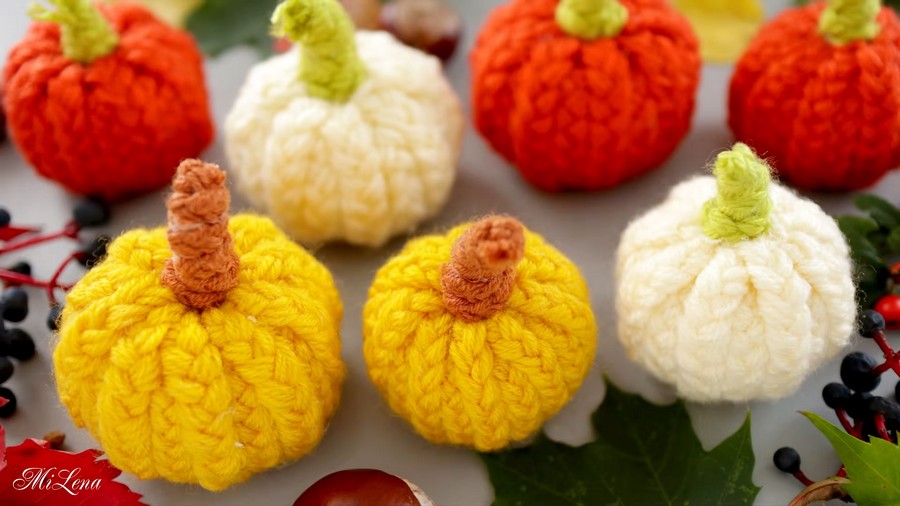
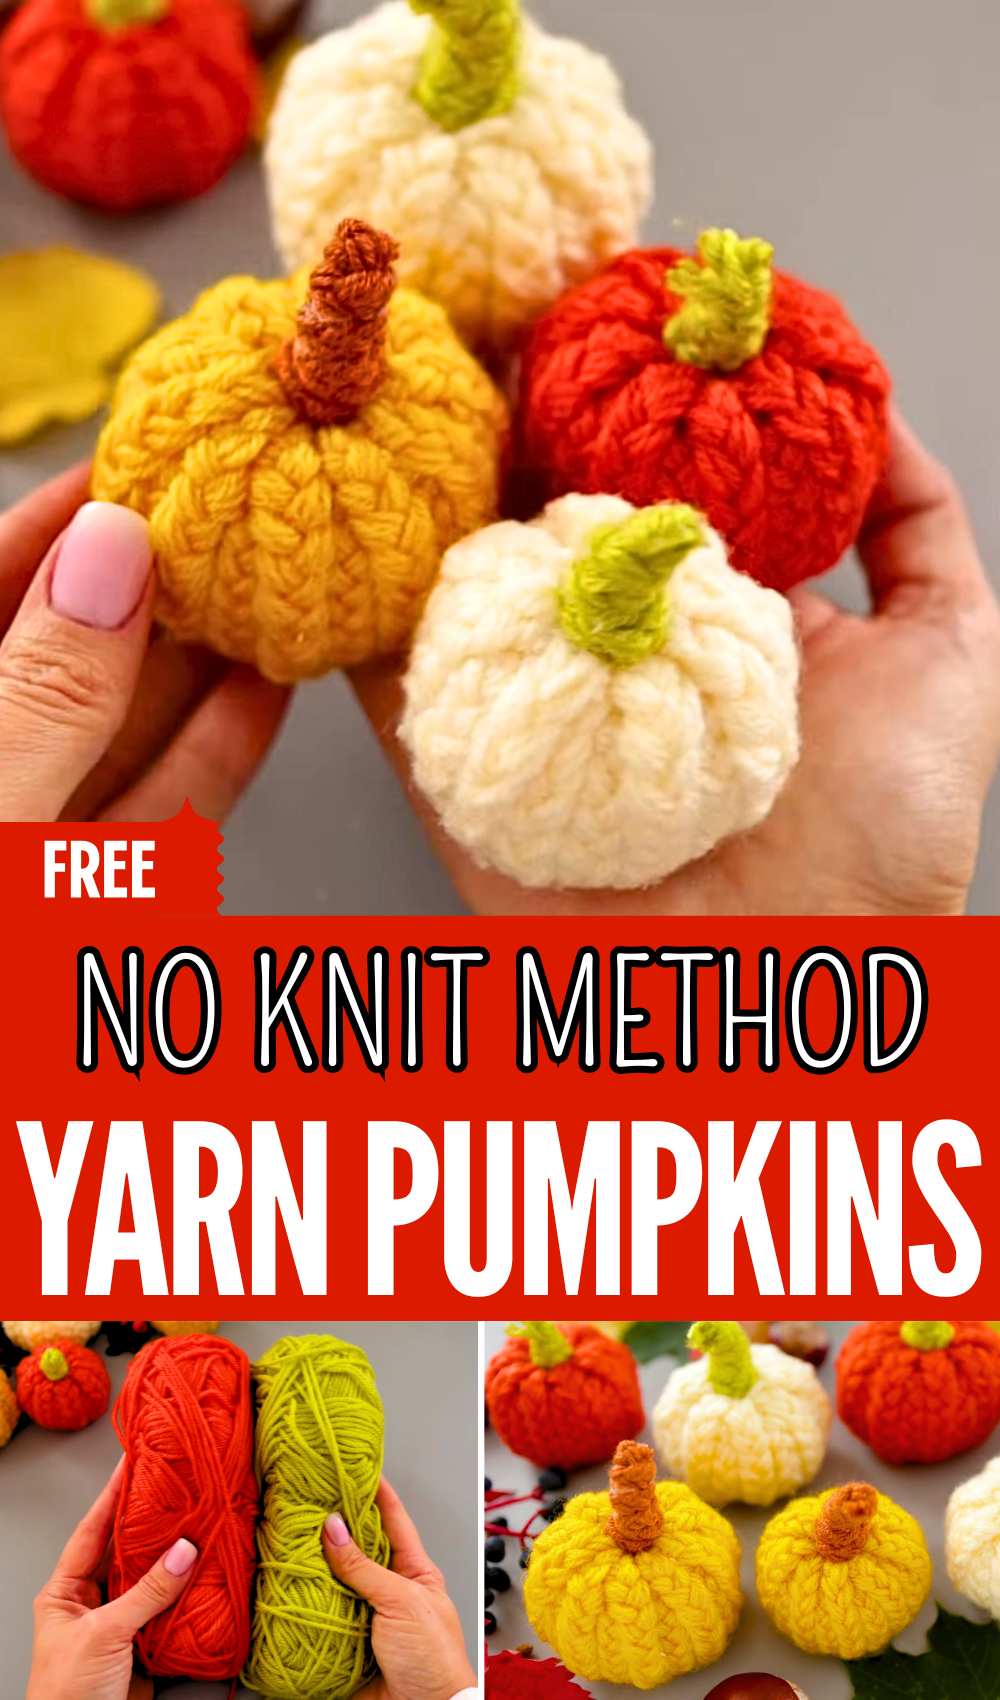
Here is the MOST UNIQUE no-knit, no-sewing & no-crochet pumpkin pattern of this fall! Learn how to DIY this elegant braided-stripe pumpkin plush you can make with some yarn, a little aluminum foil, and hot glue. You can easily DIY one in 20-30 minutes, so prepare one to decorate for your craft table, fall festival stall, or sell at craft fairs.
You can make your braided pumpkin in orange, yellow, white, or other autumn colors. You can also customize it with black felt to make a jack-o’-lantern no-knit pumpkin.
DIY Braided Yarn Pumpkin Decor
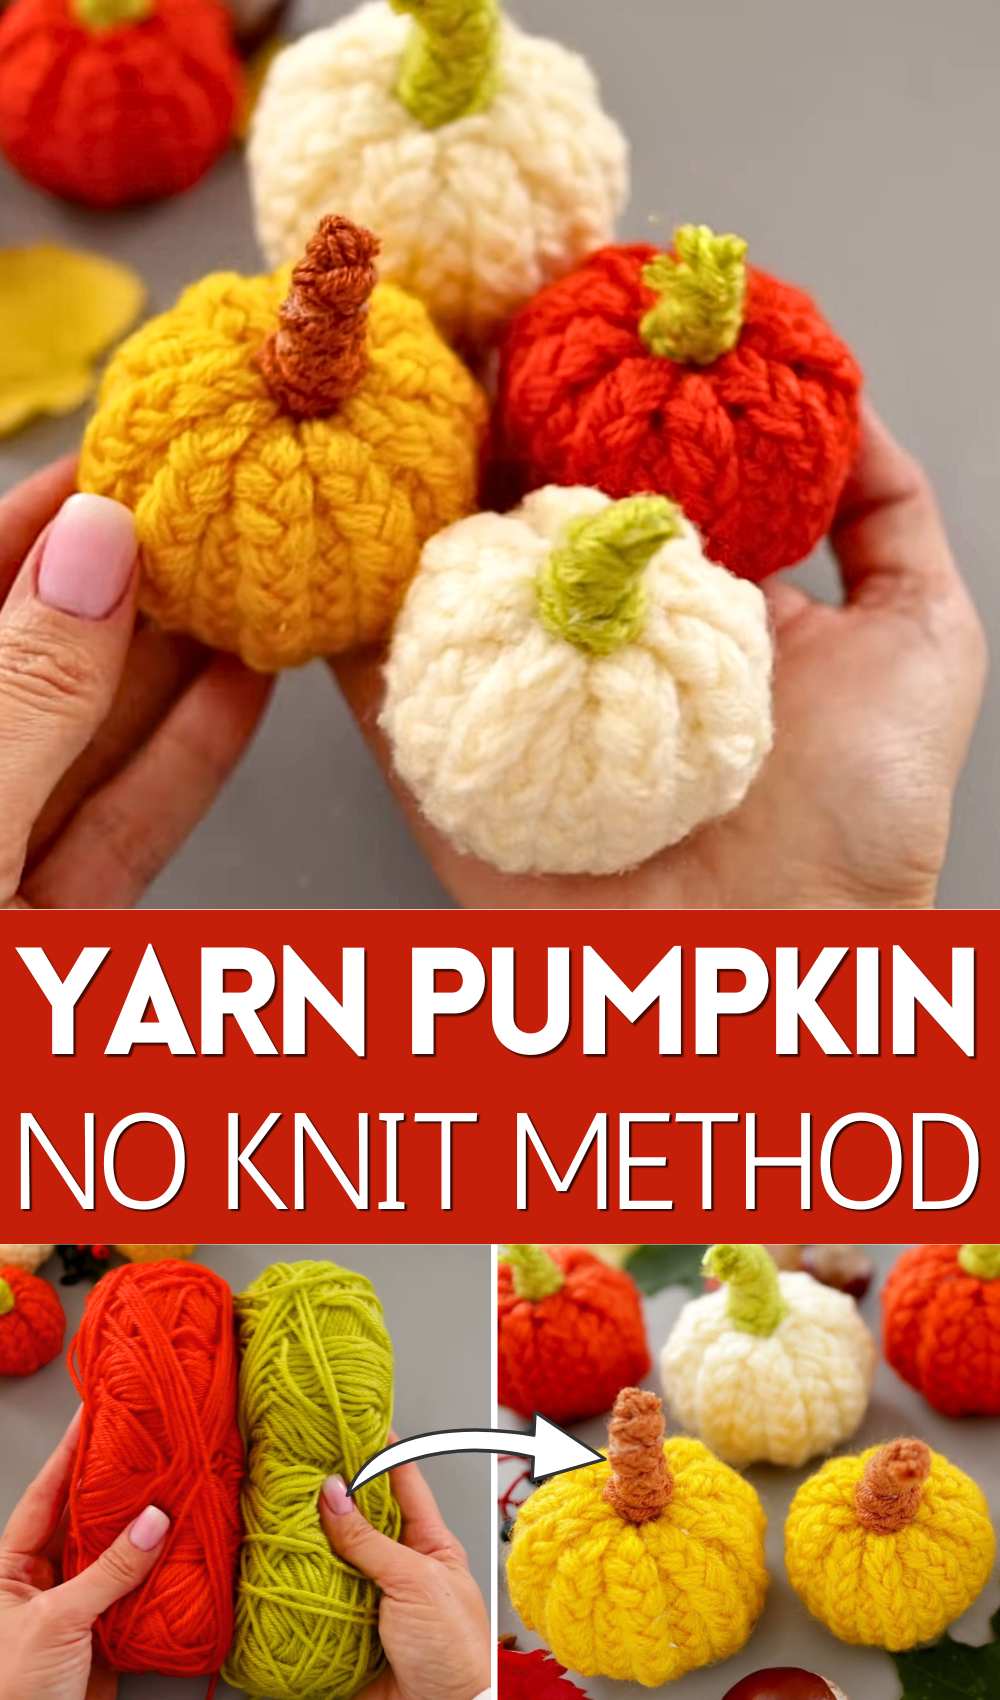
This braided pumpkin has a beautiful texture as we assemble it around the aluminum foil ball by working in a 3-braid. On Criazalblog, I will teach you how to make the 3-strand braid in detail sometime. Now, continue reading for the full DIY braided pumpkin pattern.
[ez-toc]
DIY UNIQUE Pumpkin Plushie Tutorial
Skill Level: Intermediate (making a 3-strand braid, cutting a braid, gluing with hot glue, and more). This project is fast, easy, and requires absolutely no knitting or sewing! Here is the tutorial for learning to make one:
Beginner?
Better learn the braid pattern and assembly of this pumpkin with the following tutorial:
Materials Needed:
-
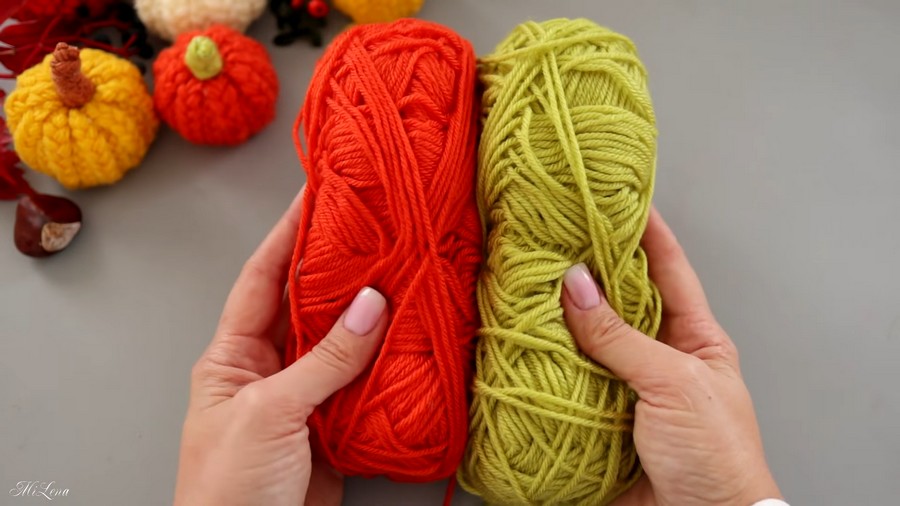
Yarn: Any type or color (acrylic works great; perfect for using up leftovers).
-
Green Yarn: For the stem.
-
Aluminum Foil: To make the base.
-
Tools: Scissors, hot glue gun, tweezers, and a ball-shaped tool or object (to press recesses into the foil).
Step 1: Prep and Weave the Yarn Pigtails (Braids)
-
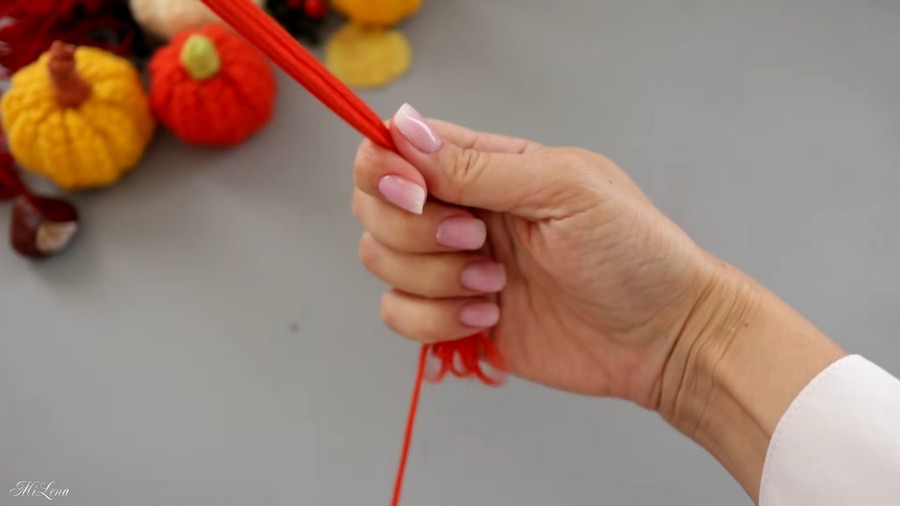
Cut the strands: Cut 15 strands of yarn, each about 1.5 meters long. ‘
-
(Note: Adjust the number of strands depending on how thick your yarn is).
-
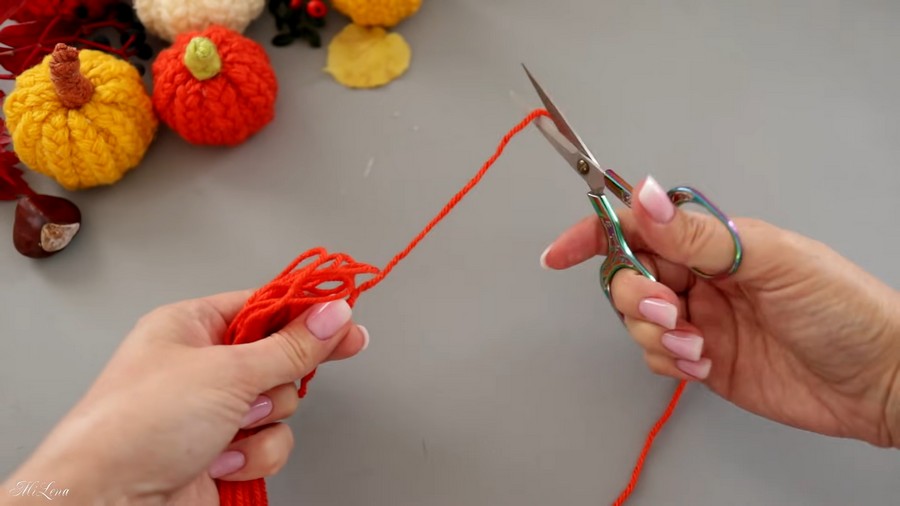
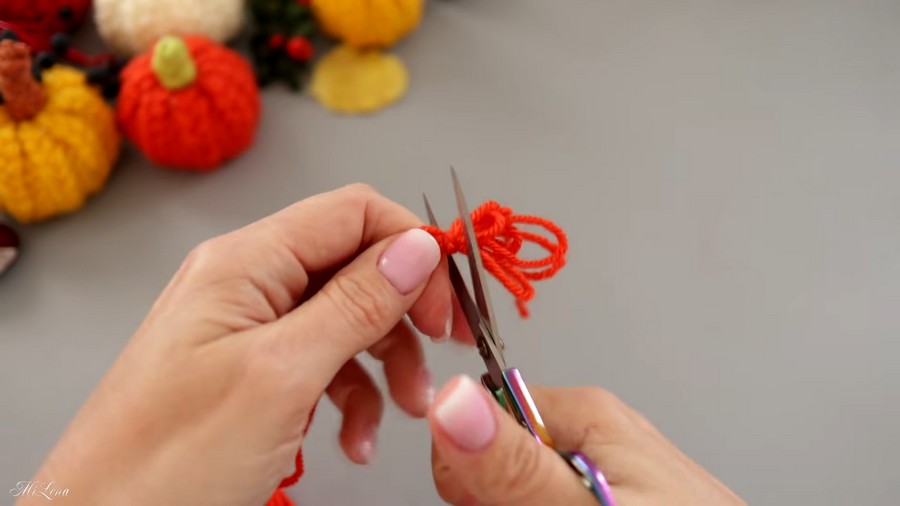
Secure and cut: Tie all 15 strands together in a knot on one end, and cut the loops open at the opposite end.
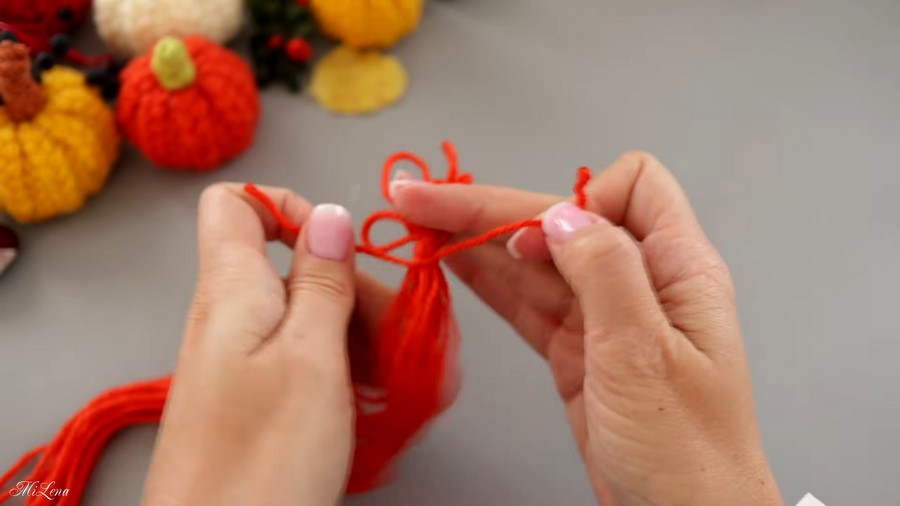
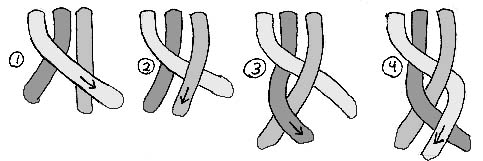
Braid the yarn: Divide the yarn into three equal sections (5 strands each) and weave them into a pigtail (braid).
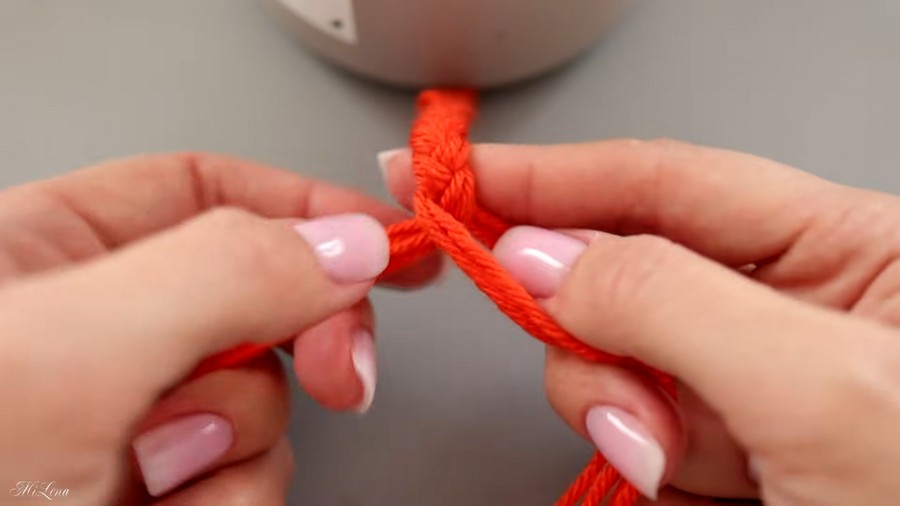
Tip: Secure the knotted end under something heavy on a table so you don’t have to braid it mid-air.
-
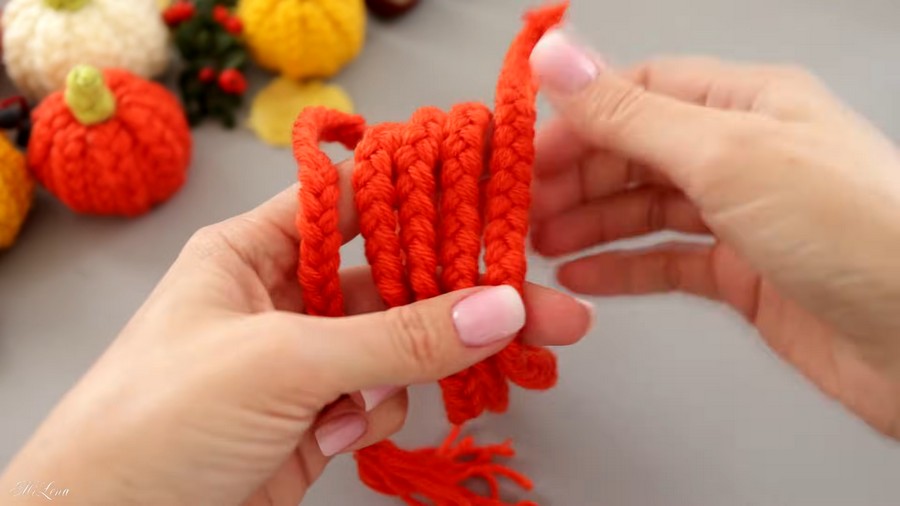
Tie off: When you reach the end, take the longest strand from the tip and use it to tie off the second edge securely.
Step 2: Create the Foil Base
-
Form a ball: Crush aluminum foil into a round ball. For a standard 7 cm pumpkin, aim for a ball around that size.
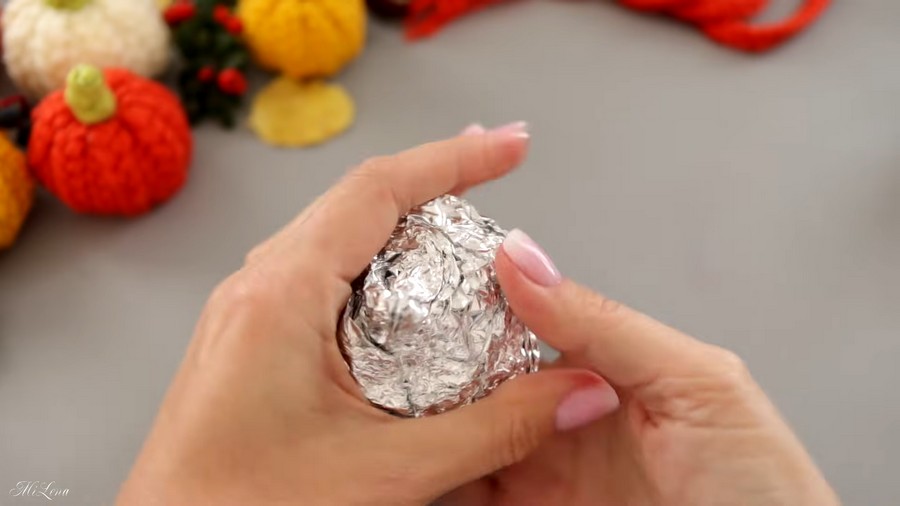
-
Make the indents: Take a ball-shaped tool or object and press firmly into both the top and bottom of the foil ball to create a central recess (dimple) on each side.
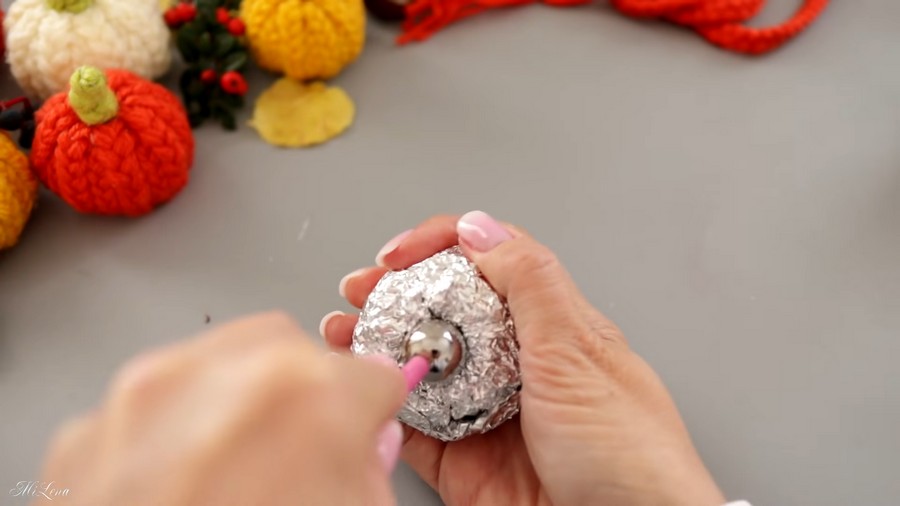
-
Adjust the shape: If the base feels too small or uneven, simply wrap more foil around it until it looks round, flat on the bottom, and slightly resembles a pumpkin bubble shape.
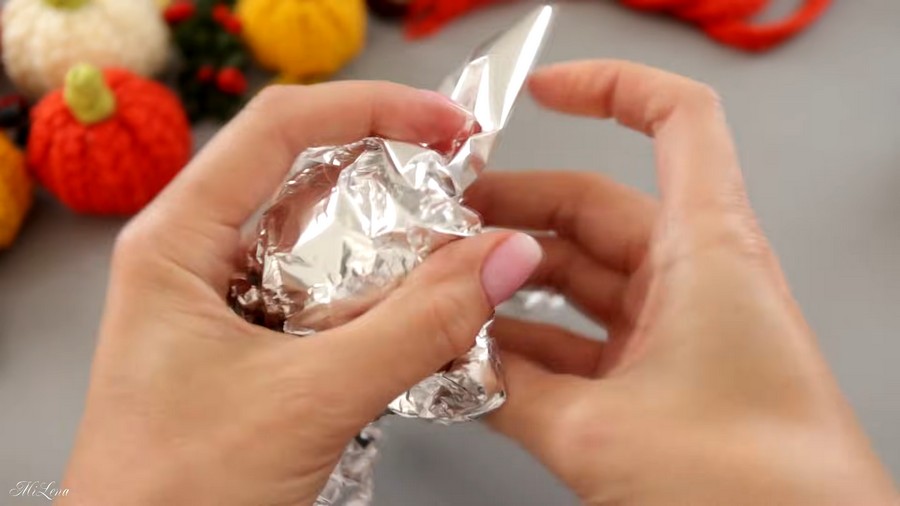
Step 3: Measure, Cut, and Prepare the First Layer
-
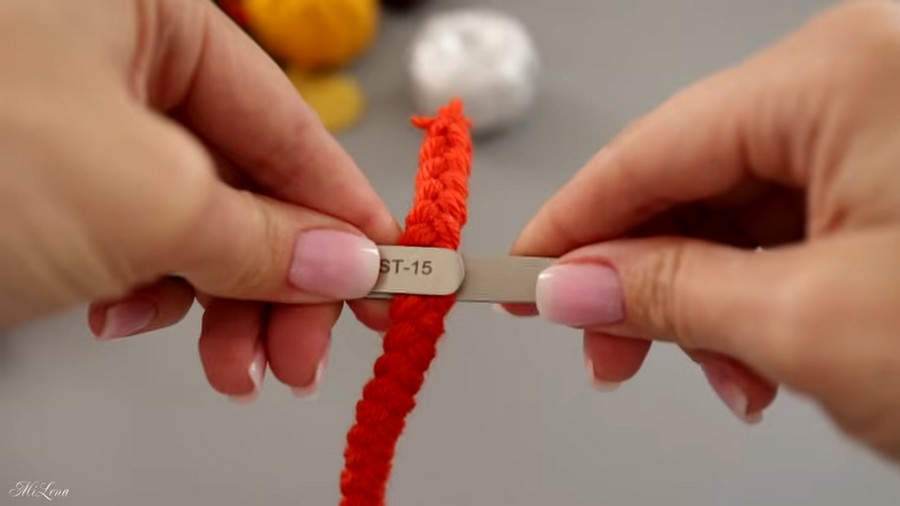
Measure: Measure the length needed for the first layer of braids. Place a braid on the foil ball, measuring from the edge of one recess to the edge of the opposite recess.
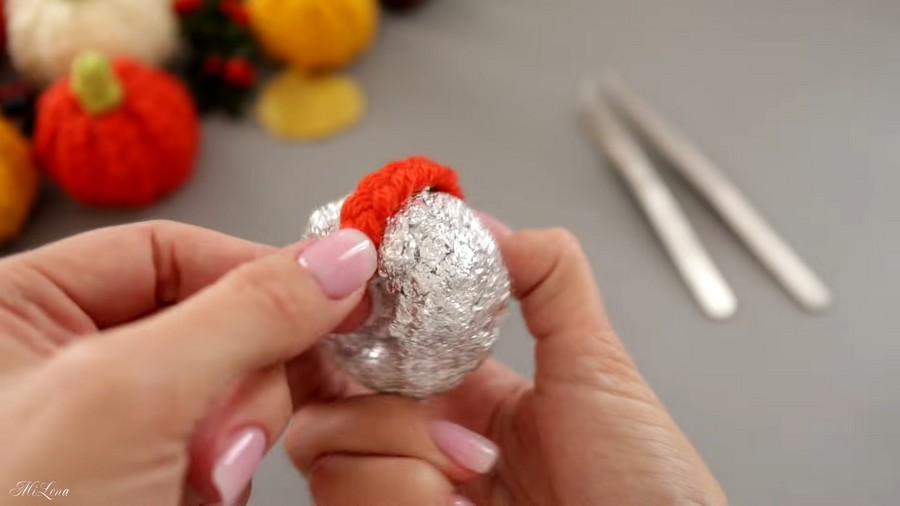
-
Glue and cut: To prevent the braid from unraveling when cut, apply hot glue to the cut line on both sides. Hold the braid with tweezers while cutting to keep it neat.
-
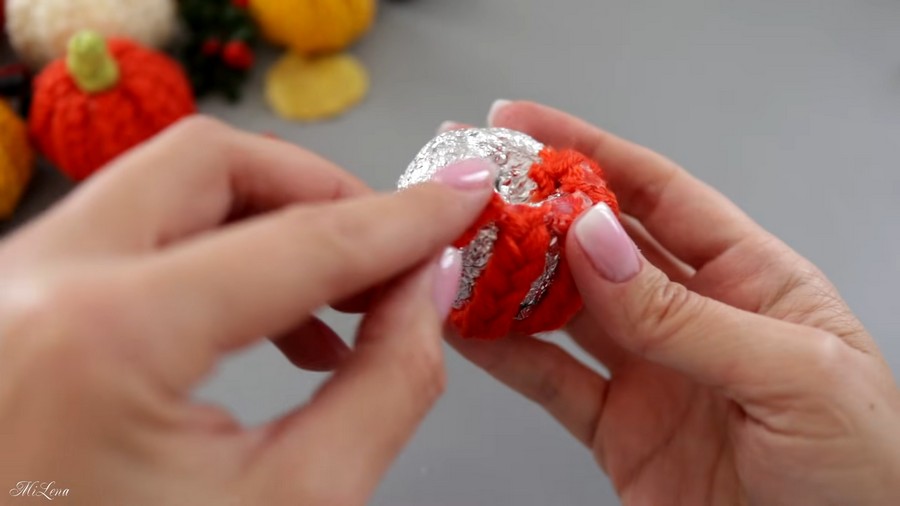
Repeat: For a 7 cm pumpkin, prepare 9 identical braided stripes using this method.
Step 4: Glue the First Layer
-
Apply hot glue to the foil base.
-
Press the braided stripes onto the foil one by one.
-
Crucial Step: Pay close attention to the direction of the braid weave. Make sure every single stripe is glued facing the same direction for a uniform look.
Step 5: Measure and Glue the Second Layer
-
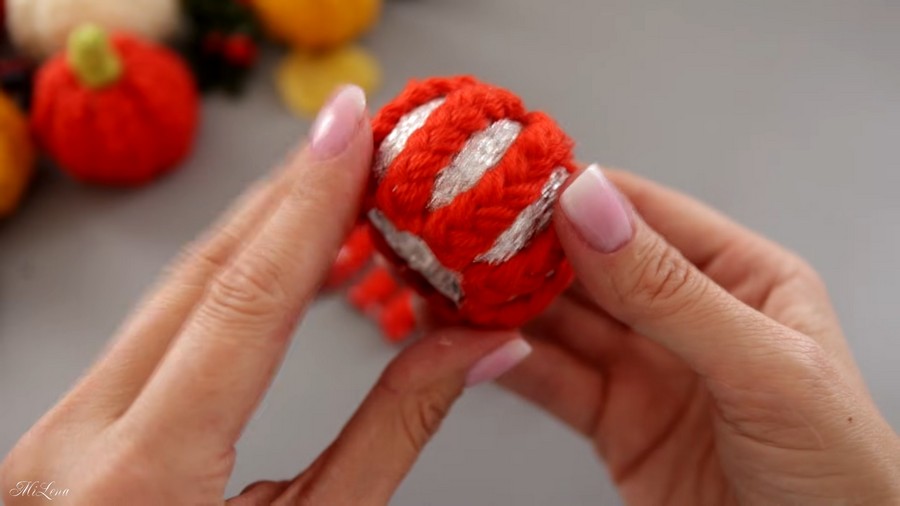
Measure deeper: For the second layer, measure the braids so they run from the exact center of the top recess to the center of the bottom recess.
-
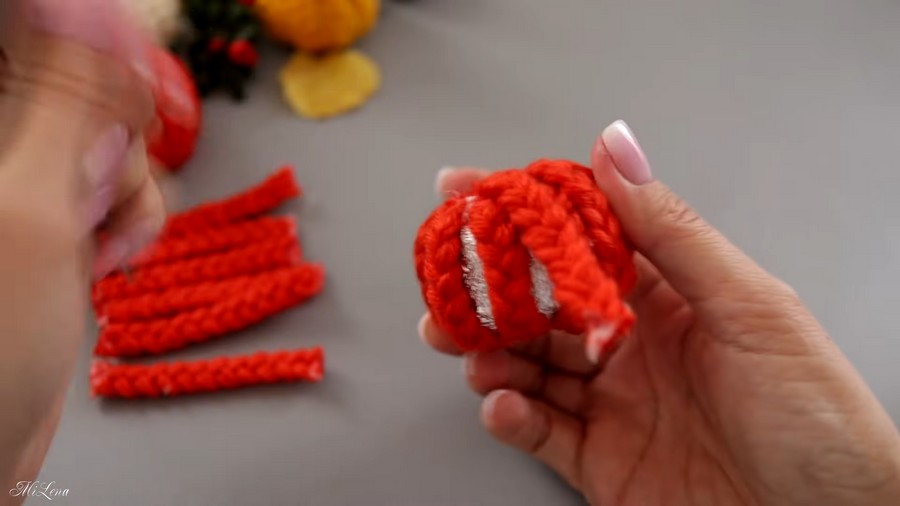
Secure and cut: Just like before, glue the ends before cutting to prevent fraying.
-
Glue into place: Layer these braids over the first layer to fully cover the remaining foil and give the pumpkin a full, ribbed texture.
Step 6: Make and Attach the Stem
-
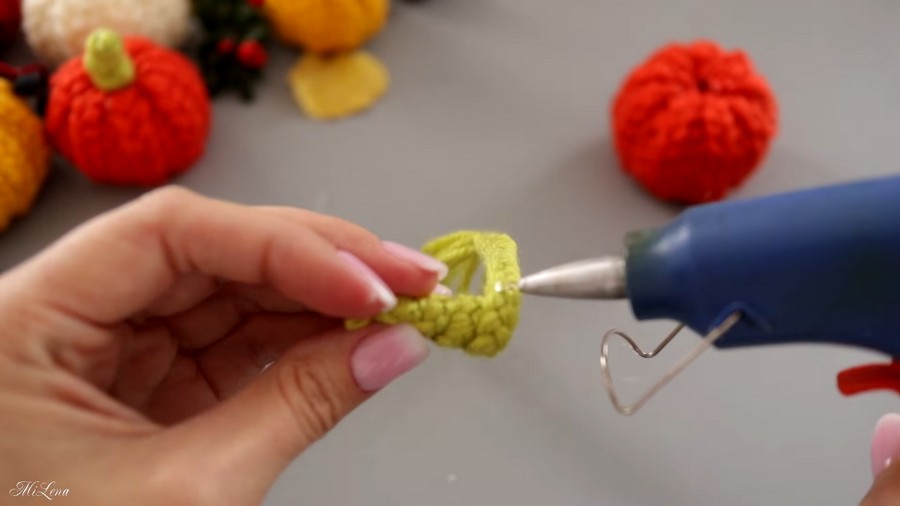
Braid the stem: Using green yarn, weave a slightly thinner pigtail braid.
-
Cover the foil: Wrap and glue a small bit of green yarn or foil to form the core of the stem if needed.
-
Attach: Generously apply hot glue to the top recess of the pumpkin and press the green stem firmly into place.
Save For Later:
About "MiLena"

About "Talha"
Hey, I’m Talha, the Crafter on Craftstive.com. I love to share guides on folding cute origami models and paper crafts, and I am always ready to inspire your next craft project with my weekly craft discussions.