
Subscribe to DIYChristmasIDEAS!
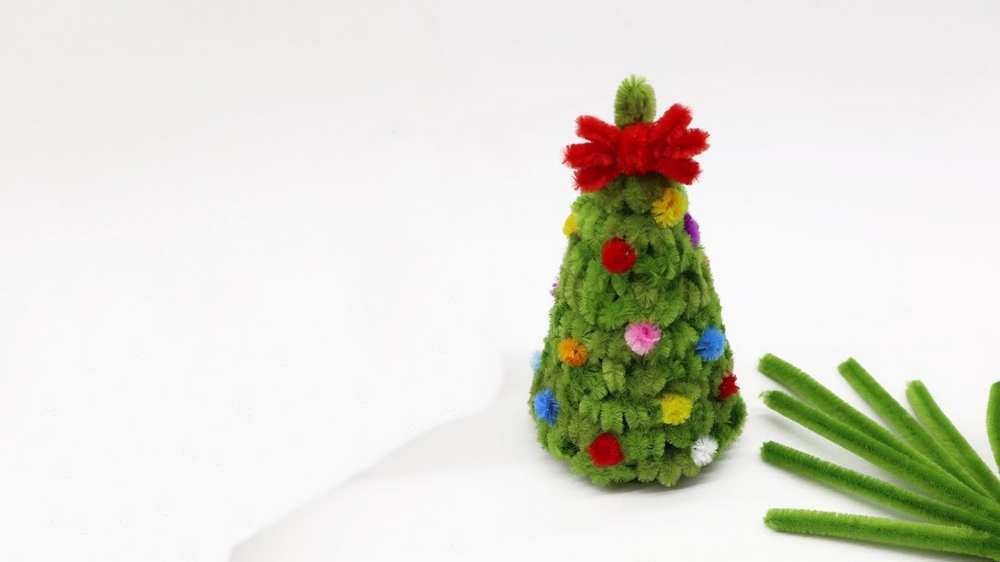
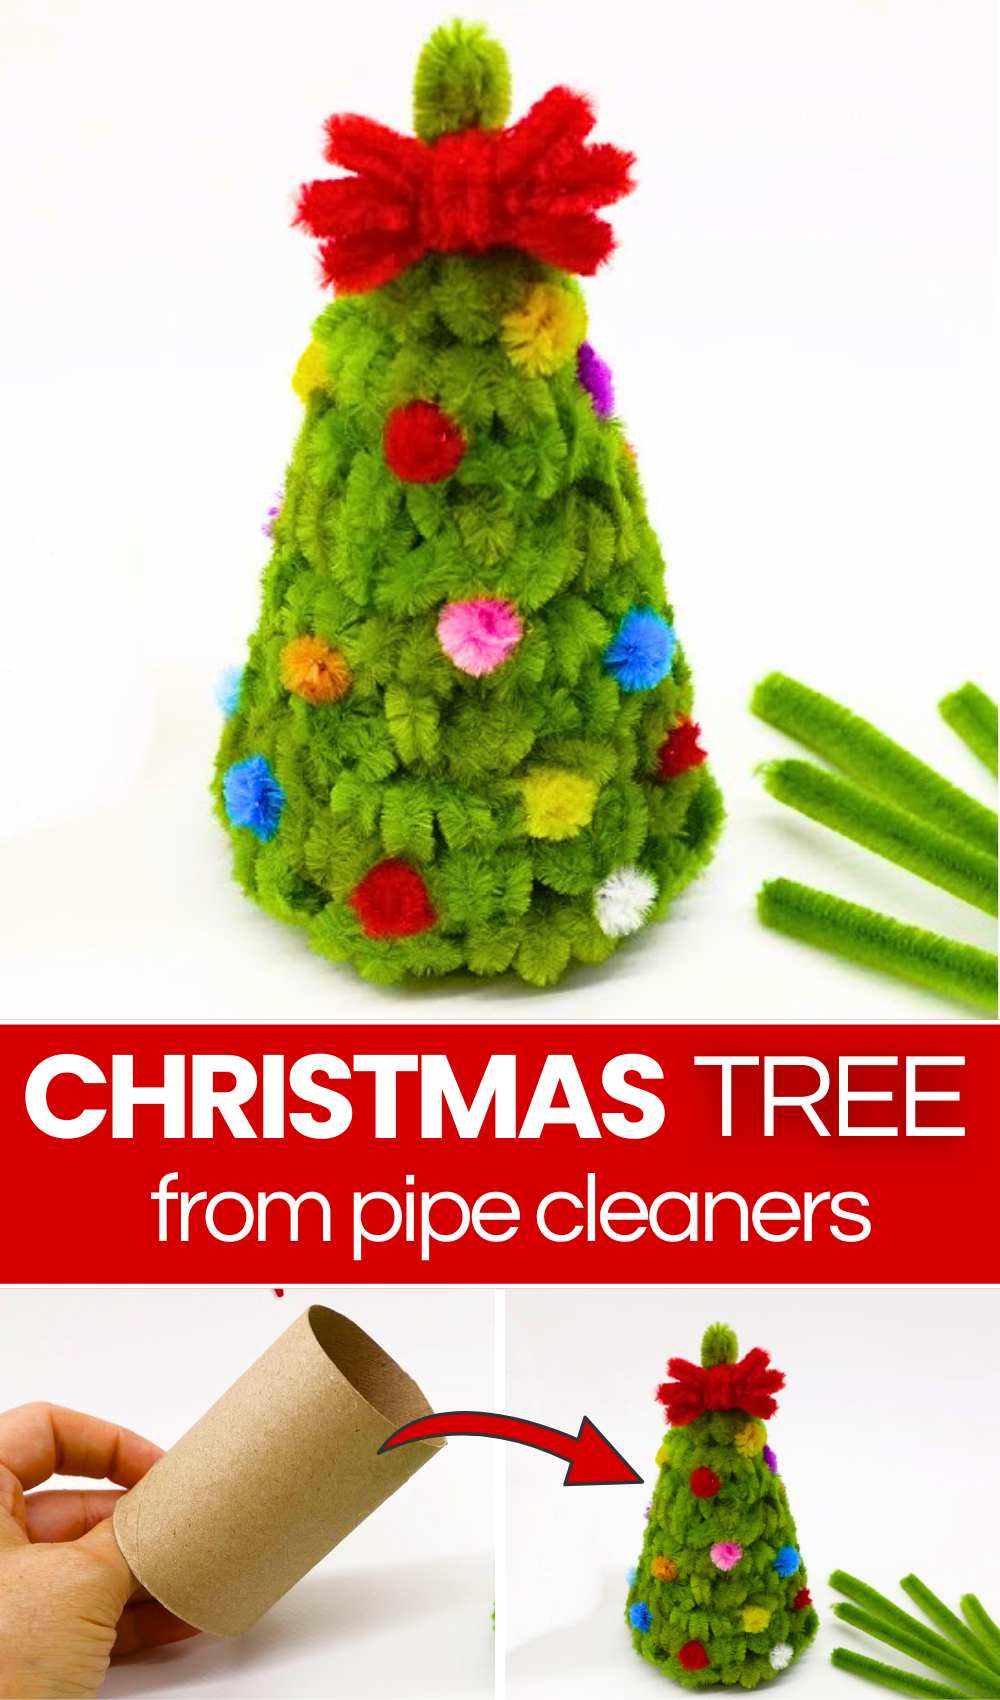
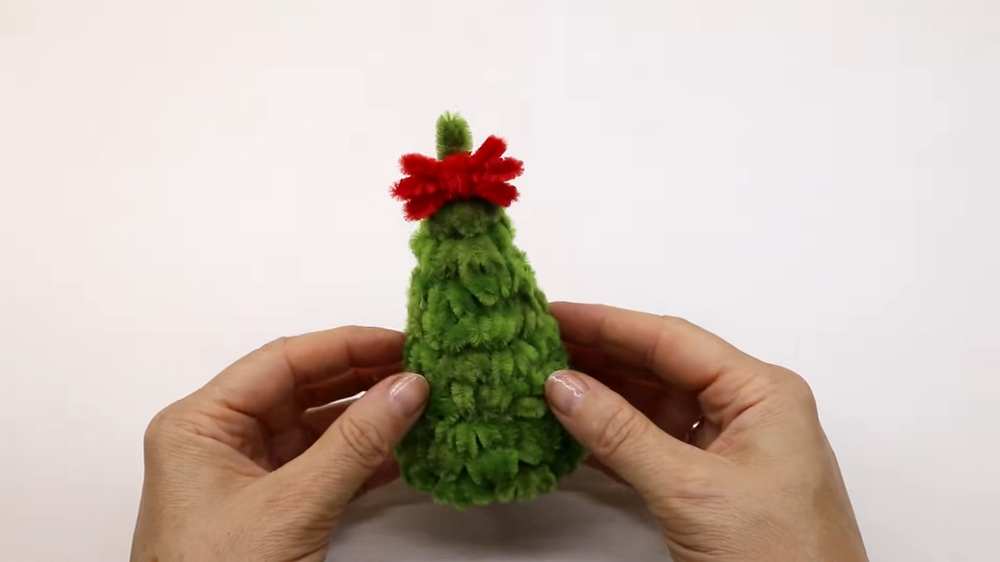
Here is another UNIQUE DIY method for a Christmas tree! Learn how to make this beautifully textured chenille stem Christmas tree that is decorated with colorful pom poms following a step-by-step tutorial. This DIY pipe-cleaner Christmas tree is built around a cardboard cone base, so it can be completed in 30 minutes.
You can decorate the Christmas table with this Christmas tree or hide a Christmas present or candy inside its cone. It only requires one bend pattern, each made from one-third of a green pipe cleaner.
This handmade Christmas tree decoration also features a little pipe cleaner bow on the top just like the foaming sheet Christmas tree and the pom pom Christmas tree. You can also decorate yours with a golden string crossed below each pom pom to mimic the Christmas tree lighting. Anyway, continue reading to learn more about this Christmas tree project.
[ez-toc]


Quick Guide for Making this Pipe Cleaner Christmas Tree
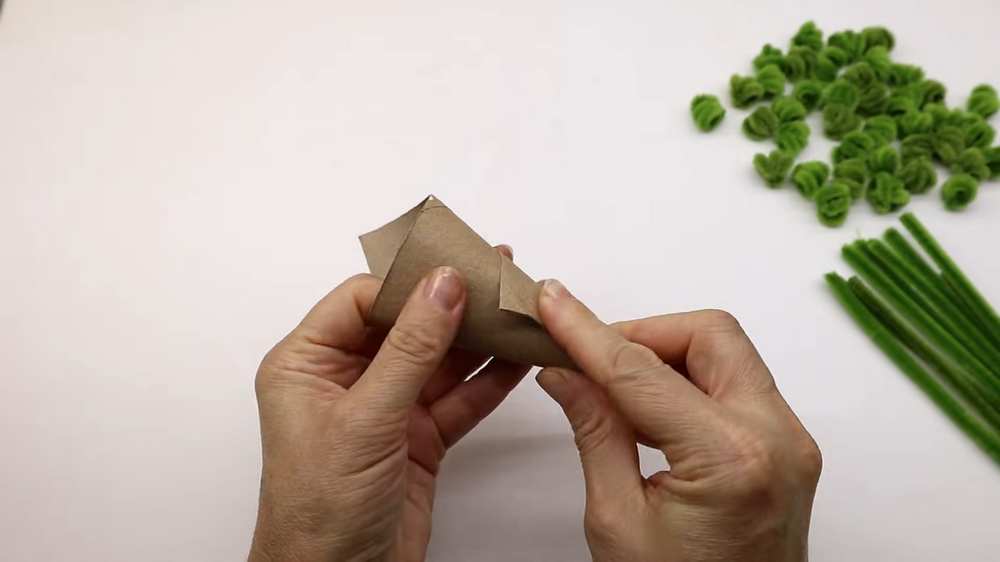
You will start by cutting a tissue paper roll into a rectangle and rolling it to make a cone. After gluing the corner to close the cone, you will also want to cut the bottom corner to make a circular bottom. Take a green pipe cleaner & cut it into 3 pieces (10cm each).
Take one and twist it around a ball pointer, making 3 loops, and then twist at the bottom to secure the loops. Fan out the loops a bit to make the Christmas tree pipe cleaner unit.
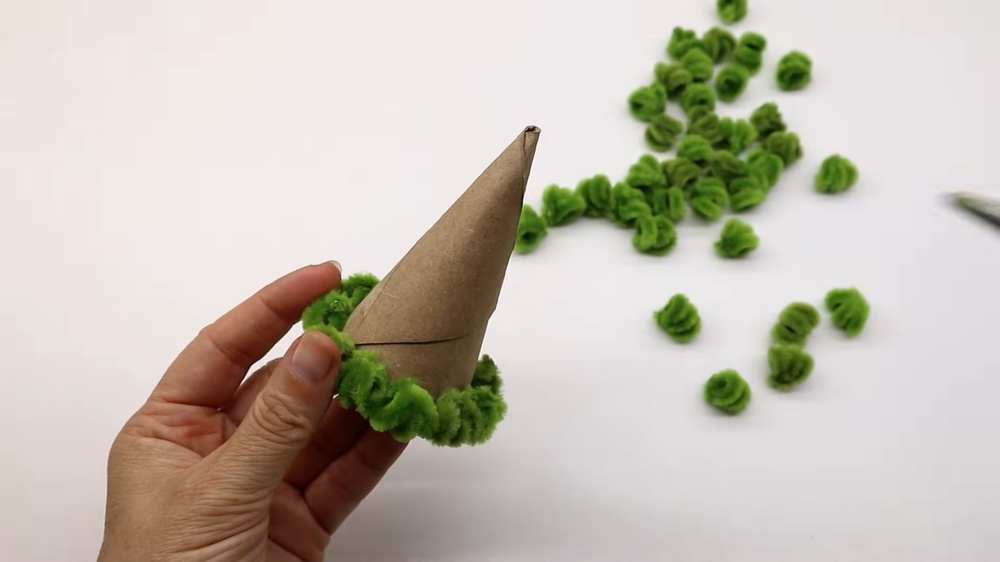
You will do the same for about 40 more pipe cleaner thirds. You will apply zig-zag glue along the bottom and start attaching the pipe cleaner units. Attach a small pipe cleaner at the top so you can attach the bow onto it. Note that if you want to learn making this pipe cleaner Christmas tree in detail, be sure to watch the video tutorial.
Supplies Needed
The following are the supplies needed for following this DIY pipe cleaner Christmas tree tutorial:
- Green pipe cleaners (chenille stems)
- Colorful pom poms
- Empty tissue paper roll (to make the cardboard cone)
- Hot glue or craft glue
- Scissors
- Ballpoint pen or similar round object (to form the pipe cleaner loops)
- Small piece of green pipe cleaner (to attach the bow at the top)
- Pipe cleaner bow (tree topper)
- Golden string or gold cord (optional, for garland/light effect)
- Candy or small gift (optional, to hide inside the cone)

Learn How to Make the Foaming Sheet Snowflake?
Learn how to cut each pipe cleaner, make the pipe cleaner Christmas tree unit, attach around the cone base, and assemble the DIY Christmas tree with the following video guide:
About "DIYChristmasIDEAS"
She shared only Christmas crafts with always the creative ideas!