Subscribe to @a_studenwhodoeasyhandcrafts
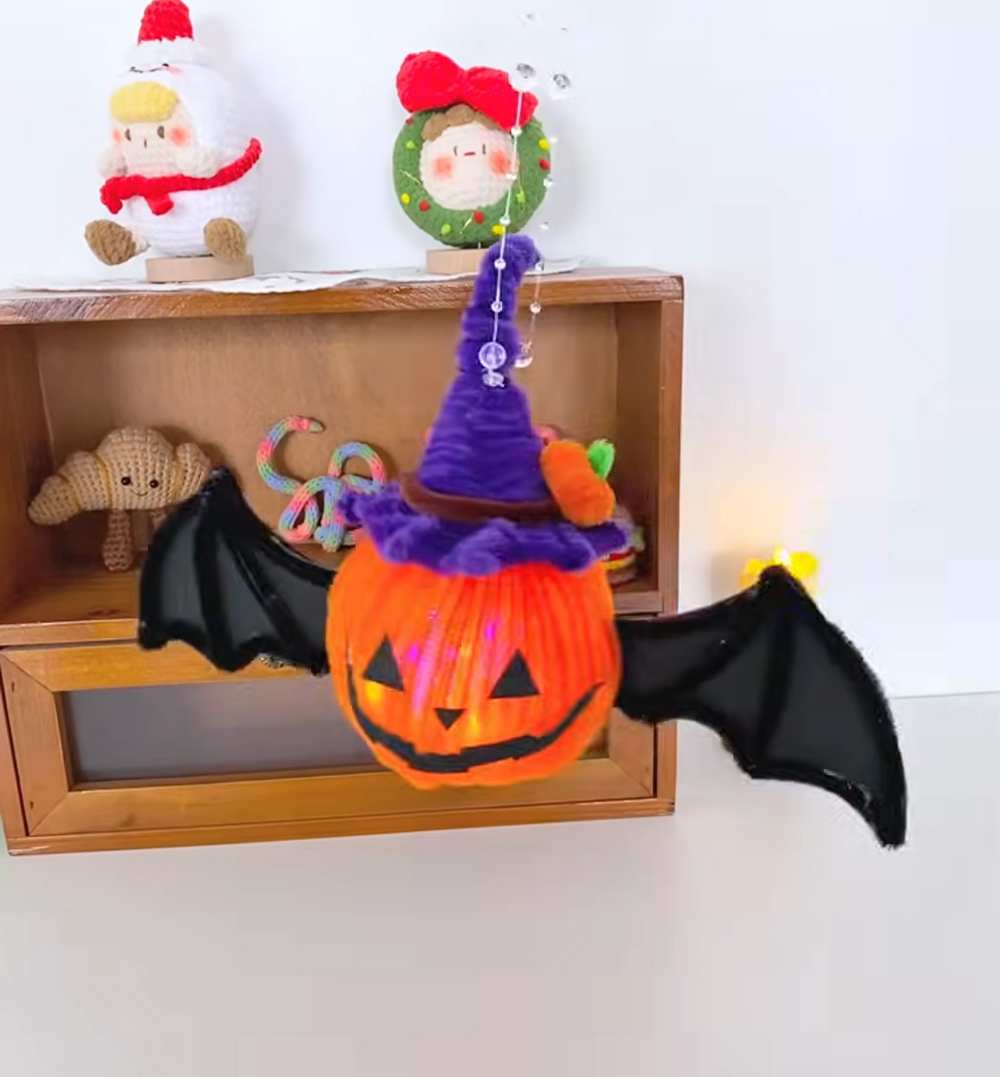
Decorate for Halloween this year by making this easy pipe cleaner Jack-o’-lantern pumpkin in a witch hat! Along with the spooky felt jack face, this pipe cleaner pumpkin is also wearing bat wings. This makes an irresistible hanging decoration that you can actually light from the inside. That’s why I also call it the jack-o’-lantern lantern pipe cleaner craft. You can also decorate the porch and front door at night with this pipe cleaner pumpkin craft for Halloween.
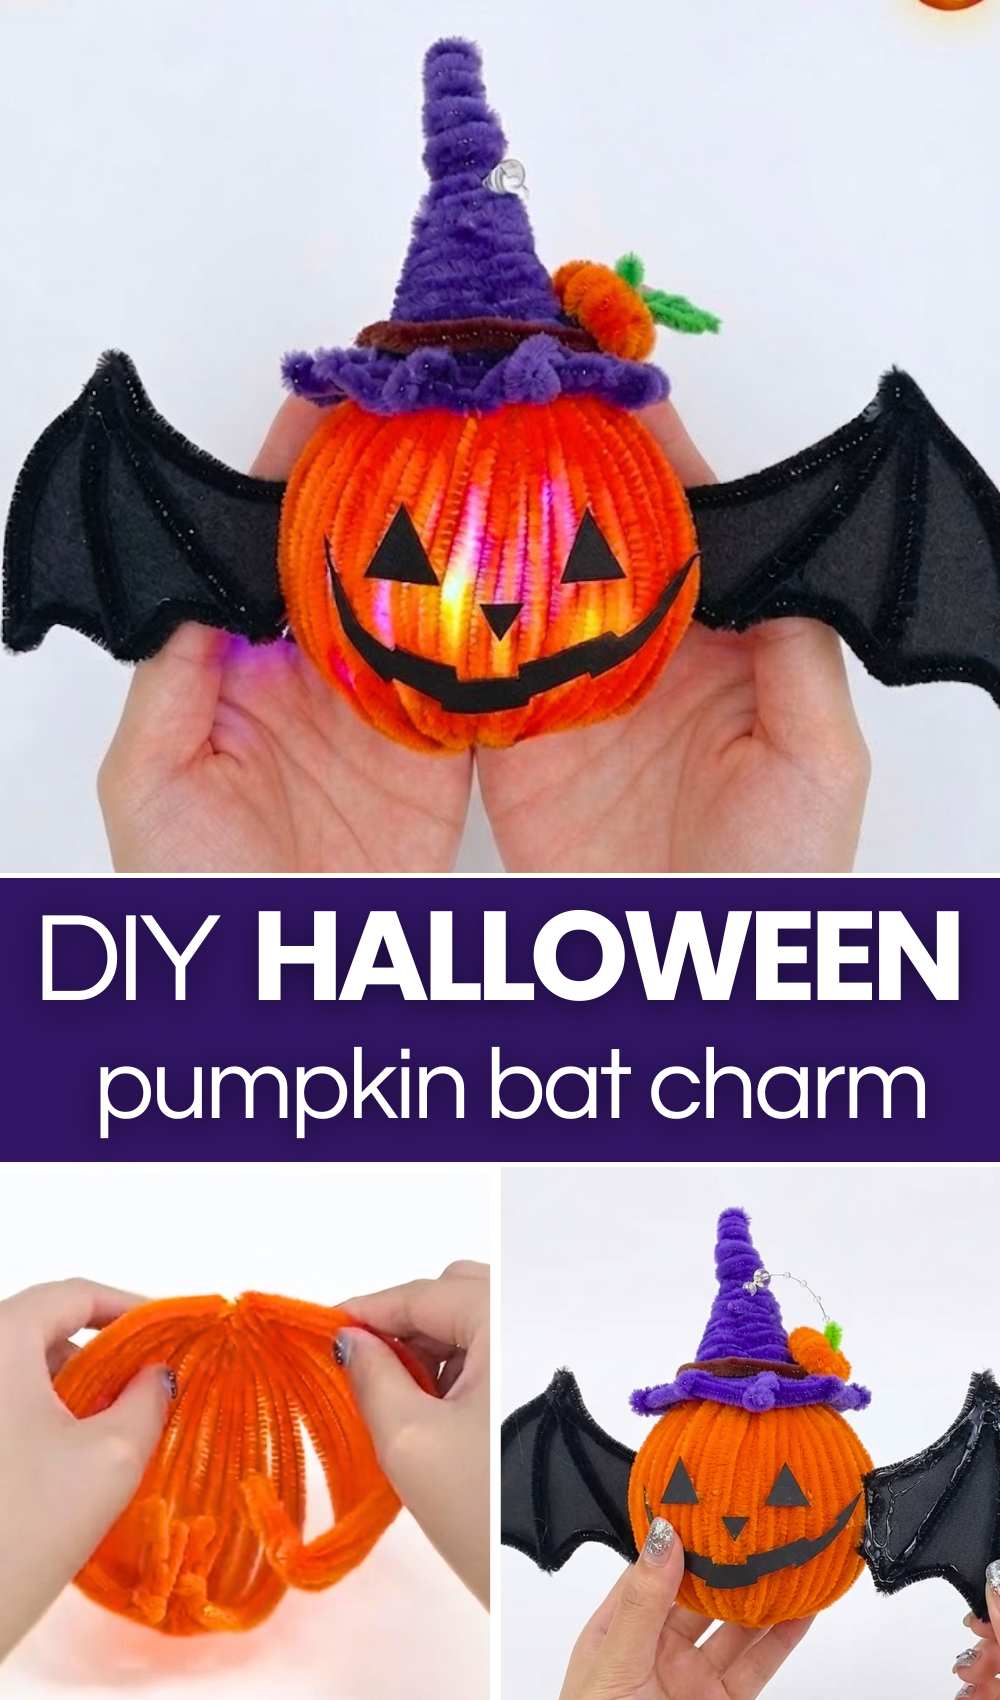
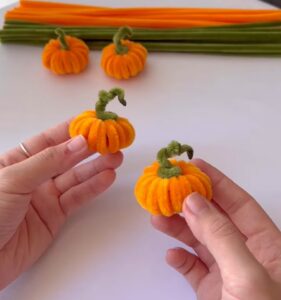
The witch hat, which is also made with the chenille stems, is decorated with a small chenille stem pumpkin and brown stripe as well. I have already discussed many ways to make a small pipe cleaner pumpkin, and this one is easier than most.
You can learn to make this by following both the tutorial and the written guide. You can also make it as a trick-or-treating pouch and a treat basket. Anyway, customization is up to you; you can continue reading to learn how to DIY this in detail below!
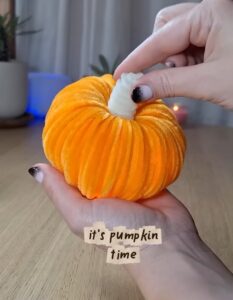
DIY Pipe Cleaner Jack-o-Lantern Pumpkin
You will take 5 orange pipe cleaners, fold them in half, and twist another orange pipe cleaner around the middle to hold them together. Spread the ends out and bend each one into a curved rib. Make 5 of these sections, then hot glue them side by side to form a hollow pumpkin.
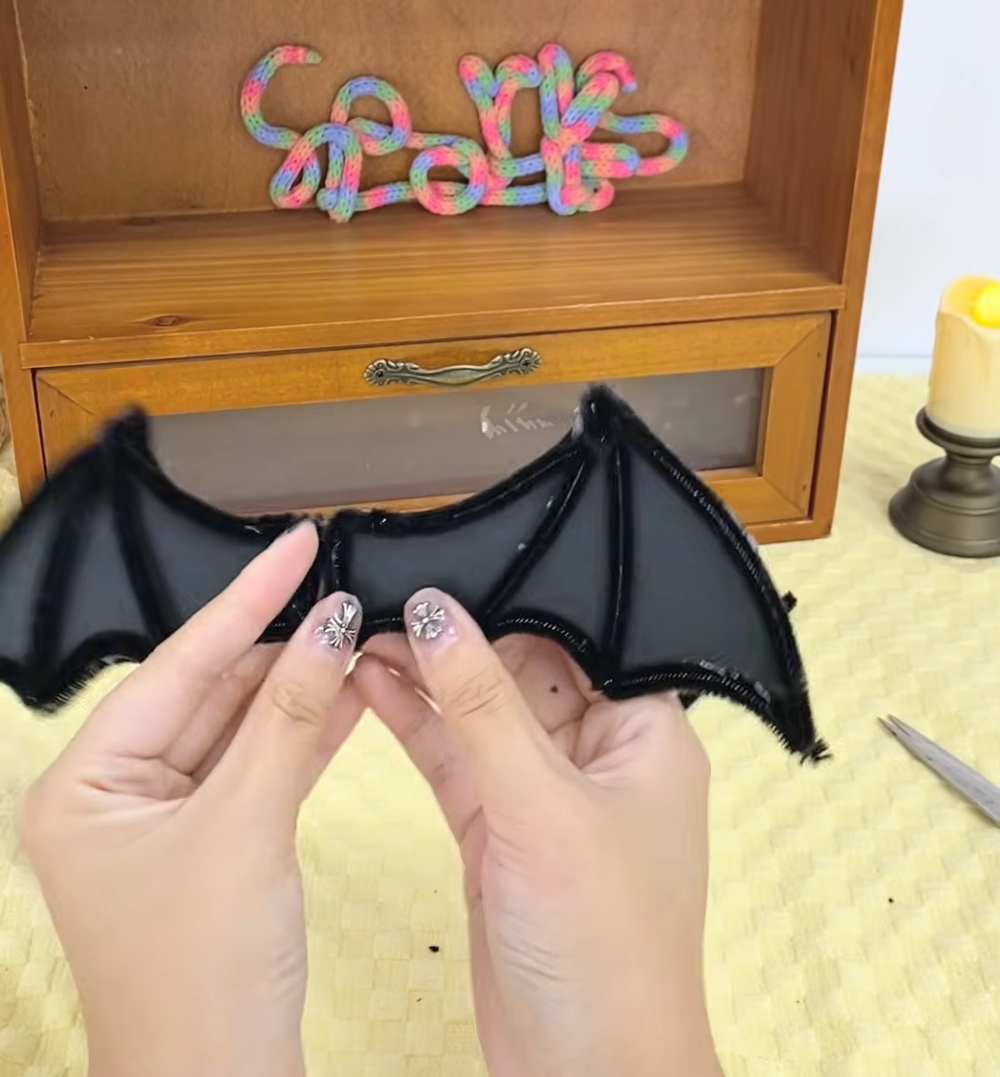
Cut two bat wings from black cardstock and glue black pipe cleaners around the edges. Roll purple pipe cleaners into a small witch’s hat, add a brown band and a simple orange-and-green flower, then glue it on top.
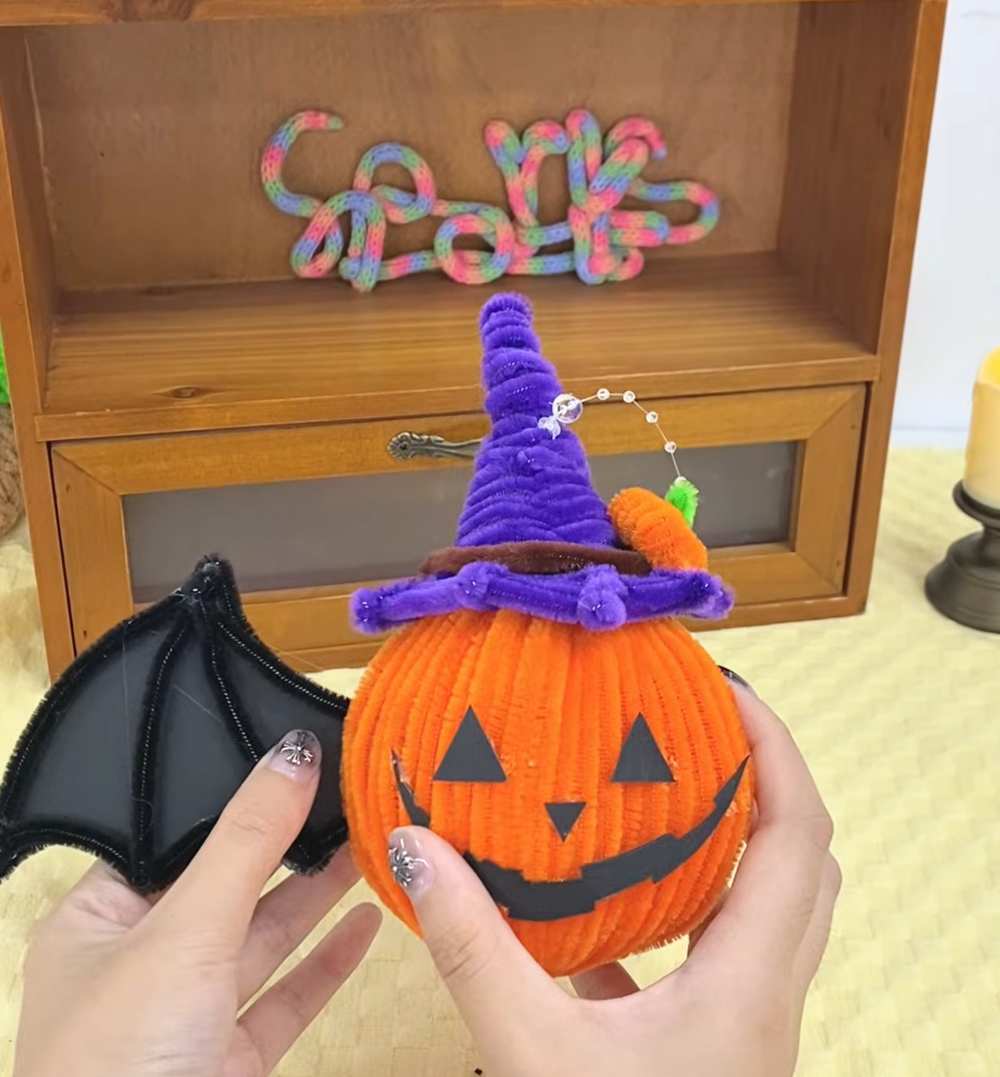
Glue black triangle eyes, a nose, and a jagged smile to the front. Attach the wings to the back and place a small LED tea light inside to make your pumpkin glow.
Materials Needed
Before starting, gather the following crafting supplies:
-
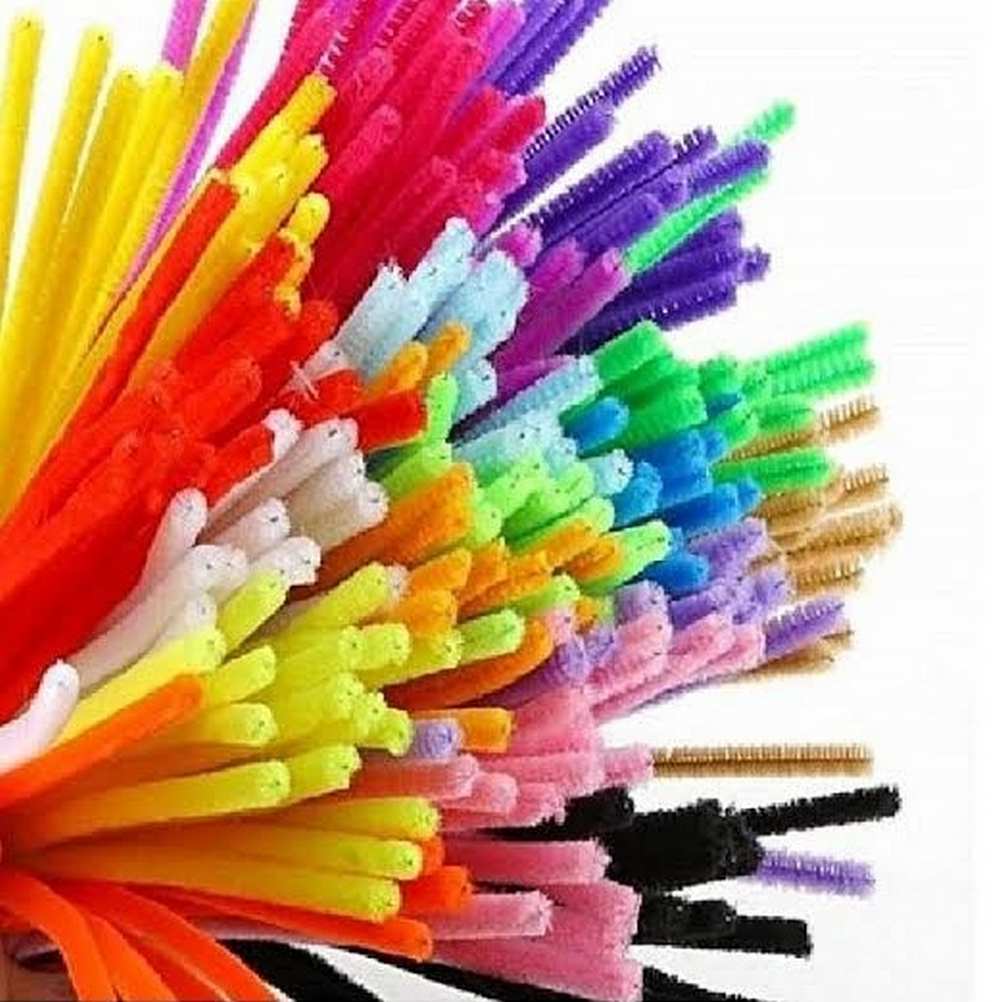
Pipe Cleaners (Chenille Stems):
-
Orange: At least 26–30 pieces (for the pumpkin body sections and details)
-
Purple: ~5–6 pieces (for the witch’s hat)
-
Black: ~3–4 pieces (for framing the bat wings)
-
Brown: 1 piece (for the hat band)
-
Green: 1 piece (for the decorative flower stem)
-
-
Other Craft Supplies:
-
Black Cardboard / Cardstock (for the bat wing backing, eyes, and mouth)
-
Hot Glue Gun and glue sticks
-
Scissors
-
Small Cylinder Object (like a marker or glue stick to wrap around)
-
Small LED Fairy Light / Tea Light (to place inside and light up the finished project)
-
Step-by-Step Guide
To build the main pumpkin sphere, you will need to create five ribbed segments.
-
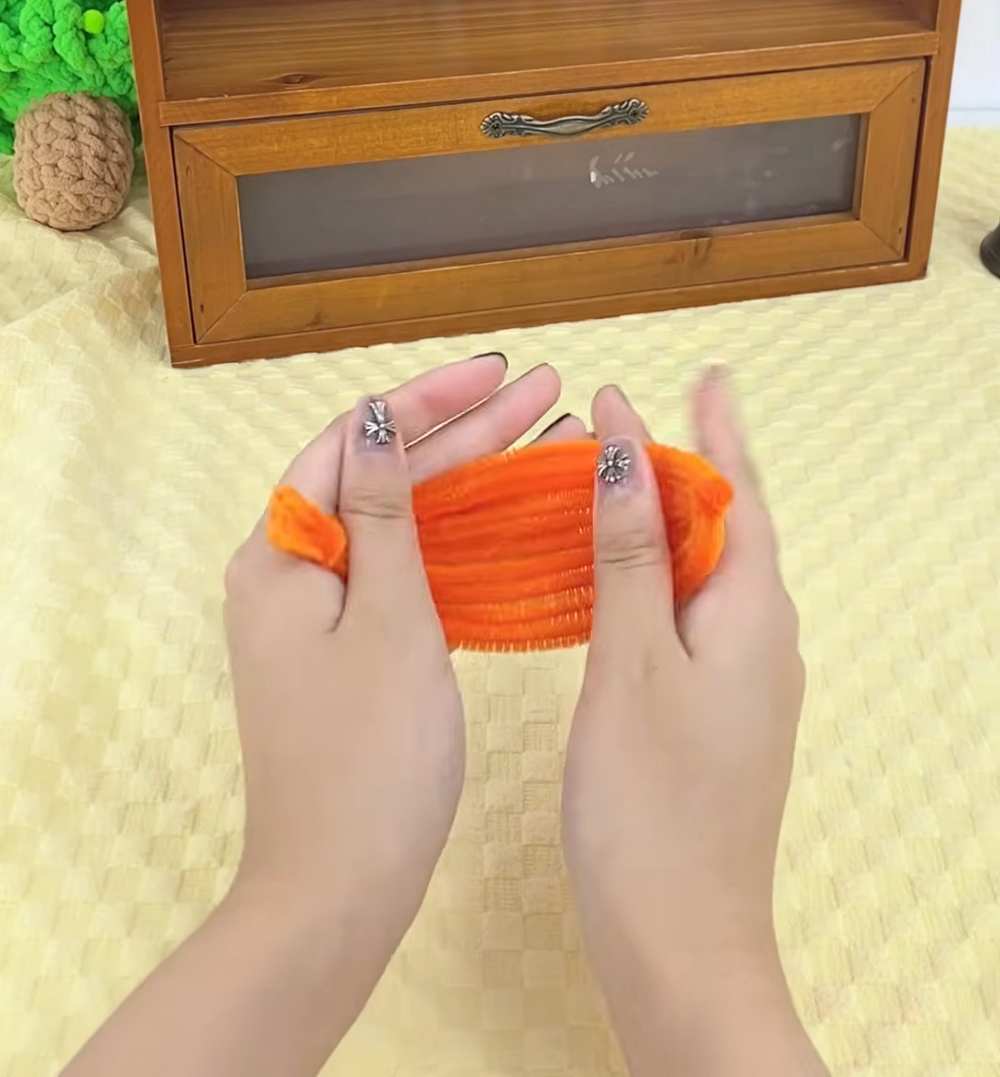
Take 5 orange pipe cleaners, align them, and fold them in half.
-
Take another orange pipe cleaner, loop it through the fold of the remaining four, and twist to tighten them together.
-
Fan them out evenly. Take one of the ends, bend it back, and loop/twist it to create a curved, dimensional hollow “arm” or rib.
-
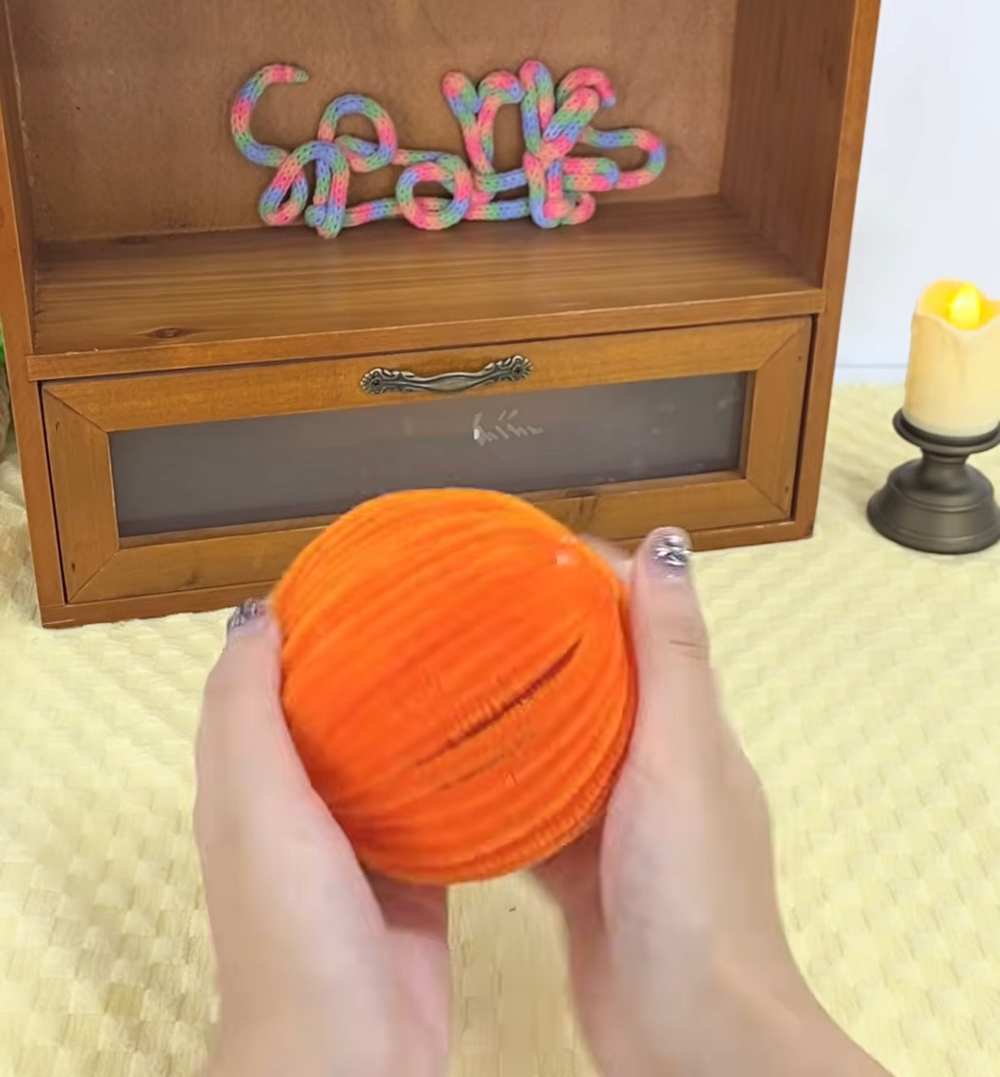
Repeat this to make 5 individual curved ribbed sections.
-
Join these five sections together side-by-side using hot glue to form your hollow, 3D pumpkin shape.
Finding Difficult? Here is the tutorial!
-
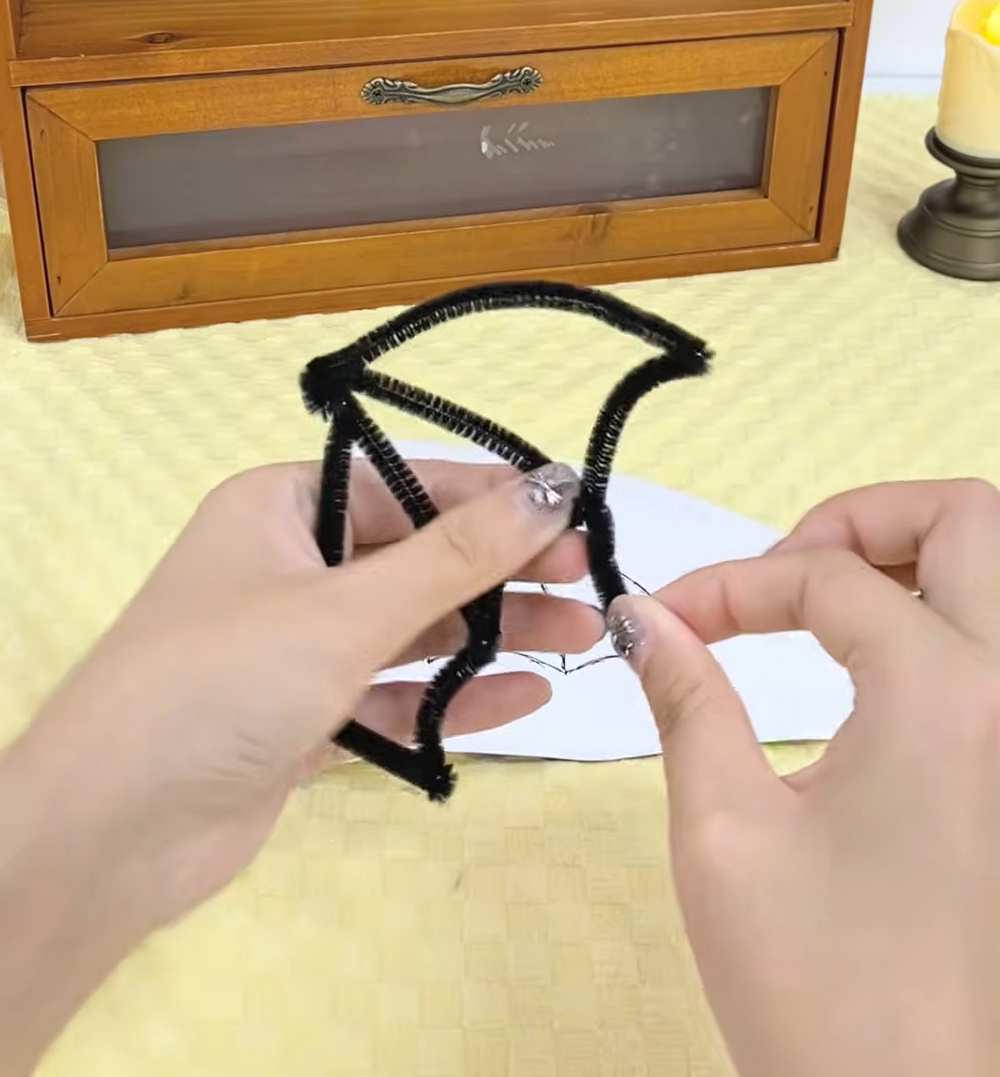
Draw a bat wing template on black cardboard and cut out two identical wings.
-
Take a black pipe cleaner and bend/twist it to match the jagged outline of the bat wing.
-
Apply hot glue along the edges of the cardboard wing and press the bent pipe cleaner frame onto it to give it texture and structure.
-
Glue a pipe cleaner to both the front and reverse sides of each wing to hide the cardboard edges.
-
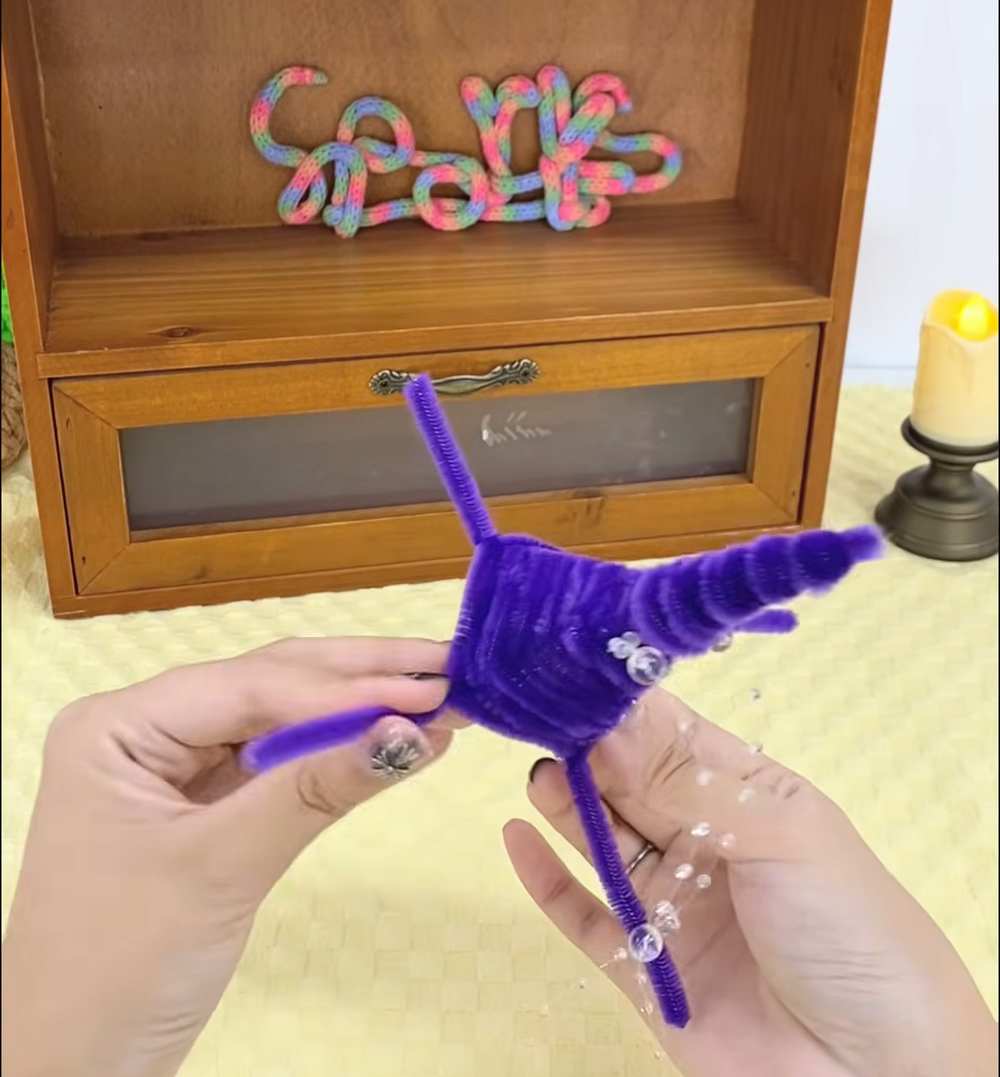
Cut 2 purple pipe cleaners in half to get 4 equal segments.
- Cut or measure these rods so you have graduated lengths (approximately 1 cm, 2 cm, 3 cm, and 4 cm).
-
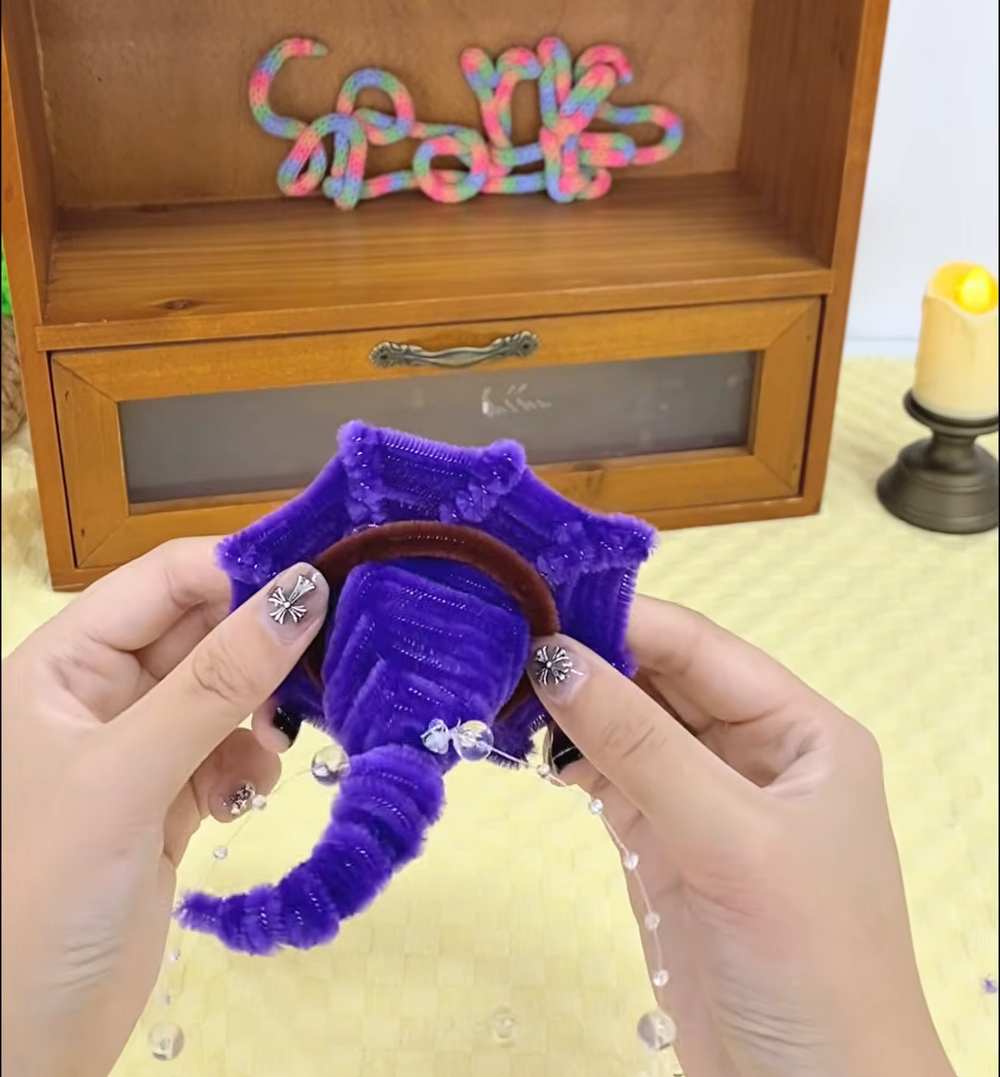
Line these pieces up parallel to each other. Wrap a long purple pipe cleaner tightly around them starting from the shortest end, spiraling downward for about 5 cm to create the conical shape of the hat.
-
Secure additional cut purple pipe cleaners vertically inside the cone with hot glue to reinforce it.
-
Bend the very tip of the cone slightly to give it a whimsical “crooked” witch hat look.
-
Twist a brown pipe cleaner into a small circle and slide it over the cone to serve as the hat’s band.
-
Wrap an orange pipe cleaner around a cylindrical object (like a marker) to make a tight spiral coil, then slide it off.
-
Thread a green pipe cleaner through this orange coil and join the ends to form a small decorative flower.
-
Glue the flower to the base of the witch’s hat, then hot glue the completed hat securely to the top of your orange pumpkin body.
-
Cut out classic jack-o’-lantern triangle eyes and a jagged mouth from your leftover black cardboard.
-
Hot glue these face pieces onto the front of the pumpkin.
-
Glue the bat wings to the left and right sides of the pumpkin’s back ribs.
-
Finally, place a small LED fairy light or electronic tea light inside the hollow center of the pumpkin. Turn it on to see your homemade Jack-o’-lantern glow!
Safety Tip: Always use a flame-free LED light or battery-operated tea light inside the pipe cleaner pumpkin. Traditional wax candles with real flames will melt the glue and catch the fuzzy chenille material on fire.