
Subscribe to ShemarkCrafts!
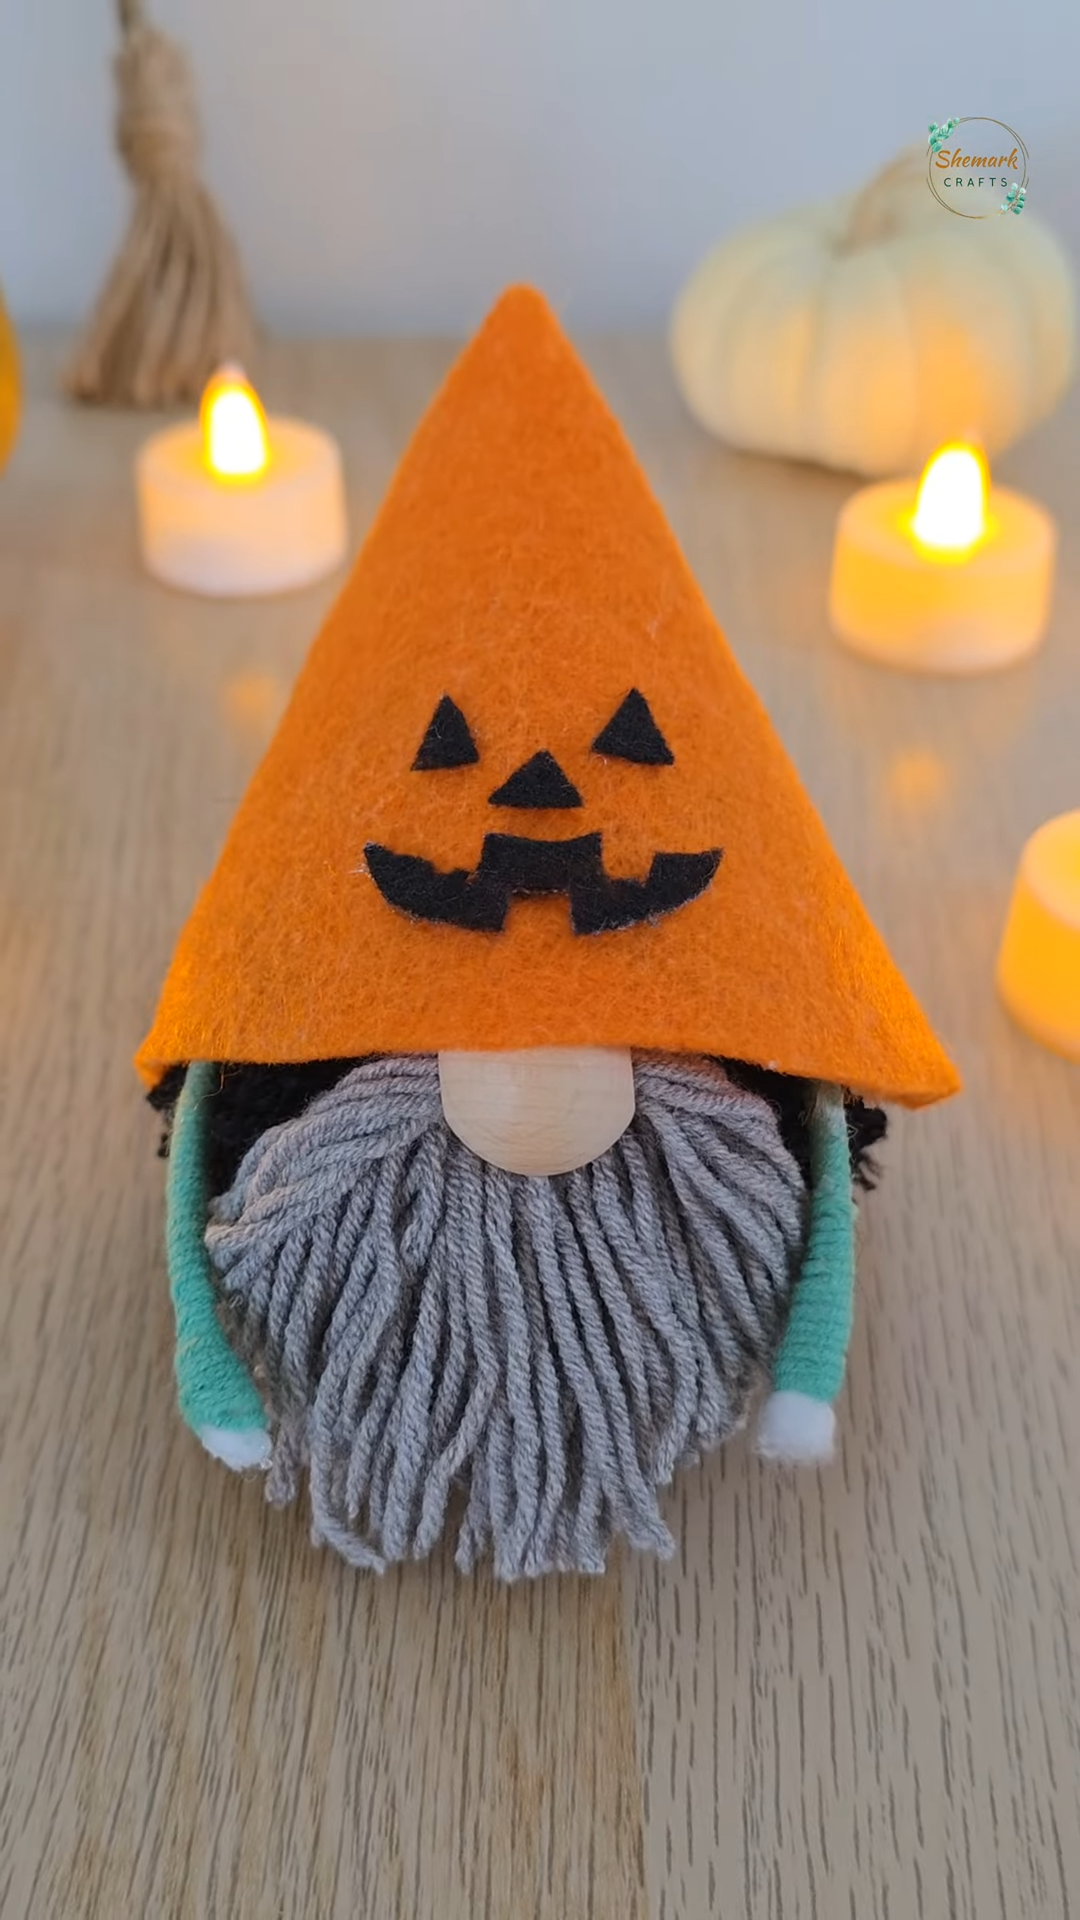
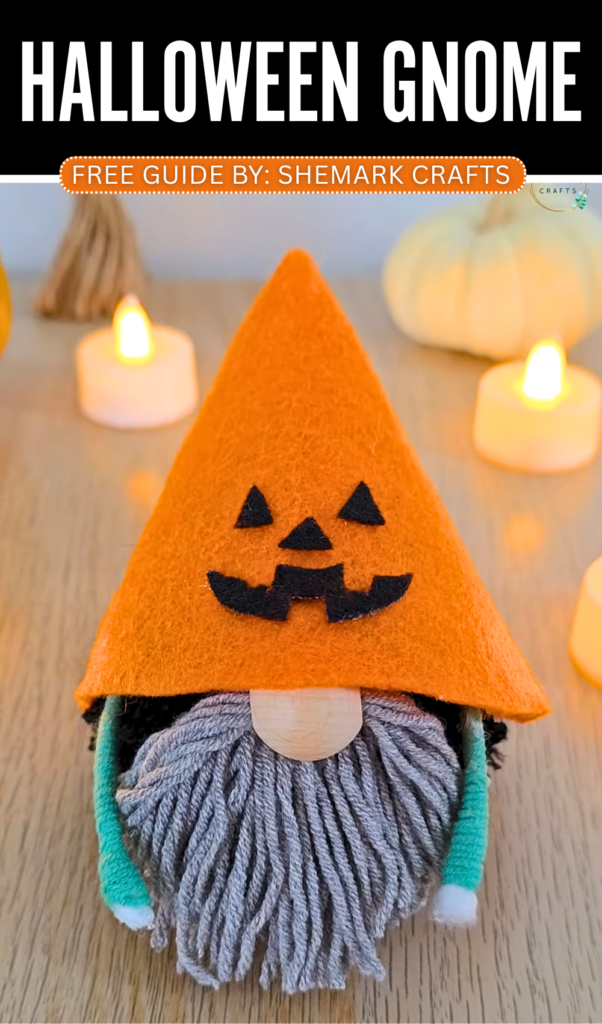
Looking for an ultimate Halloween gnome plushie with the cleverest method? In today’s “felt + yarn” plushie tutorial, learn how to DIY this spooky pumpkin hat gnome plushie that you can use for Halloween hanging and table decoration. The gnome hat has a spooky, iconic face cut from black felt. Below we have the same lucky gnome plushie (a similar one has been taught in the Christmas gnome tutorial!). You can also use this plush gnome as a Halloween trick-or-treating bag charm.
Luckily, you don’t have to make a complicated pom-pom shape to make this Halloween pumpkin hat gnome plushie. You can make this Halloween gnome in under 15 minutes by using a sphere pom-pom and an unfinished pom-pom (yarn-wrapping for the gnome beard).
This DIY gnome sits upright on the table without any support. So, be sure to add at least one of these felt and yarn gnomes to your Halloween or fall garland or table centrepiece. For the nose, we are using a spacer wooden button. This detail adds professionalism to this gnome craft and also adds a rustic look. You can learn how to DIY this cute gnome with the following tutorial, so continue reading for the full details.


Tutorial to Make a Pumpkin Hat Gnome Plushie
This DIY project shows how to make a cute Halloween gnome. You use yarn, felt, and glue to make it. First, you make a soft black ball with yarn for the body. Then you make a grey beard with yarn. You use a wood bead for the nose.
You wrap green yarn around a stick for the arms. Glue the beard and nose to the body. Next, make a hat from orange felt. Cut black felt for the eyes and mouth. Glue them on the hat. Finally, glue the hat on the gnome. It looks like a pumpkin person.
Detailed Guide: DIY Yarn Pumpkin Gnome
Materials You Will Need:
-
Yarn: Black (for the body), Grey (for the beard and hands), and Green (for the arms).
-
Felt: Orange (for the hat) and Black (for the pumpkin face).
-
Accessories: A small wooden bead (for the nose) and a cotton swab (Q-tip).
- Tools: Hot glue gun, scissors, and tweezers.
Video Tutorial?
Step-by-Step Instructions
1. Make the Gnome’s Body
-
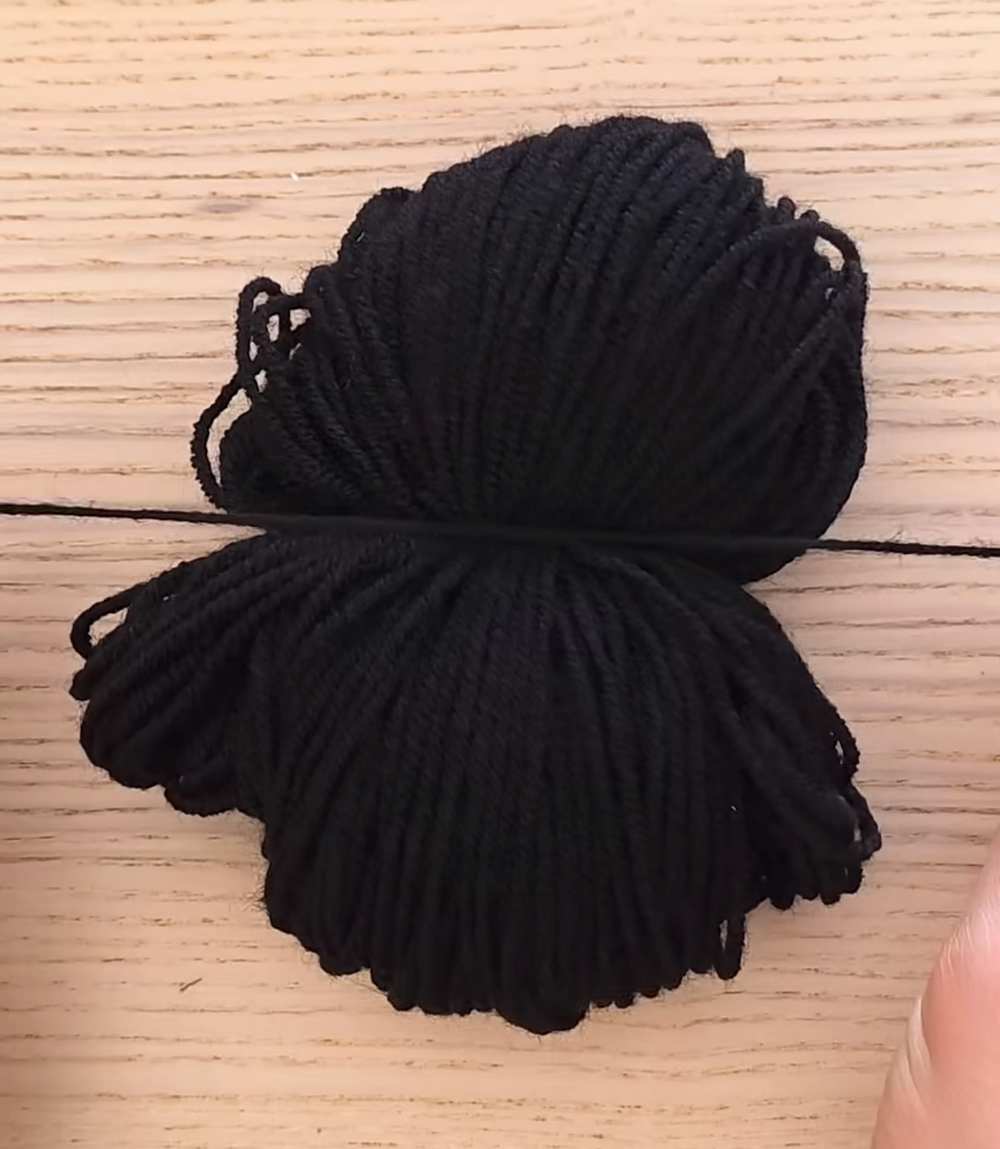
Wrap black yarn around your hand or a piece of cardboard many times.
-
Tie a string tightly around the middle of the bundle.
-
Use scissors to cut the loops on both sides.
-
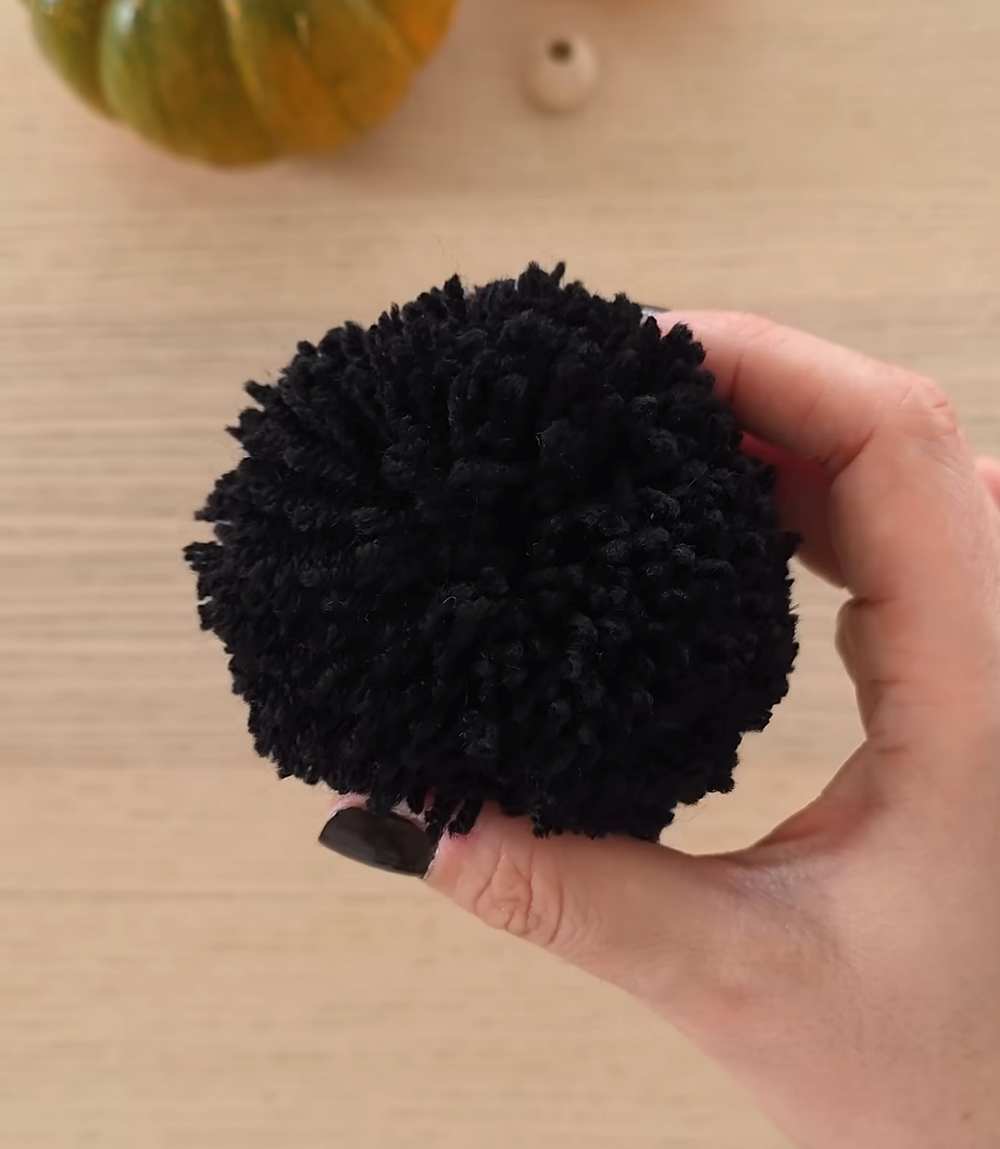
Trim the yarn until you have a neat, round black pom-pom. This is the gnome’s body.
2. Make the Beard and Hands
-
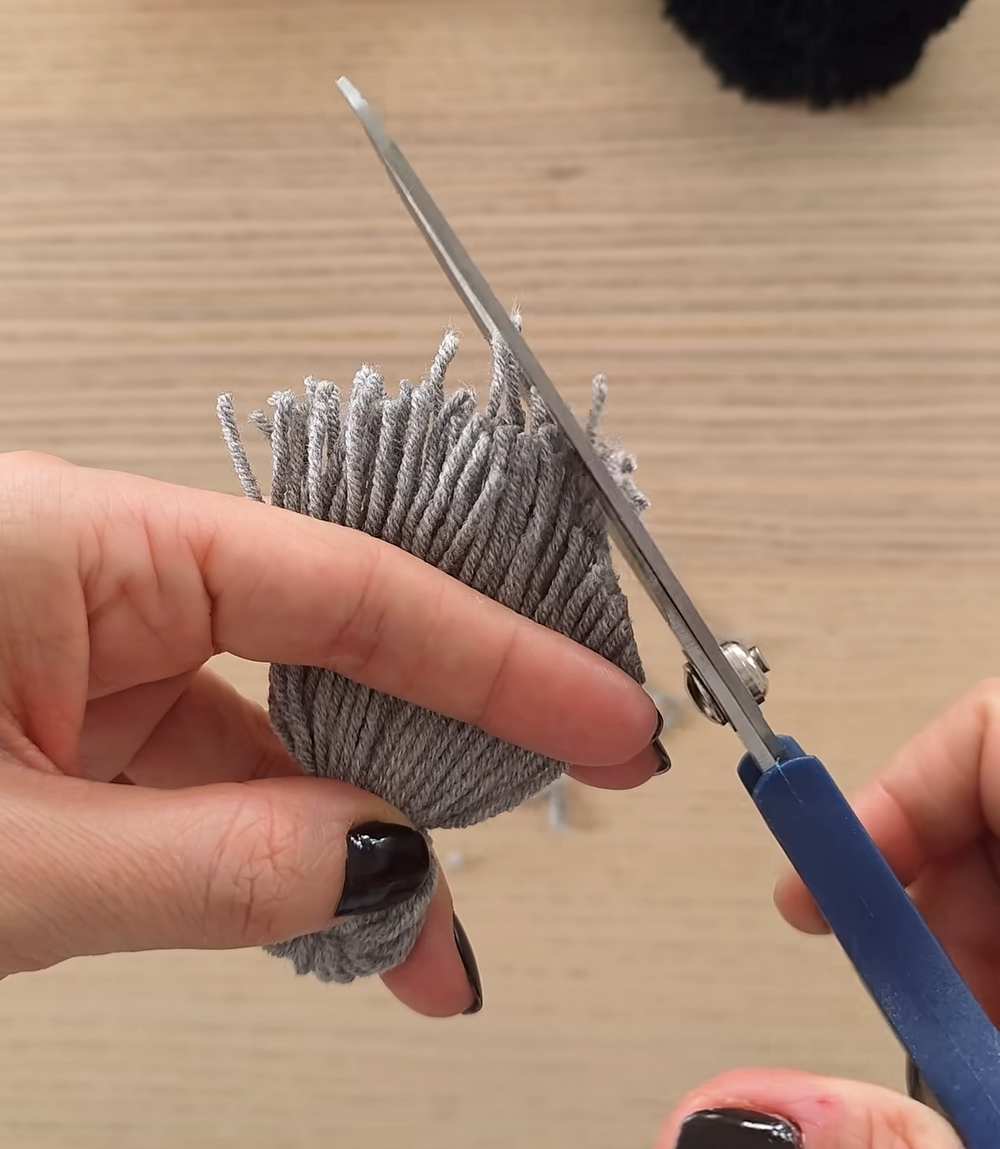
Beard: Take grey yarn and wrap it around your fingers. Tie it at the top and cut the loops at the bottom to make a tassel. Trim it so it looks like a long beard.
-
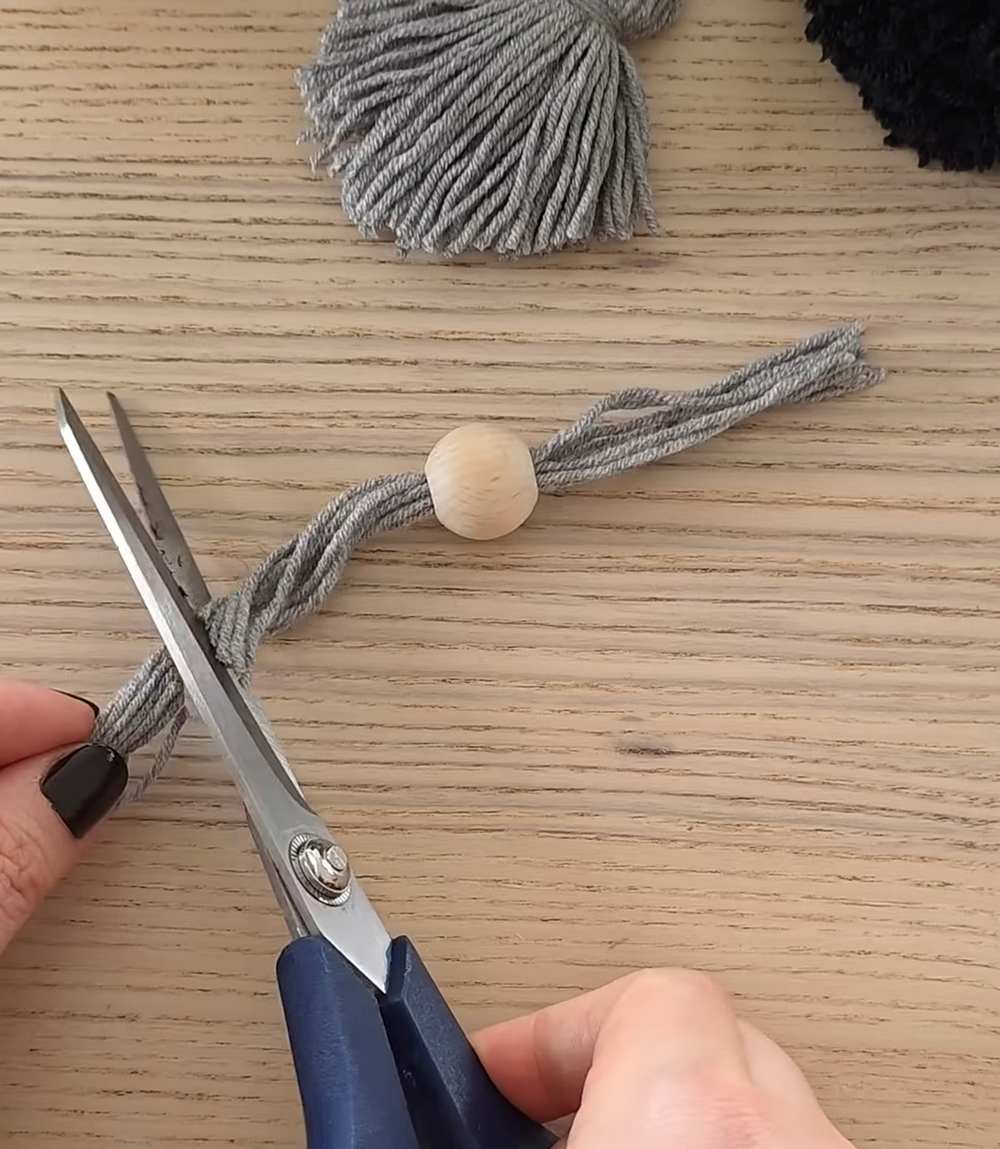
Hands: Cut a short piece of grey yarn and slide a small wooden bead to the center. Tie knots on both sides of the bead.
3. Make the Arms
-
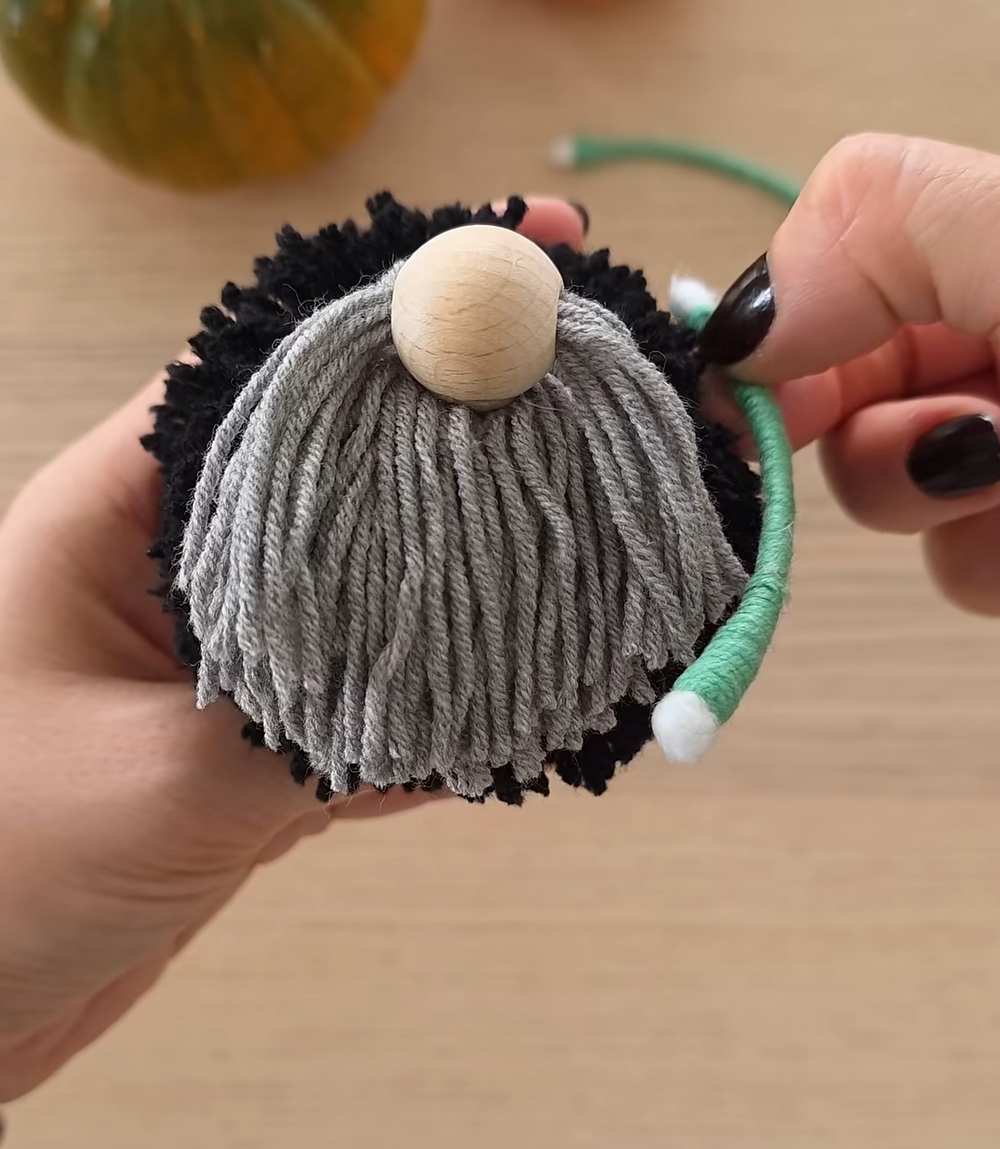
Take a cotton swab and cut off the fuzzy ends.
-
Apply a little glue to the stick and wrap green yarn tightly around it until the whole stick is covered.
-
Gently bend the stick into a “U” or “C” shape.
4. Assemble the Gnome
-
Glue the grey beard onto the front of the black pom-pom.
-
Glue the wooden bead (the nose) right at the top of the beard.
-
Glue the grey yarn with the bead (the hands) onto the front.
-
Glue the green wrapped stick (the arms) around the sides of the body.
5. Make the Pumpkin Hat
-
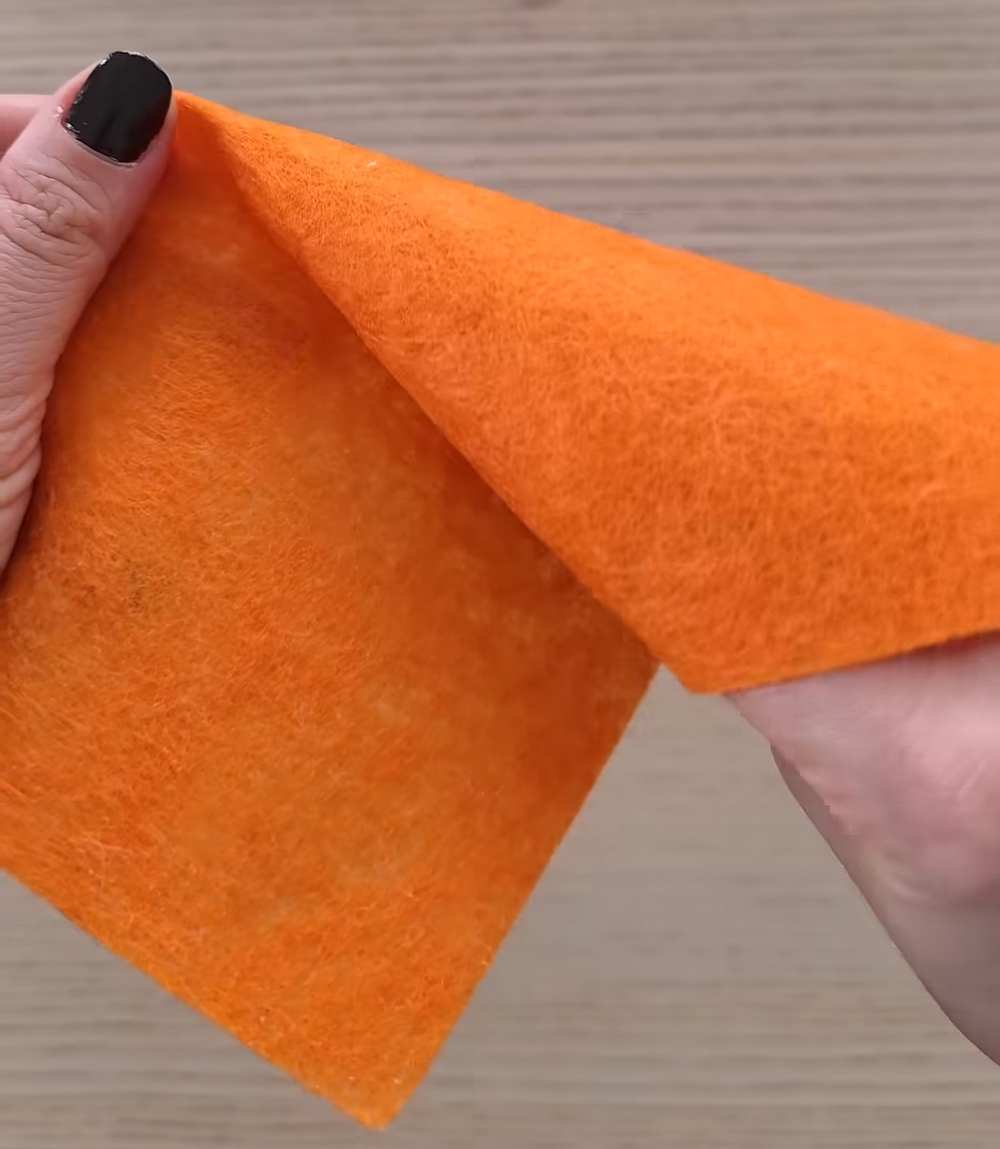
Cut a triangle shape from the orange felt.
-
Roll the felt into a cone shape and glue the edge to hold it together. This is your “pumpkin” hat.
-
Add the Face: Cut two small triangles for eyes and a jagged mouth from the black felt. Use tweezers to glue these onto the orange hat to make it look like a Jack-o’-lantern.
6. Final Step
-
Put a ring of glue around the inside bottom of the orange hat.
-
Press the hat firmly onto the top of the black yarn body, just above the nose.
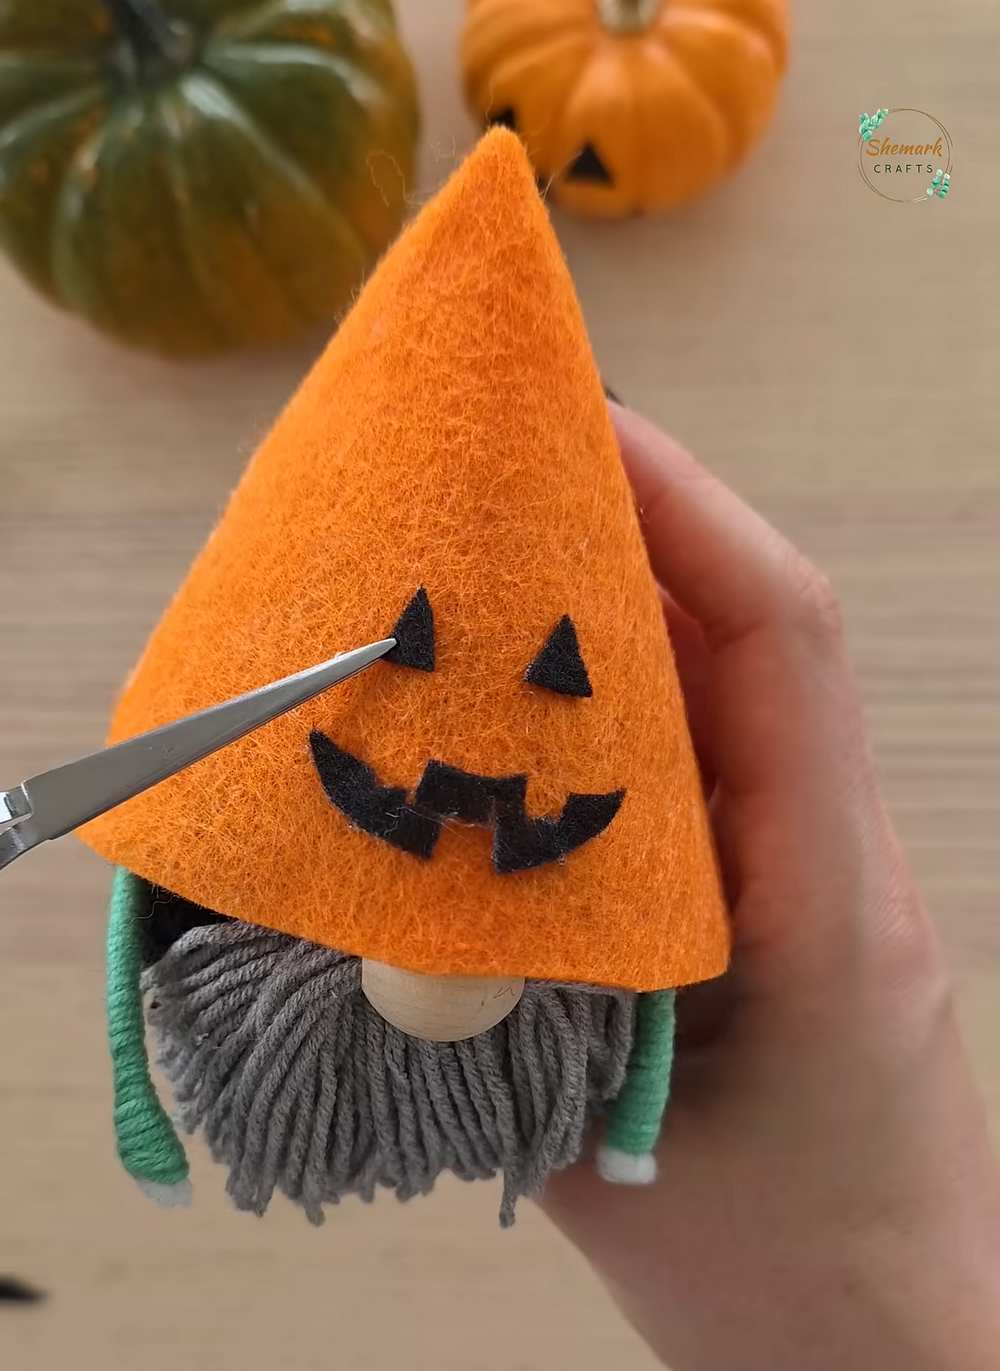
Your Yarn Pumpkin Gnome is finished! It is the perfect soft decoration for your home.