Subscribe to bartowpubliclibrary!
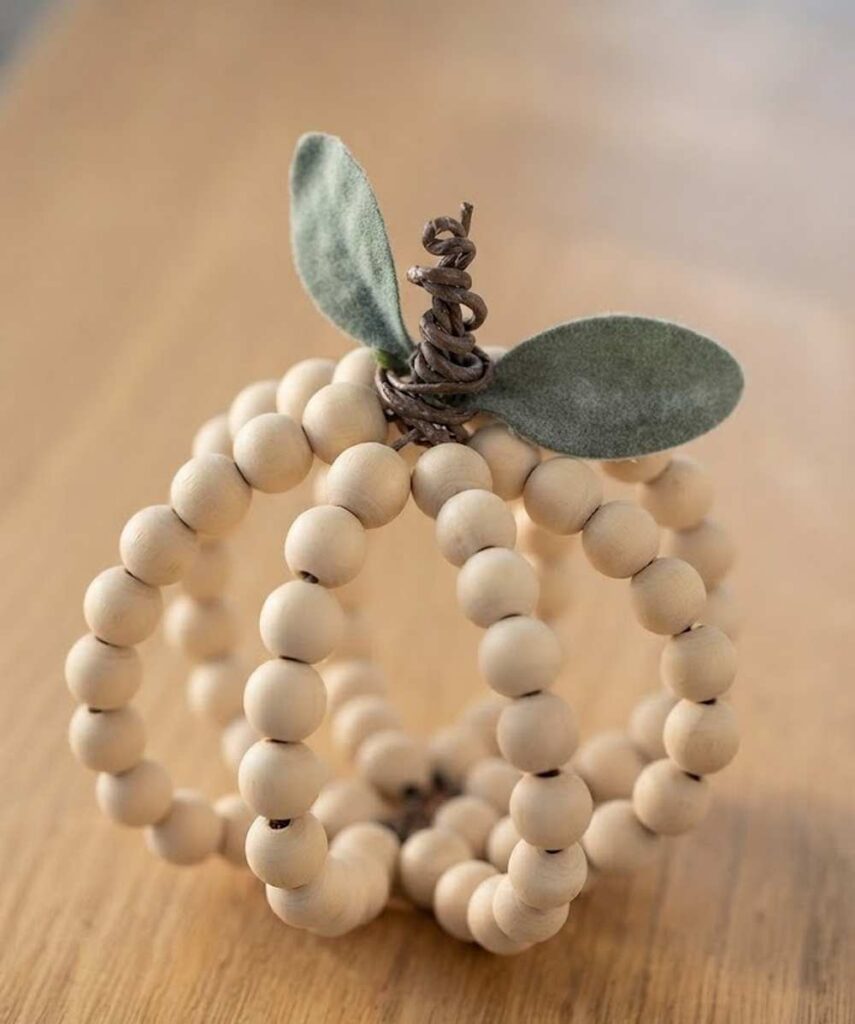
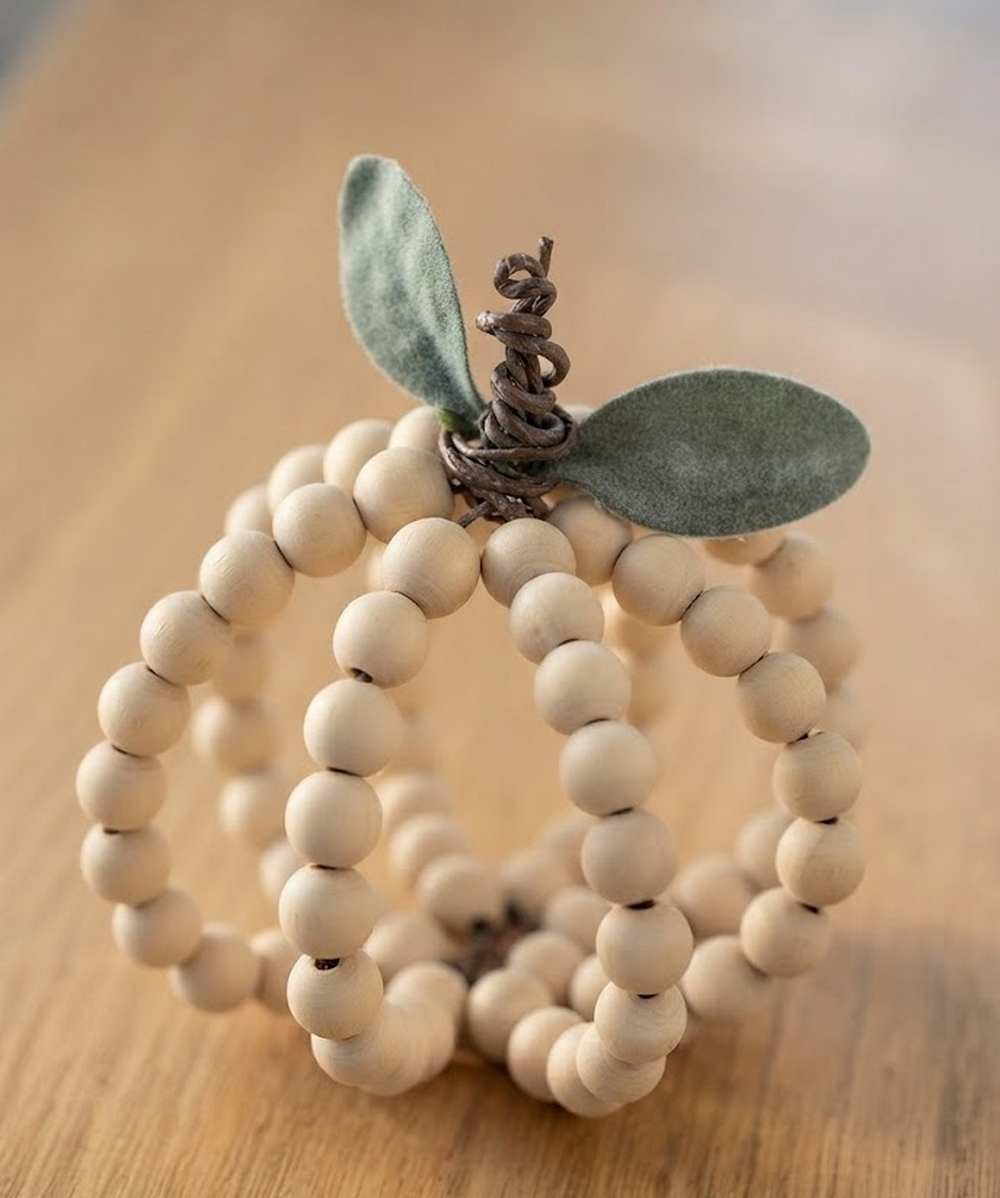
In this part of UNIQUE ways to DIY a fall pumpkin decoration, learn how to make this wooden bead pumpkin fall decoration in less than 20 minutes with a step-by-step tutorial + a written guide as well. You just need some wooden spacer beads, a twig, pliers, and lamb’s ears leaves. This is a perfect rustic decor pumpkin craft that you can also decorate with fairy lights during Halloween or Christmas night.
[ez-toc]

How to DIY A Wooden Bead Pumpkin Table Decoration
Making a pumpkin with wood beads is fun and easy. You need brown wire and many wood beads. You also need green leaves. First, you take four pieces of wire. You fold them and twist them in the middle.
This makes a star shape with eight legs. Next, you put eleven beads on each wire leg. You twist the wires at the top to make loops. All the loops together look like a pumpkin. You put the green leaves at the top center. You wrap more wire to make a stem. Then, you cut the extra wire. Now, the pumpkin is done.
DIY Wooden Bead Pumpkin Crafting Guide
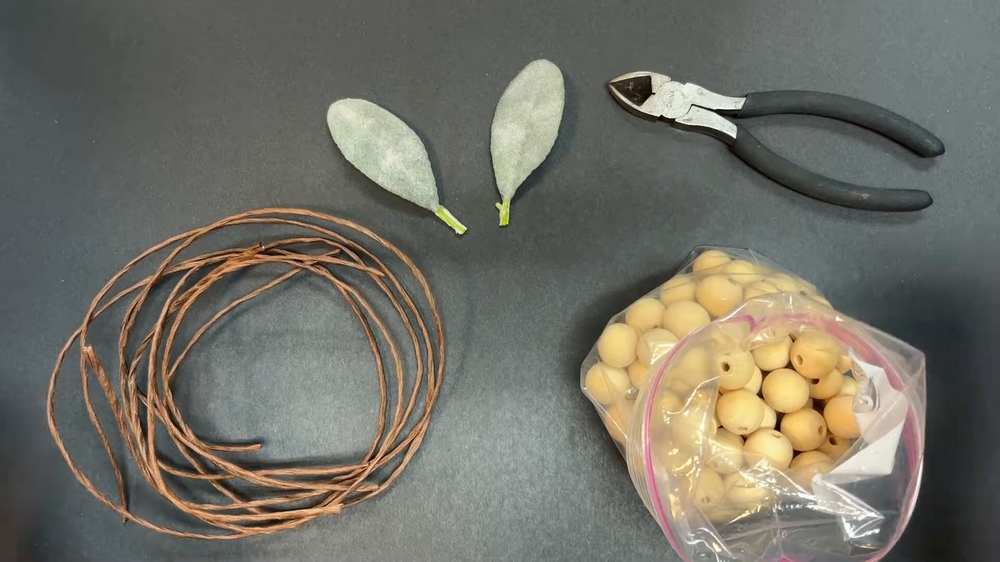
Materials Needed:
-
Jute-covered wire (brown, flexible wire)
-
Wooden beads (you will need about 88 beads)
-
Faux lamb’s ear leaves (two pieces)
-
Wire cutters or heavy-duty scissors
Video Tutorial?
Step-by-Step Instructions:
1. Create the Wire Base
-
Cut four long pieces of jute-covered wire.
-
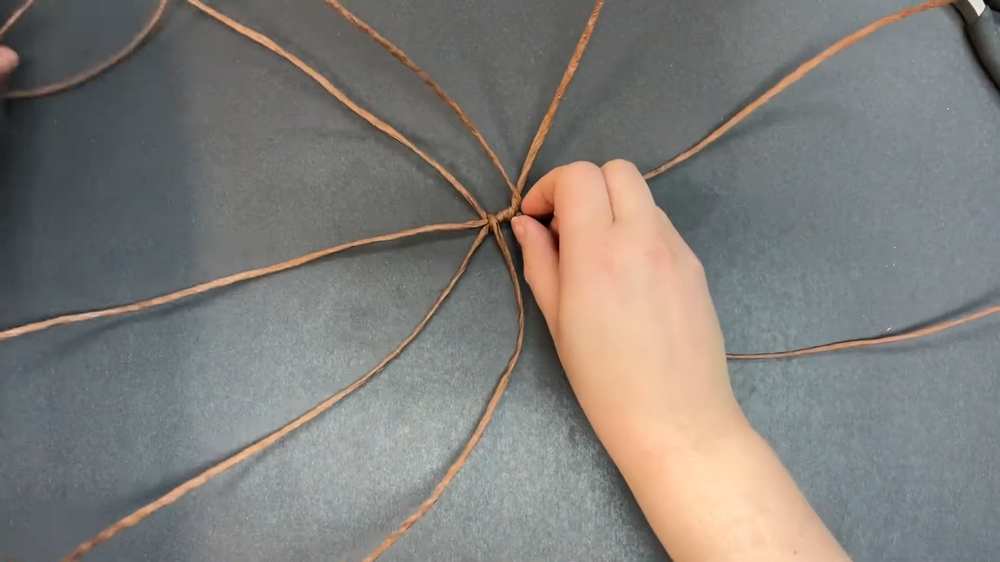
Take two pieces, fold them in half, and crease them at the center.
-
Twist these two pieces together at the center point to create an “X” shape with four legs.
-
Repeat this with the other two wires.
-
Place the two “X” shapes on top of each other and twist them together in the middle. This creates a star shape with eight evenly spaced wire legs.
2. Thread the Beads
-
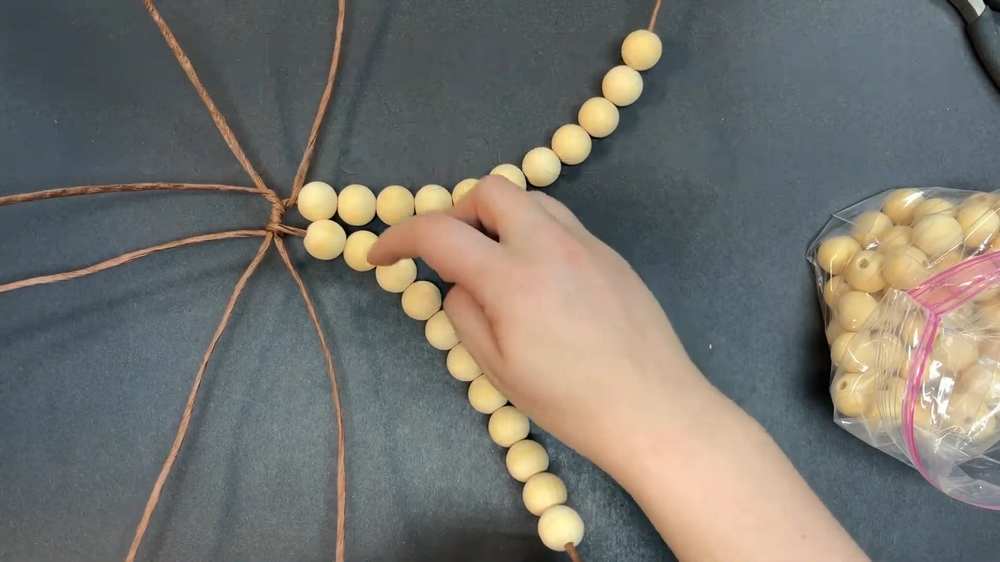
Take two wires that are next to each other.
-
Slide 11 wooden beads onto the first wire.
-
Slide 11 wooden beads onto the second wire.
-
Bring the ends of these two wires together at the top and twist them together tightly. This forms one “rib” or segment of the pumpkin.
3. Form the Pumpkin Shape
-
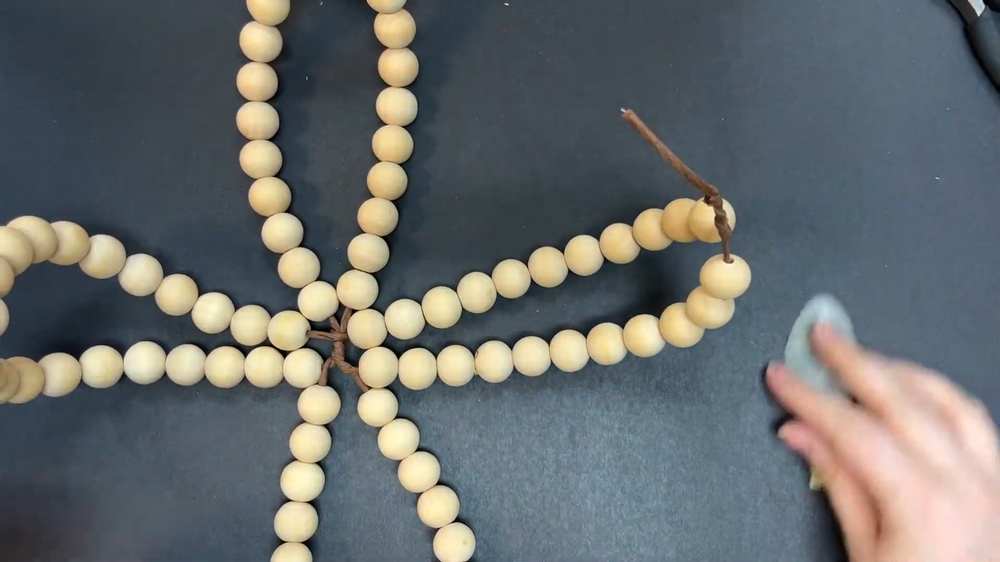
Repeat the bead-threading process (11 beads per wire) for the remaining three pairs of wires.
-
Twist each pair together at the top. You should now have four beaded loops that stand up to form a round pumpkin shape.
4. Secure the Top
-
Gather all the remaining wire ends at the very top center of the pumpkin.
-
Hold them together and twist them all around each other into one thick bundle to secure the segments.
5. Add the Leaves and Stem
-
Take one faux leaf and tuck its stem into the twisted bundle at the top.
-
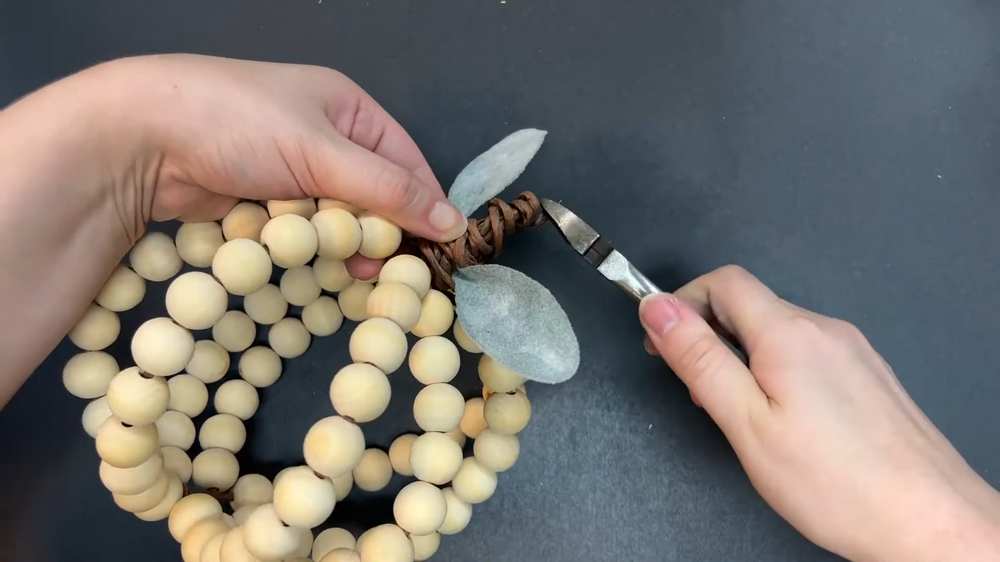
Take a new piece of jute-covered wire. Hold the second leaf against the top bundle and begin wrapping the new wire around both the leaf stem and the bundle of wires.
-
Continue wrapping the wire upward in a spiral to create a thick, textured pumpkin stem.
6. Final Touches
-
Once the stem is as tall as you like, use wire cutters to trim any extra wire.
-
Bend the top of the wire stem slightly to give it a natural look.
-
Use your hands to gently pull and adjust the beaded loops until the pumpkin looks perfectly round and symmetrical.