
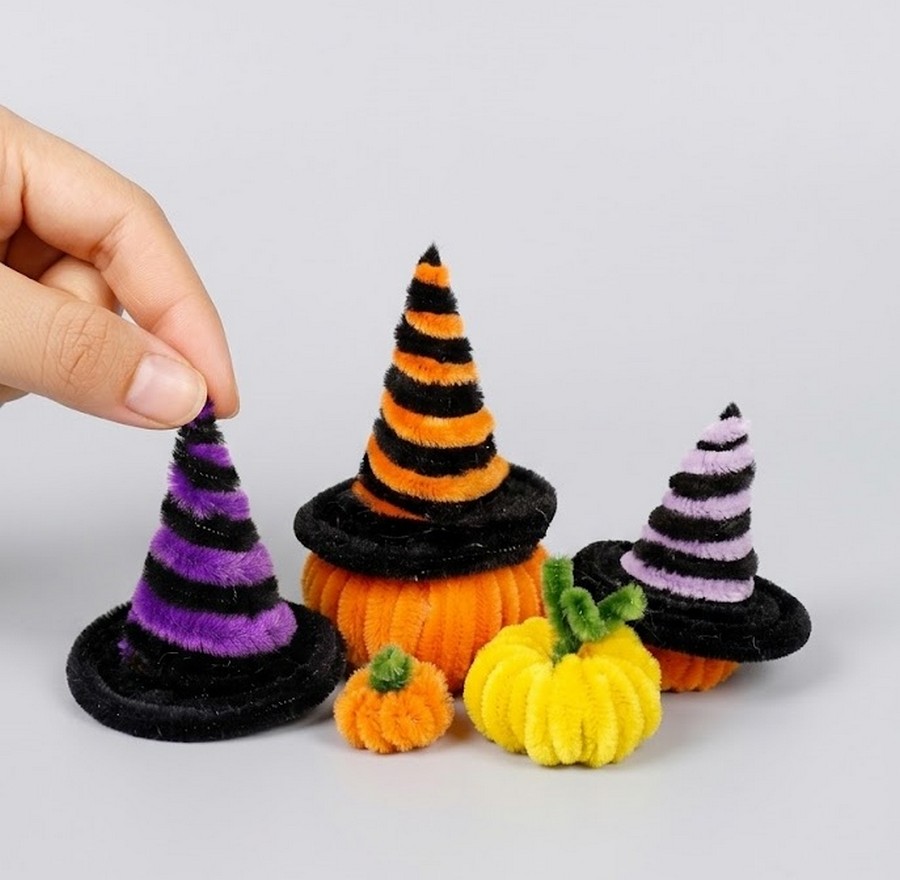
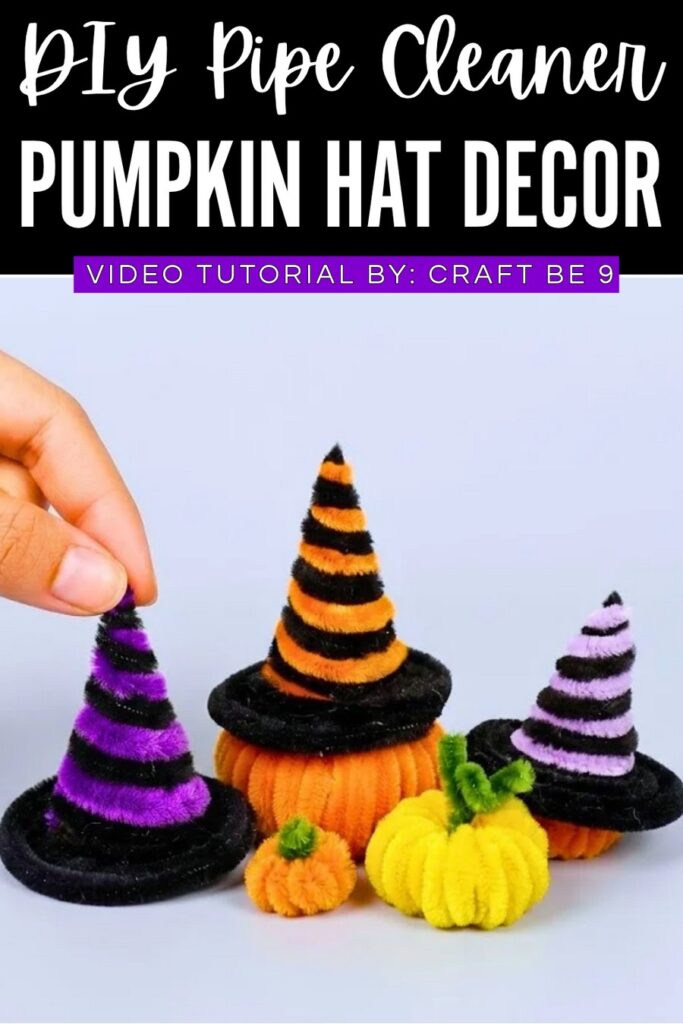
This year’s pipe cleaner Halloween and spooky crafts are for the most elegant. Today, if you are looking for an accessory for your small spooky amigurumi, learn how to make a striped miniature witch hat using a sticky note and pipe cleaners. This miniature hat can be used to dress up Halloween figures, decorate dollhouses, top party favors, or serve as a seasonal tabletop display.
First, roll a square sticky note into a five-centimeter cone and cut the bottom flat.
Spiral Stripes Black Witch Hat Plushies
Glue black and orange pipe cleaners to the tip and wrap them downward in a spiral to form stripes. Next, coil a black pipe cleaner horizontally around the bottom to build a flat brim and trim the edge into a circle.
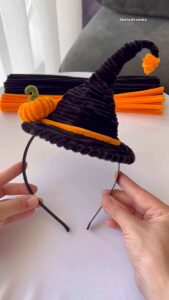
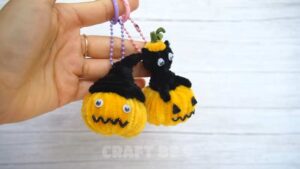
Make the Pipe Cleaner Halloween Witch Craft
Difficulty Level
-
Level: Easy / Beginner
-
Why: The project requires simple paper rolling, straight scissor cutting, and spiral wire wrapping with hot glue. It does not require complex sculpting, precise wire weaving, or advanced craft tools.
Materials & Bending Techniques
-
Bending & Shaping Techniques Used: This is a paper and wire craft rather than origami. The shaping techniques include:
-
Cone Rolling: Rolling flat paper into a pointed 3D cone mold.
-
Parallel Spiral Wrapping: Wrapping two colored wires side by side around the cone to create uniform stripes.
-
Flat Concentric Coiling: Winding wire outward in flat horizontal rings to create the circular brim.
-
Scissor Trimming: Cutting paper and clipping fuzzy wire edges into a smooth circle.
-
-
Materials:
-
1 square sticky note (75 × 75 mm)
-
1 orange pipe cleaner (30 cm)
-
2 black pipe cleaners (30 cm)
-
Hot glue gun and glue sticks
-
Scissors
-
Ruler and pen/marker
-
Learn to Make the Pipe Cleaner Ghost Plush
Better learn the whole method of making this plush Halloween witch craft using pipe cleaners in this tutorial:
Frame-by-Frame Quick Guide
-
00:00 – 00:10: Preview of the finished striped witch hats on miniature Halloween characters.
-
00:11 – 00:37: Roll a 75 × 75 mm sticky note into a pointed cone and seal the side seam with hot glue.
-
00:38 – 00:57: Measure 5 cm from the pointed tip with a ruler, mark a line, and cut off the excess bottom paper with scissors so the cone stands flat.
-
00:58 – 01:20: Glue the ends of an orange and a black pipe cleaner together, then glue them securely to the top point of the cone.
-
01:21 – 02:44: Wrap both pipe cleaners together tightly around the cone in a spiral moving downward, adding small dots of hot glue to secure them. Cut off the excess wire at the bottom edge.
-
02:45 – 03:45: Glue a black pipe cleaner to the bottom edge of the cone and wind it flat outward in concentric circles to form the hat brim.
-
03:46 – 04:13: Add hot glue underneath the brim to reinforce the coils, then trim the outer fuzzy edge with scissors into a neat, smooth circle.
-
04:14 – 04:46: Display the finished miniature witch hat on a toy ghost, pumpkin, or holiday table setting.
About "Craftbee 9"
She makes incredible fabric, recycle and pipe cleaner crafts.