Show support for Kids’ crafts.
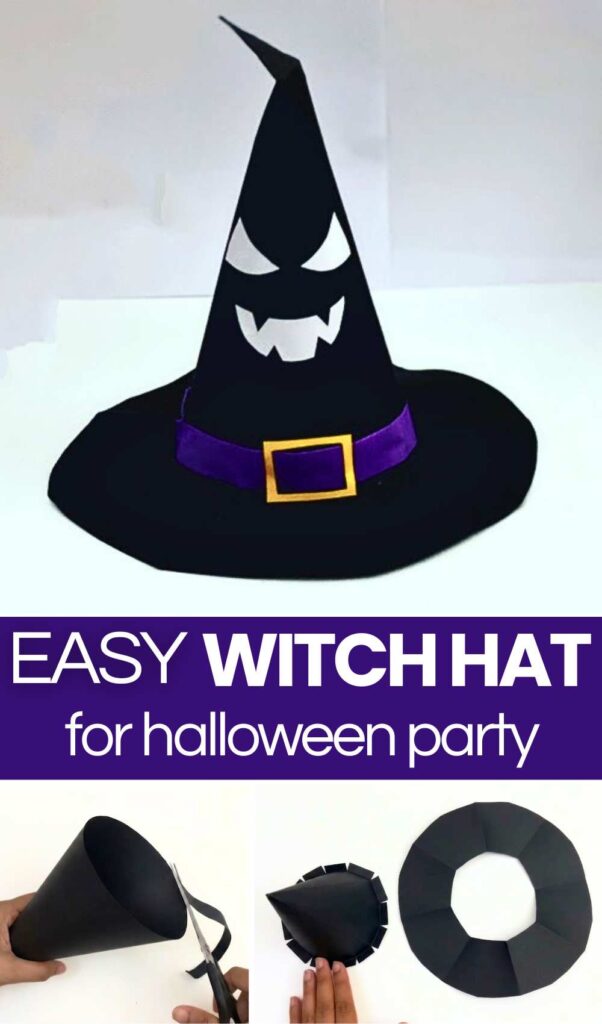
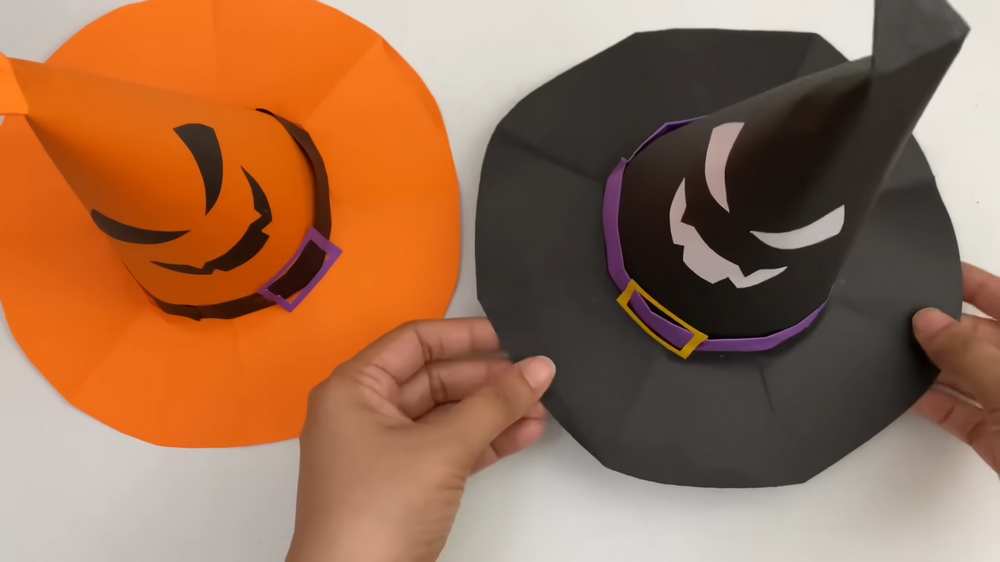
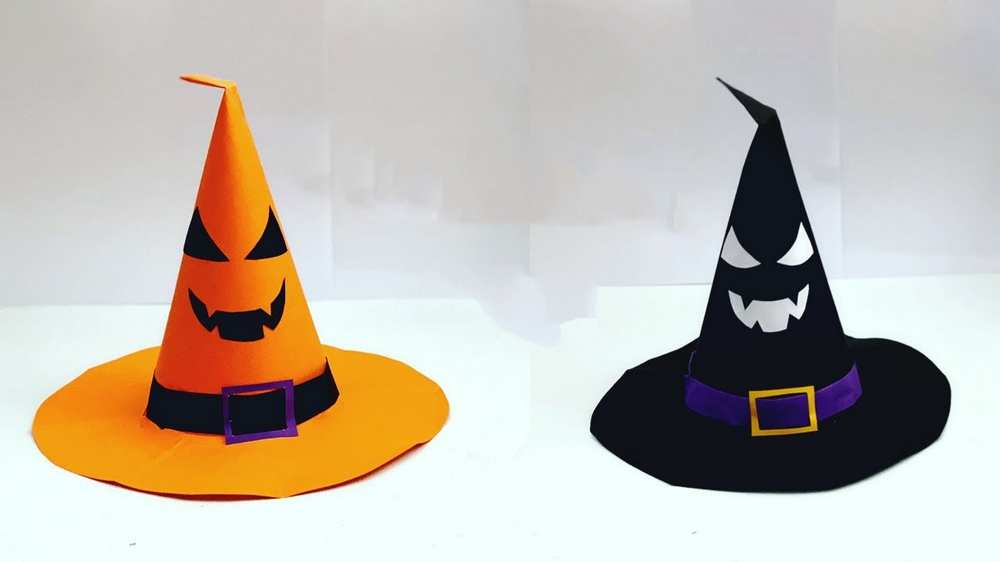
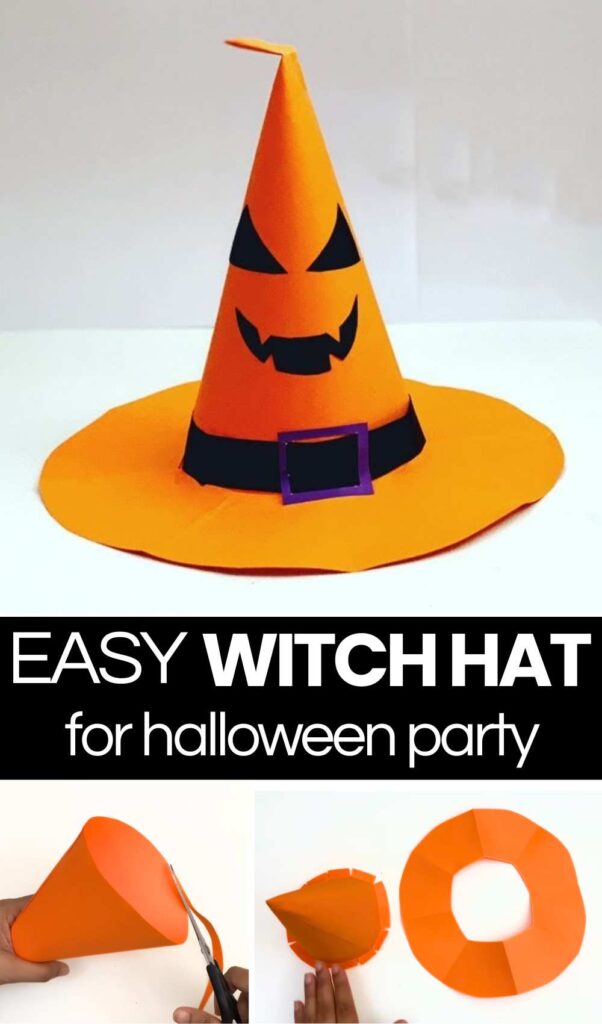
Looking for a quick and easy Halloween paper hat that is actually wearable? This Halloween, learn how to craft these 2 SPOOKY variations of a paper witch hat using just 2 A4 paper sheets. This is a 5-minute witch hat that you can craft in either black or orange following the same step-by-step instructions. This craft hat is an irresistible temporary hat option for Halloween parties that will be especially fun to make with the kids.
While making this Halloween witch hat paper craft, you will also learn a clever way to CUT a perfectly-fitting brim and how to attach it to the cone of the hat. This paper witch hat is decorated with a spooky paper cutout face and also a hatband.
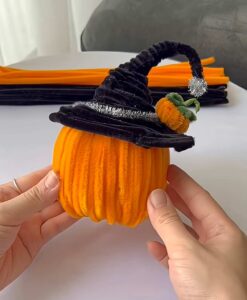
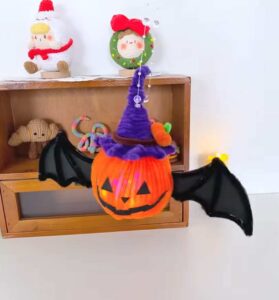
You can also make an even bigger version by using A2 or A0 paper for the adults. You can also make the smaller witch hats for your Halloween yarn plushies or pumpkin decorations. Now, continue reading to learn more about this Halloween paper hat craft project.
Tutorial to DIY the spooky Halloween Witch Hat
Let’s DIY a spooky witch’s hat with this easy-to-follow paper craft guide! Perfect for Halloween decorations, this project uses simple materials like A4 paper and glue.
Materials Needed
-
A4 Paper: Orange and black (or colors of your choice).
-
A Strip of Black Paper: For the hatband.
-
A Small Piece of Purple Paper: For the buckle.
-
Glue Stick or Liquid Glue.
-
Scissors.
Instructions
1. Crafting the Cone (Top of the Hat)
-
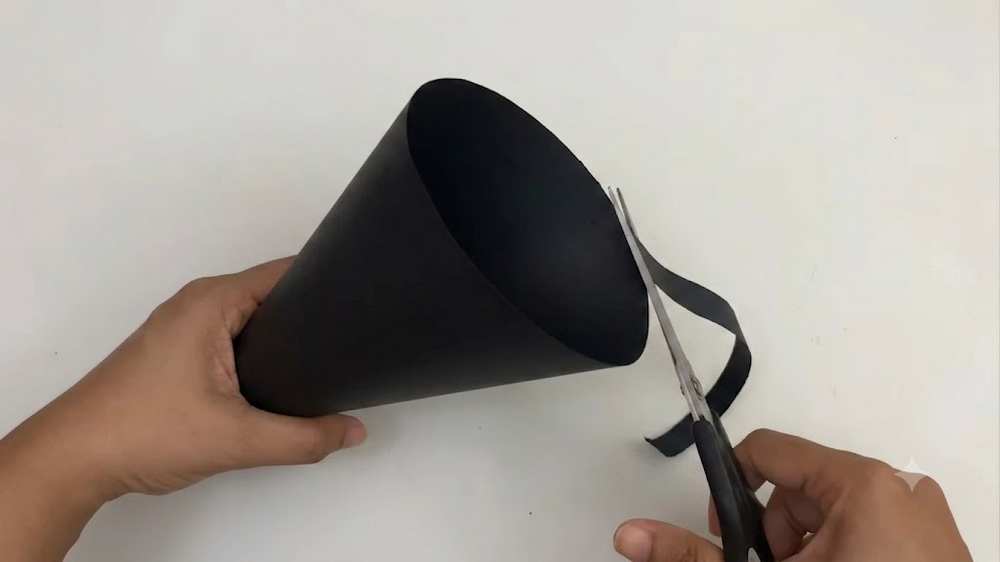
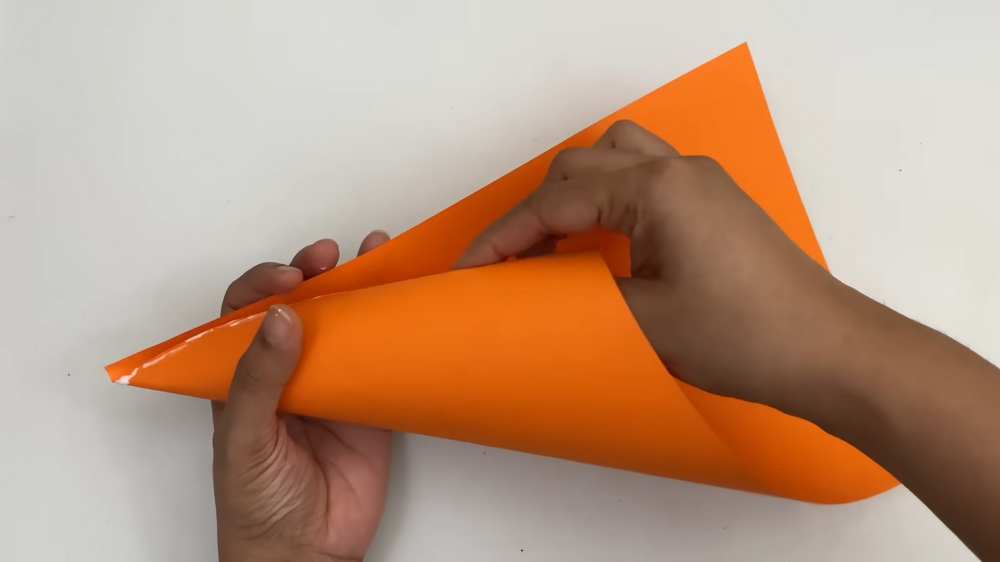
Form the Cone: Take an A4 sheet of orange paper. Start from one corner and roll it tightly toward the opposite side to form a long cone shape.
Beginner?
-
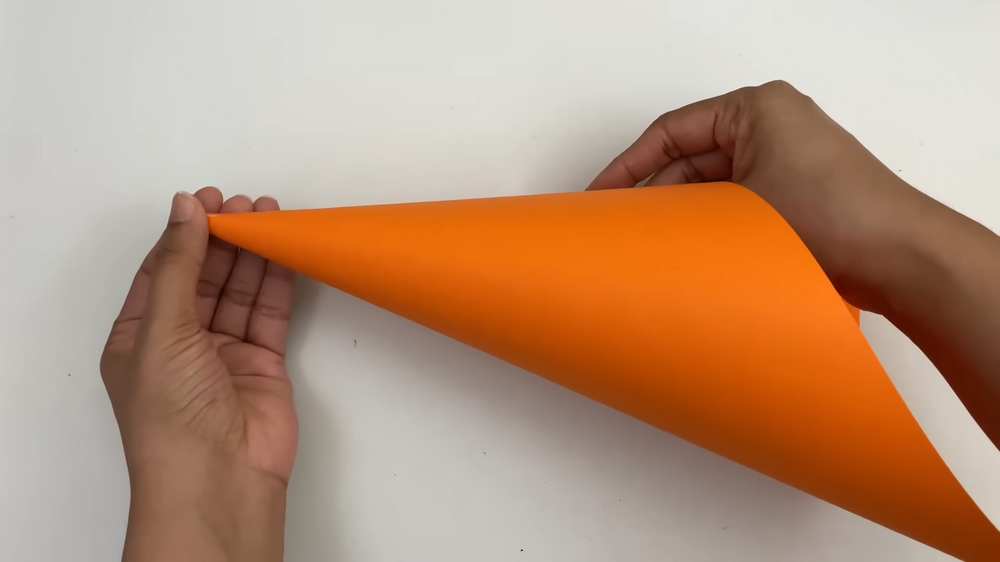
Secure: Once you’ve reached the desired thickness, apply a line of glue along the outer edge of the paper and press it down to hold the cone together.
-
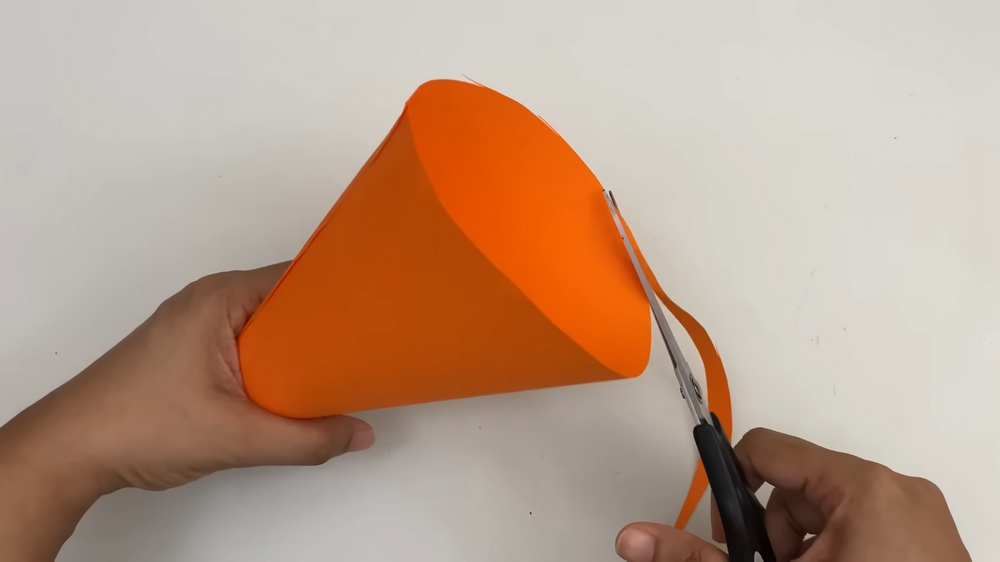
Flatten the Base: Use your scissors to trim the bottom edge of the cone in a straight line so that it can stand upright on its own.
-
Create Attachment Slits: Cut small, vertical slits (about half an inch long) all around the bottom edge of the cone. Bend these slits outward – this is how you will attach the cone to the brim.
2. Making the Brim (Bottom of the Hat)
-
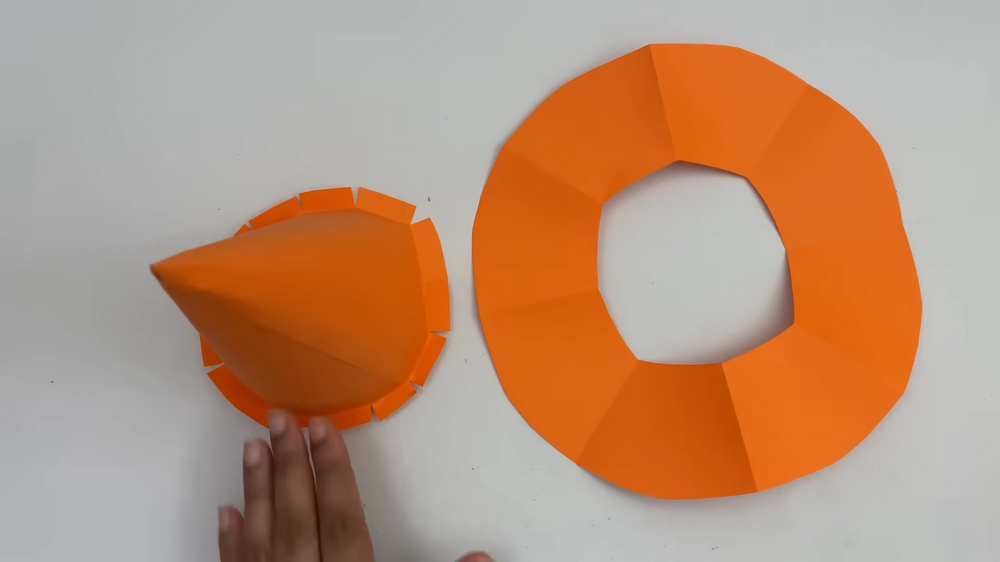
Folding: Take a second sheet of orange paper. Fold it in half, then in half again to create a smaller rectangle. Fold this once more diagonally from the center corner to form a triangle.
-
Cutting the Outer Circle: Cut a curved line across the bottom of the folded triangle.
-
Cutting the Inner Circle: Cut a smaller curved line across the pointed tip of the triangle.
-
Unfold: Open up the paper to reveal a large, flat ring with a hole in the center.
3. Assembly
-
Apply Glue: Apply glue to the top surface of the bent slits at the base of your cone.
-
Join the Pieces: Slide the brim over the top of the cone so that it rests on the glued slits. Press down firmly all around the base to ensure a strong bond.
4. Adding Spooky Details
-
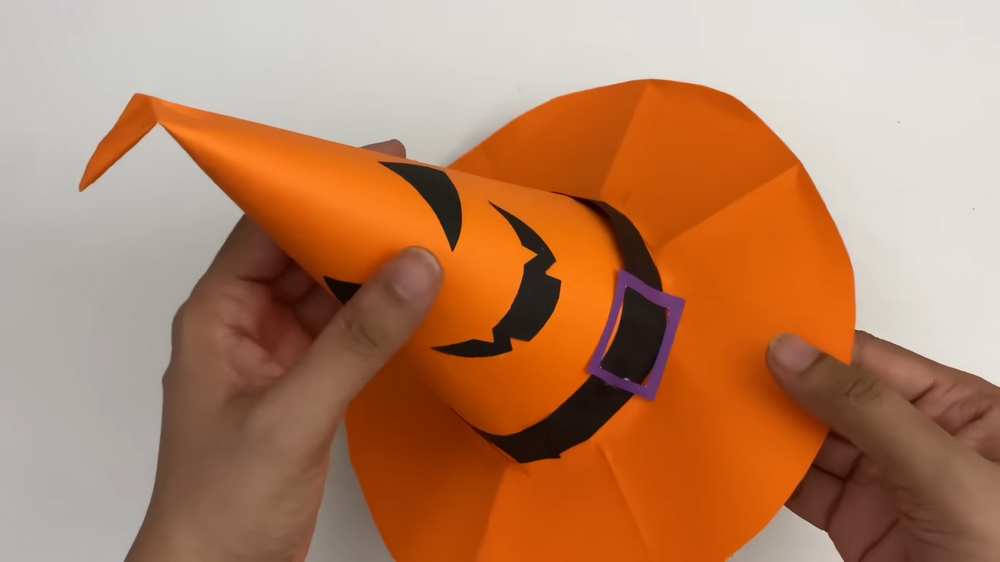
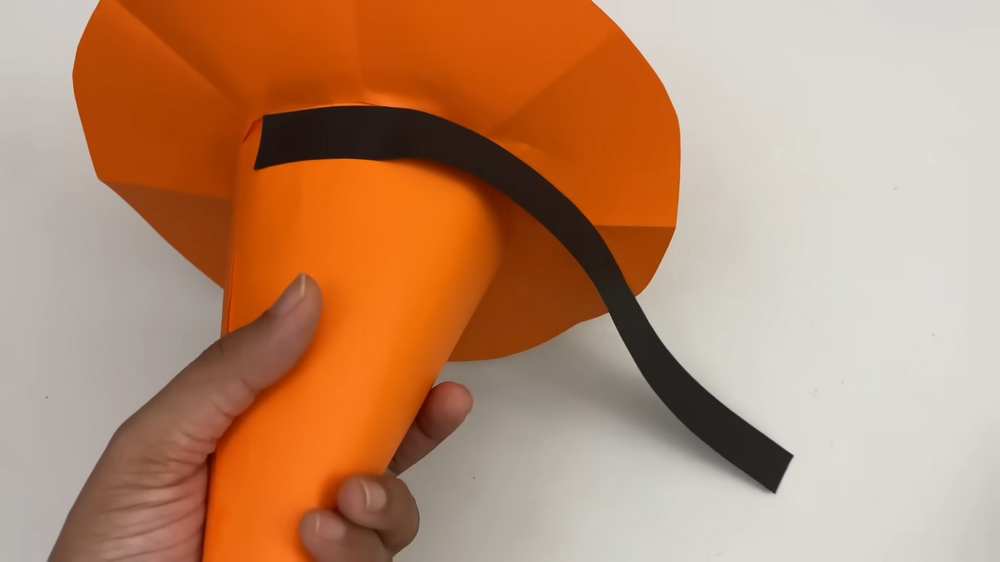
The Hatband: Take a thin strip of black paper and wrap it around the base of the cone, right where it meets the brim. Glue the ends together.
-
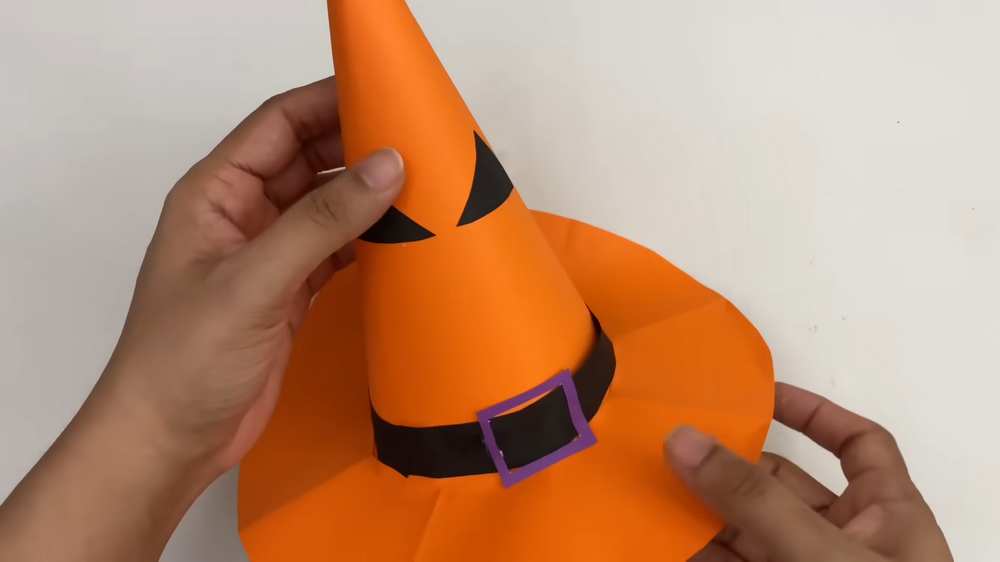
The Buckle: Cut a small rectangle from purple paper. Fold it slightly and cut a smaller rectangle out of the middle to create a frame. Glue this “buckle” onto the center of the black hatband.
-
The Face: Cut two small triangles for eyes and a jagged, spooky mouth from black paper. Glue these onto the front of the cone to give your hat some personality!
-
The Final Touch: Gently bend the very tip of the cone to one side to give it a classic, worn-in witch’s hat look.
Your paper witch’s hat is now complete! You can make them in different colors and sizes to create a whole collection of spooky Halloween decor.