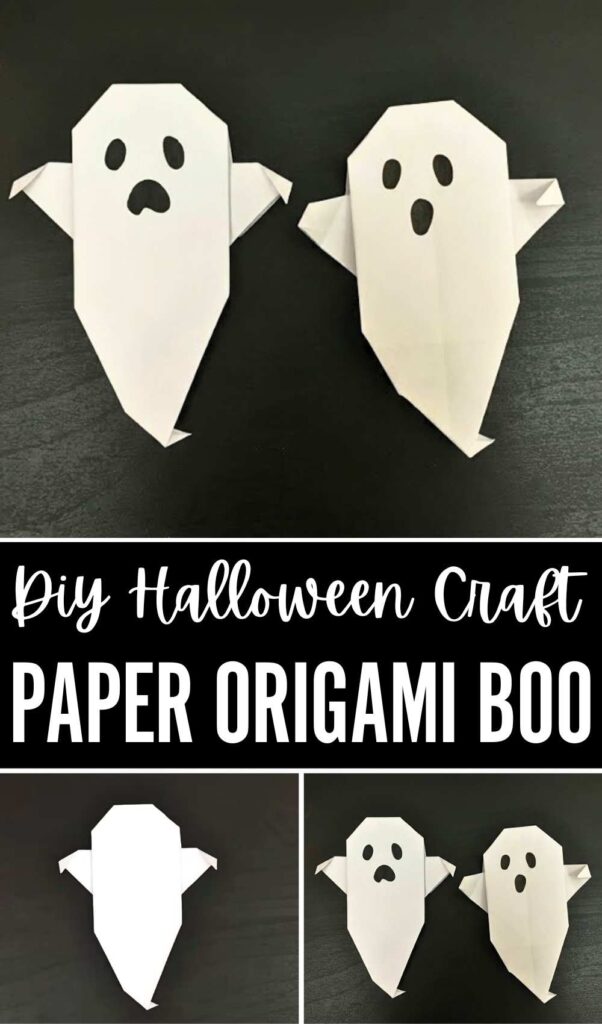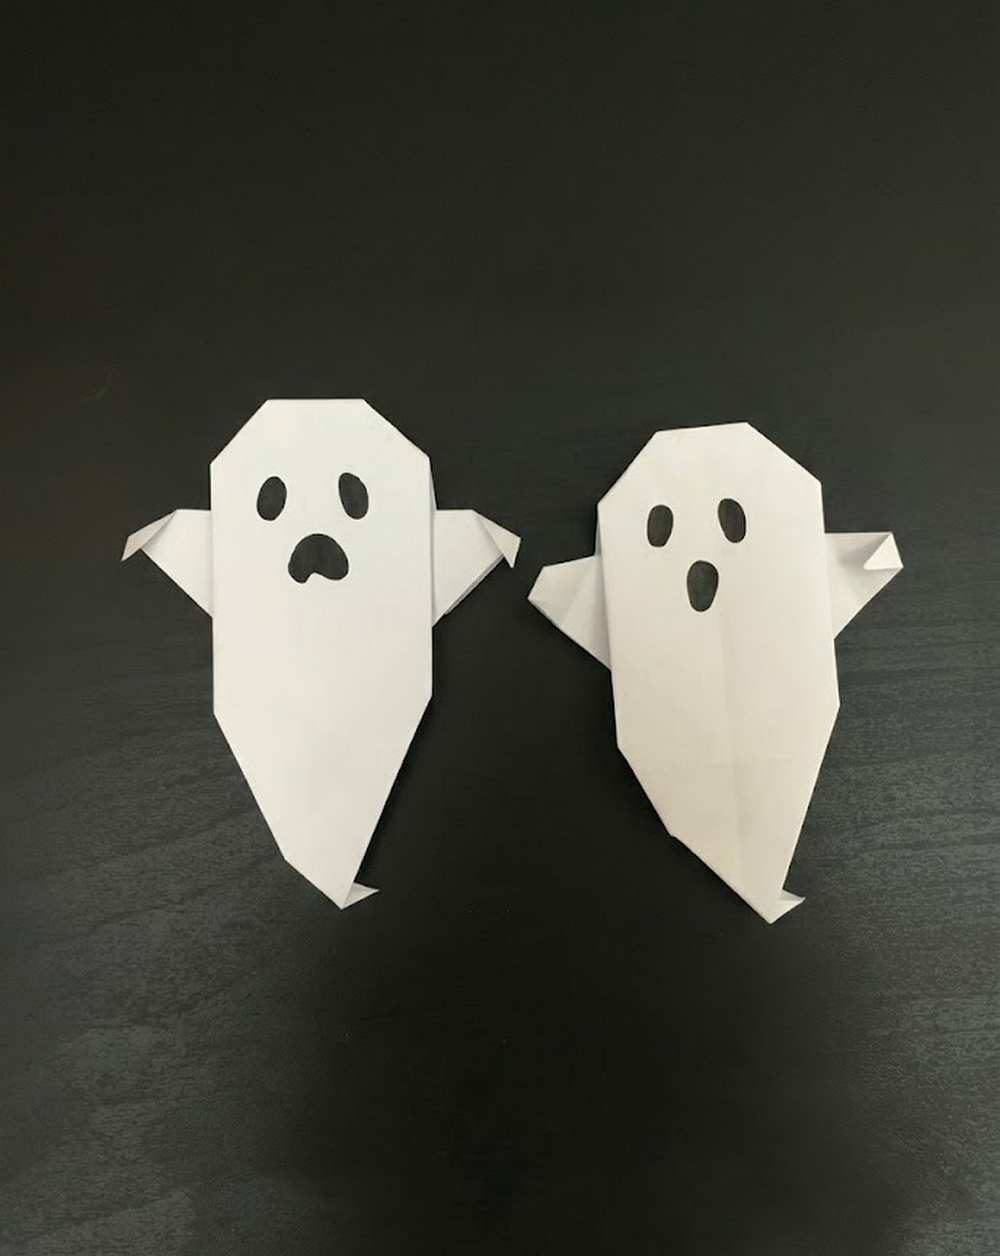
Learn how to fold a SPOOKY variation of traditional Halloween origami ghost with this step-by-step tutorial for beginners. I have made myself this same origami boo variation and will definitely show you the one I folded too. You will learn how to fold a boo ghost with SCARY eyes. But I liked it more with the kawaii eyes, and drawn mine using the pink marker.
This Halloween paper ghost variation will make an irresistible greeting card for Halloween. You can also make the 3D Halloween cards by folding this origami easy ghost. You can easily fold one within 5 minutes.
This is a traditional model and the same one I promised to teach you in the origami pumpkin Halloween greeting card tutorial. You can also try different black mouth variations for your Halloween ghost and also make yours using purple, black, or red paper. The Tant paper is recommended for this origami ghost. Now, continue reading to learn more about this Halloween kawaii ghost project.
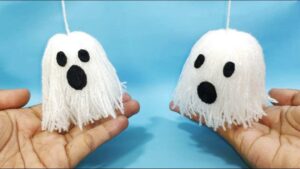
Tutorial to Make an Origami Ghost Paper Craft
Model Type: Traditional Model
Materials Needed
-
1 square sheet of paper (White origami paper works best; if using one-sided paper, start with the white side facing down).
-
Black construction paper or vinyl (For the eyes and mouth cutouts).
-
Scissors & Glue.
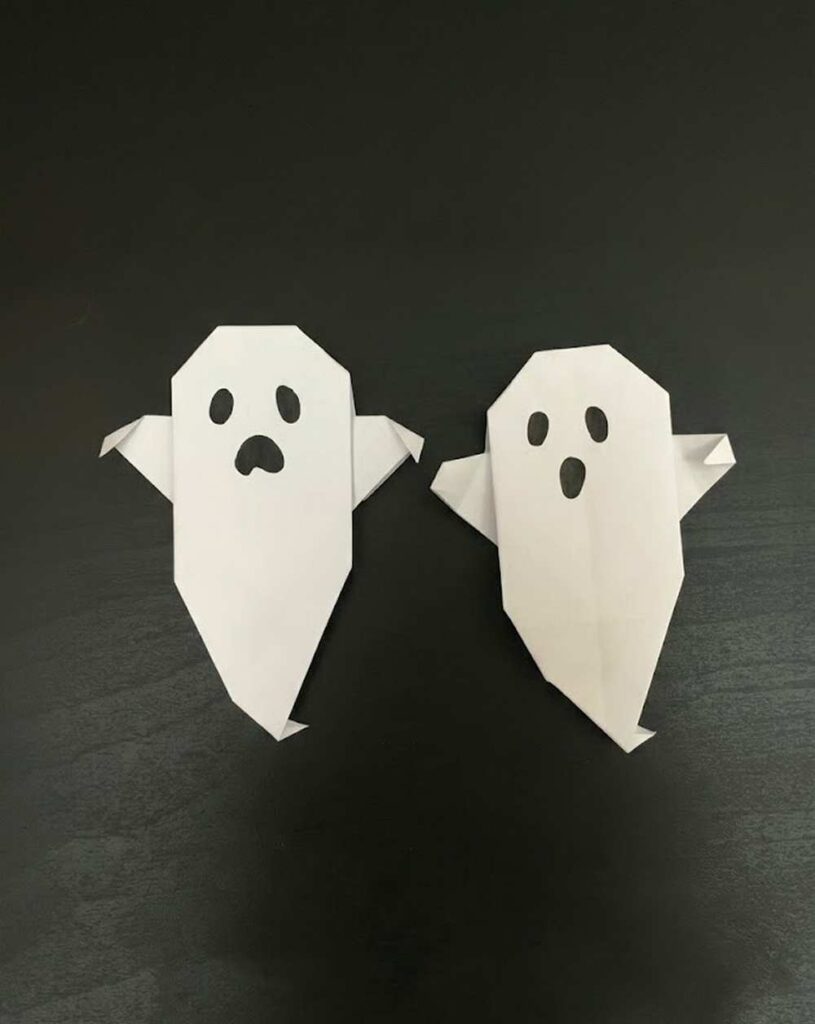
Step-by-Step Folding Guide
Step 1: Create the Diagonal Crease
-
Place your square paper in a diamond orientation (pointing up and down).
-
Fold the paper in half by bringing the left corner over to the right corner.
-
Crease it well, then unfold it back to a flat diamond. You will now have a vertical crease line down the middle.
Step 2: Form the Kite Base
-
Take the top-left edge of the diamond and fold it inward so that it aligns perfectly with the center crease line.
-
Repeat this with the top-right edge, folding it inward to meet the center crease. Your paper should now look like a sharp kite shape.
Step 3: Narrow the Top
-
Take the newly formed upper-left edge and fold it inward to the center crease once again.
-
Mirror this on the upper-right side, folding that edge inward to the center crease. The top half of your paper will now be very narrow and pointed.
Step 4: Fold the Arms Outward
-
Locate the two long, narrow flaps you just folded in the previous step.
-
Take the left flap and fold it outward diagonally at an angle to create a little ghost arm.
-
Take the right flap and fold it outward at a matching diagonal angle to create the second arm.
Step 5: Shape the Head and Hands
-
The Head: Take the very sharp top point of the paper and fold it straight down backward (behind the model) to flatten the top of the ghost’s head.
-
The Hands: Fold the very tips of the two arms backward or slightly downward to give the hands a softer, more dynamic look.
-
The Shoulders: Fold the sharp outer corners of the upper body backward to round out the ghost’s silhouette.
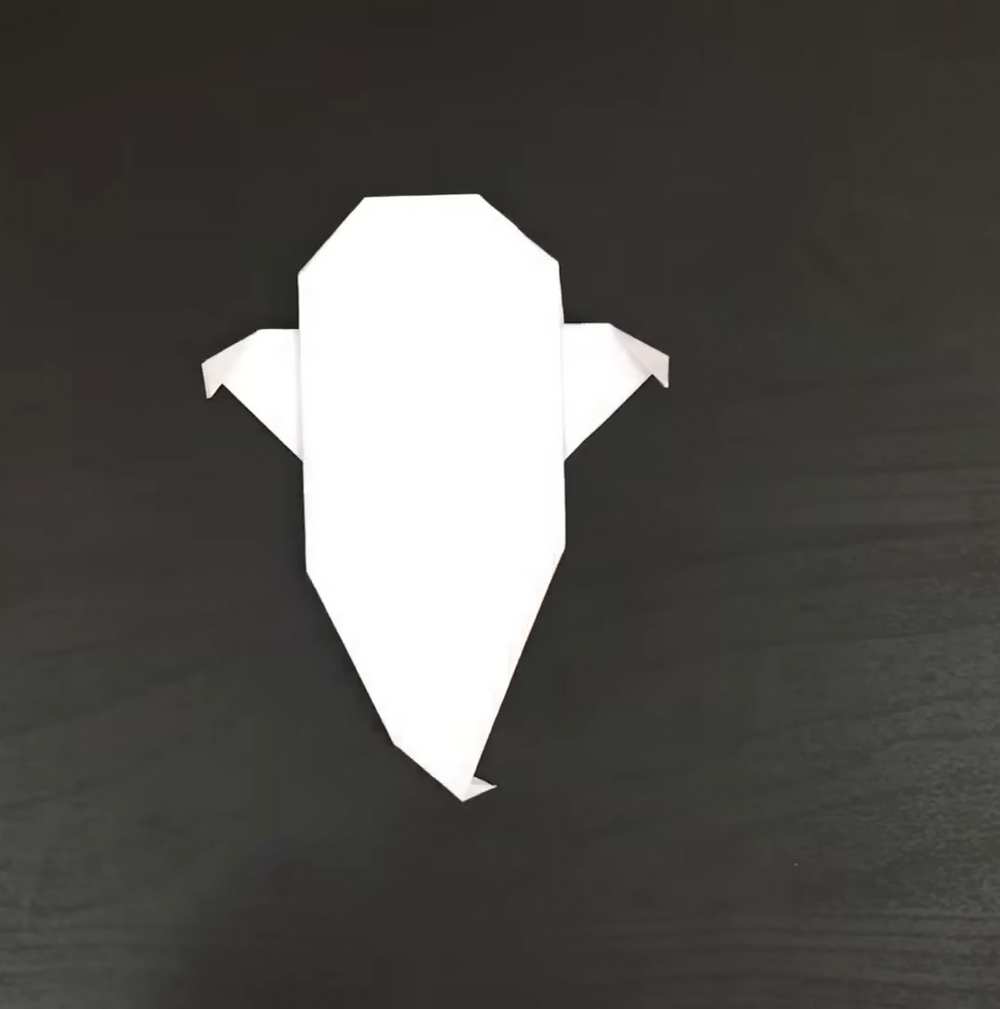
Step 6: Twist the Tail
-
Look at the long, sharp point at the very bottom of your ghost.
-
Give the bottom tip a slight diagonal fold or a small double-fold (pleat) to the side. This creates the classic, floating “wavy tail” effect.
Adding the Final Details (Cutout Method)
Instead of using a marker, give your ghost a crisp, high-contrast look by cutting the facial features out of black paper.
-
The Eyes: Carefully cut out two small, vertical oval shapes from your black paper.
-
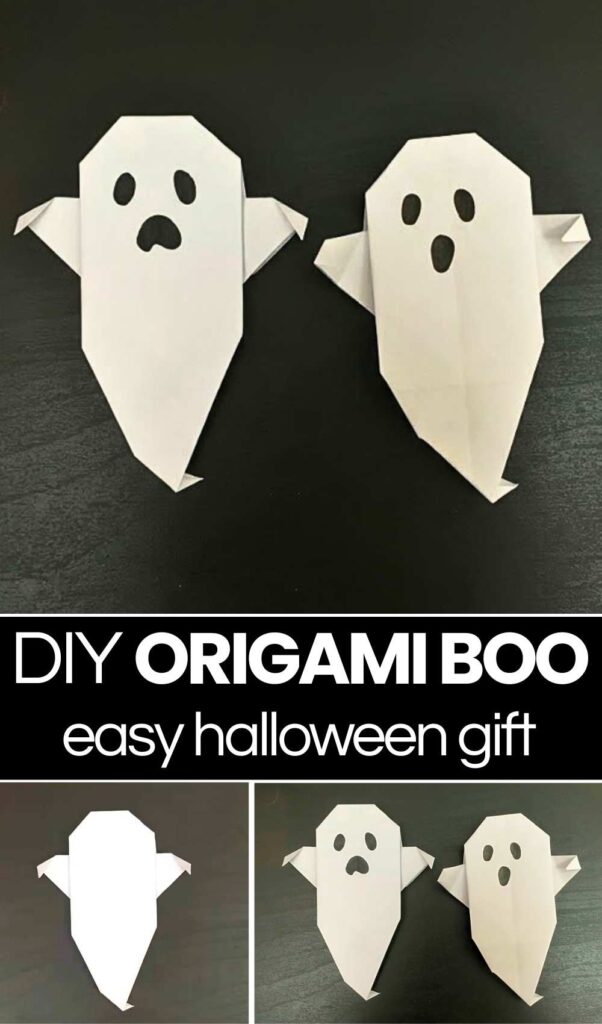
The Mouth: Cut out an expressive mouth shape. You can make a tall, shocked oval (like the ghost on the right) or a wide, spooky “BOO!” shape (like the ghost on the left).
-
Assemble: Use a tiny dab of glue to secure the eyes and mouth onto the front face of your ghost.