
Show support for crafter Suchismita.
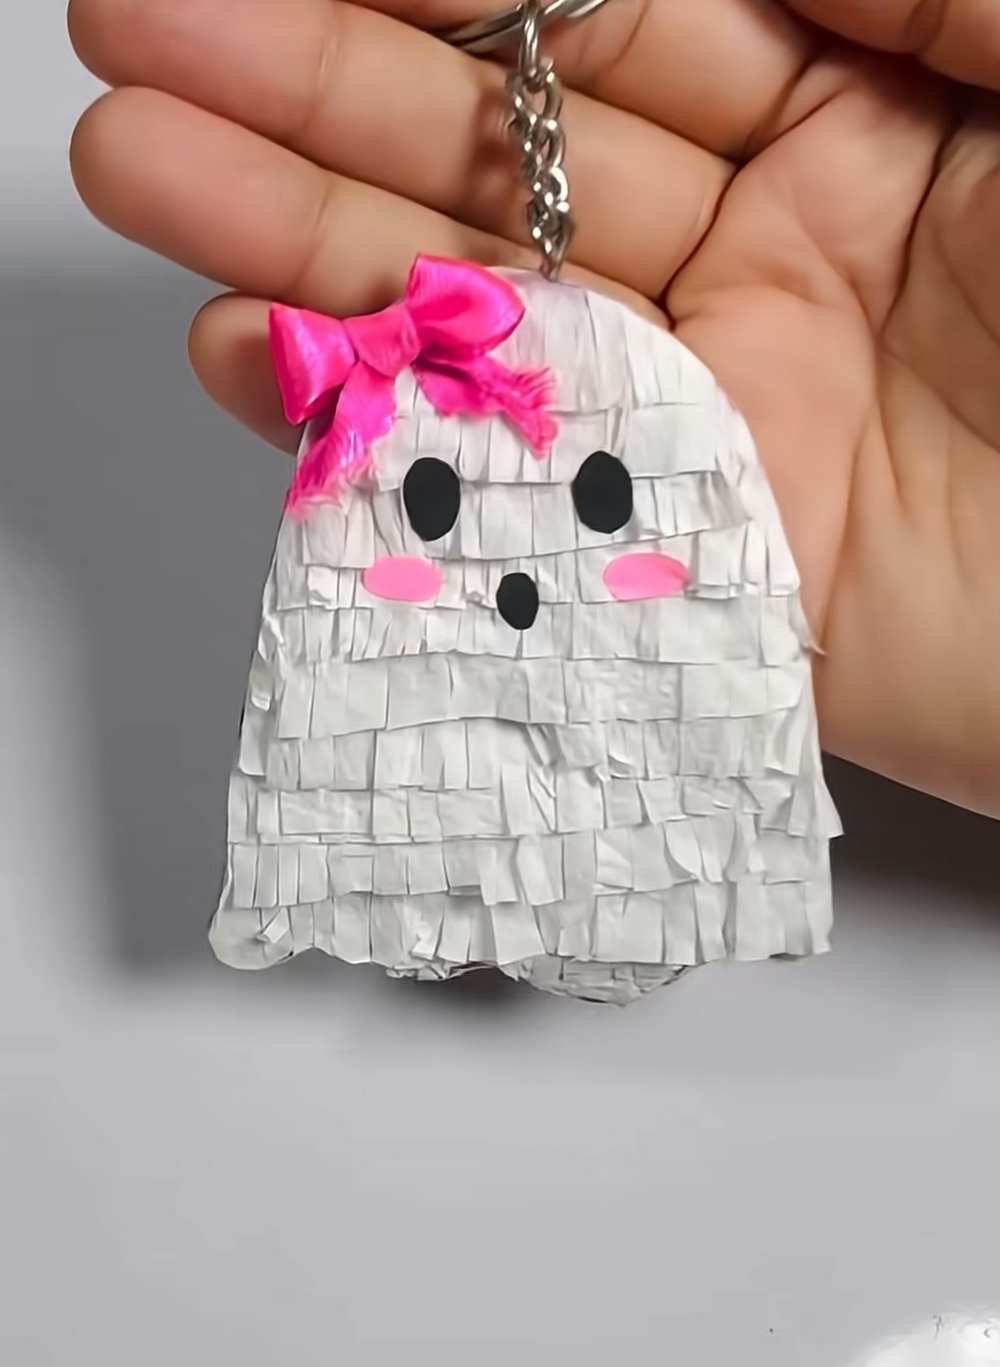
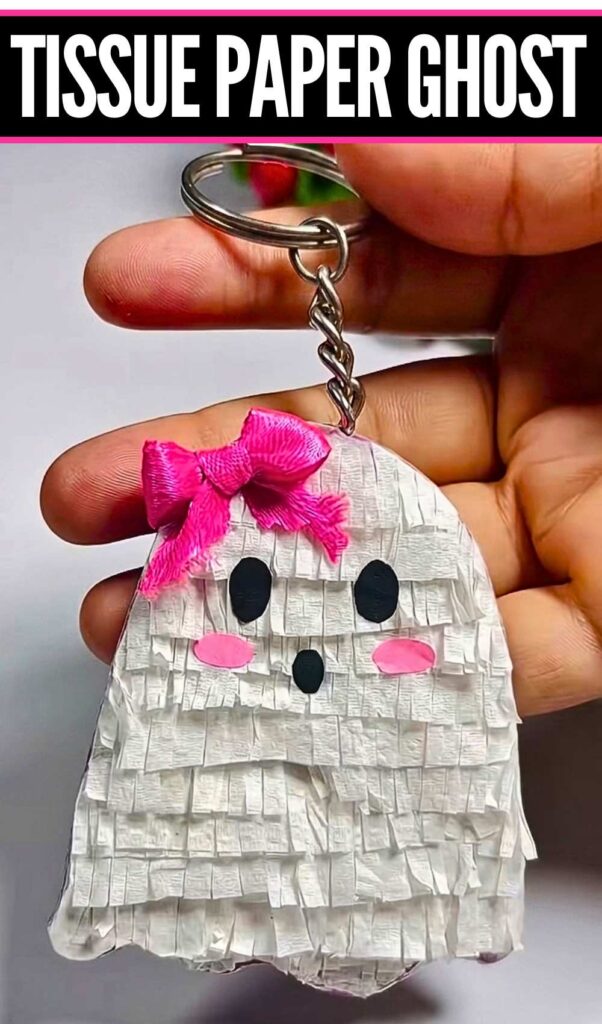
Looking for a Halloween GIFT for a little girl? Learn how to DIY this tissue paper BABY BOO GHOST keychain wearing a CUTE ribbon bow with this step-by-step tutorial + written guide. This is a 3D baby ghost craft made over a kawaii ghost drawing. The idea is to make a Piñata ghost but using a ghost drawing as a base. Add this last-minute ghost craft to Halloween garland, a Halloween trick-or-treating pouch, and even prepare it as a Valentine’s Day present.
This DIY ghost only requires a few sheets of standard tissue paper. I have also added a FREE printable template to easily take the baby ghost cutout for the boo in the end. This way, kids can also make their own version of this tasseled paper ghost keychain.
You can also make it look even CUTER by adding the kawaii blush and scary eye cutouts. The fringes of this DIY boo ornament will swing nicely as you carry your DIY ghost. You can easily make your ghost within 10 minutes, and be sure to craft some for adding to your Halloween inventory this year.
Tutorial to DIY Raffia Boo Ghost Pluhsie for Halloween
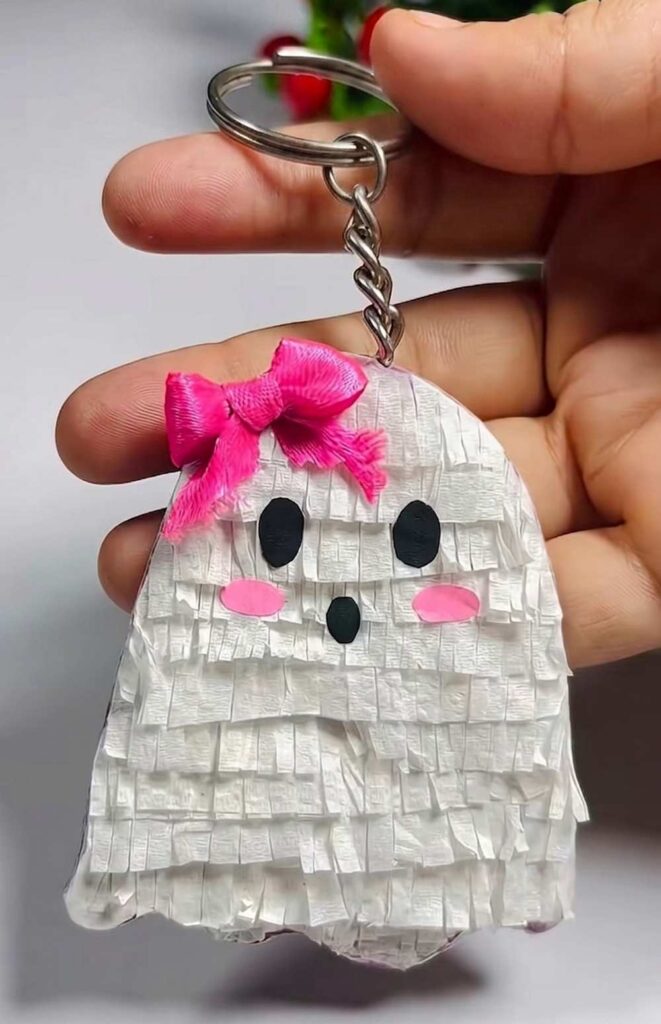
Learn how to make a DIY Halloween Ghost Keychain using cardboard and tissue paper (often called a “Piñata-style” craft).
Here is the step-by-step guide based on the video:
Materials Needed
-
Cardboard/Thick Paper: White and Pink.
-
White Tissue Paper: Soft napkins or crepe paper work best.
-
Adhesive: Glue stick or liquid craft glue.
-
Tools: Scissors and a pencil.
-
Decorations: Pink ribbon (for a bow), small black circles (for eyes/mouth), and pink circles (for cheeks).
-
Hardware: A keychain loop and chain.
Step-by-Step Instructions
1. Create the Ghost Base
-
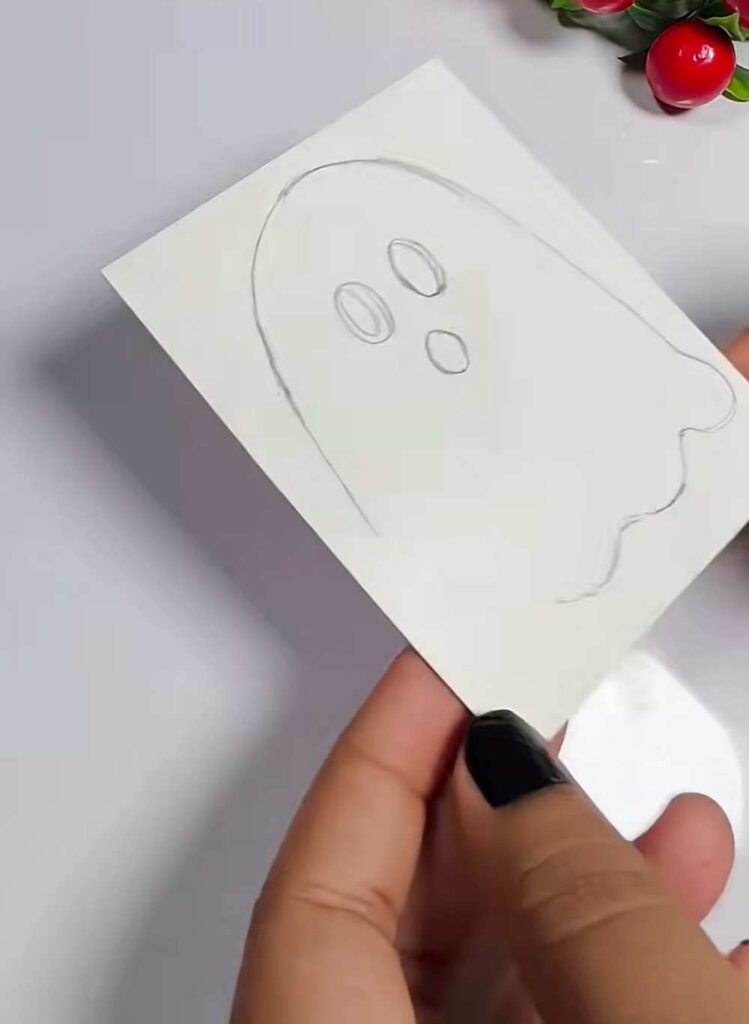
Draw a simple ghost shape (rounded top with a wavy bottom) on a piece of white cardboard.
-
Cut out the shape. In the tutorial, a pink backing is also used to add a pop of color behind the fringes.
2. Prepare the Tissue Fringes
-
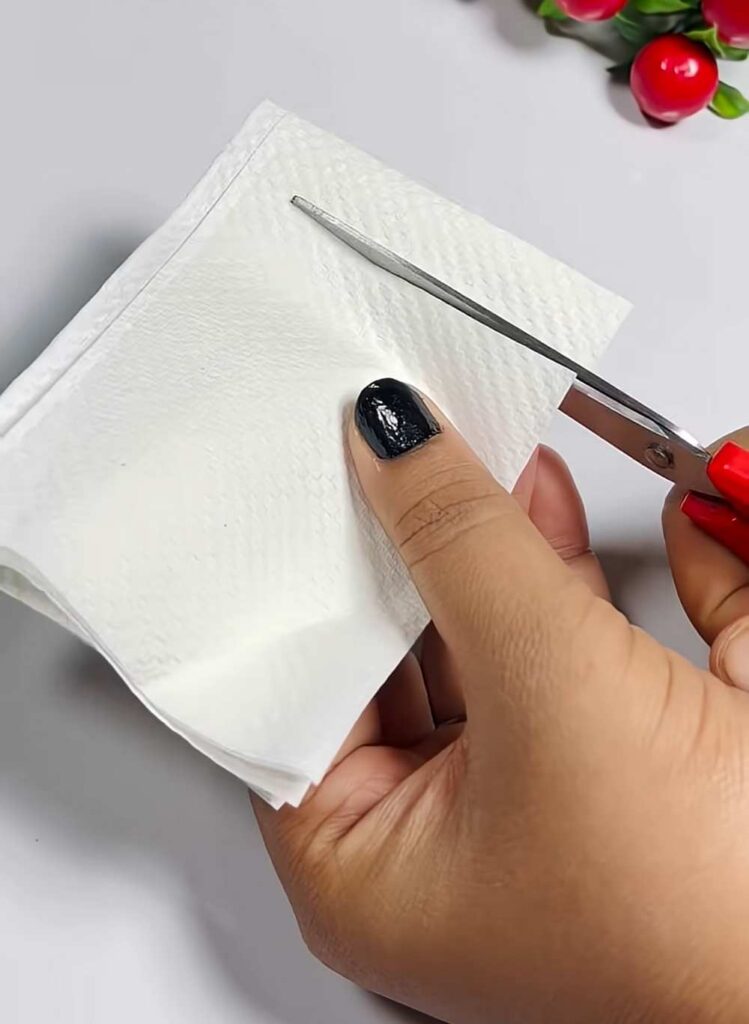
Take a stack of white tissue paper or a napkin.
-
Cut it into long strips about 1-2 inches wide.
-
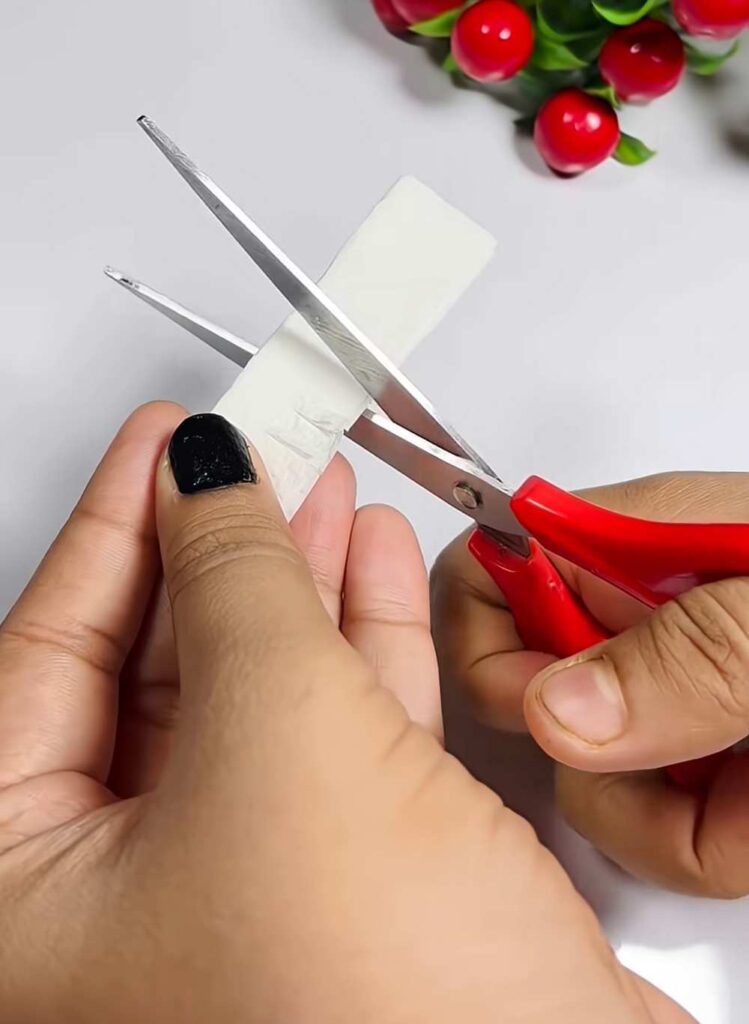
Use your scissors to cut many tiny slits along one side of the strip, leaving the other side intact. This creates the “fringe” look.
3. Layer the Fringes
-
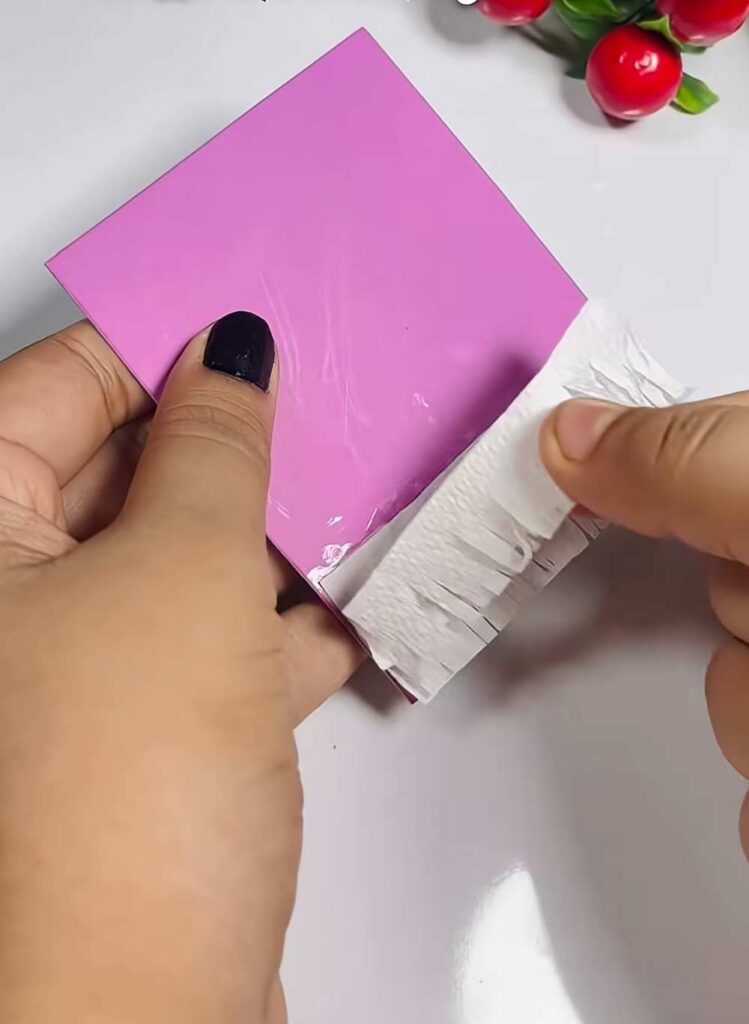
Start at the bottom of your ghost cardboard base.
-
Apply a line of glue and stick the intact edge of a tissue strip down so the fringes hang over the bottom edge.
-
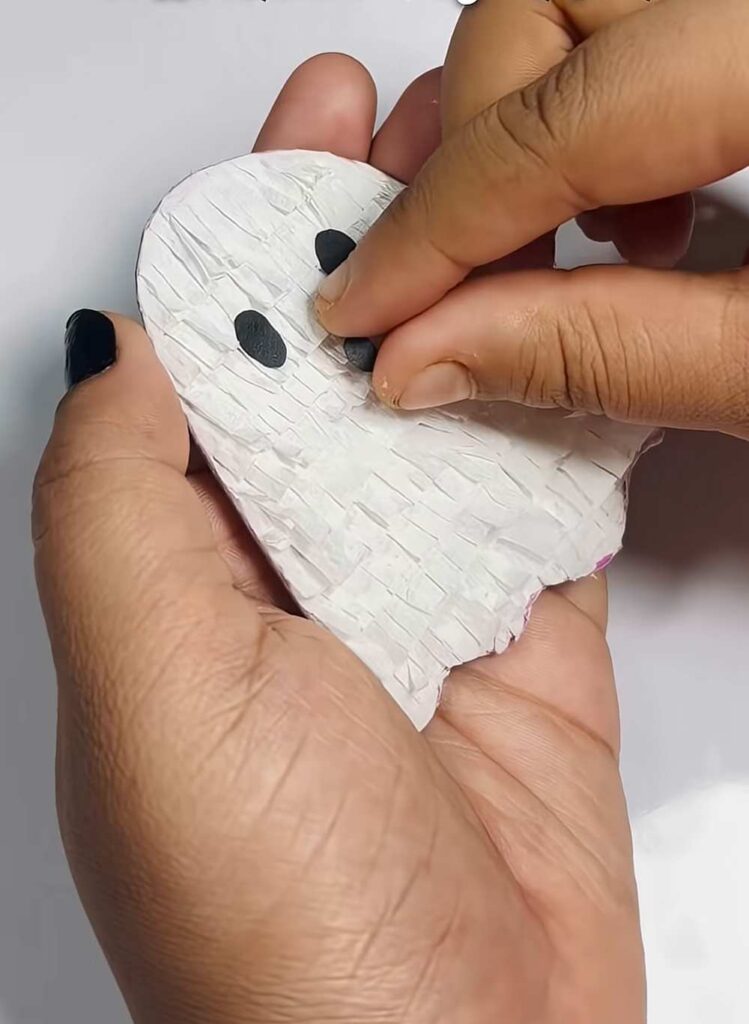
Apply the next layer of glue slightly higher, overlapping the previous strip. Continue this layering process (like shingles on a roof) until the entire ghost is covered.
4. Refine the Shape
-
Flip the ghost over so you can see the cardboard base from the back.
-
Use your scissors to trim the excess tissue paper that hangs off the sides, following the outline of the cardboard ghost shape.
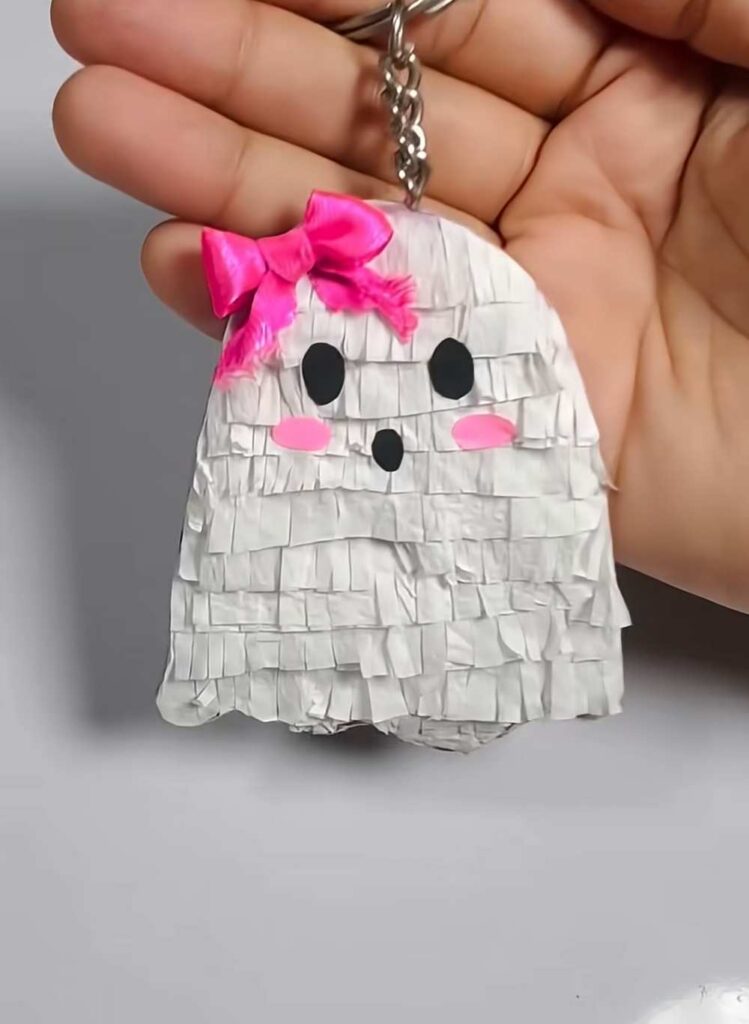
5. Add Facial Features
-
Glue two small black circles near the top for eyes.
-
Glue one small black circle below them for the mouth.
-
Add two small pink circles on the “cheeks” to give the ghost a cute, blushing look.
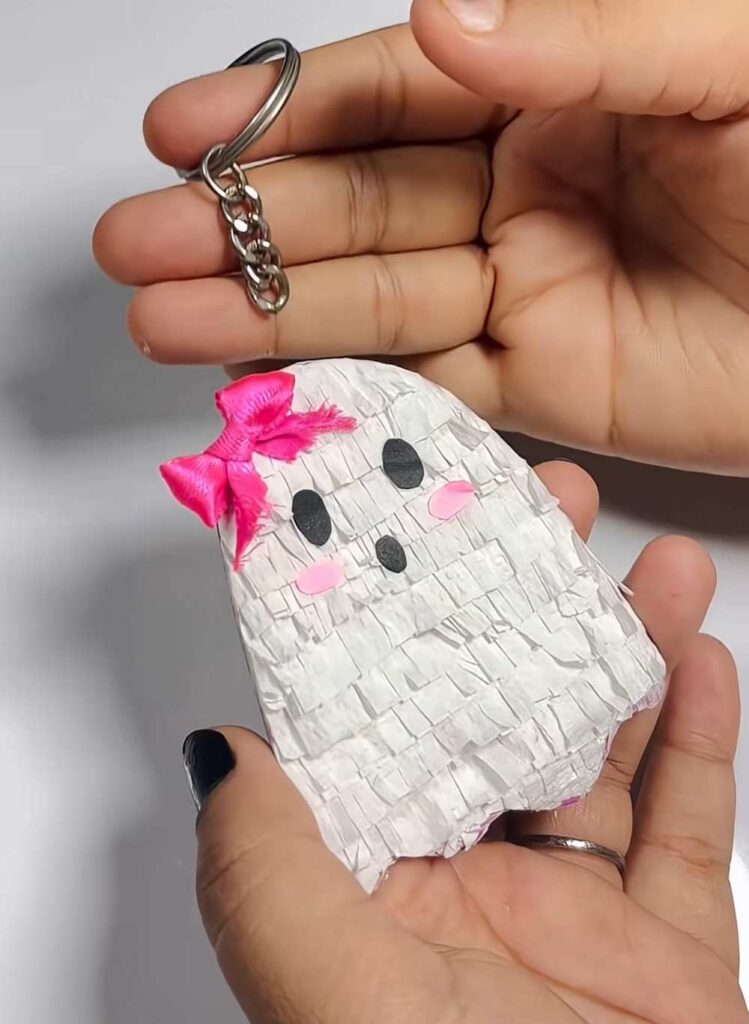
6. Final Touches and Hardware
-
Add a Bow: Tie a small pink ribbon into a bow and glue it to the “head” or side of the ghost.
-
Attach Keychain: Punch a small hole at the top of the cardboard base. Thread your keychain loop through the hole and secure it.
Your DIY Ghost Keychain is now ready to haunt your keys or backpack!