
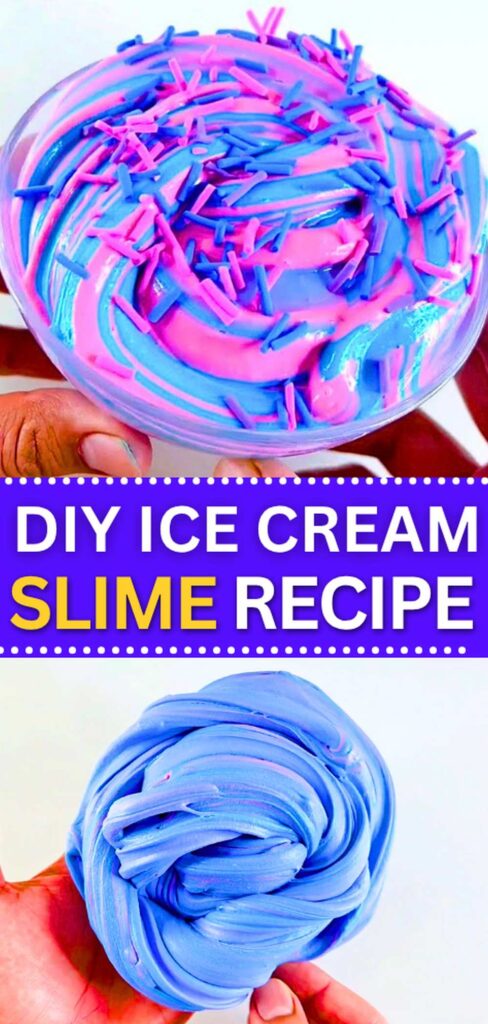
Learn how to make a bowl of homemade candy pop slime ice cream for kids with this tutorial. It will require a simple slime made of PVC white glue and a homemade activator mix to get that thick, creamy look, just like a dairy ice cream that stays opaque.
You can make it in any flavor just by changing the colors of paint you use. There are also playdough spirals over it that make it even more life-like. The method is the same I showed you in the rainbow slime recipe. We will also swirl the ice cream to make it look even cuter. Find both the written and video tutorials below!
Skill Level: None
Supplies
- Slime Activator (You can use a contact lens solution + baking soda mix, or the homemade activator the method of which is shown below)
- Mixing Bowls (One for each color)
- Spoons for stirring
- White PVA Glue
-
Acrylic Paints (various colors for flavors)
- Mixing Bowls
The Homemade Activator
In a separate jar or cup, mix these together until clear:
- 1 cup Warm Water
- 1 small detergent spoons of Boric Acid
- 2 small detergent spoons of Baking Soda
DIY Ice Cream Slime Bowl (White Glue Recipe)
By using white PVA glue instead of clear, the slime stays thick and opaque, which makes it look exactly like real dairy ice cream.
Step-by-Step Instructions
1. Prepare the Activator
Mix your warm water, boric acid, and baking soda in a cup. Stir it well until all the powder has dissolved. Set this aside to use later as your “slime magic.”
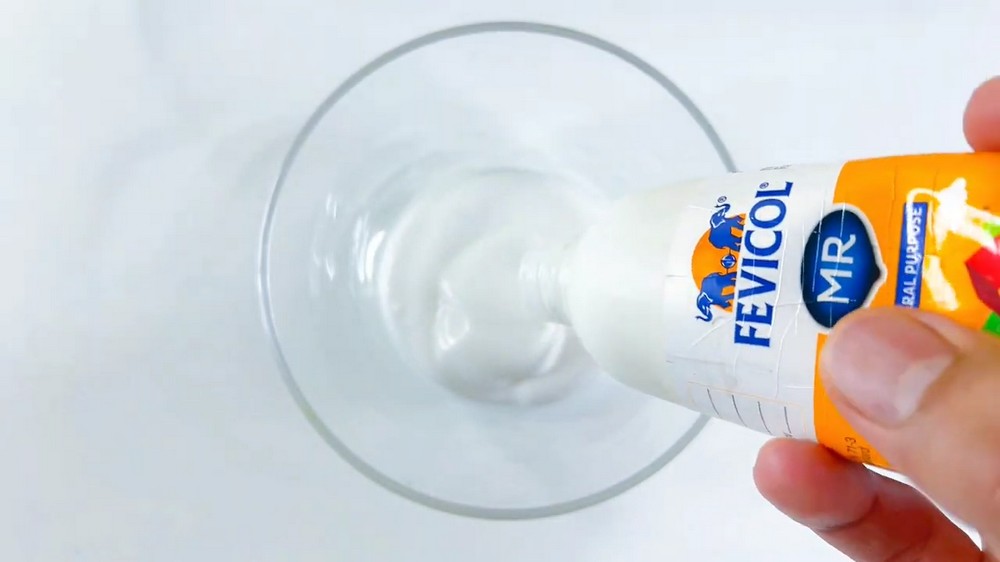
2. Pour the White Glue
Pour a good amount of white PVA glue in a clean mixing bowl. Using only white glue so your ice cream looks creamy and thick rather than see-through.
3. Add Acrylic Paint
Choose a color for your first “flavor.” For example, add a drop of pink acrylic paint or food coloring if you want to make strawberry ice cream. For this ice cream bowl, we shall use pink and blue coloring.
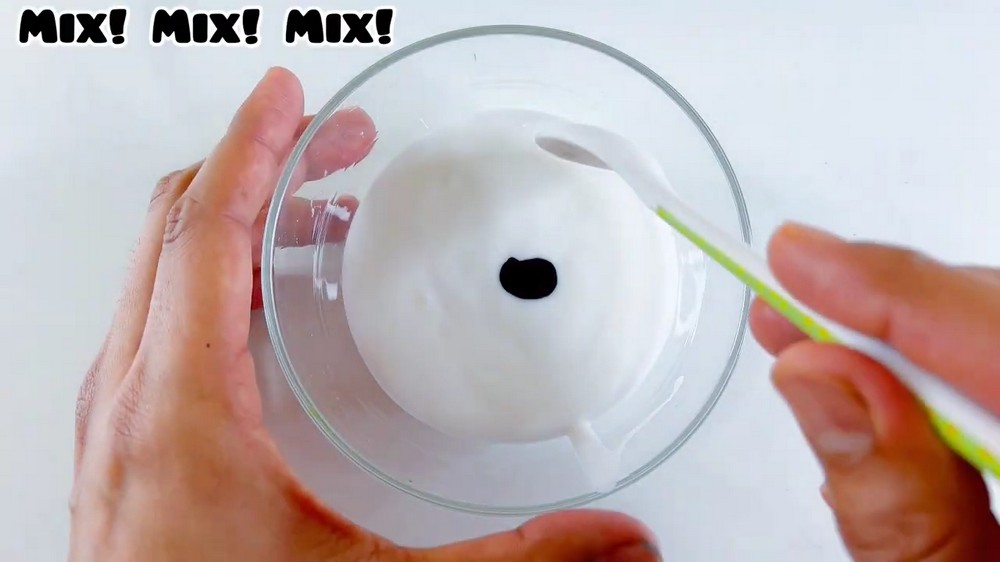
4. Mix the Color
Stir the paint into the white glue. You will notice the white glue turns the paint into a soft, pastel color, making it look very life-like similar to how the ice cream gets a color on milk.
5. Add the Activator
Slowly pour a small amount of your homemade activator into the colored glue. Start with just a teaspoon at a time. Or you can fill a dropping!
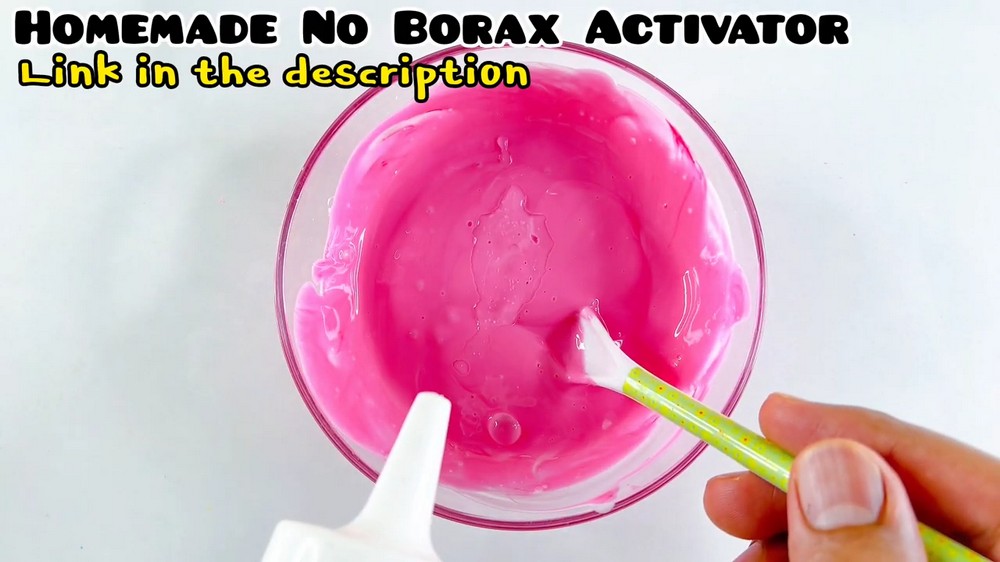
6. Stir Until Thick
As you stir, the glue will start to pull away from the bowl and form a thick, dough-like ball. This is when the slime is starting to “activate.”
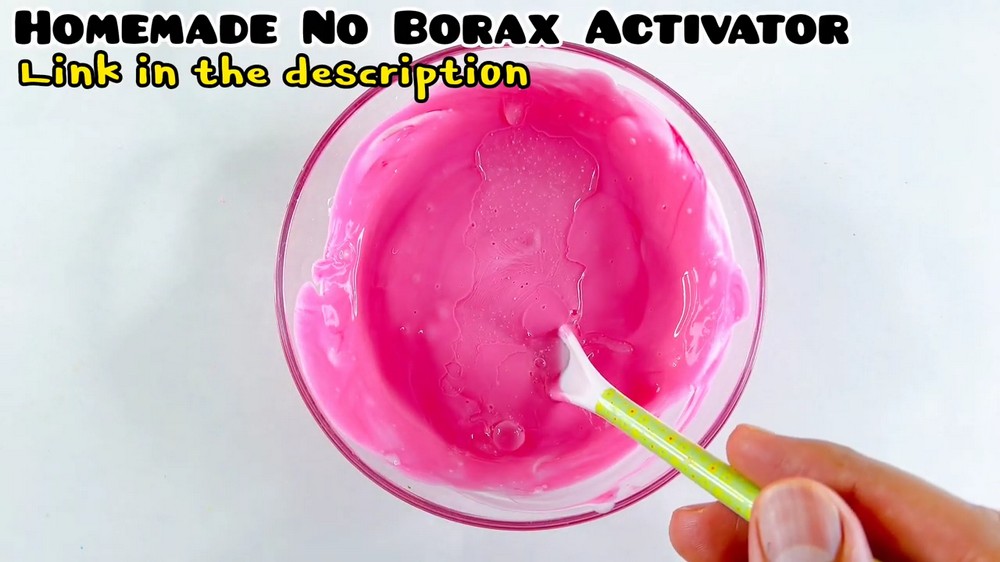
7. Knead the Slime
Pick up the slime and knead it with your hands. Keep stretching and pulling it until it isn’t sticky anymore and feels smooth and stretchy.
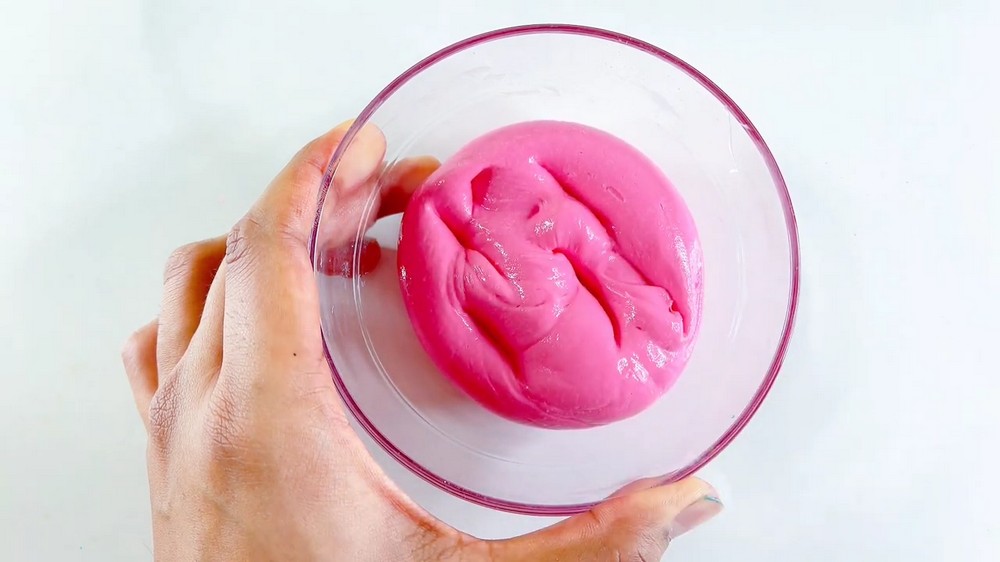
8. Repeat for More Flavors
Clean your bowl and repeat the process to make other colors. You can make yellow for vanilla or green for mint. Having 2 or 3 colors makes the final bowl look amazing.
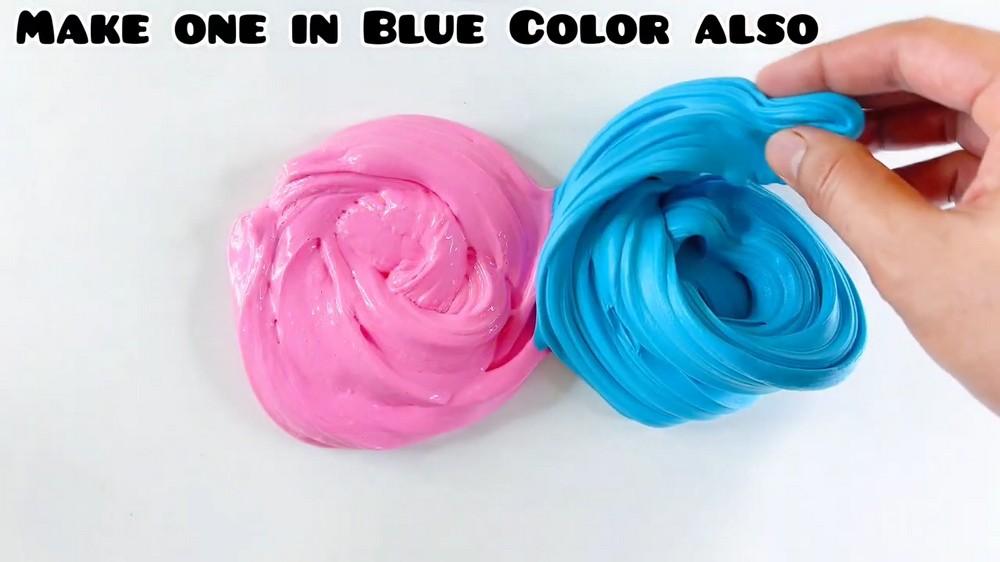
9. Scoop the Slime
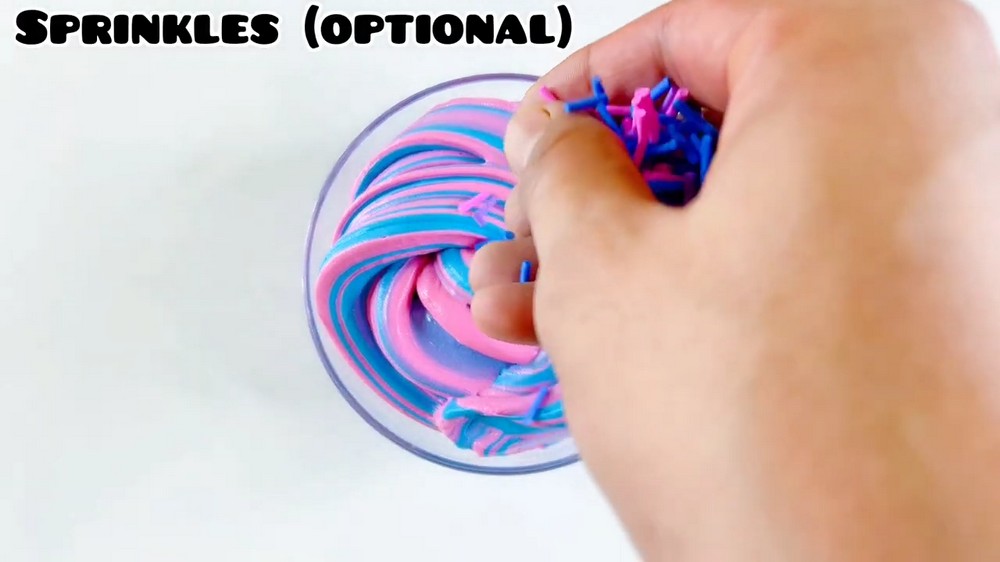
Take an ice cream scooper or a large spoon and scoop out round balls of each color. Place the “scoops” into a small dessert bowl or a sundae glass. For this idea, you will want to swirl both the doughs together fill the bowl.
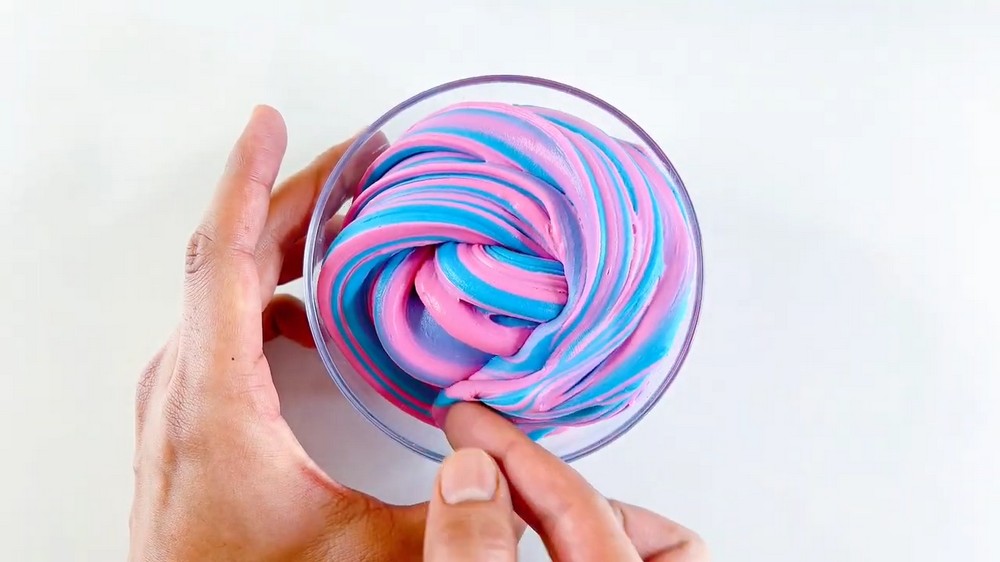
10. Sprinkles
For the final look, you can add small beads as “sprinkles” or a tiny bit of brown slime for “chocolate sauce.” Now your ice cream bowl is ready to display or play with!
Storage Tip: Keep your scoops in an airtight container when you are done playing so the white glue doesn’t dry out. This keeps your ice cream soft for a long time!
Did you find the tutorial helpful? Be sure to subscribe to the creator’s channel!
About "MR SLIME via YOUTUBE"
Mr. Slime has dedicated his whole channel to CLEVER ways to make a slime including many NEW tips!

About "Talha"
Hey, I’m Talha, the Crafter on Craftstive.com. I love to share guides on folding cute origami models and paper crafts, and I am always ready to inspire your next craft project with my weekly craft discussions.