
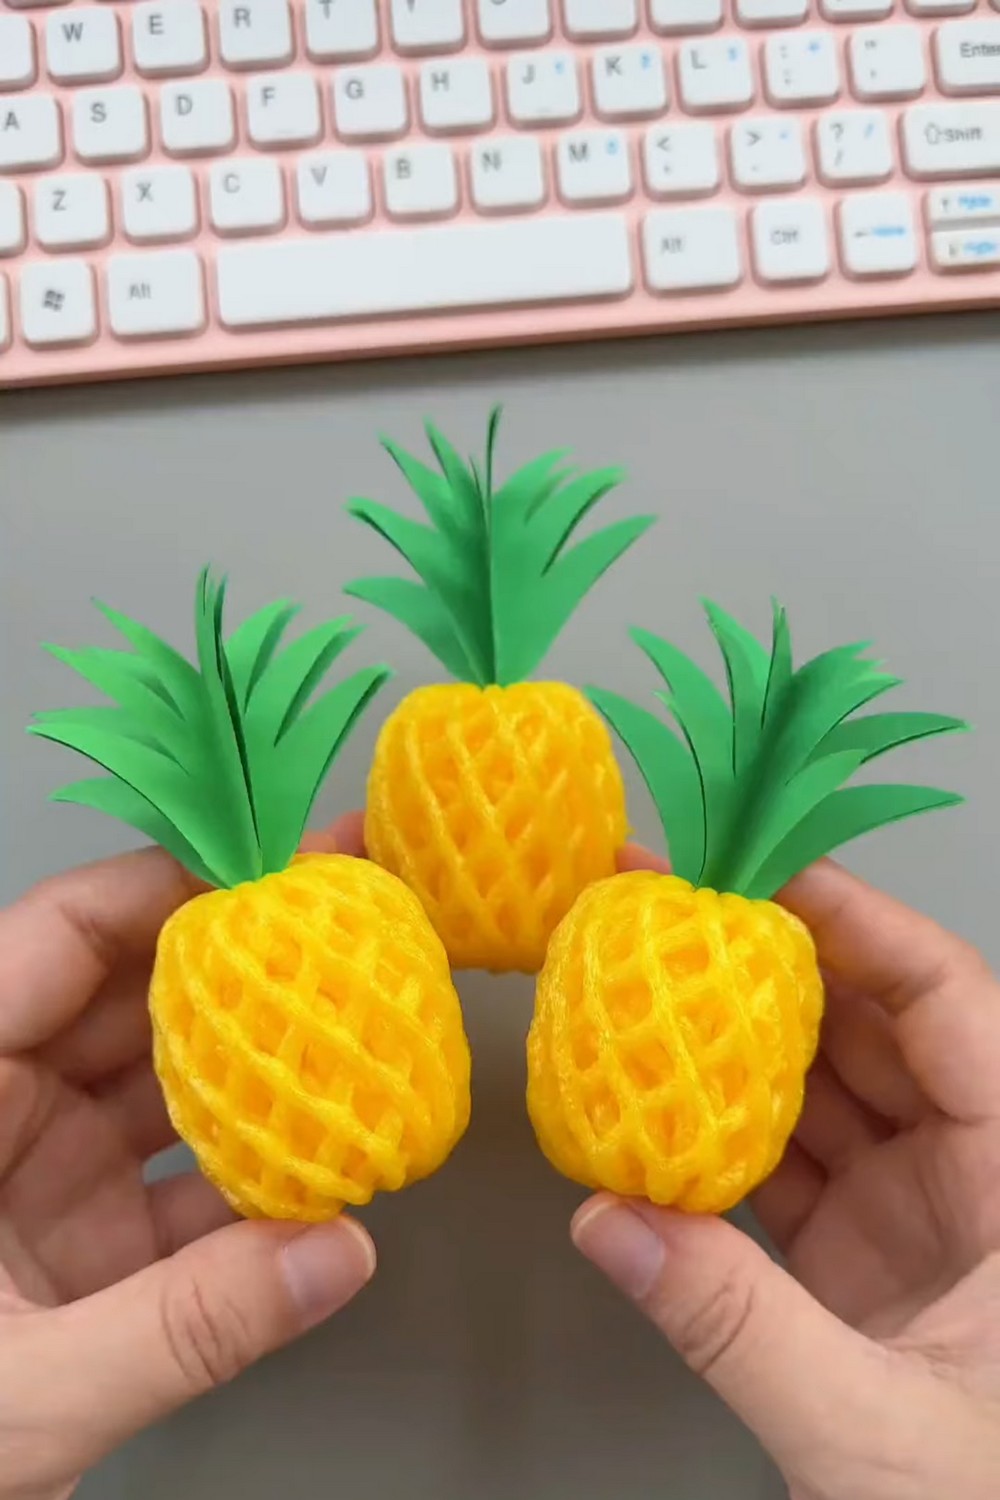
Learn how to make a pineapple softie in any size by upcycling a foaming fruit net with these instructions. Make at least three of these this summer to decorate for juice parties, a Luau,, or use as a keychain. Now, you don’t have to throw your fruit net away and can make these soft and life-like pineapple plushies for kids.
Luckily, this method does not require any skill! So, kids can do this MOST FUN summer activity. You now, I have already shared tons of pineapple craft ideas but plushies always wins and this one is the best!
For the crown, we shall use a waterbomb base in origami to cut it. This will make a perfect crown which is 3D and looks alike from all directions. The fruit netting already has a hexagonal pattern, so it makes the best pineapple ever! Let me show you how.
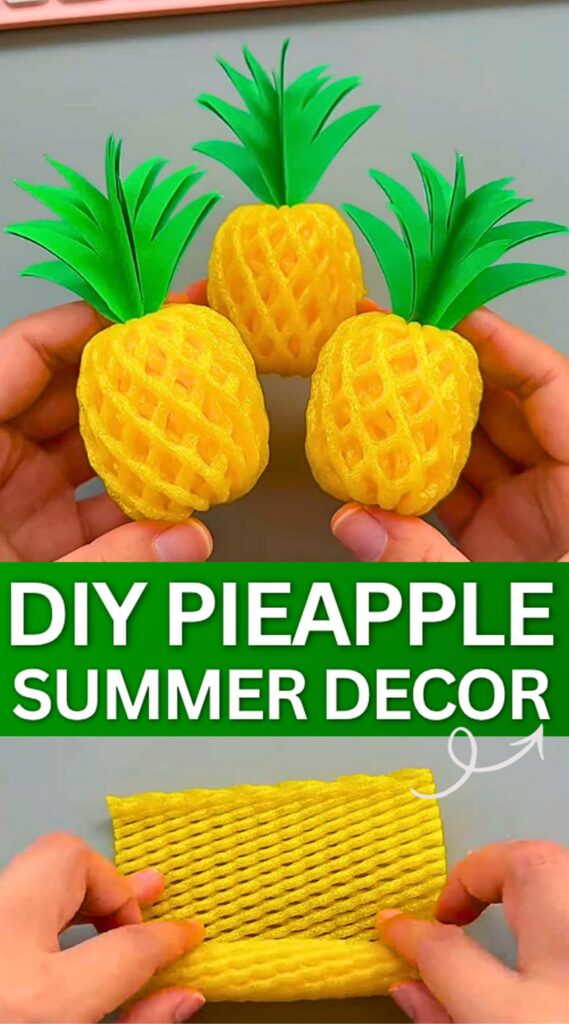
Difficulty: None for making the fruit net pineapple, and beginner level 1 for the origami crown.
Time: 15 Minutes
Materials Needed:
- Foam Fruit Net: It usually comes wrapped around apples, pears, or papayas (yellow for the pineapple).
- Craft Scissors: For cutting the net to size.
- String or Thread: A thin, strong thread, or you can use the rubber bands.
- Pencil: For sketching the leaf pattern.
- Scissors: To cut out the crown.
- Glue or Double-sided Tape: To secure the leaves.
Pineapple Out of Net: Step-by-Step Instructions
Follow these step-by-step instructions to make pineapple plushie:
1. Cut to Size
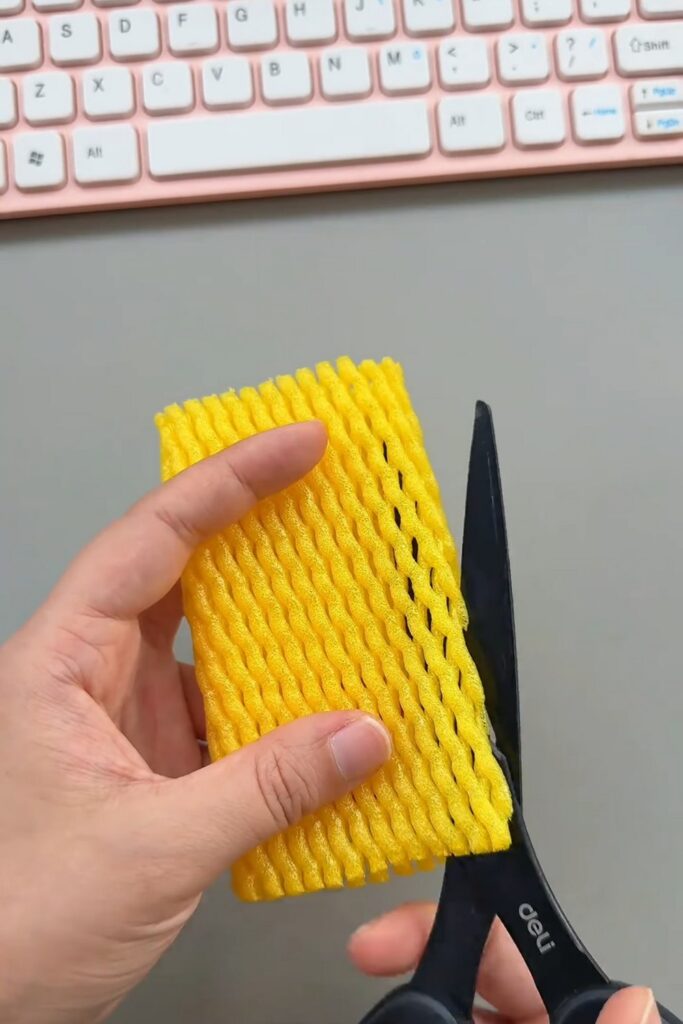
Start by cutting the tube of foam net to make a flat rectangular piece. Trim the edges so you have a workable rectangle with straight edges (cut it as big as you want your pineapple to be).
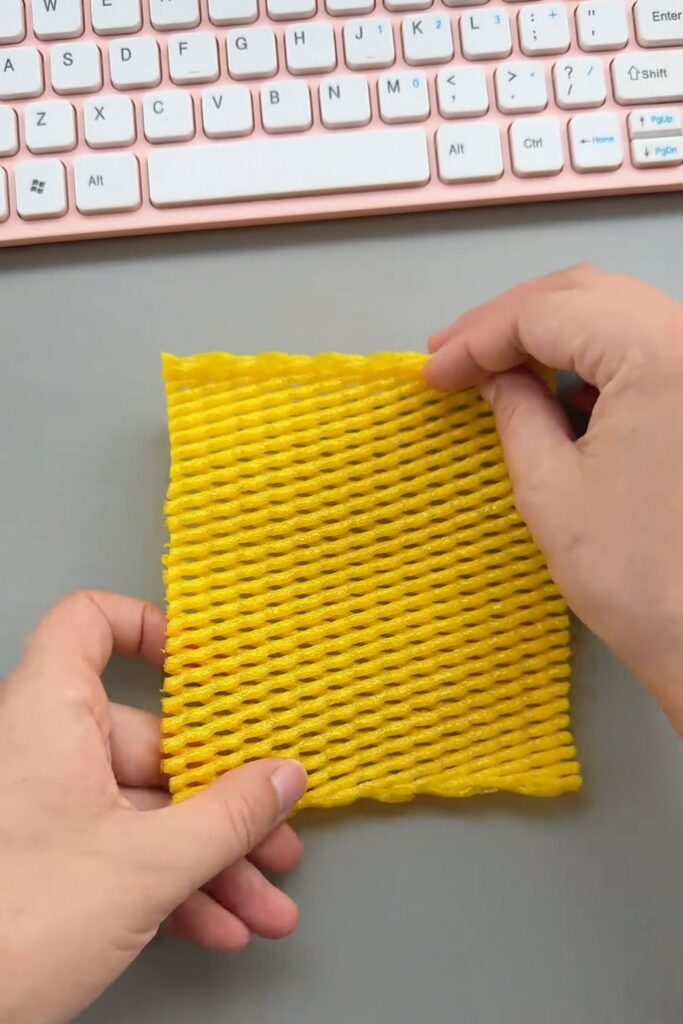
2. Roll It Up
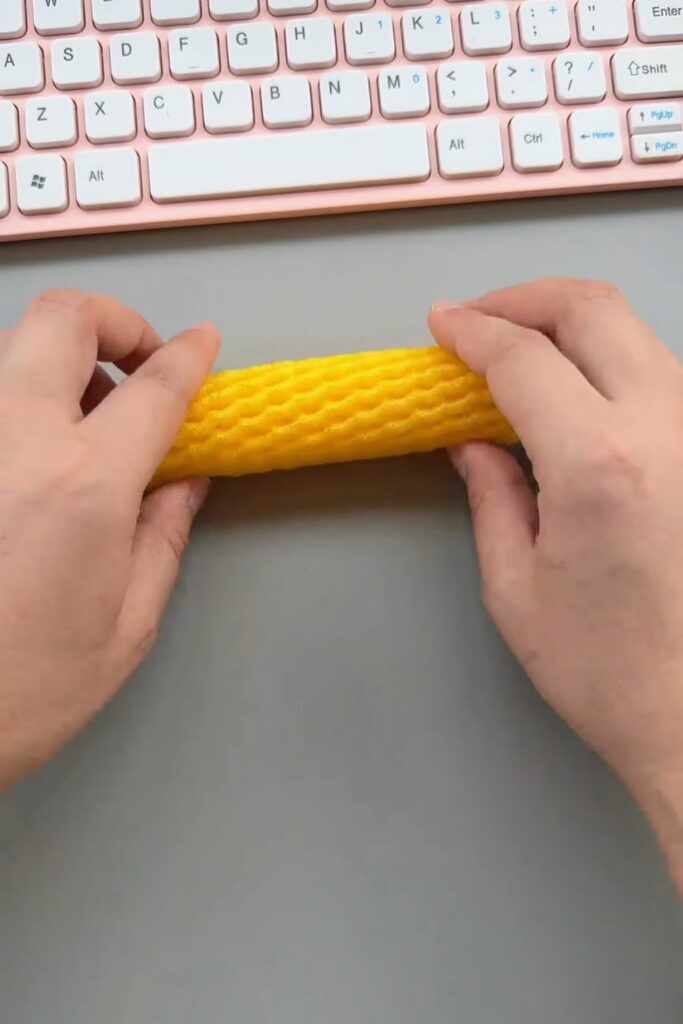
Lay the cut piece of netting completely flat on your table. Starting from one of the short bottom edges, tightly roll the net upwards into a neat cylinder.
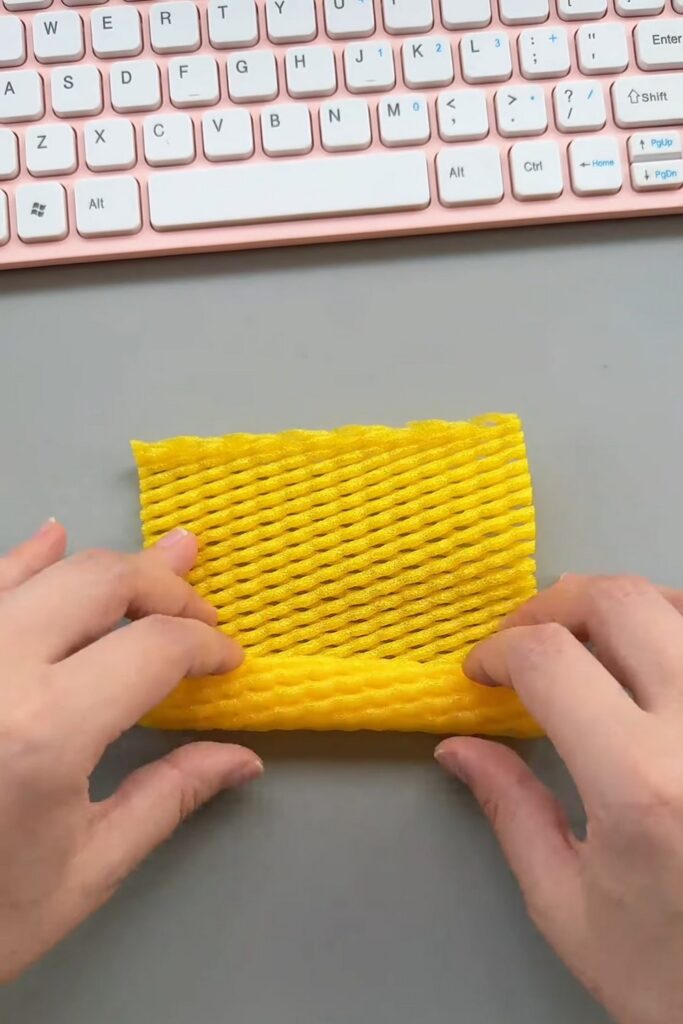
If you feel it is difficult to work with the shorter side later on, you can also roll the longer side.
3. Tie the First End
Pinch one end of your rolled cylinder, leaving about half an inch of a “tail.” Take a piece of your string and tie it very tightly around the pinched area.
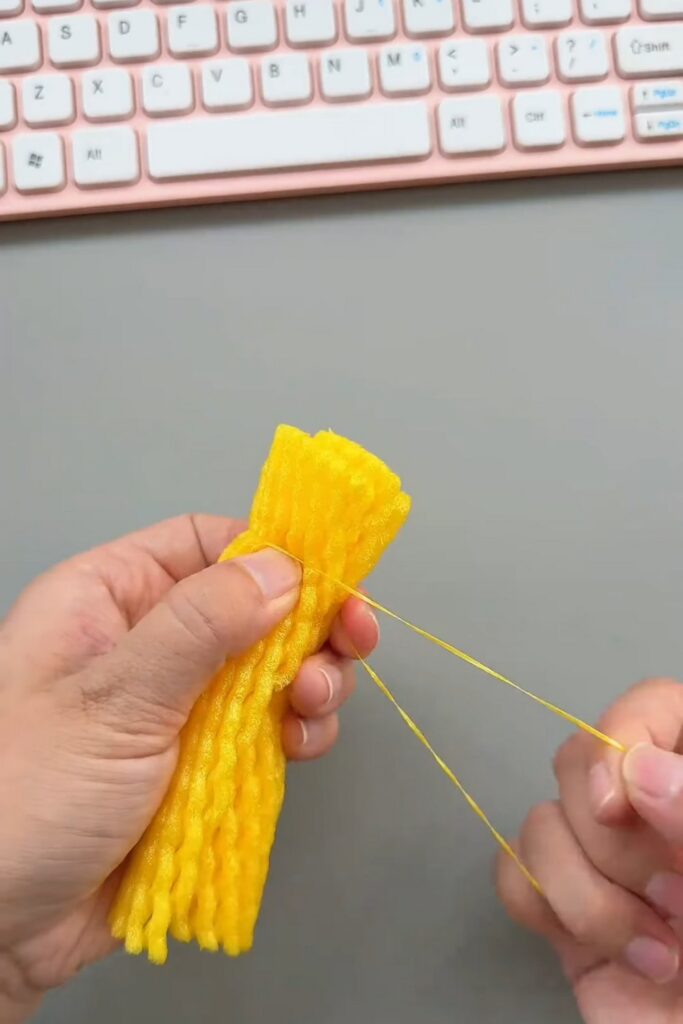
Knot it securely and trim any excess string. You can also use the rubber band and wrap it multiple times.
4. Tie the Second End
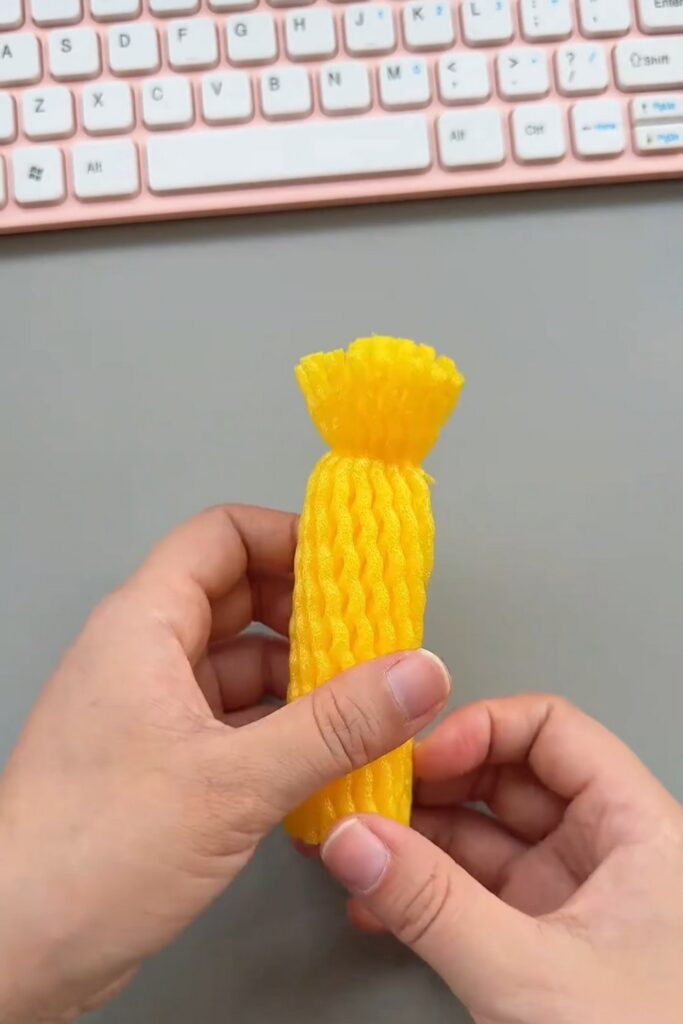
Repeat the same on the opposite end. Tie the string tightly so that the middle section bulges out.
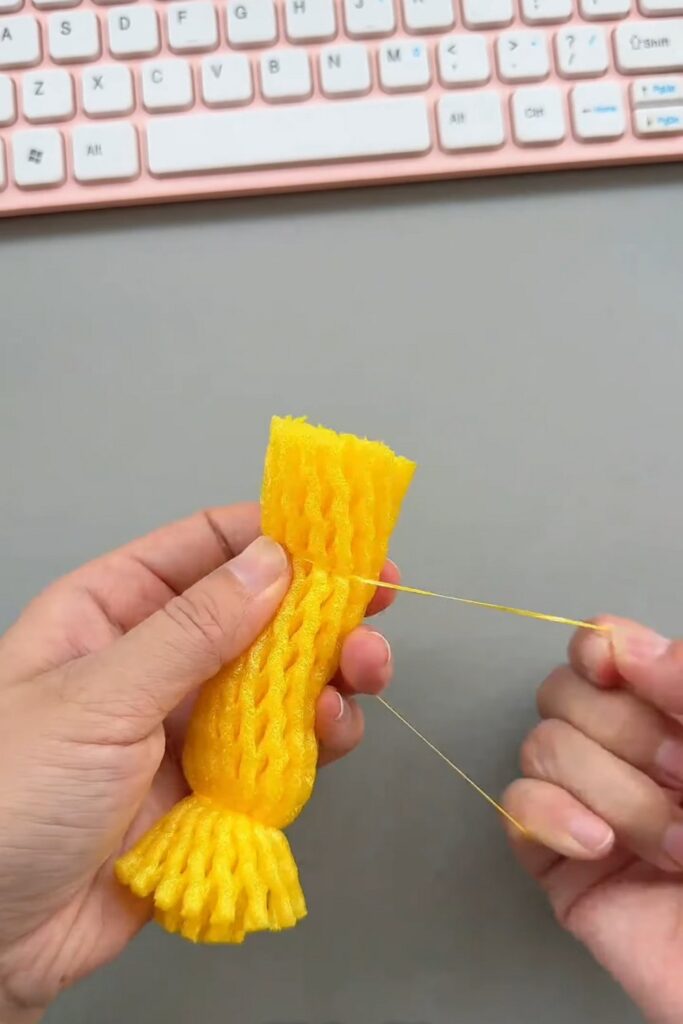
At this stage, your foam net should look exactly like a piece of traditionally wrapped candy, with flared ends on both sides.
Prior Step: Roll the candy and let the ends meet. You will have a centre in the middle.
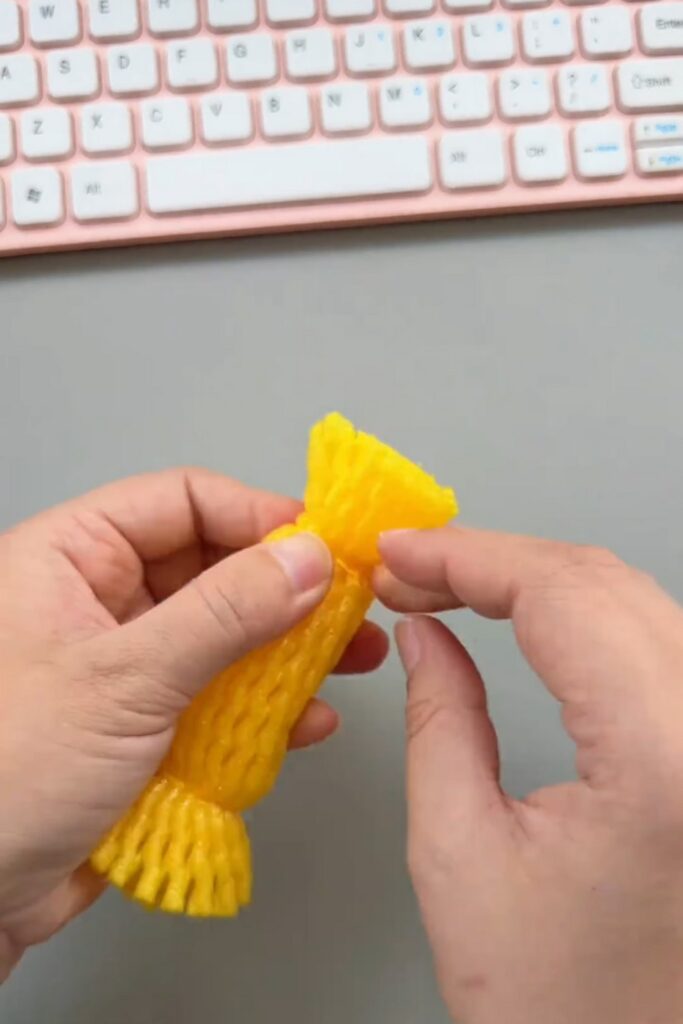
5. Invert and Tuck
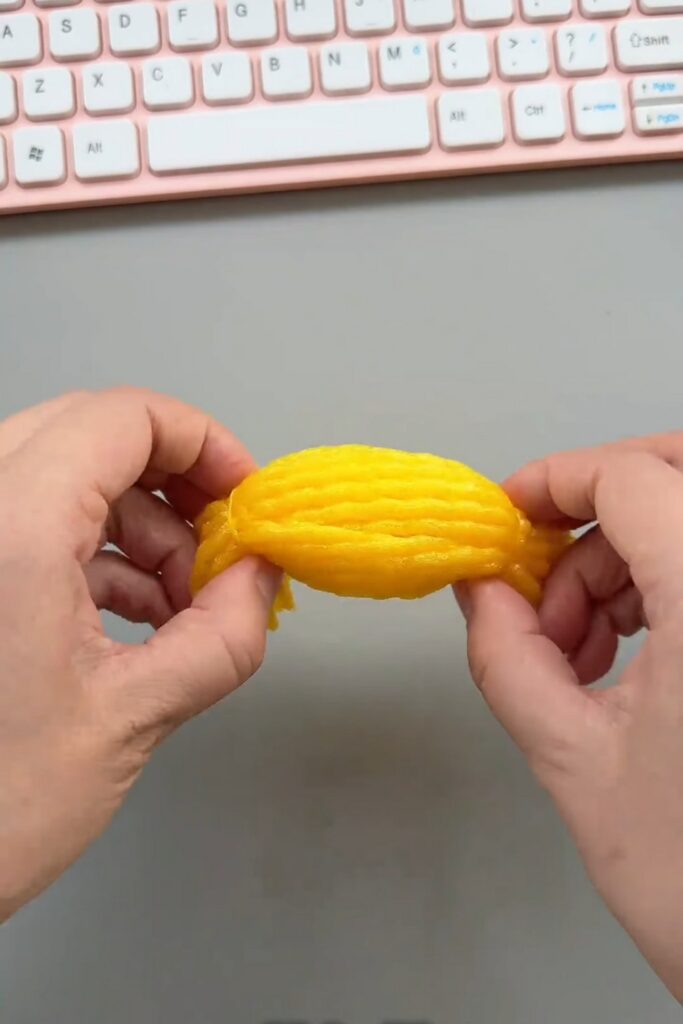
This is the “magic” step to make a neat fruit that has the same texture as the net. Think of this like turning a pair of socks inside out. Reach into that center opening and grab the knotted/tied ends.
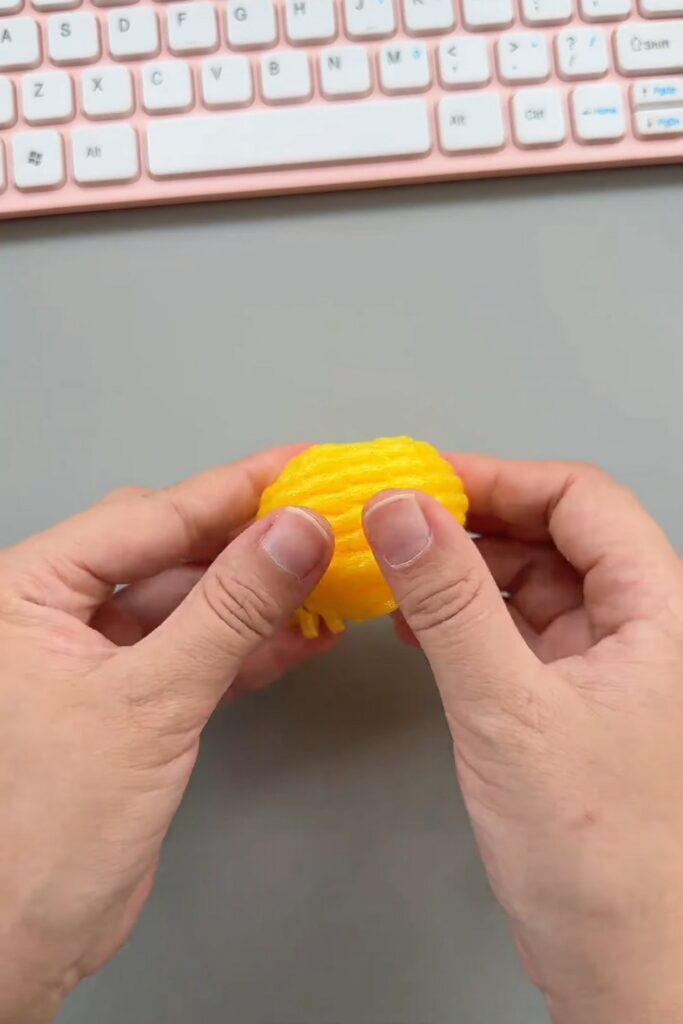
Just starting from the top of your rolled candy, push with your thumbs so that the inside comes out and wrap around! This will hide the knots.
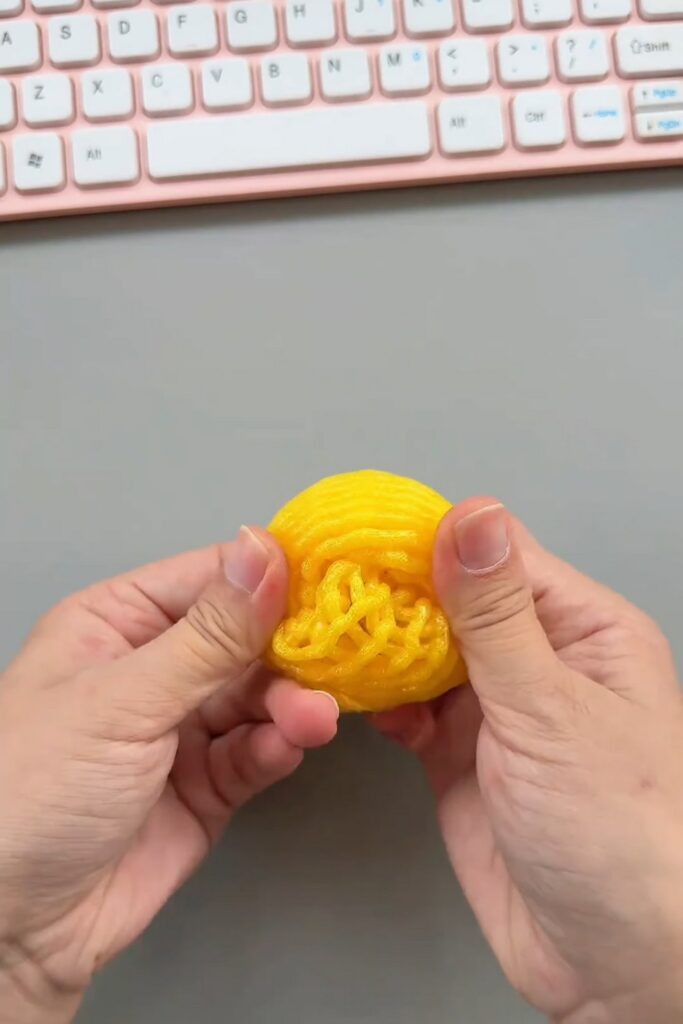
6. Shape the Fruit Body
Once the rough ends and strings are tucked inside, massage and squish the foam with your fingers. The netting will naturally make a rounded, oval shape.
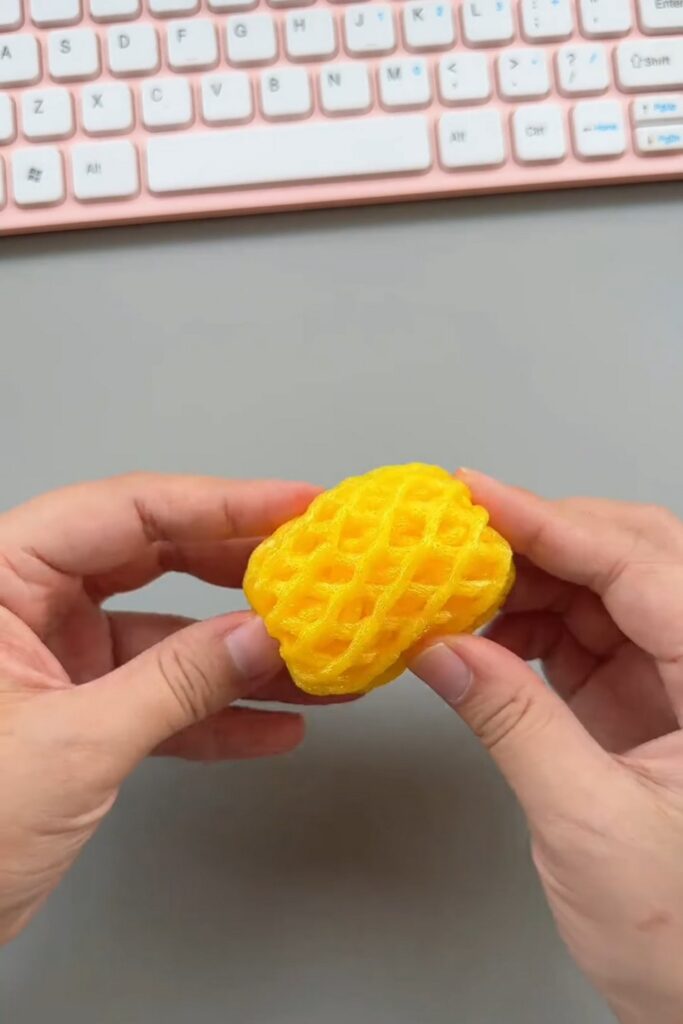
You now have a perfect, squishy base body ready to be decorated or painted as your mini DIY fruit!
Learn with Tutorial!
Cown Instructions:
Now, let’s find out how to make a crown out of paper for this net fruit:
Step 1: The Waterbomb Base
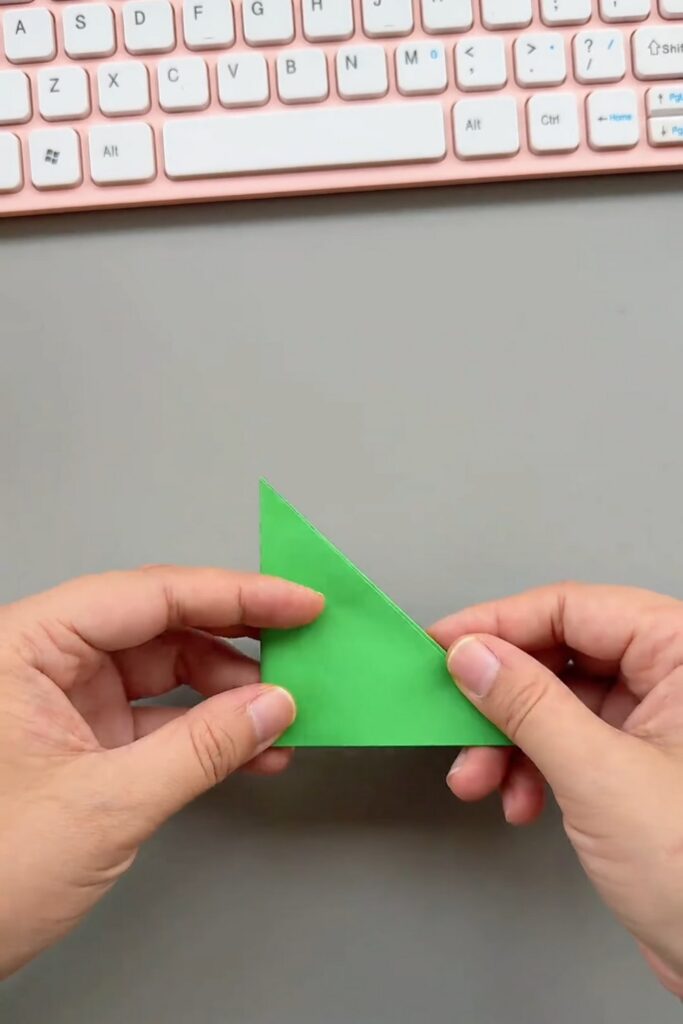
Start with your green square paper. Fold it diagonally in both ways, then unfold.
Fold the paper in half horizontally and vertically, then unfold again.
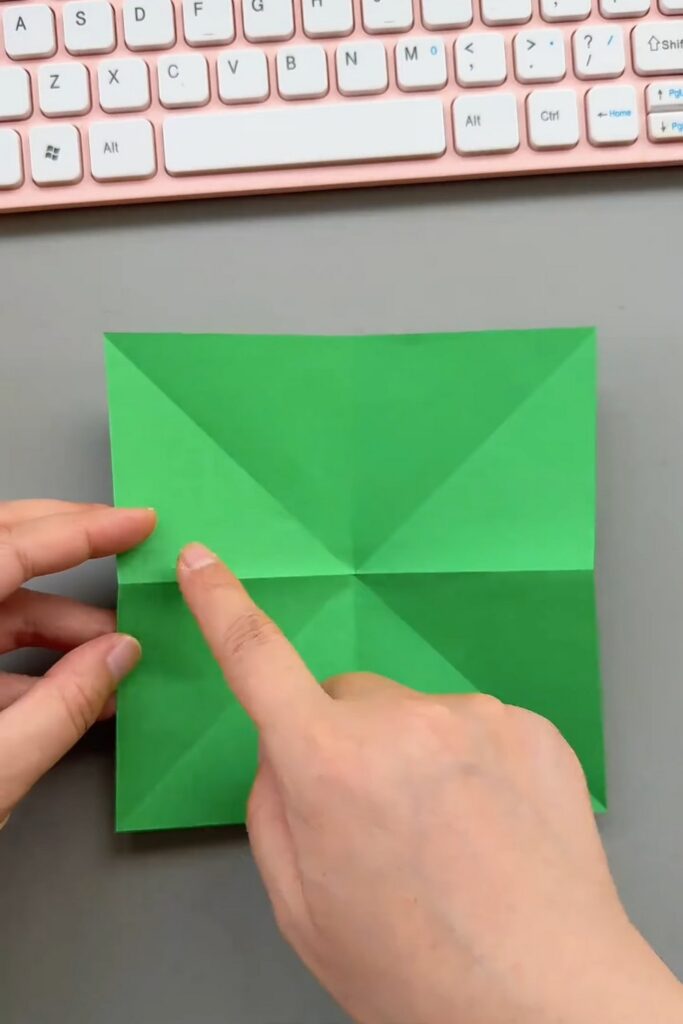
Using the creases as a guide, “collapse” the paper by pushing the horizontal midpoints inward while bringing the top and bottom edges together. You will be left with a layered triangle, known as the waterbomb base.
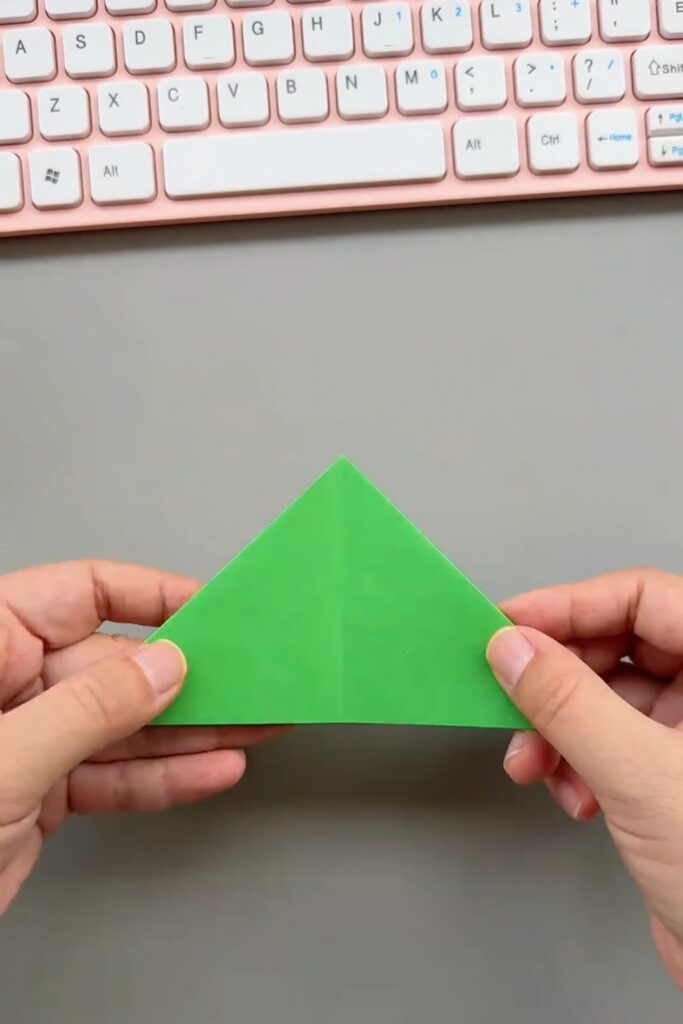
Step 2: Sketching the Crown
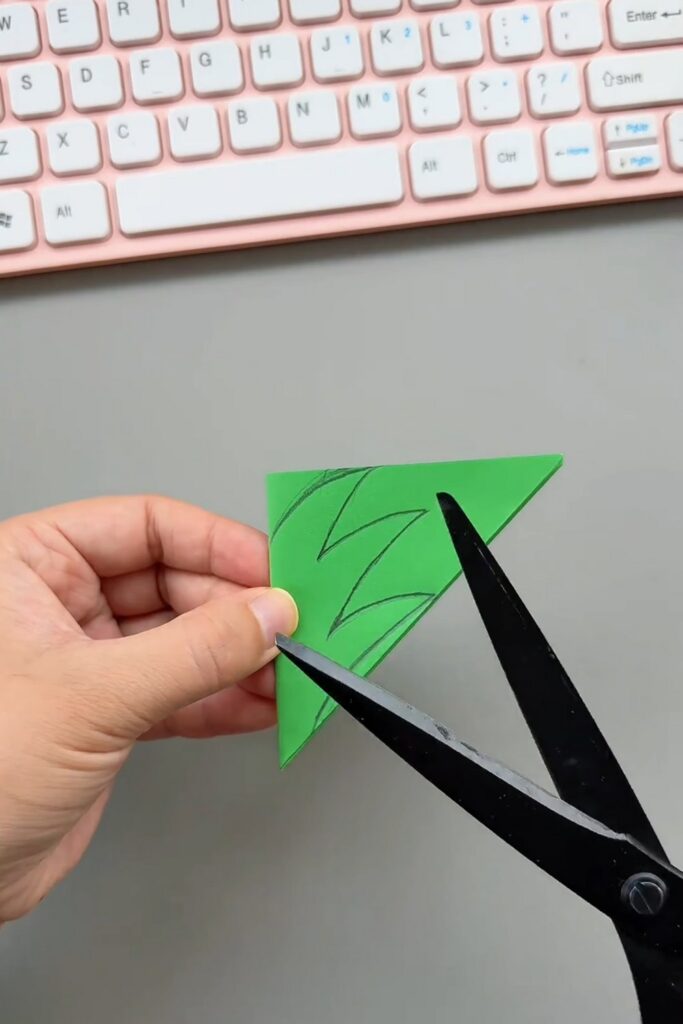
Keep the triangle folded. With the top corner facing up, use your pencil to draw a jagged, zig-zag line across the top half of the triangle.
These “teeth” will become the pointed leaves of the pineapple. Be sure that the bottom of your sketch stays connected to the central fold so the crown stays in one piece.
Step 3: Cutting the Leaves
Cut along the jagged lines you sketched.
Be sure not to cut through the bottom-most fold; you want the layers to remain attached at the base so they can fan out later.
Step 4: Unfolding and Shaping
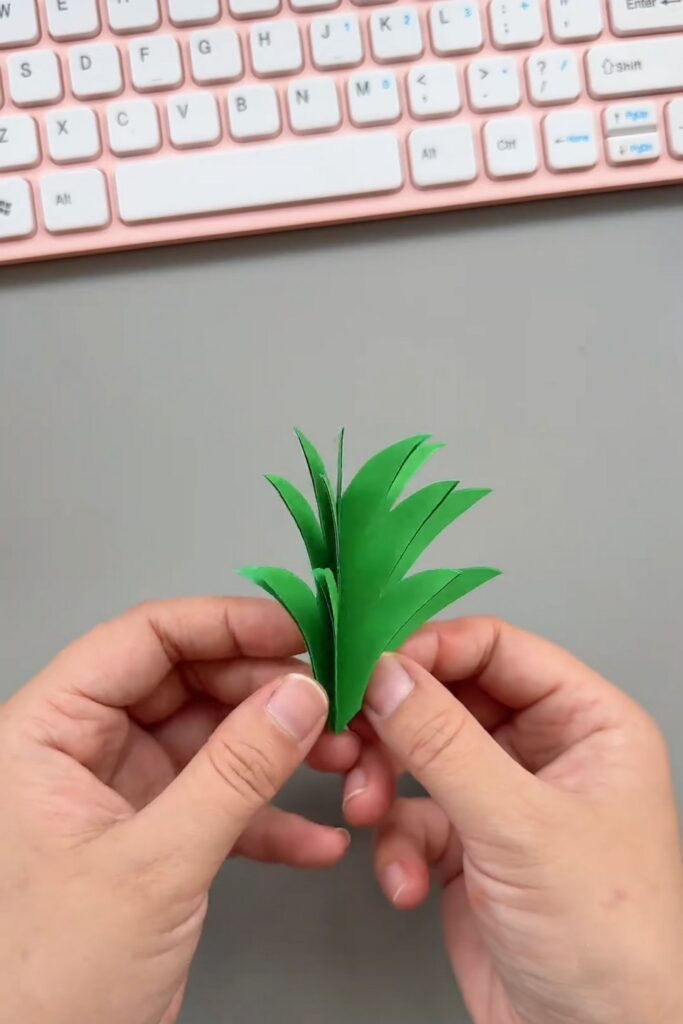
Open the paper. You will see a circular arrangement of pointed leaves.
Pull the layers apart and curl the tips of the leaves slightly outward with your thumb or a pencil to give the crown a more natural, organic look.
Step 5: Preparing the Netting
Take your yellow foam netting and stretch it slightly.
If the netting is open at both ends, you can tuck a small ball of scrap paper or yellow tissue inside to give it a round, firm “pineapple” shape, then tie or glue one end shut.
Step 6: Assembly
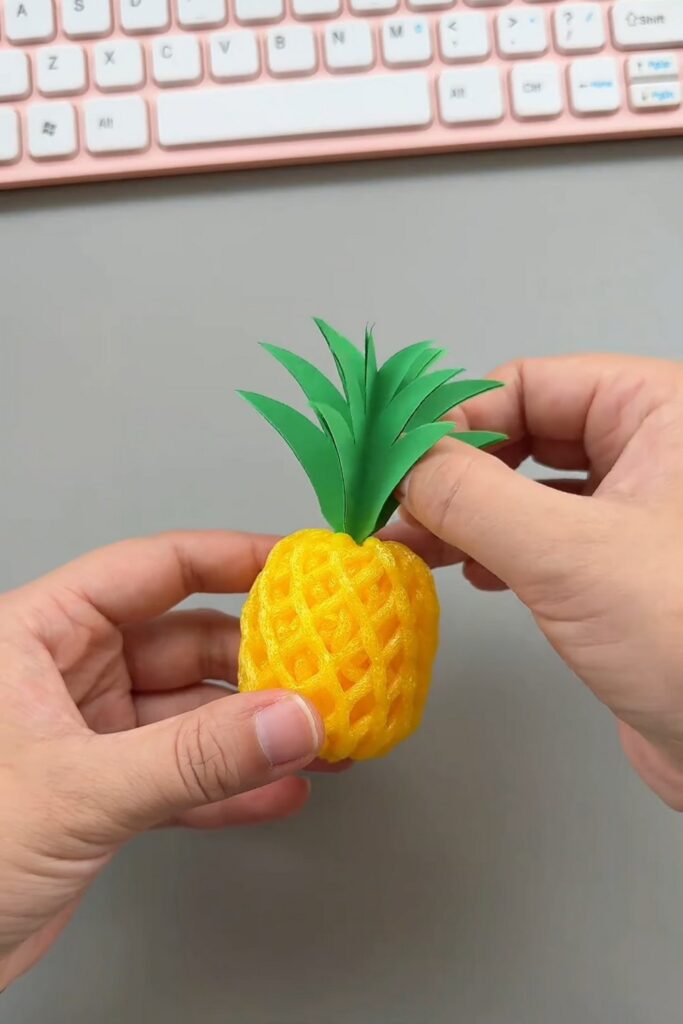
Apply glue to the bottom centre of your green paper crown.
Press it firmly onto the top of the yellow netting bag.
Hold it in place for a few seconds until the glue sets.
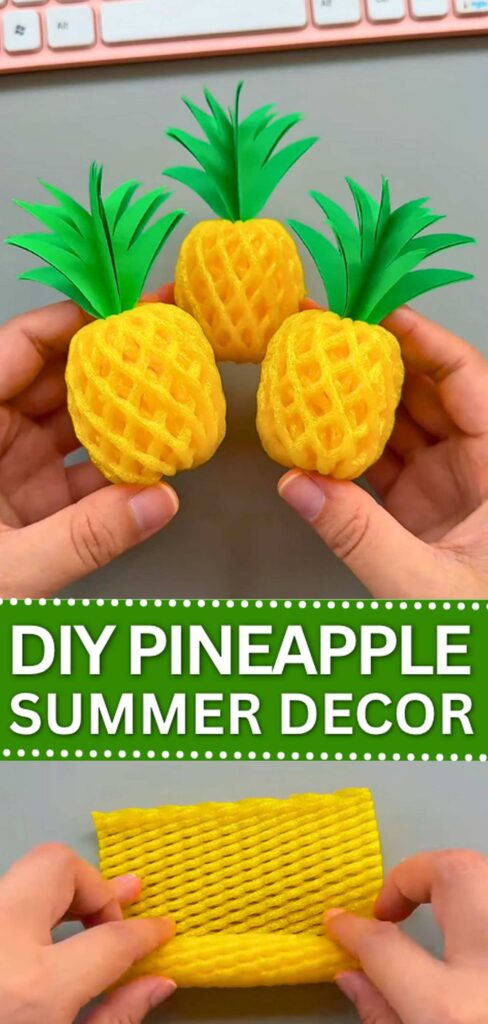
And that’s it!
Was this Plushie Tutorial Helpful? Tell us in the Comments.
Your feedback is a great way for us to improve the tutorials. Did you find the tutorial helpful? Be sure to subscribe to the creator’s channel!