
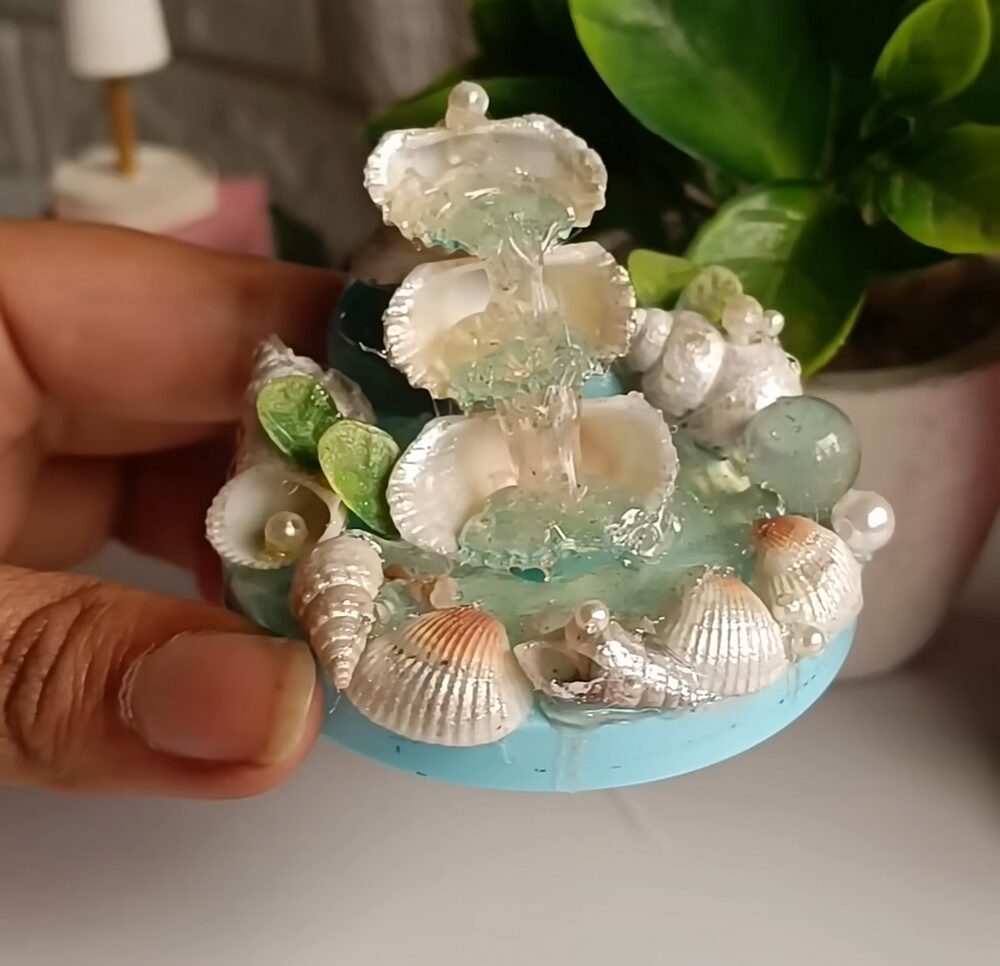
Learn how to make a REALLY elegant and life-like seashell waterfall scene decoration for your craft table, shelf, or coffee table with these instructions. The clever use of hot glue will let us display flowing water, so there is no need for the epoxy resin. All this seashell decoration is made over a painted mason jar lid, and that makes the base look SO BEAUTIFUL!
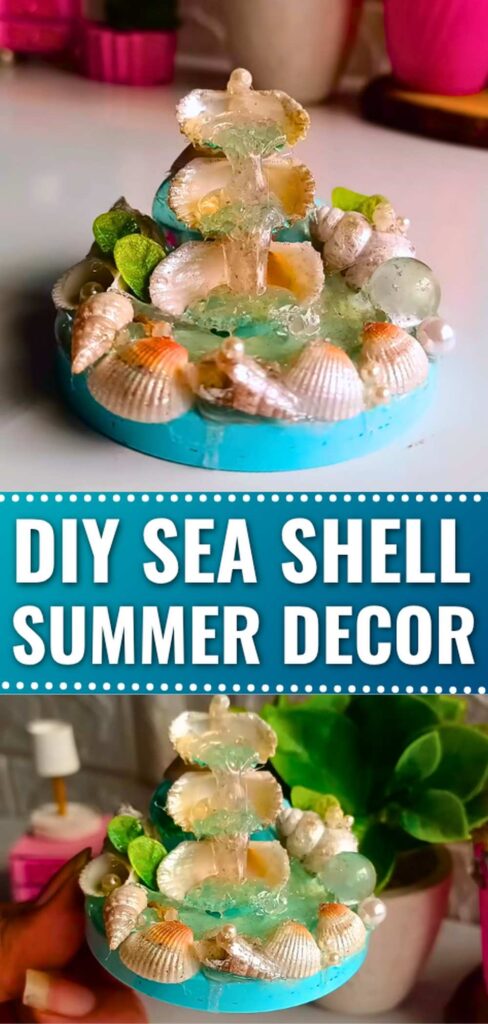
Last week, I shared a whole bunch of seashell decoration ideas. This one is my favorite as it has the most LOVELIEST color-combo, features more than 4 types of seashells, and also pearls and the marble balls. Also, today, I wanna inform you that I will share many more seashell decor ideas very soon. For now, let me show you how to make this DIY seashell scene!
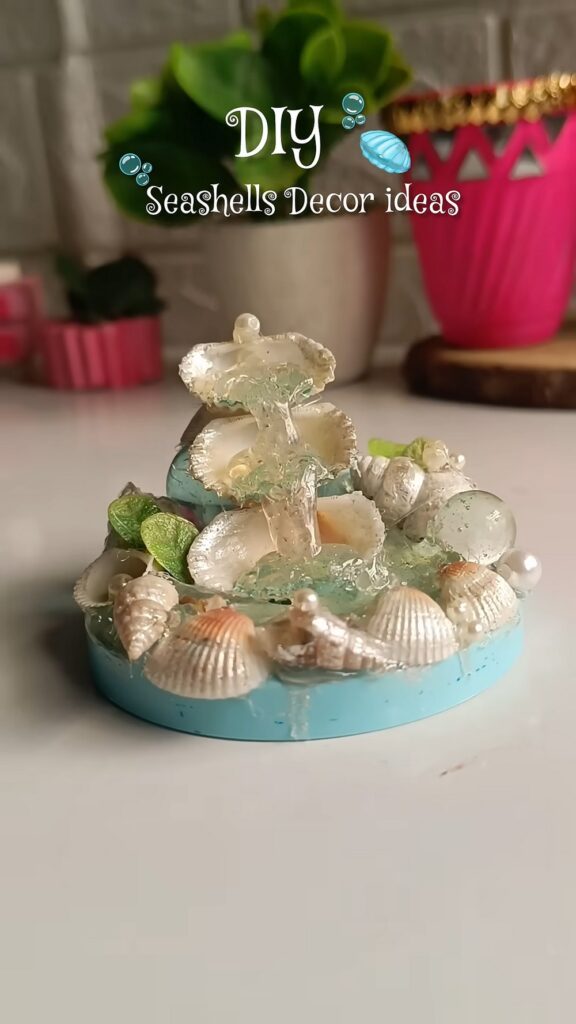
Time: 20 – 30 Minutes
Techniques: With this seashell jar waterfall decoration on a jar lid, you will learn and use the following techniques:
- Correctly painting the seashells
- Using hot glue as an alternative to resin
- Painting a jar lid
- Gluing the marble balls
- Identifying the seashells of different types
Shell Inventory
Here are the types of shells, numbers for each, and other accents used to make this waterfal scene:
- 1 Round Atlantic Surf Shell (Painted): This is the only shell that is painted. It is colored white, then blended with aqua blue to match the base.
- 3 Ribbed Cockle Shells (Waterfall Tiers): Three natural, unpainted ribbed shells of graduating sizes (large, medium, and small).
- 11 Border Shells (Unpainted): A mix of various natural shells arranged in a semi-circle.
- 5 Glass Marbles
- 7 Pearl Beads
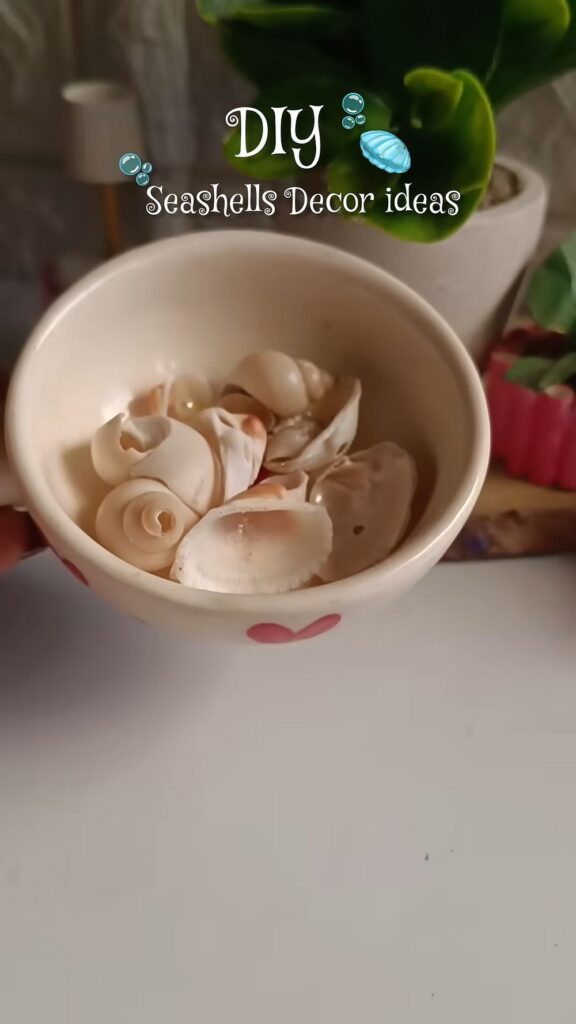
Tools and Materials Used
Buy or gather the following materials in your supply drawer for this DIY seashell decoration:
- A round base: Painted light blue (you may have a wooden disk or a plastic lid from a jar, such as a 1.5 pint mason jar).
- Acrylic paint: Light blue and white.
- A small paintbrush.
- Glass marbles: Clear and blue shades.
- A hot glue gun and clear glue sticks.
- Tweezers: For placing tiny items.
- Small pearl beads.
- Small faux green leaves
Seashell Waterfall Decoration: Step-by-Step Instructions
Here is how you can remake this DIY seashell decoration with step-by-step instructions:
Step 1: Prepping the Support Shell
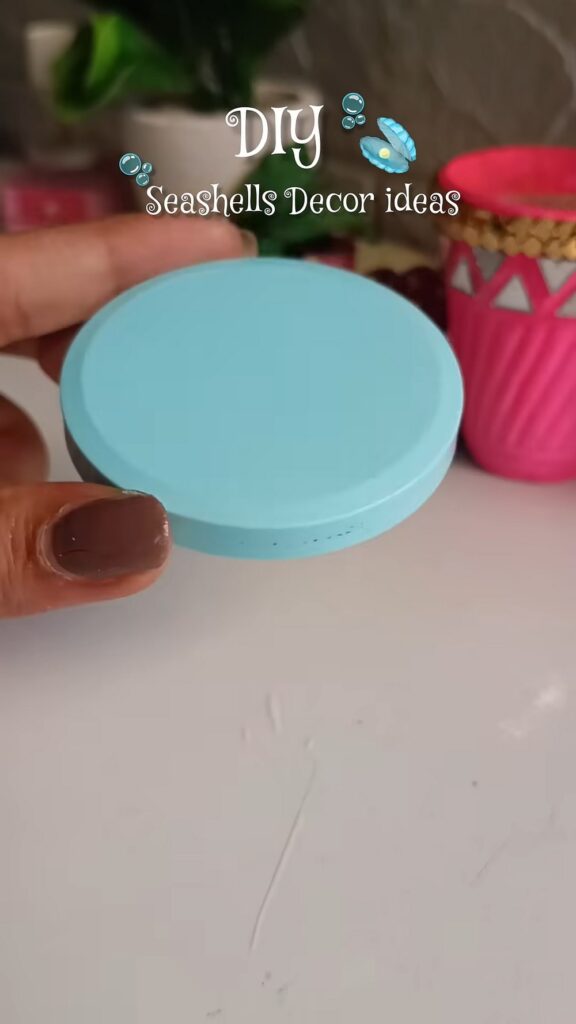
First, paint the single Atlantic surf or moon shell in white. While it dries, paint the base in aqua blue.
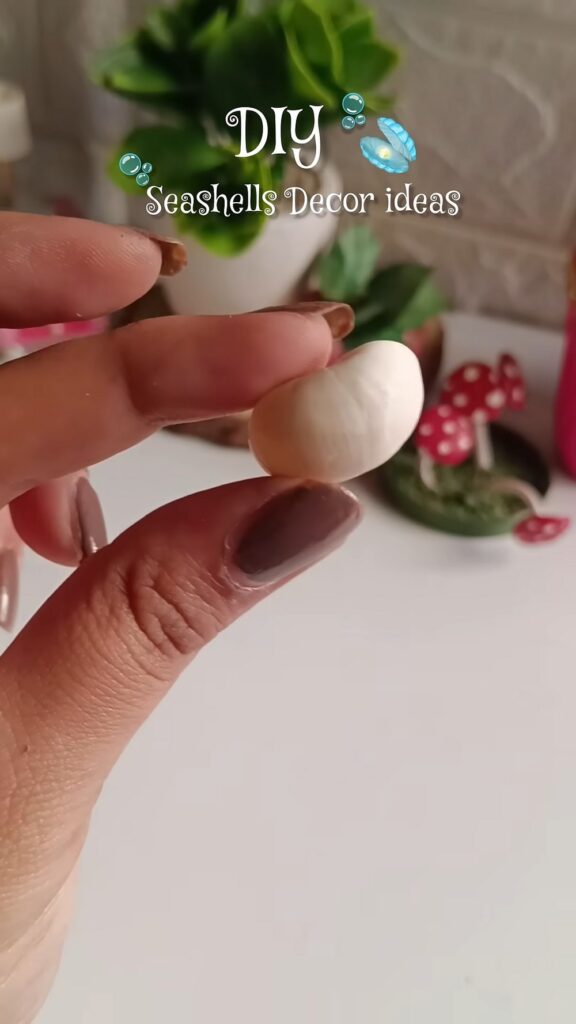
Once the white paint is dry, apply a layer of aqua blue onto the surf shell.
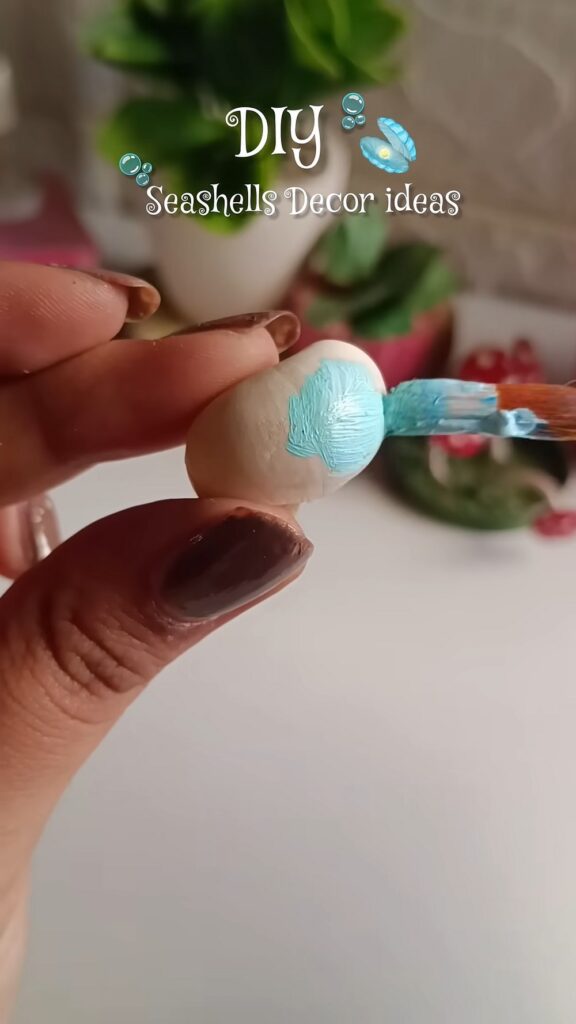
Blend with dabs of white to make a “frosted” seashell.
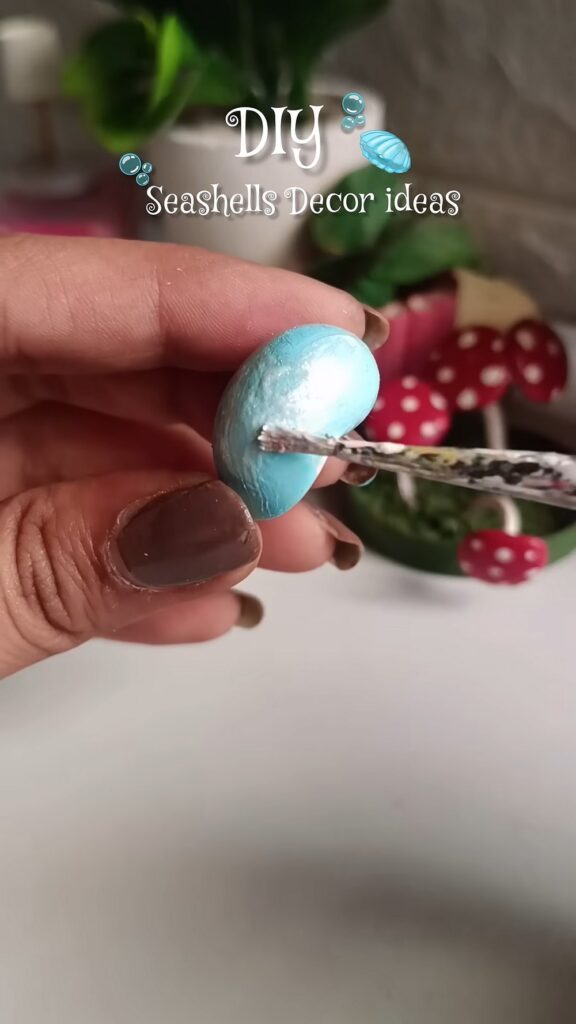
Step 2: Setting the Rear Foundation
Place one blue glass marble on the back-left of the aqua base.
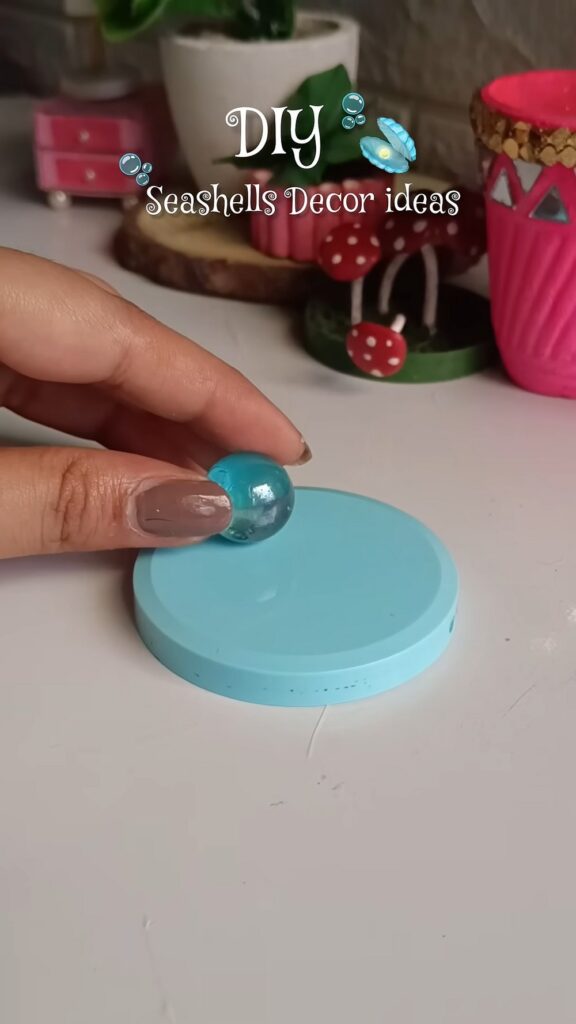
Next, glue the painted Atlantic surf shell on the back-right side. Add one pointed spiral shell and one more blue marble in front of the support shell.
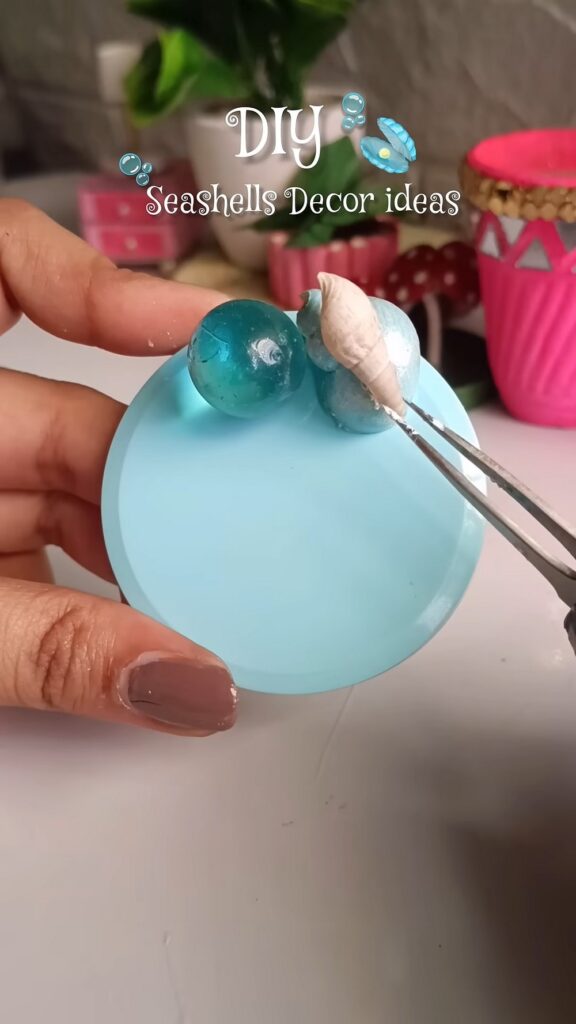
Step 3: Positioning the Waterfall Tiers
The 3 ribbed cockle shells should be stacked to make the waterfall:
Bottom Tier: The largest ribbed shell should be glued horizontally to the base, leaning against the marbles.
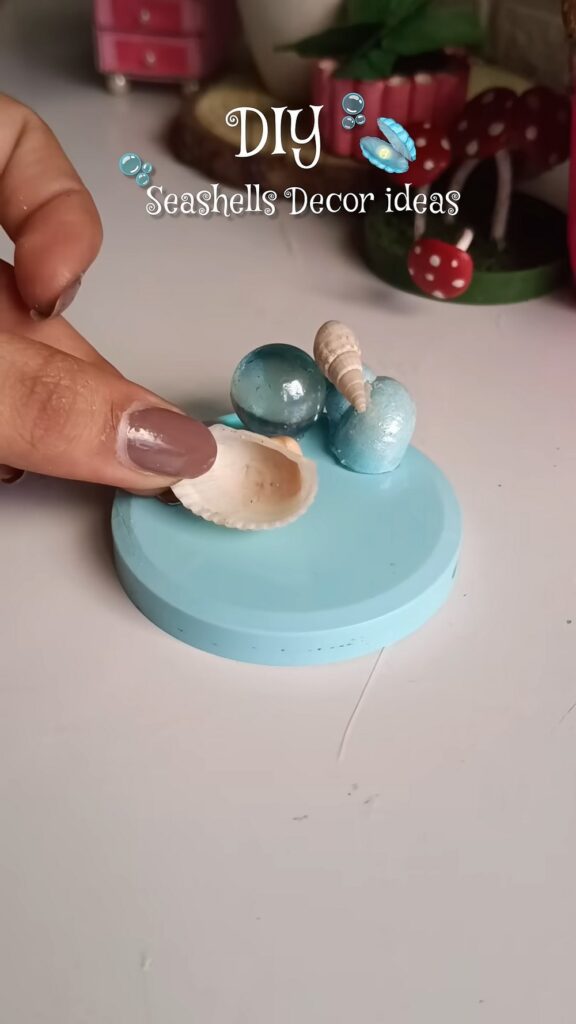
Middle Tier: The medium ribbed shell should be glued into the back-hinge of the bottom shell.
Top Tier: The smallest ribbed shell should be glued into the hinge of the middle shell.
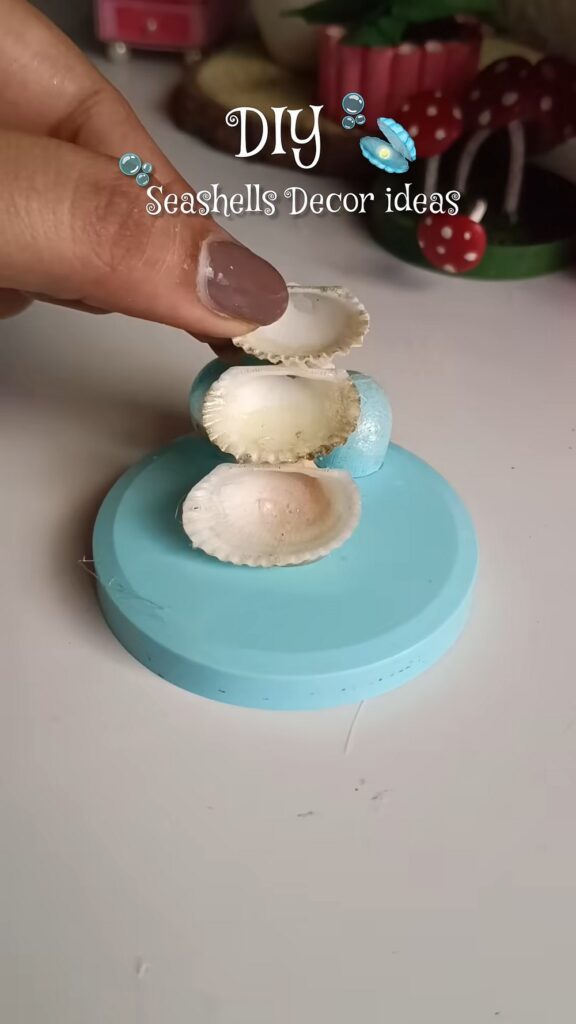
Step 4: Finishing the Details
Border Shells: Glue the remaining 8 natural shells (including one large spiral shell on the far right) around the circle of the base in a semi-circle.
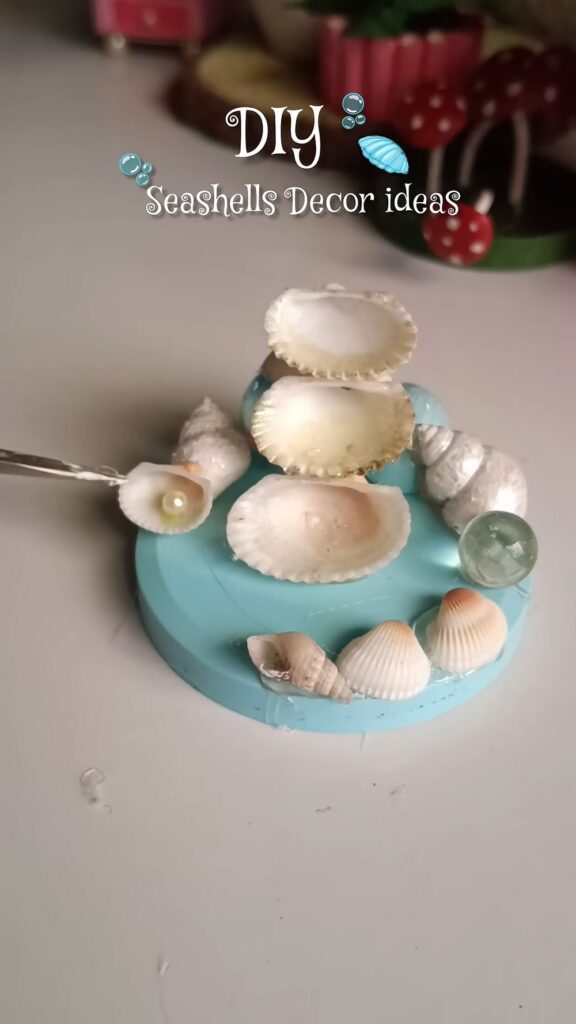
You will also want to insert two more glass balls in between, completing our five of them.
Water Pools: Paint a small area of aqua and white inside each of the three cockle shells to represent water.
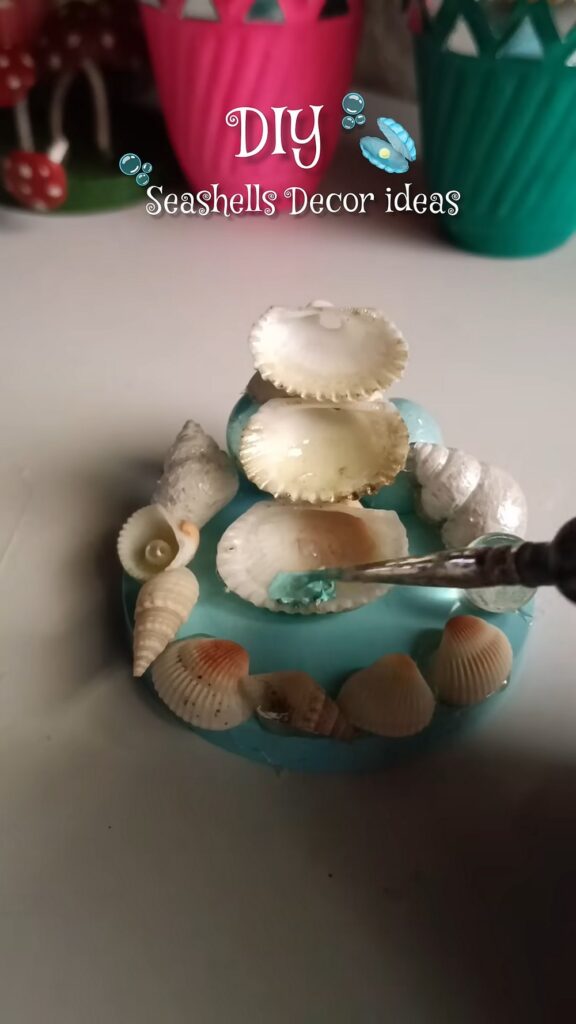
Accents: Use tweezers to place pearl beads into the pools and among the border shells. Tuck three tiny green stone leaf clusters into the sides of the waterfall.
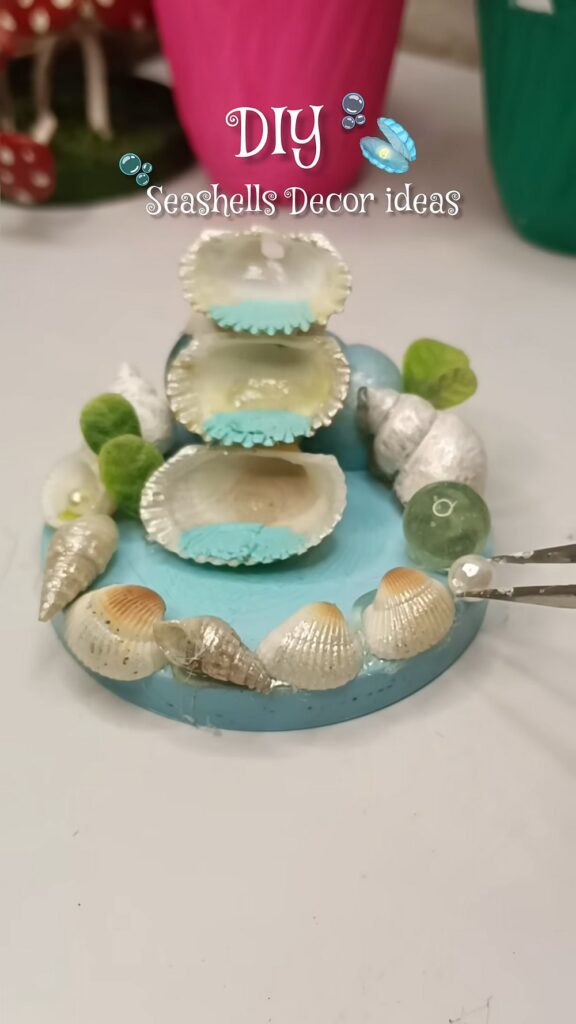
Feels Difficult?
Step 5: The Hot Glue Waterfall
Heat the glue gun and drag thick strings of clear hot glue from the top shell down to the middle, then to the bottom, and finally onto the base.
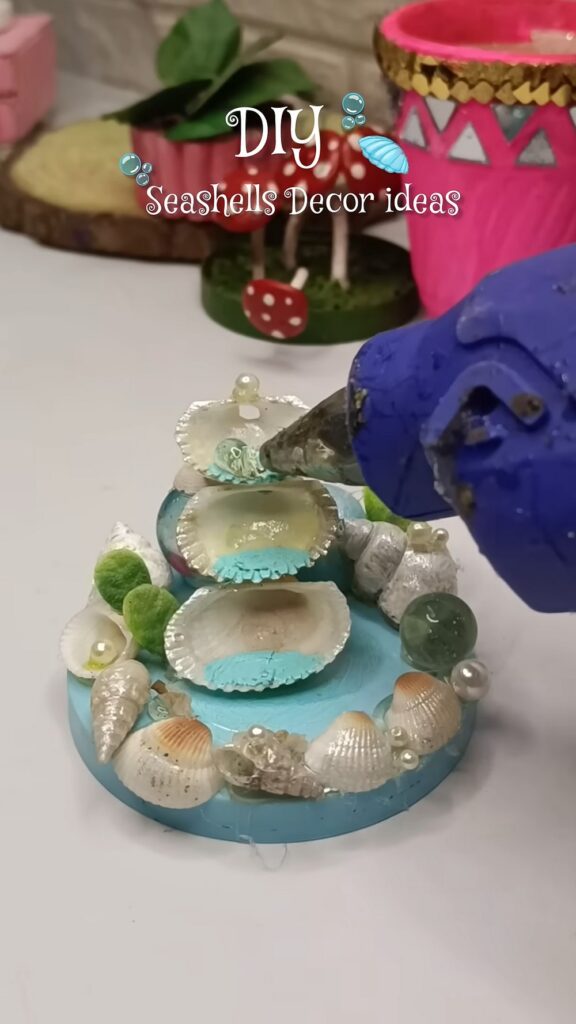
This makes the appearance of splashing, moving water.
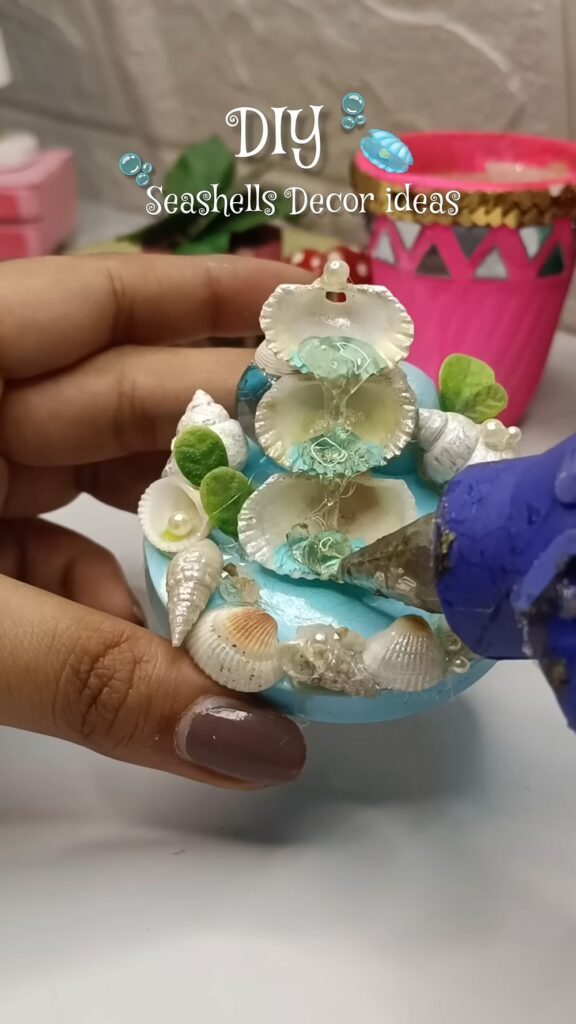
And that’s how you will DIY this elegant seashell and glass ball decoration around a jar lid. You can place it on your desktop!
Was this Tutorial Helpful? Tell us in the Comments.
Your feedback is a great way for us to improve the tutorials. Did you find the tutorial helpful? Be sure to subscribe to the creator’s channel!
About "Art_Se_Artist via Youtube"
She uploads videos about DIYs, art, craft, & a lot more for absolute beginners.

About "Talha"
Hey, I’m Talha, the Crafter on Craftstive.com. I love to share guides on folding cute origami models and paper crafts, and I am always ready to inspire your next craft project with my weekly craft discussions.