
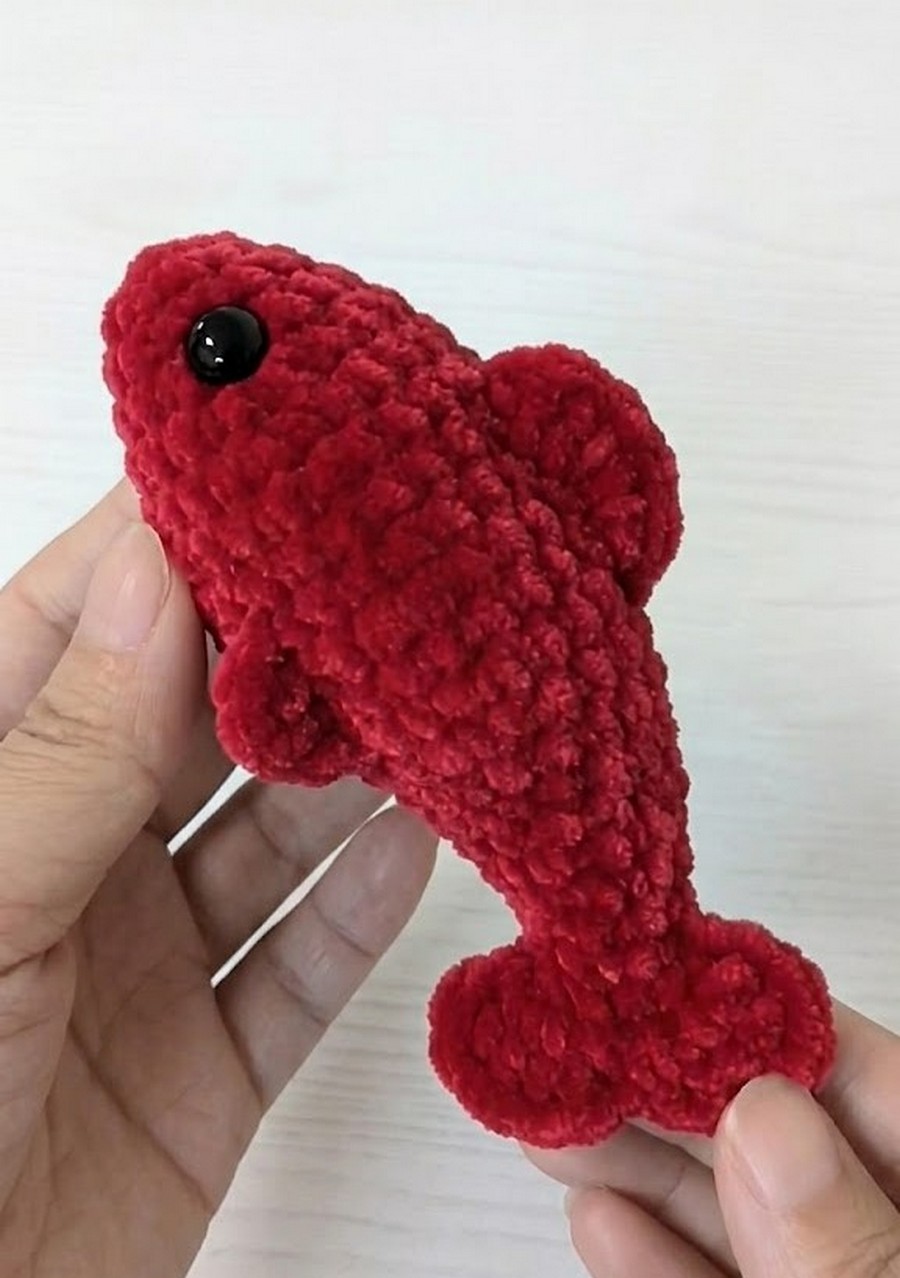
Learn how to crochet a little, bendable, swimming fish plushie toy with this pattern. This is one of the easiest crochet fish plushie patterns I have shared so far. Yes! It is even easier than the pufferfish and mini whale plush pattern. You can kick-start the summer by crocheting this little fish plushie, then use it as a charm for your beach bag. It is also low-sew as only the dorsal and pectoral fins require sewing.
It has a long body and a wire inside that lets you bend it, making it a fidget and stress-softie. I have already discussed tons of fidget toys on criazal, so be sure to check them, too. For now, you can crochet this plushie in less than 20 minutes and also sell some at craft fairs.
[ez-toc]
Crochet Little Fish Plushie Pattern: Round-by-Round Instructions
This pattern is worked in joined rounds (rather than continuous spirals). At the end of every round, you will slip stitch to the first stitch of that round, pull it tight to keep your seam neat, and chain 1 to start the next round. Here is the complete crochet pattern for the adorable amigurumi fish:
Materials Needed
- Yarn: Super bulky chenille yarn, such as the Bernat Blanket or Himalayan plush yarn
- Crochet Hook:
- Eyes: 8 mm Plastic Beads
- Shaping Wire: A small piece of craft wire.
- Stuffing: Fiberfill material
- Tools: Tapestry needle and scissors
Abbreviations Key (US Terms)
- MR: Magic Ring
- ch: Chain
- sc: Single crochet
- inc: Increase (2 single crochets in the same stitch)
- dec: Decrease (crochet 2 stitches together)
- hdc: Half double crochet
- dc: Double crochet
- tr: Treble crochet
- sl st: Slip stitch
- st(s): Stitch(es)
Fish Body Pattern
Reminder: Sl st to the first st and ch 1 at the end of every round.
- R1: 6 sc in MR. (6 sts)
- R2: (2 sc, inc) x 2. (8 sts)
- R3: (3 sc, inc) x 2. (10 sts)
- R4: (4 sc, inc) x 2. (12 sts)
- R5: (5 sc, inc) x 2. (14 sts)
- R6–R10: Sc in each st around. (14 sts for 5 rounds total)
- R11: (5 sc, dec) x 2. (12 sts)
- R12: Sc in each st around. (12 sts)
- R13: (4 sc, dec) x 2. (10 sts)
- R14: Sc in each st around. (10 sts)
- R15: (3 sc, dec) x 2. (8 sts)
- R16: Sc in each st around. (8 sts)
Shaping Step: Insert your craft wire or pipe cleaner into the body now. Add a bit of fiberfill stuffing around it to fill out the body of the fish.
- R17: (2 sc, dec) x 2. (6 sts)
- R18: Sc in each st around. (6 sts)
- R19: 6 inc. (12 sts)
Do not fasten off yet; you will use this open tail end to create the tail fin next!
Fins & Finishing
1. Tail Fin
Flatten the open edge of Round 19 so the 12 stitches line up flat into 6 pairs. You will crochet through both layers at the same time to close the tail and build the fin.
- First Half of Tail: Ch 2. In the 1st pair of stitches, work (1 dc, 1 tr). In the 2nd pair, work (1 tr, 1 dc). In the 3rd pair, work (ch 2, sl st).
- Second Half of Tail: Ch 2. In the 4th pair of stitches, work (1 dc, 1 tr). In the 5th pair, work (1 tr, 1 dc). In the 6th pair, work (ch 2, sl st).
- Fasten off and weave the remaining yarn tail back into the body to hide it.
2. Dorsal Fin (Back Fin)
Attach your yarn directly to the center of the fish’s back around Round 7.
- Ch 2, and work 1 dc in the same space where you attached.
- Move down to the next space along the back and work (1 dc, 1 hdc).
- Move to the next space and work 1 hdc.
- Move to the next space and sl st.
- Fasten off and weave in the ends.
3. Pectoral Fins (Side Fins – Make 2)
Attach yarn to one side of the fish’s body (around Round 7 or 8).
- Ch 2, and work 1 dc in the same space.
- In the next space down, work 1 sc.
- In the next space down, sl st.
- Fasten off and hide the yarn ends inside the body. Repeat on the exact opposite side of the body for the second fin.
Assembly
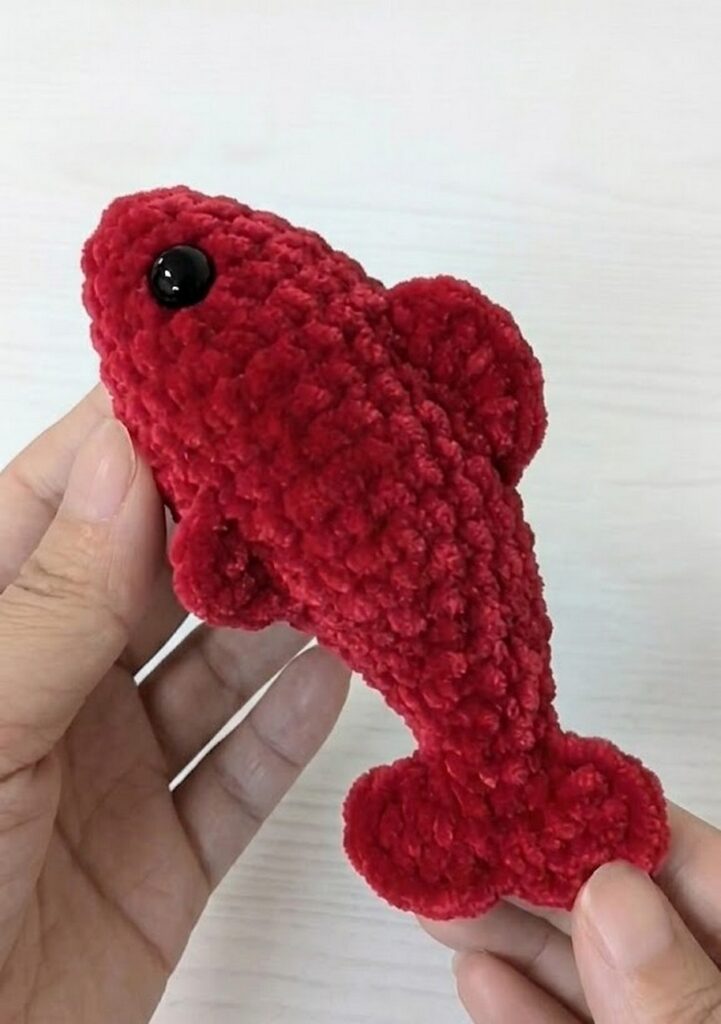
- Take your craft glue and attach your flat-backed eyes to the front sides of the head.
- Bend the internal wire to curve the tail, giving your little fish a dynamic, swimming pose!
Have fun crocheting your little fish bag charm! Let me know if you run into any tricky spots while making it.