
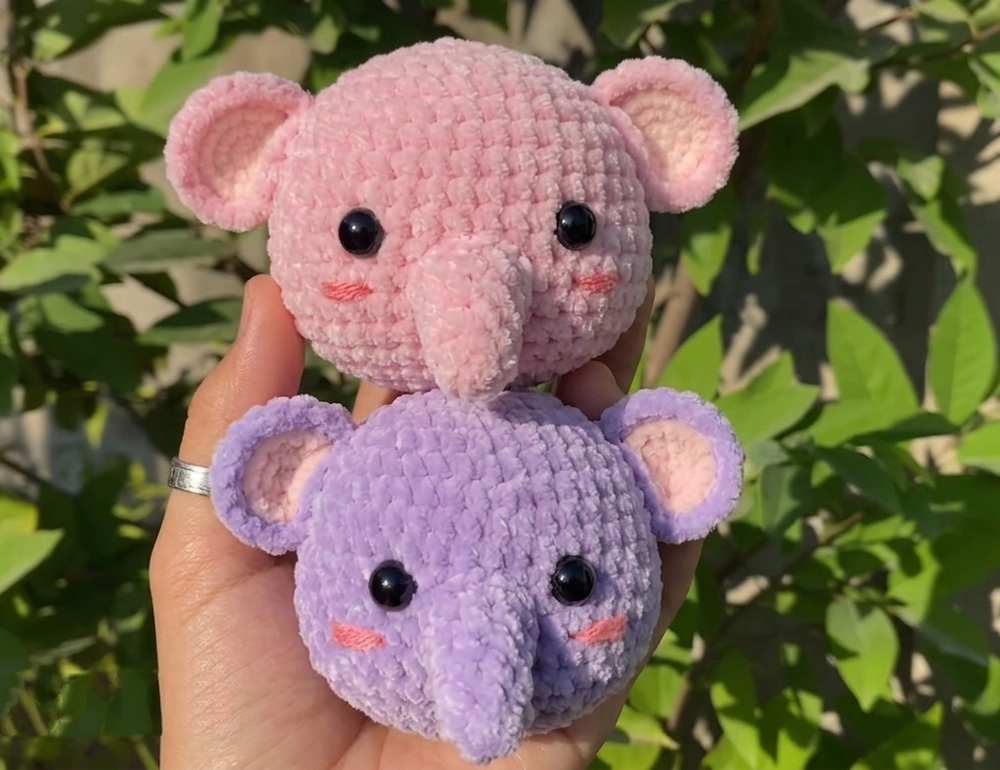
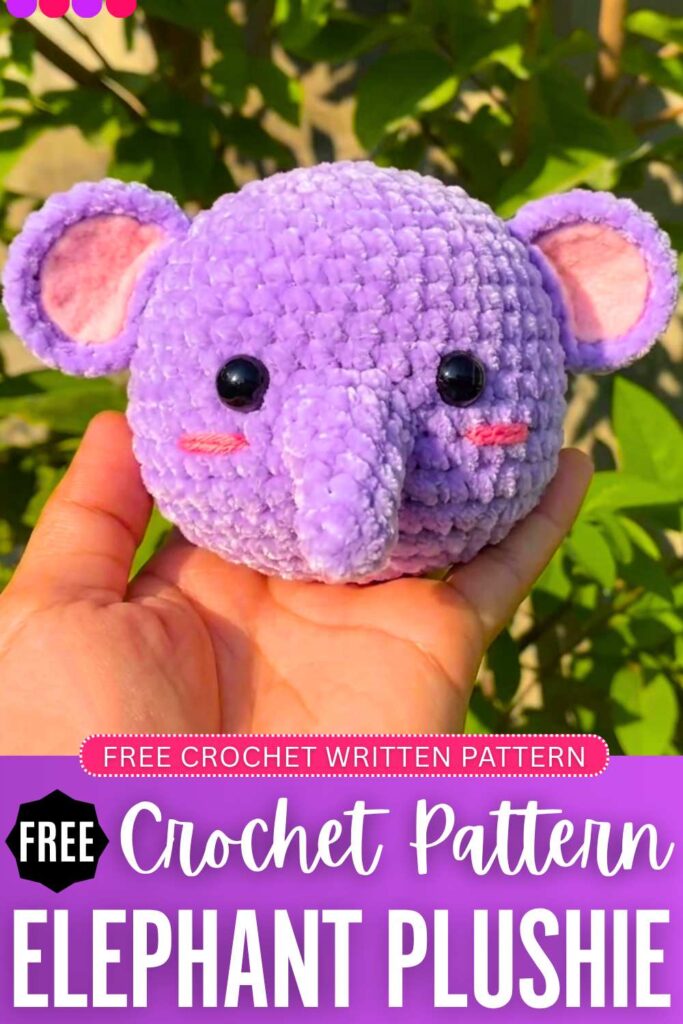
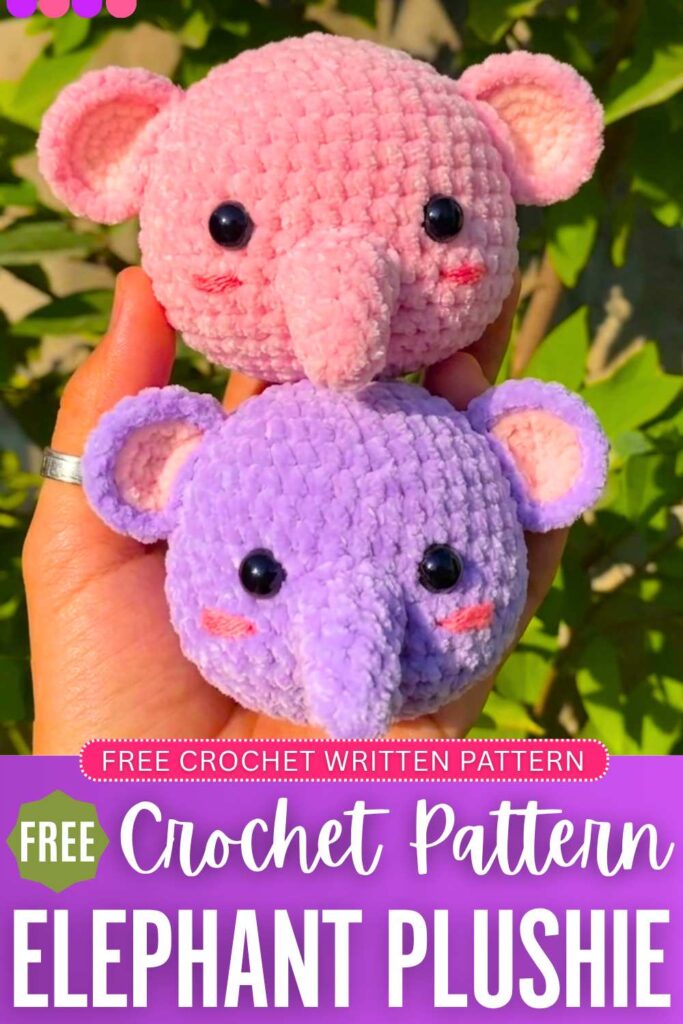
Continuing the crochet “Safari animal plush” series, today, learn how to crochet this baby elephant face plushie. You can either crochet it in pink or purple with the same base pattern. It is a low-sew plushie similar to the crochet bunny face and the duck face plushie. So, you can think of it as a part of the “crocheted animal face” series. This crochet elephant plush can also be worked on further below to create a complete elephant doll plush.
For this, you can follow the crochet bunny plushie doll body base, as it works well with that. You can also use the glitter eyes for this elephant head plush, finished with an embroidered blush on the cheeks. Both the versions look NICE to me, so you will love crocheting it. Now, continue reading for the full pattern.
Looking for a quick plushie pattern like this?
Crochet Elephant Plush Guide: Row-by-Row Pattern
Below is the pattern to crochet this elephant head plushie with the assembly in the end:
Materials Needed
- Yarn: 2mm cotton yarn or plush yarn in purple and yellow
- Feel piece, or we will crochet the ear inners
- Crochet Hook: 2.5mm or 5mm yarn for the super bulky yarn
- Safety Eyes: 12 mm
- Other Supplies: Fiberfill stuffing, stitch markers, pins, tapestry needle, and scissors
Abbreviations (US Terms)
- CH: Chain
- MR: Magic Ring
- SC: Single crochet
- INC: Increase
- DEC: Decrease
- ( )*N: Repeat instructions inside the parentheses N times
- [ ]: Total number of stitches worked into the same stitch/space

Written Pattern
Head (Đầu)
- R1: MR, 8 sc (8)
- R2: 8 inc (16)
- R3: (sc, inc) * 8 (24)
- R4: (3 sc, inc) * 6 (30)
- R5: (2 sc, inc, 2 sc) * 6 (36)
- R6: 36 sc (36)
- R7: (5 sc, inc) * 6 (42)
- R8 – R12: 42 sc (42)
- R13: 11 sc, 6 inc, 25 sc (48) Note: Stitches added to complete the 48-stitch round profile
- R14 – R16: 54 sc (54)
- R17: 11 sc, 6 dec, 8 sc, 6 dec, 11 sc (42)
- R18: (5 sc, dec) * 6 (36)
- R19: (2 sc, dec, 2 sc) * 6 (30)
- R20: (3 sc, dec) * 6 (24)
- R21: (sc, dec, sc) * 6 (18)
- R22: (sc, dec) * 6 (12)
- R23: 6 dec (6)
- Fasten off and leave a tail for closing.
Trunk (Vòi)
- R1: MR, 5 sc (5)
- R2: 4 sc, inc (6)
- R3: 5 sc, inc (7)
- R4: 6 sc, inc (8)
- R5 – R6: 8 sc (8)
- Fasten off, leaving a long tail for sewing.
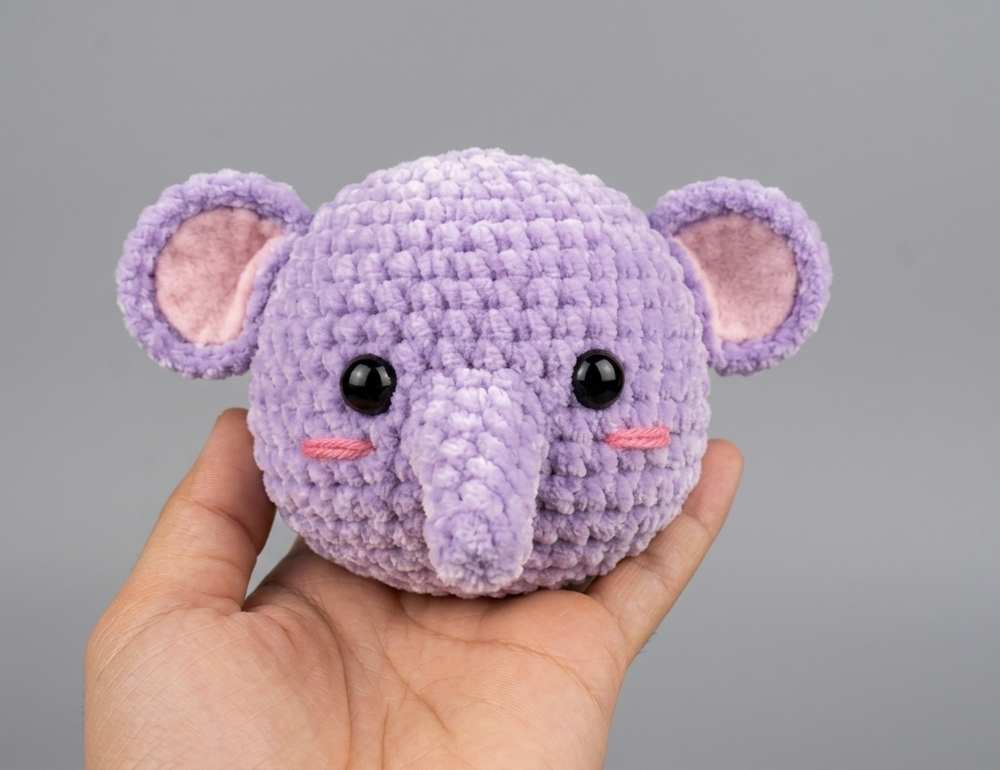
Ears (Tai) – Make 2
- R1: MR, 6 sc (6)
- R2: 6 inc (12)
- R3: (sc, inc) * 6 (18)
- Change color (Đổi màu)
- R4: (2 sc, inc) * 6 (24)
- Fasten off, leaving a long tail for sewing.
Assembly Instructions
- Eyes Placement: Insert the 8mm safety eyes between R11 and R13 of the head, spaced 6 sc apart.
- Trunk Attachment: Sew the completed trunk to R13 of the head, centered symmetrically between the eyes.
- Ears Placement: Sew the ears securely onto R7 of the head.
- Finishing: Stuff the head firmly before finishing R23, weave the yarn tail tightly through the remaining front loops to close, and hide all yarn tails inside the piece.

About "Talha"
Hey, I’m Talha, the Crafter on Craftstive.com. I love to share guides on folding cute origami models and paper crafts, and I am always ready to inspire your next craft project with my weekly craft discussions.