
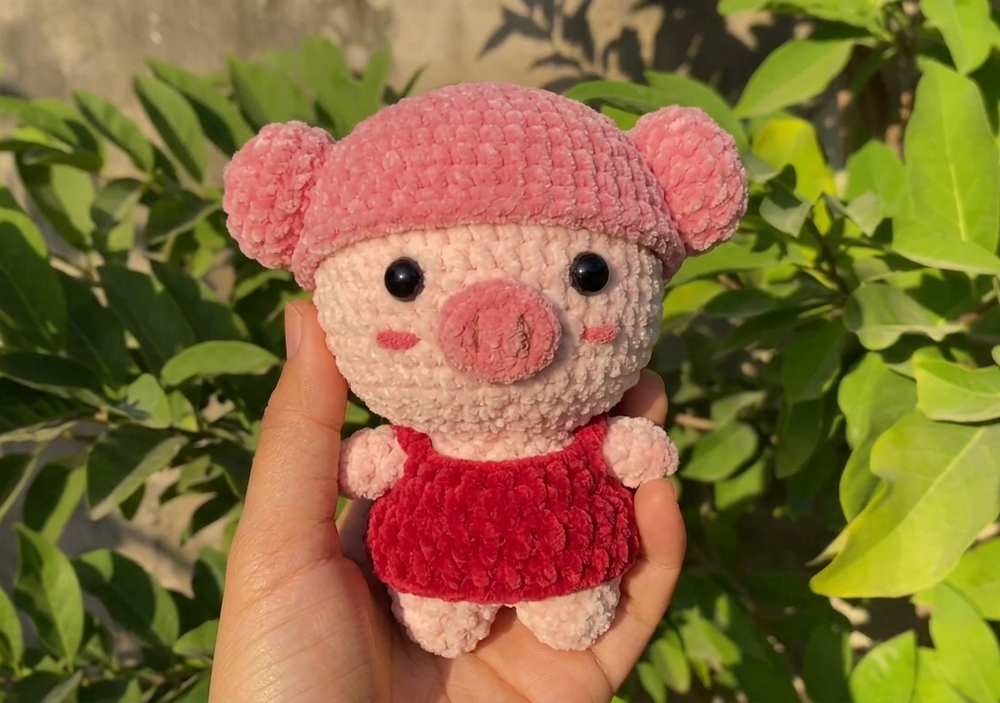
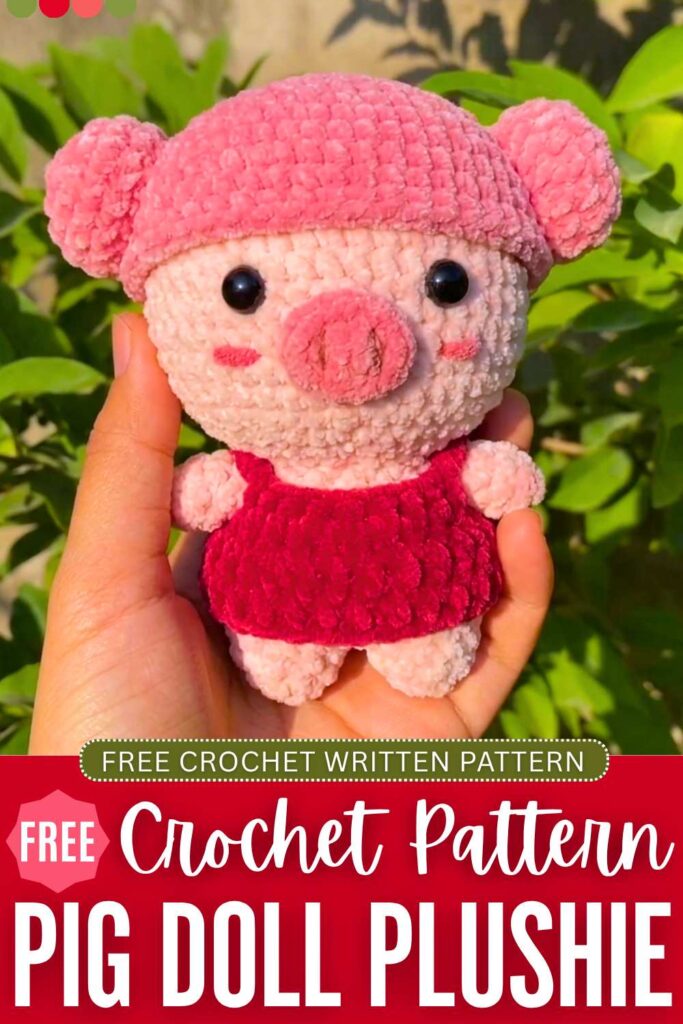
From today, I will start the 4 CUTEST miniature animal plushie series. And the first plushie for which I will share a free pattern is this crochet camisole-wearing pig doll plushie, finished with an elegant crochet headscarf. Note that the base doll body pattern for all these crochet miniature plushies will be the same. And with a few more additions to the base, we will be able to crochet a dog, a chicken, and a bunny plushie version.
With the amigurumi or regular yarn, you will end up with a keychain-sized crochet pig plushie. But with the bulky yarn, a pig plushie that is of enough size to be played with by a little girl. You can also crochet it as a Valentine’s Day or Anniversary present. Now, continue reading for the full pig plushie pattern.
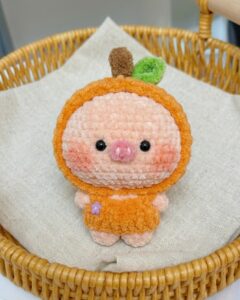
Crochet Miniature Pig Plushie: Round-by-Round Pattern
Below is the pattern to crochet this miniature pig doll plushie with the assembly in the end:
Materials Needed
Yarn: Super bulky chenille yarn
- Main Color (MC) Yarn: Pink (for the head, body, arms, and nose)
- Contrast Color 1 (CC1) Yarn: Any color of your choice (for the headscarf)
- Contrast Color 2 (CC2) Yarn: Red, blue, or pink (for the camisole)
- Crochet Hook: 5 mm crochet hook
- Safety Eyes: 8 mm
- Other Supplies: Fiberfill stuffing, tapestry needle, stitch markers, and scissors
Abbreviations (US Terms)
- MR: Magic Ring
- CH: Chain
- SC: Single Crochet
- HDC: Half Double Crochet
- DC: Double Crochet
- INC: Increase – 2 sc in one stitch
- DEC: Decrease – 2 sc together
- BLO: Back Loop Only
- SL ST: Slip Stitch
- ST(S): Stitch(es)
- ( … ) * x: Repeat instructions inside parentheses the specified number of times
- [ … ]: Total number of stitches at the end of the round
1. Head (Đầu)
- Use Pink yarn. Stuff firmly as you go, especially before closing.
- R1: MR, 6 sc [6]
- R2: 6 inc [12]
- R3: (1 sc, 1 inc) * 6 [18]
- R4: (2 sc, 1 inc) * 6 [24]
- R5: (3 sc, 1 inc) * 6 [30]
- R6: (2 sc, 1 inc, 2 sc) * 6 [36]
- R7: (5 sc, 1 inc) * 6 [42]
- R8: (3 sc, 1 inc, 3 sc) * 6 [48]
- R9 – R16: 48 sc [48 for 8 rounds]
- Tip: Insert safety eyes between Rounds 13 and 14, spaced about 7-8 stitches apart.
- R17: (3 sc, 1 dec, 3 sc) * 6 [42]
- R18: (5 sc, 1 dec) * 6 [36]
- R19: (2 sc, 1 dec, 2 sc) * 6 [30]
- R20: (3 sc, 1 dec) * 6 [24]
- R21: (2 sc, 1 dec) * 6 [18]
- Fasten off, leaving a long tail for sewing. Finish stuffing the head completely.
2. Pig Nose (Mũi heo)
- Use Pink yarn. This piece is worked in one single round to create an oval shape.
- R1: Start with a MR. Inside the ring, crochet the following sequence: 2 sc, 2 hdc, 3 sc, 2 hdc, 1 sc. [10]
- Pull the magic ring tight to form an oval snout. Fasten off, leaving a long tail for sewing.
3. Legs and Body (Chân và cơ thể)
- Use Pink yarn. The body is built by crocheting the two legs together.
- Leg 1:
- R1: MR, 9 sc [9]
- R2 – R3: 9 sc [9 for 2 rounds]
- Fasten off Leg 1.
- Leg 2 & Body Join:
- R1 – R3: Repeat instructions for Leg 1. Do NOT fasten off Leg 2.
- R4 (The Join): Continue from Leg 2, insert your hook directly into any stitch on Leg 1. Crochet 9 sc around Leg 1. Then, crochet 9 sc around Leg 2. [18 total stitches]
- R5 – R9: 18 sc [18 for 5 rounds]
- Fasten off, leaving a long tail. Stuff the body and legs firmly.
4. Arms (Tay) – Make 2
- Use Pink yarn. These do not require stuffing.
- R1: MR, 6 sc [6]
- R2 – R3: 6 sc [6 for 2 rounds]
- Fasten off, leaving a long tail for sewing.
5. Clothing & Accessories
Camisole Vest
- Use CC2 (Red, Blue, or Pink). This is worked in flat rows, turning at the end of each row.
- Row 1: ch 25. Skip the first 3 chains (counts as 1 dc). Work 1 dc in each of the remaining 22 chains. [23 total stitches including the turning chain]
- Row 2: ch 1, turn. Work 4 sc, ch 5, skip 3 stitches (creates the first armhole), 8 sc, ch 5, skip 3 stitches (creates the second armhole), 4 sc.
- Fasten off and weave in the ends.
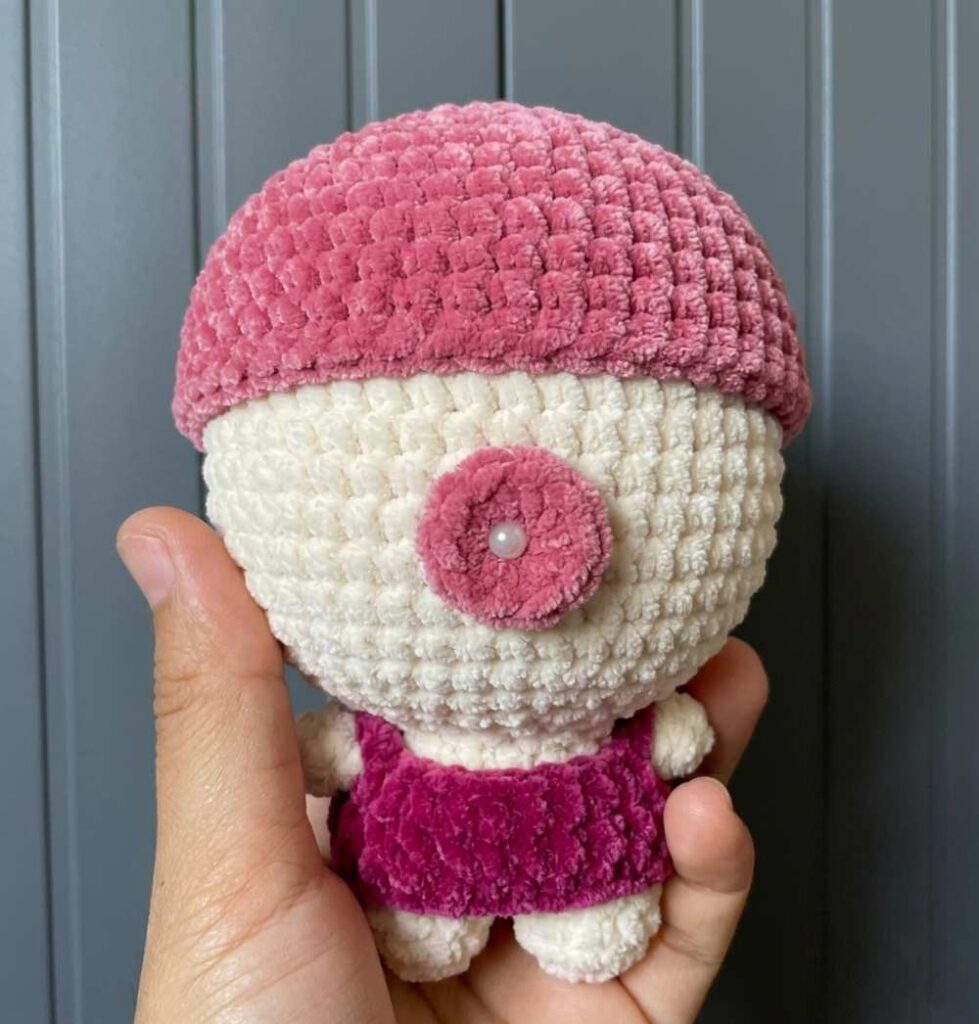
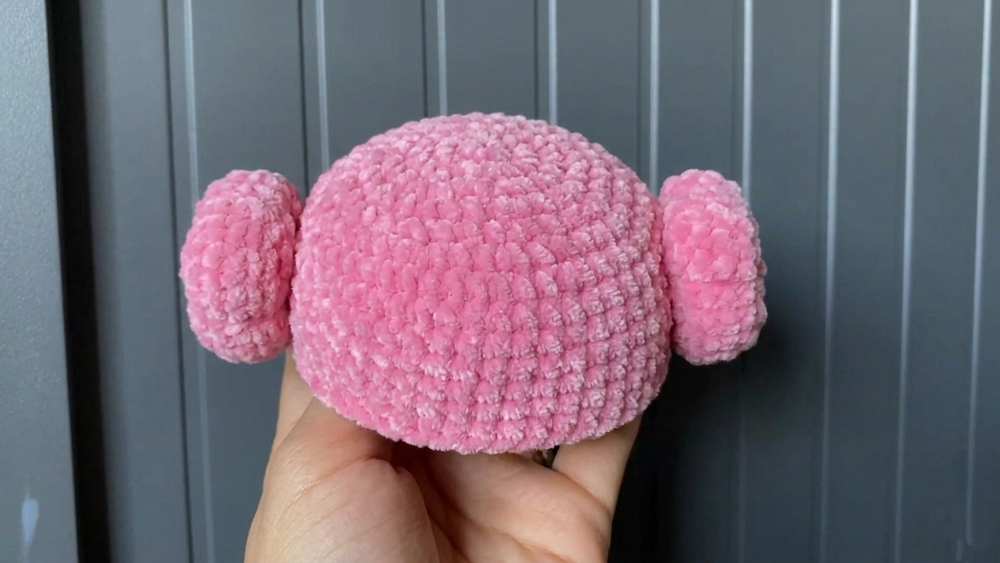
Headscarf Main Piece (Khăn trùm đầu)
- Use CC1.
- R1: MR, 7 sc [7]
- R2: 7 inc [14]
- R3: (1 sc, 1 inc) * 7 [21]
- R4: (2 sc, 1 inc) * 7 [28]
- R5: (3 sc, 1 inc) * 7 [35]
- R6: (4 sc, 1 inc) * 7 [42]
- R7: (5 sc, 1 inc) * 7 [49]
- R8 – R13: 49 sc [49 for 6 rounds]
- Fasten off and weave in ends. This piece fits over the pig’s head like a cap.
Headscarf Side Buns (Make 2)
- Use CC1. These create cute textured puffs on the sides of the scarf.
- R1: MR, 6 sc [6]
- R2: 6 inc [12]
- R3: (1 sc, 1 inc) * 6 [18]
- R4 – R6: 18 sc [18 for 3 rounds]
- R7: BLO (Back Loop Only) 18 sc [18]
- R8: (1 sc, 1 dec) * 6 [12]
- Stuff the ball lightly.
- R9: 6 dec [6]
- Fasten off, leaving an extra-long tail. Thread the tail onto a needle and weave it through the front loops of R9 to close the hole.
- To shape: Pass the needle through the center of the ball and out the opposite side. Pull the yarn tight to create a “dip” or indentation. Repeat this 3 more times, wrapping the yarn around the outside of the ball to section it into 4 “pumpkin-like” segments. Secure the yarn.
6. Detailed Assembly Guide
- Step 1: The Face
- Pin the oval nose to the center of the face, right between or slightly below the eyes (around R13-R15).
- Sew the nose down using the pink yarn tail. You can use black embroidery thread to stitch two tiny vertical lines on the snout for nostrils.
- Step 2: Attaching Head to Body
- Position the head squarely on top of the open neck of the body.
- Whipstitch the opening of the body (18 sts) to the opening of the head (18 sts). Add a little extra stuffing to the neck right before closing the seam to prevent the head from wobbling.
- Step 3: Attaching the Arms
- Pin the arms to the sides of the body, right below the neck seam.
- Sew the flat top of the arms securely to the body.
- Step 4: Dressing the Pig
- Wrap the camisole around the pig’s body, slipping the arms through the chain-5 armholes you created in Row 2. You can use a small piece of yarn to tie the camisole closed at the front, or leave it open like a vest.
- Step 5: Assembling the Headscarf
- Place the main headscarf piece over the pig’s head to check the fit (do not sew it to the head yet).
- Pin the two textured “pumpkin” side buns onto the left and right sides of the headscarf, aligning them with where the pig’s “ears” would naturally be.
- Remove the scarf and sew the side buns securely to the headscarf.
- Finally, place the completed scarf back onto the pig’s head!