
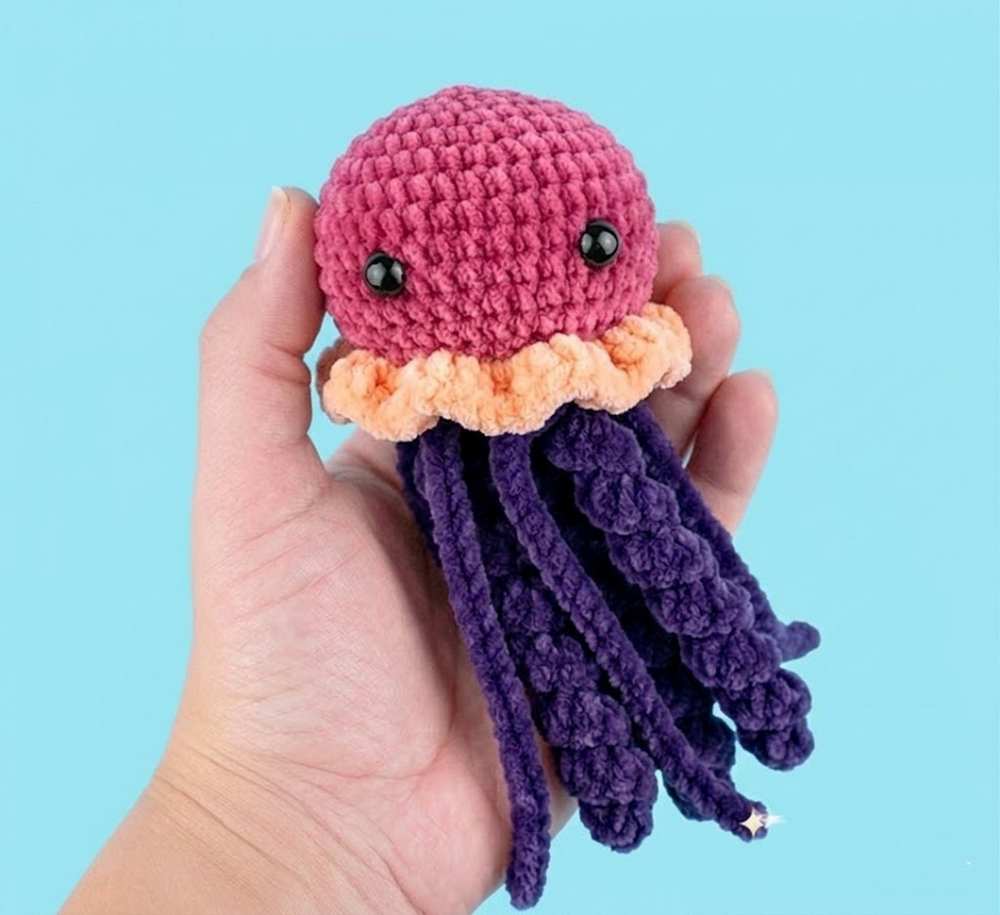
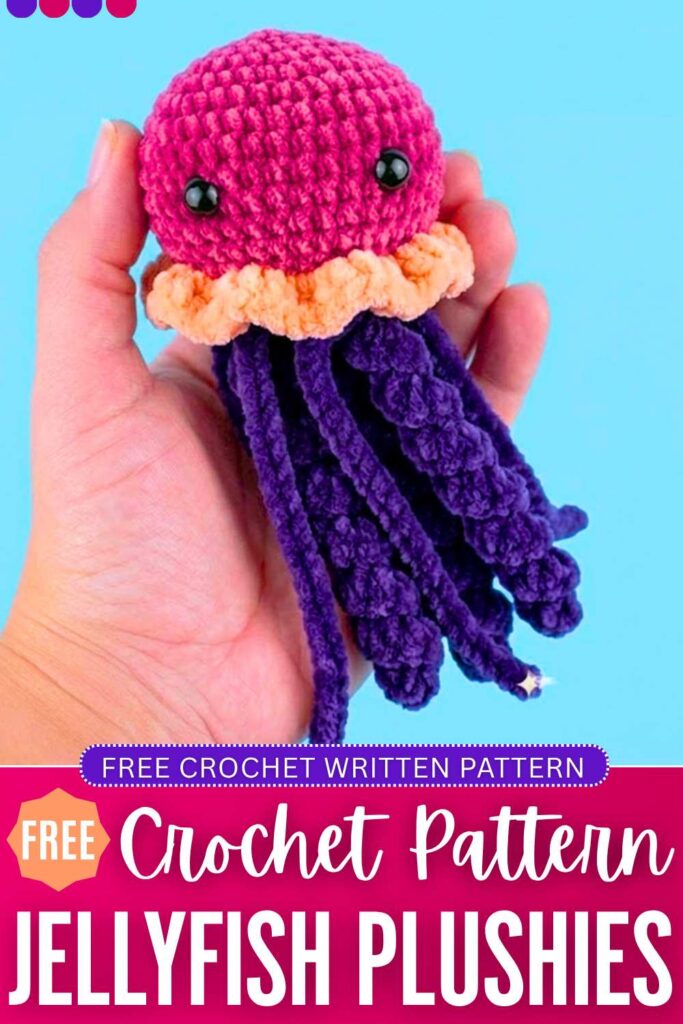
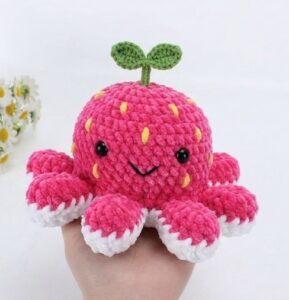
Follow this pattern to crochet the CUTEST jellyfish plushie with both the curly and straight tentacles. This is a part of the “crochet sea creature plushies” series and is the most adorable of all I have shared a pattern so far. You can crochet it as a baby snuggle, a car or window hanging, a Valentine’s Day present, or a summer bag charm. And to your surprise, the head and the collar pattern combined the same as the no-sew octopus pattern.
Anyway, you can also just crochet it with the curly tentacles and also embroider a mouth if you like it that way. In any way and color combo, this Jellyfish plush will make the most elegant summer decoration and the LOVE present. Now, continue reading for the full Jellyfish plush pattern for all.
Crochet Jellyfish Plush Keychain: Round-by-Round Pattern
Below is the pattern to crochet this curly and straight tentacle baby jellyfish plush with the assembly in the end:
Materials Needed
-
- Yarn: Chennile yarn – 60% Cotton / 40% Acrylic (Tex 357 or similar Sport/DK weight yarn)
- Crochet Hook: 2.5 mm or 5mm yarn for the super bulky yarn
- Safety Eyes: 8 – 10 mm
- Fiberfill stuffing
- Tapestry needle & scissors
- Optional: Small rattle box insert for babies
Abbreviations (US Terms)
-
- MR: Magic Ring
- CH: Chain
- SC: Single Crochet
- DC: Double Crochet
- INC: Increase (2 sc in one stitch)
- DEC: Decrease (sc 2 together)
- SL ST: Slip Stitch
- FLO: Front Loops Only
- BLO: Back Loops Only
- [ … ]: Total number of stitches at the end of the round
Part 1: Head / Main Body
-
- R1: MR, 6 sc [6]
- R2: 6 inc [12]
- R3: (1 sc, 1 inc) * 6 [18]
- R4: 1 inc, 2 sc, (1 inc, 2 sc) * 5 [24]
- R5: (3 sc, 1 inc) * 6 [30]
- R6: 2 sc, 1 inc, (4 sc, 1 inc) * 5, 2 sc [36]
- R7: (5 sc, 1 inc) * 6 [42]
- R8 – R14: 42 sc [42 for 7 rounds]
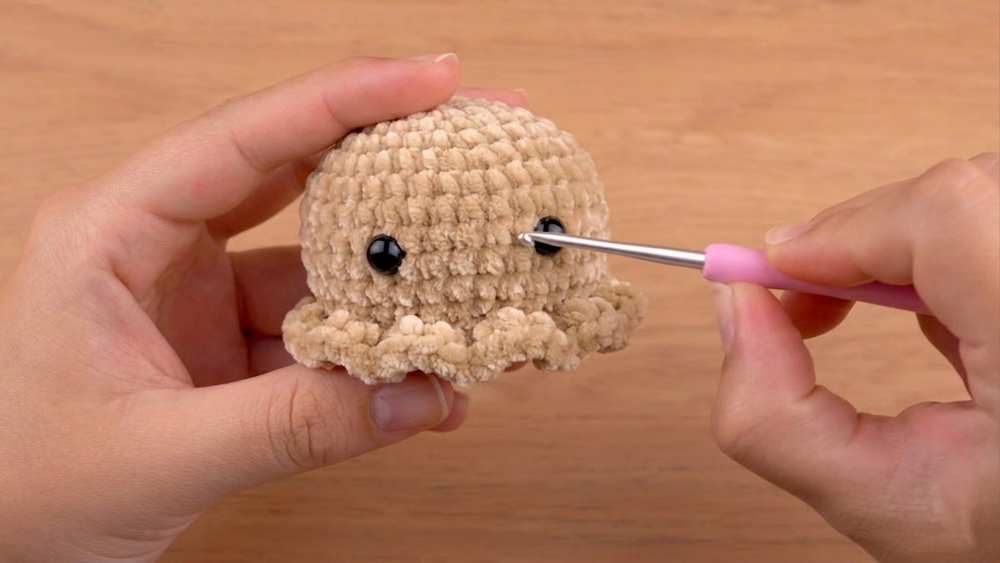
- Eyes Placement: Insert the 8 mm safety eyes between Rounds 11 and 12, leaving 8 stitches of space between them. Secure with backings.
- R15: (5 sc, 1 dec) * 6 [36]
- R16: 2 sc, 1 dec, (4 sc, 1 dec) * 5, 2 sc [30]
- R17 (Frill edge): Work this entire round in FLO (Front Loops Only). In each front loop around, work: 2 dc, ch 1.
- Fasten off and weave in the yarn end. (The unworked back loops from Round 16 will be used later for sewing).
Part 2: Bottom Closure (Belly)
-
- R1: MR, 6 sc [6]
- R2: 6 inc [12]
- R3: (1 sc, 1 inc) * 6 [18]
- R4: (2 sc, 1 inc) * 6 [24]
- R5: (3 sc, 1 inc) * 6 [30]
- R6: 30 sl st around. [30]
- Fasten off, leaving an extra-long tail for sewing.
Part 3: Straight Thin Tentacles (Make 6)
-
- Row 1: ch 35.
- Row 2: Starting in the 2nd ch from the hook, work 34 sl st down the back bumps of the chain.
- Fasten off, leaving a tail for tying/sewing.
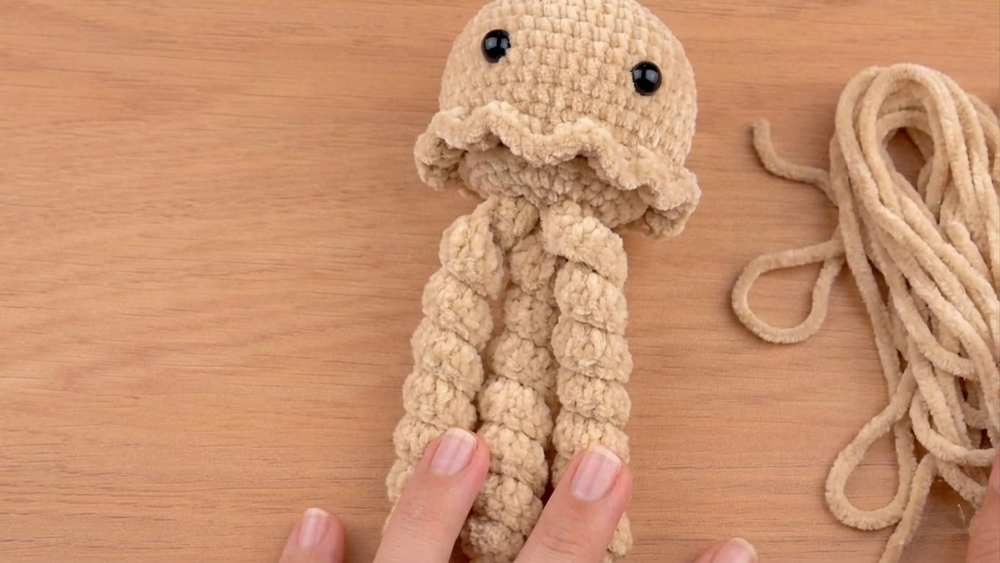
Part 4: Curly Thicker Tentacles (Make 3)
-
- Row 1: ch 40.
- Row 2: Starting in the 3rd ch from the hook, work 2 dc in every chain across to the end.
- Fasten off, leaving a tail for tying/sewing.
Part 5: Assembly Instructions
-
- Stuff the head firmly with fiberfill.
- Align the Bottom Closure piece to the opening of the Head.
- Sew the two pieces together stitch-by-stitch (30 stitches total). Pass your needle through the unworked Back Loops of Round 16 of the Head and the Back Loops of Round 6 (the sl st round) on the Bottom Closure.
- Optional step: Before sewing the gap completely shut, place the rattle box inside the middle of the stuffing. Add any last bits of fiberfill needed, then pull tight and weave in the end.
- Attach the 3 Curly Thicker Tentacles directly to the center (the Magic Ring area) of the Bottom Closure by tying them securely.
- Attach the 6 Straight Thin Tentacles evenly spaced around the outer edges of the Bottom Closure. Hide all loose yarn tails inside the body.