
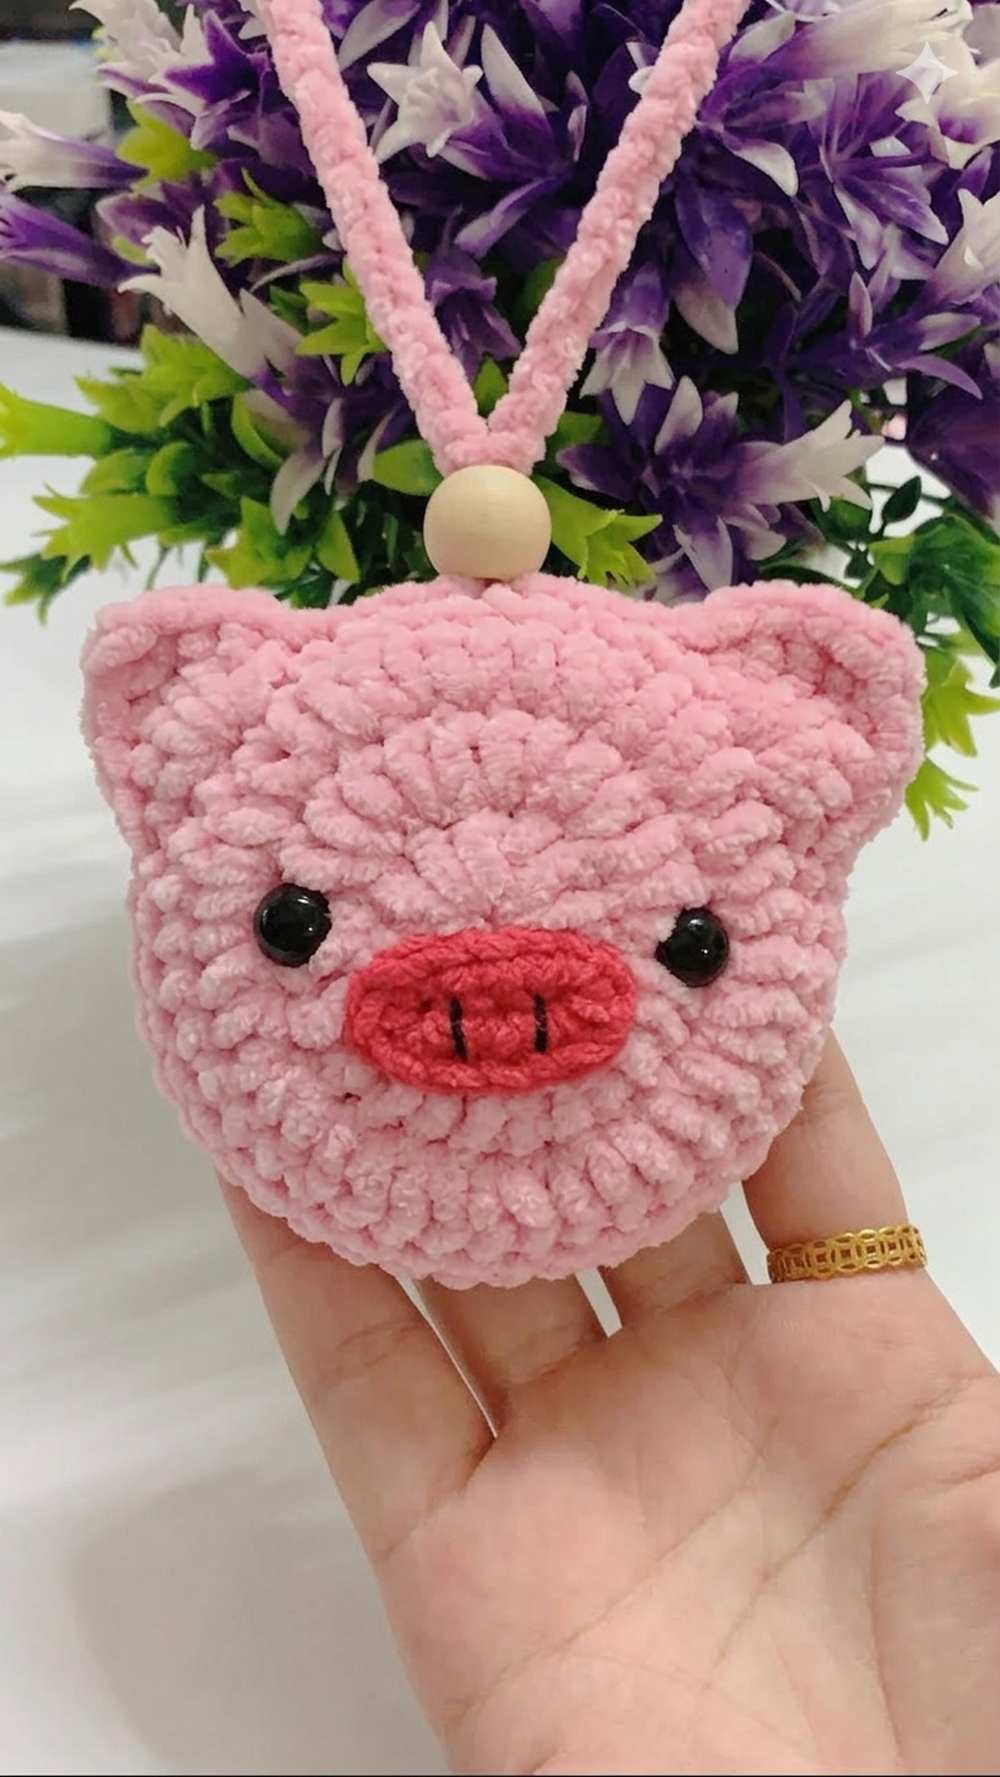
Today, you will learn how to crochet this oh-so cute pig face plush pouch with a sling strap that kids can use as their coin purses. These small pouches are traditionally used in Vietnam to hold a clove of garlic to protect infants. That’s why they are usually also called the garlic pouches. But you can hold the AirPods, coins, or any small thing in this plush pouch.
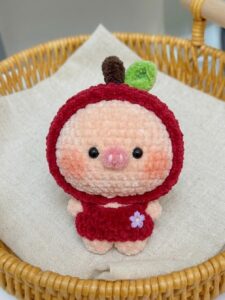
There is a clever loop-through closure method in this bag, along with a button. So, to close it, all you have to do is slide the button along the shoulder strings. This has an adorable pig face in the front, just like the crochet big pig doll plush, and also the crochet dressed pig doll. Now, continue reading for the full plush pattern.
Crochet Piggy Purse: Round-by-Round Pattern
Learn how to crochet this pig crochet garlic pouch with a pattern below, with the assembly in the end:
Materials Needed
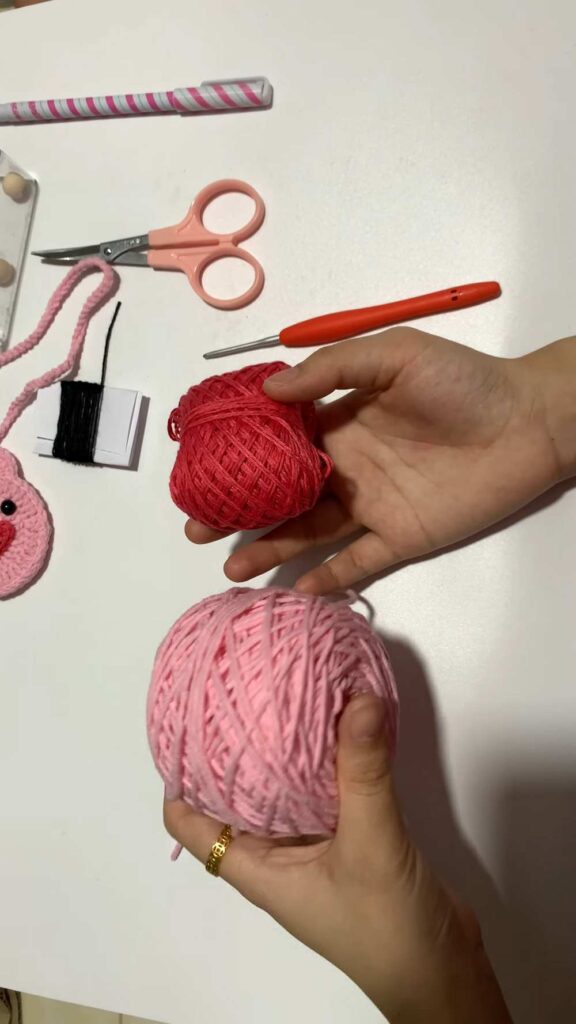
- Yarn: 1mm Milk Cotton yarn (or any equivalent 50g yarn held double). You will need the main pink yarn for the body and a darker pink or contrast color for the snout. We will, however, use plush yarn to crochet it.
- Crochet Hook: 2.5 mm
- Accessories: Two 8mm safety eyes or beads, one 12mm wooden bead (for the closure), a small scrap of black yarn for the nostrils, a tapestry needle, and a hot glue gun.
Step-by-Step Crochet Pattern
1. The Pouch Body (Make 2 Pieces)
You will make two identical flat, circular disks and then crochet them together to form the pouch pocket.
- Round 1:
- Start with a Magic Ring (MR).
- Chain (ch) 2, then work 13 double crochets (dc) into the ring.
- Pull the yarn tail tight to close the ring. Slip stitch (sl st) into the second starting chain to join. (13 sts)
- Round 2:
- Ch 2.
- Work a double crochet increase (dc-inc / 2 dc in the same stitch) into every single stitch around, starting right in the first stitch next to your chain.
- Sl st into the second starting chain to join. (26 sts)
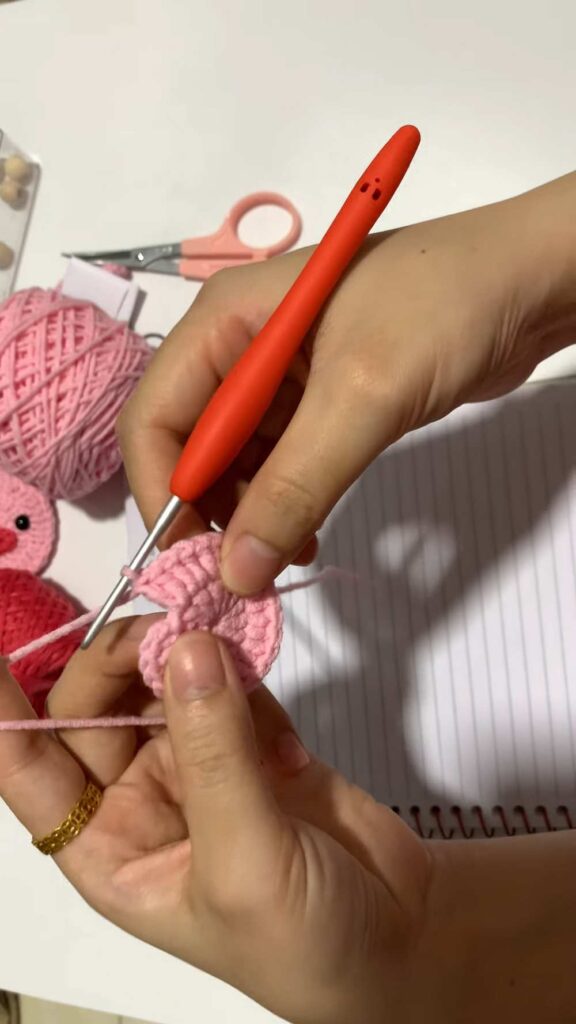
- Round 3:
- Ch 2.
- Work a pattern of [1 dc, 1 dc-inc] repeated 13 times all the way around. Your final stitch should be an increase.
- Sl st to join. Fasten off the first piece, but keep the yarn attached on the second piece to join them together. (39 sts)
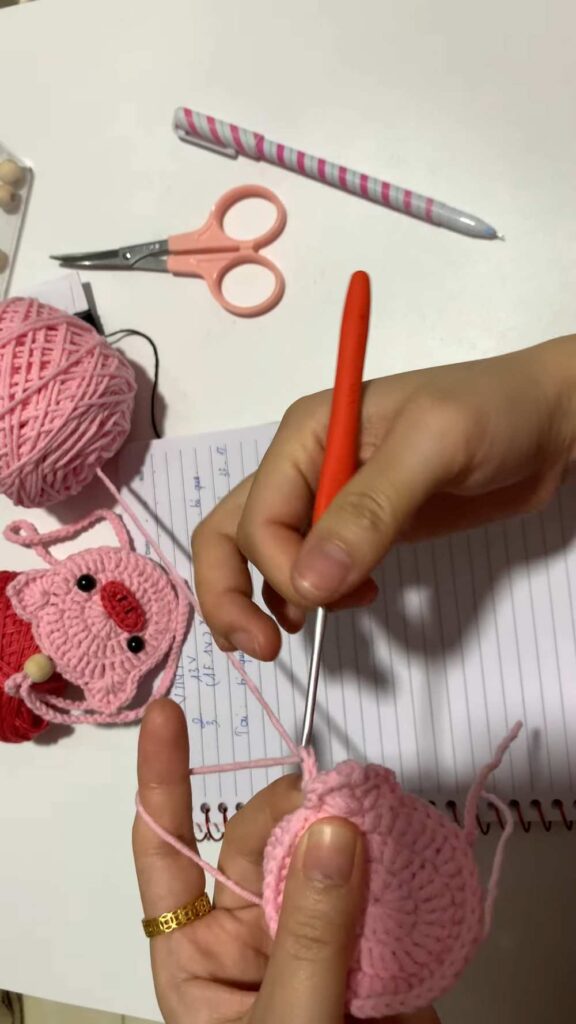
2. Joining & Creating the Ears and Strap
- Joining the Panels:
- Place the two circles wrong-sides together so the neat “right sides” face outward.
- Insert your hook through matching stitches on both panels and work 4 loose slip stitches along the edge to secure the bottom side together.
- The First Ear:
- Skip 1 stitch.
- In the next stitch, work: 1 half double crochet (hdc), 3 double crochets (dc).
- Ch 2, then sl st into the first chain to make a tiny point.
- Work 3 more dc and 1 hdc back into that very same stitch base to finish the ear shape.
- Skip 1 stitch, and sl st into the next stitch to secure the ear down.
- The Long Crossbody Strap:
- Right from where the first ear ends, crochet a long, continuous chain string until it measures roughly 70 to 80 cm (or 60 cm for newborns).
- The Second Ear:
- Count 7 stitches over on the main body from your first ear to find the symmetrical placement spot.
- Sl st the end of your long strap into that 8th stitch.
- Skip 1 stitch, then repeat the exact same ear sequence: [1 hdc, 3 dc, ch 2 picot, 3 dc, 1 hdc] all in one stitch.
- Skip 1 stitch, sl st down, and continue slip-stitching loosely all the way around the remaining open rim of the pouch to clean up the edges. Fasten off and weave in your ends.
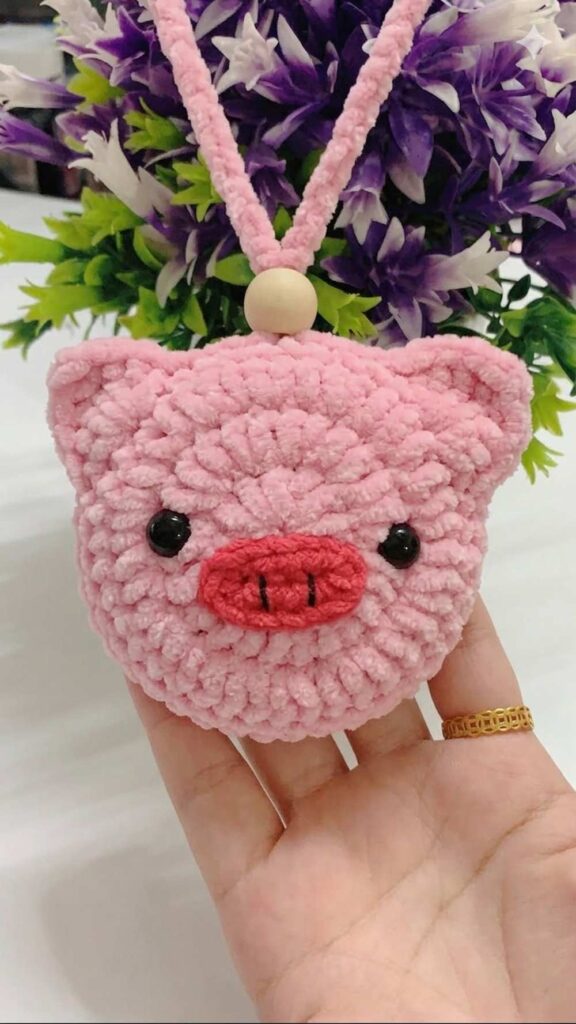
3. The Pig Snout / Nose
- Switch to your darker pink or accent yarn.
- Foundation: Ch 6.
- Round 1:
- Skip the first chain from your hook. Work 4 single crochets (sc) down the chain.
- In the very last chain stitch, work 3 sc into the same loop to round the corner.
- Working down the opposite side of the foundation chain, work 4 sc, followed by an increase (2 sc) in the final turn.
- Sl st to join and leave a tail for finishing.
Assembly & Facial Details
- Nostrils: Use a scrap of black yarn on your tapestry needle to sew two simple vertical straight lines onto the oval snout to look like pig nostrils.
- Attaching the Face: Use a hot glue gun to securely paste the snout right over the center circle of the front panel.
- Eyes: Place a small dot of hot glue on the back of your 8mm eyes and press them into place just above the snout, evenly spaced.
- Drawstring Closure: Thread your remaining long tail or a small piece of yarn through the 12mm wooden bead at the top opening of the pouch to act as a slide-fastener closure to keep the garlic safely tucked inside.