
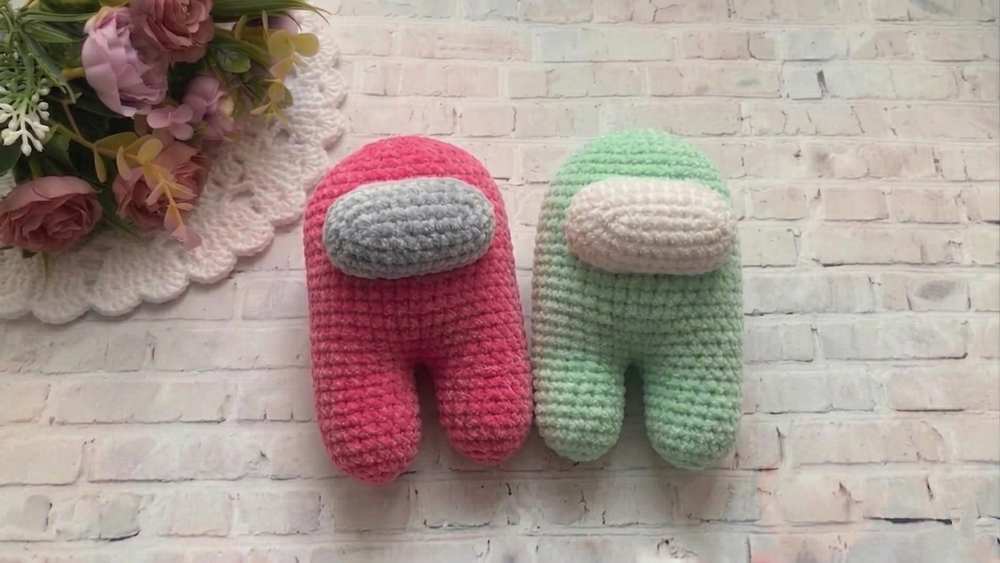
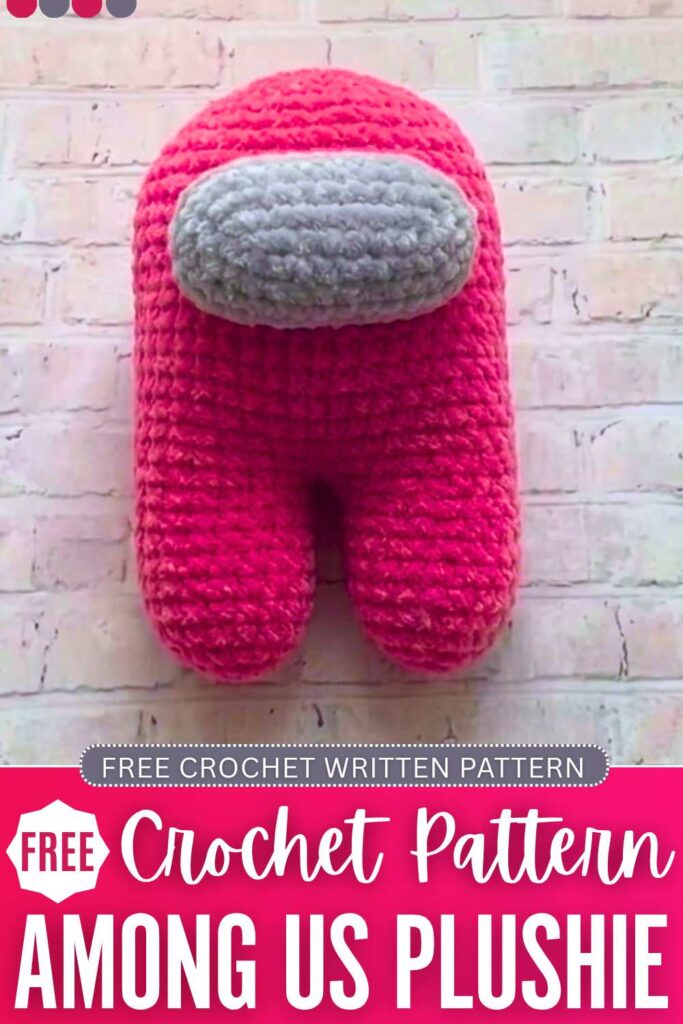
With this pattern, you will learn how to crochet the base Impostor Among Us plushie to kickstart the “Among Us plushies” series. This is the most basic Among Us character plushie and also low-sew. Soon, you will also be able to learn crocheting accessories for this doll, such as the hat with a flower for the amongasik. Today, you will be shown three colors, including yellow, blue, and green.
With the amigurumi yarn, you will end up with a pretty small Among Us present (yes, I recommend it for Christmas with a crochet Santa hat!). So, use the super bulky or at least the thick chenille yarn to crochet this plushie. That way, you will instantly get a big plushie. Now, continue reading for the full pattern.
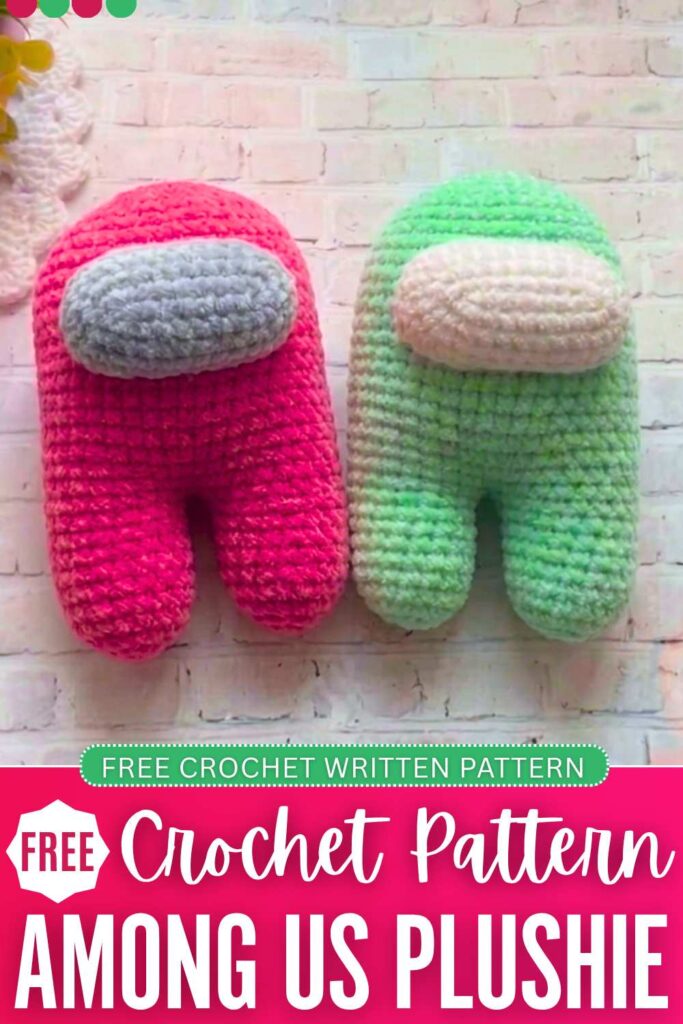
Crochet Among Us Imposter Plushie: Round-by-Round Pattern
Follow this written crochet pattern for the Among Us impostor crewmate plushie with the assembly in the end:
Materials Needed
-
Yarn: Sport weight yarn (such as YarnArt Jeans) in:
-
Yellow (or your chosen main crewmate color)
-
Pale Blue (for the visor)
-
White (for the visor highlight)
-
-
Crochet Hook: 2.0 mm
-
Other Tools: Polyester fiberfill (hollofiber), tapestry needle, scissors, pins, and a contrasting piece of thread to use as a stitch marker.
Abbreviations Used
-
ch: Chain
-
st / sts: Stitch / Stitches
-
sc: Single crochet
-
inc: Increase (2 sc in the same stitch loop)
-
dec: Invisible decrease (crochet 2 front loops together)
-
sl st: Slip stitch
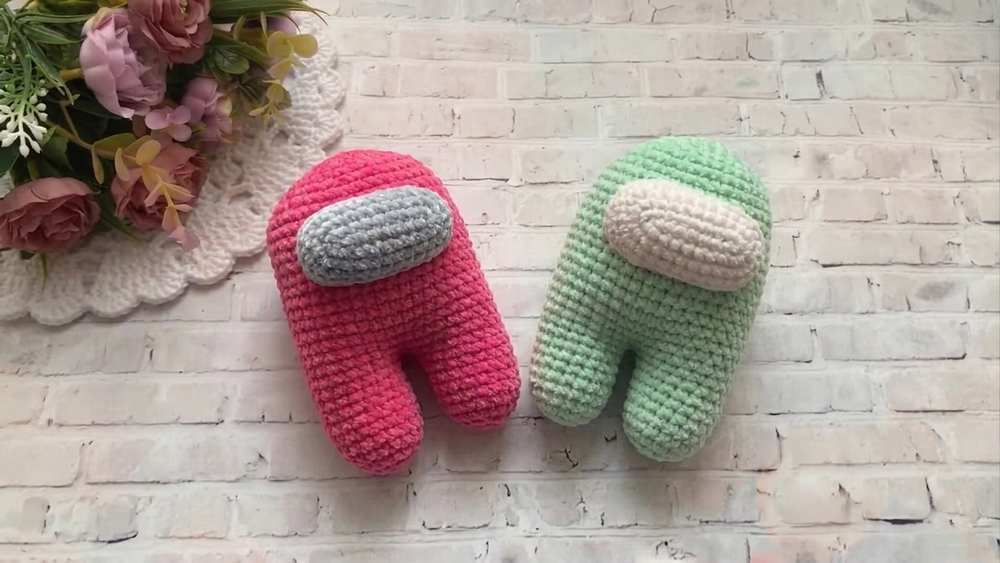
1. The Legs & Body (Main Crewmate Color)
-
You will crochet two legs, then chain them together to form the base of the flat, oblong torso.
Legs (Make 2):
-
Round 1: Start with a magic ring. Work 6 sc into the ring.
[6 sts] -
Round 2: Work 6 inc around (2 sc in each st).
[12 sts] -
Round 3: Repeat a pattern of [1 sc, 1 inc] 6 times around.
[18 sts] -
Rounds 4–10: Work 18 sc around (1 sc in each st) for 7 rounds.
[18 sts] -
Finishing Leg 1: Make a sl st, cut the yarn, and weave in the end cleanly. Lightly stuff the leg with fiberfill.
-
Finishing Leg 2: Do not cut the yarn. Lightly stuff the leg, then chain 2 to connect to the first leg.
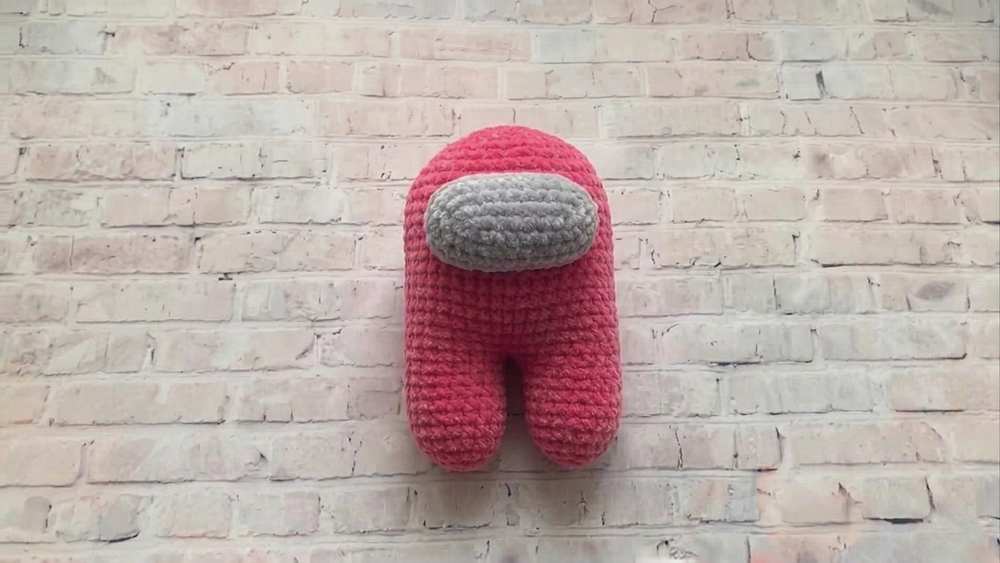
Torso / Body:
-
Round 11 (Joining): Join with a sc to any stitch on Leg 1. Work 18 sc around Leg 1, work 2 sc along one side of the ch-2 extension, work 18 sc around Leg 2, and finish with 2 sc along the opposite side of the ch-2 extension.
[40 sts total] -
Rounds 12–25: Work 40 sc around (1 sc in each st) for 14 continuous rounds.
[40 sts] -
Note: To keep the crewmate shape oblong and prevent it from ballooning into a perfect circle, the decreases on Round 26 are specifically positioned on the flat side edges.
-
Round 26 (Side Decreases): 6 sc, 1 dec, 4 sc, 1 dec, 12 sc, 1 dec, 4 sc, 1 dec, 6 sc.
[36 sts] -
Round 27: 2 sc, 1 dec. Then repeat a pattern of [4 sc, 1 dec] 5 times. Finish with 2 sc in the remaining stitches.
[30 sts] -
Round 28: Repeat a pattern of [3 sc, 1 dec] 6 times around.
[24 sts] -
Round 29: 1 sc, 1 dec. Then repeat a pattern of [2 sc, 1 dec] 5 times. Finish with 1 sc in the remaining stitches.
[18 sts] -
Stuffing: Firmly stuff the body, molding it into a slightly elongated shape as you add fiberfill.
-
Round 30: Repeat a pattern of [1 sc, 1 dec] 6 times around.
[12 sts] -
Round 31: Work 6 consecutive decreases (dec 6 times).
[6 sts] -
Finishing: Cut a medium yarn tail. Thread it onto a tapestry needle, weave through the front loops of the final 6 stitches, pull tightly to close the top of the head, and hide the tail inside the body.
2. The Oxygen Backpack / Backpack (Main Crewmate Color)
-
The backpack is worked as a square/rectangular piece by grouping increases at corners.
-
Round 1: Start with a magic ring. Work 8 sc into the ring.
[8 sts] -
Round 2: Work 8 inc around (2 sc in each st).
[16 sts] -
Round 3 (Corner-Forming): 1 sc, 2 inc in the next 2 sts (first corner), 2 sc, 2 inc (second corner), 2 sc, 2 inc (third corner), 2 sc, 2 inc (fourth corner), 1 sc to finish the round.
[24 sts] -
Round 4: 2 sc, 2 inc, 4 sc, 2 inc, 4 sc, 2 inc, 4 sc, 2 inc, 2 sc to finish.
[32 sts] -
Round 5: 3 sc, 2 inc, 6 sc, 2 inc, 6 sc, 2 inc, 6 sc, 2 inc, 3 sc to finish.
[40 sts] -
Round 6: 4 sc, 2 inc, 8 sc, 2 inc, 8 sc, 2 inc, 8 sc, 2 inc, 4 sc to finish.
[48 sts] -
Rounds 7–9: Work 48 sc around without alterations for 3 rows to build the backpack’s depth.
[48 sts] -
Round 10 (Edging Shape): 5 sc, 1 dec, 10 sc, 1 dec, 10 sc, 1 dec, 10 sc, 1 dec, 5 sc.
[44 sts] -
Finishing: Work 2 slip stitches to smooth out the edge line. Cut the yarn, leaving a long tail for sewing it onto the back of the crewmate later.
3. The Visor (Pale Blue Yarn)
-
Foundation Chain: Chain 8, plus 1 turning chain.
[9 chains total] -
Round 1: Starting in the 2nd chain from the hook, work 7 sc down the chain. In the final chain loop, work 3 sc into the same loop to round the corner. Turn and work 7 sc down the opposite side of the foundation chain, then work 3 sc in the remaining corner loop.
[20 sts] -
Round 2: 7 sc, 3 inc (one in each corner st), 7 sc, 3 inc.
[26 sts] -
Round 3: 7 sc, repeat a pattern of [1 sc, 1 inc] 3 times across the curve, 7 sc, repeat [1 sc, 1 inc] 3 times across the opposite curve.
[32 sts] -
Rounds 4–5: Work 32 sc around without alterations for 2 rows to give the visor depth.
[32 sts] -
Finishing: Work 2 slip stitches to flatten the border row. Cut the yarn, leaving a long tail for sewing.
4. Assembly & Details
-
Visor Placement: Align the visor horizontally on the front of the body, positioned roughly between Rounds 18 and 24. Pin it in place to ensure it sits evenly without tilting.
-
Sewing the Visor: Catch the stitches immediately behind the visor edge loops onto the body fabric. Before sealing the last few stitches, stuff the visor lightly with fiberfill so that it pops out evenly without bloating out of its oval shape.
-
Visor Highlight: Thread a piece of white yarn onto your needle. Embroider a clean, angled line across the upper left section of the visor (spanning roughly 6 stitches wide) to replicate the light reflection. Knot and hide the white tail inside the head.
-
Backpack Placement: Position the backpack at the center of the crewmate’s back, matching the height alignment of the front visor.
-
Sewing the Backpack: Stitch it cleanly to the body using the long yarn tail. Fill the pocket firmly with fiberfill as you sew the final edges shut to help the backpack maintain its boxy shape. Fasten off and hide any remaining yarn tails inside the plushie.