
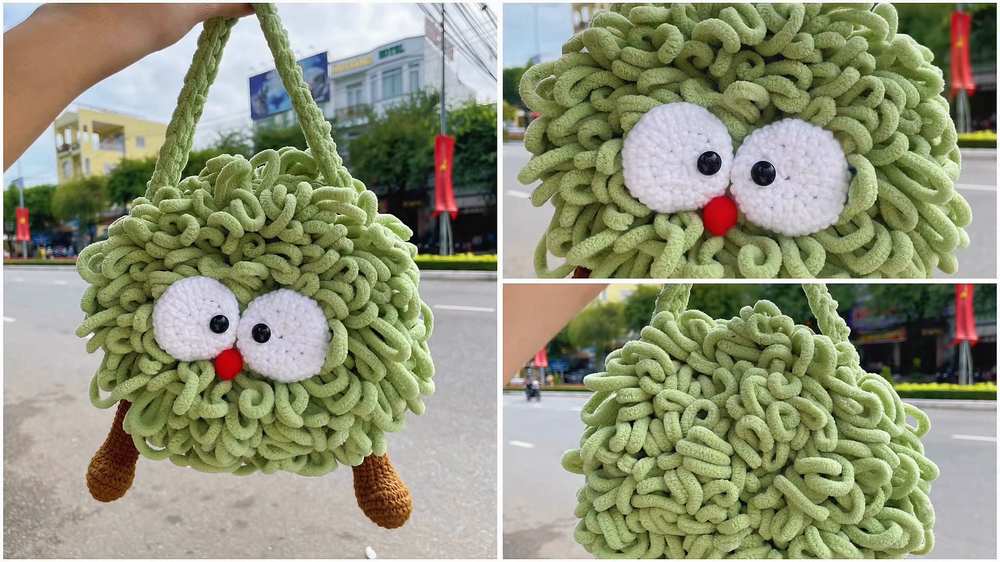
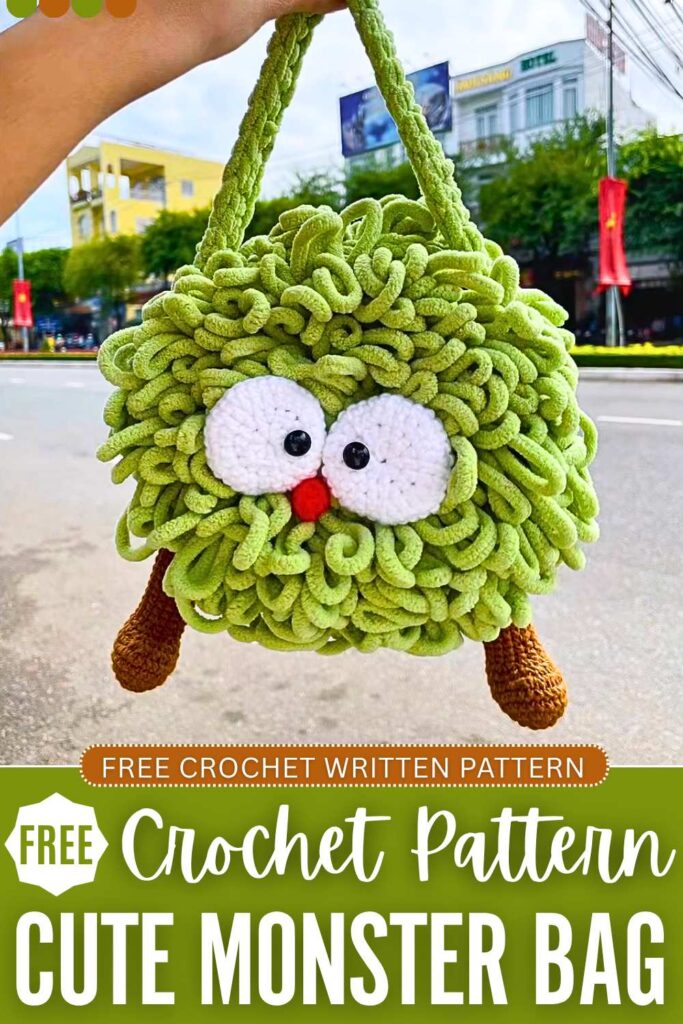
I cannot imagine a crochet bag being as CUTE as this loopy monster bag for ladies, for which I will share a FREE pattern in this tutorial. This is made with chenille yarn and shaped like a googly-eyed baby monster, with two options for crocheting the legs. It looks to me much similar to a crochet owl face, though I can also call it the Soot Sasuwatri bag, but in Unique colors, such as red and green.
Kids, in particular, are gonna love this crochet shoulder purse with a NICE and comfy double chain handle and a magnetic button closure. We will use the loop stitch to crochet that interesting texture all over this bag. You can turn it into a monster handbag by crocheting a small handle, too. Now, continue reading for the full crochet monster bag pattern.
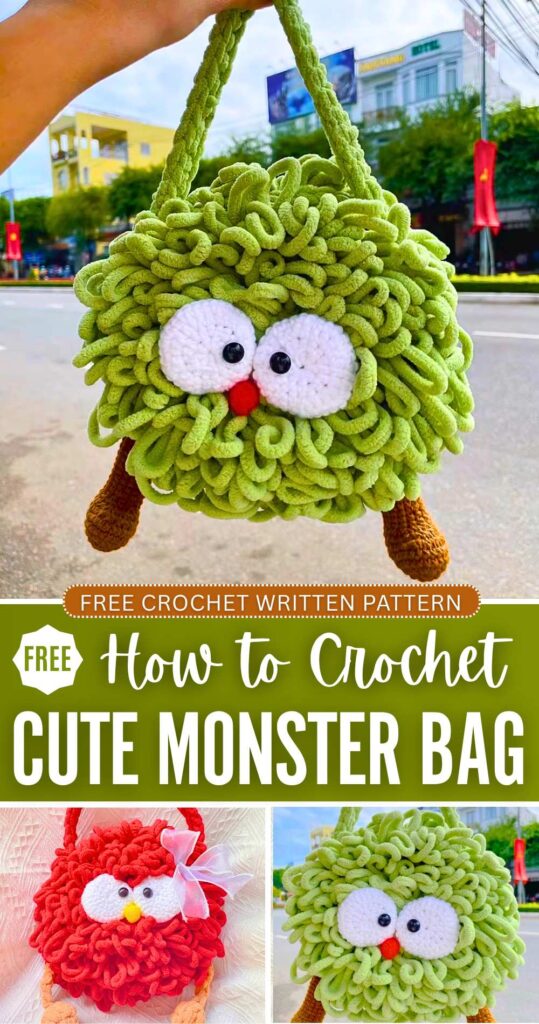
Well, this is not the only CUTE bag pattern I have shared!

Crochet Cute Montser Bag: Round-by-Round Pattern
Here is the full crochet pattern to make this cute soot sprite/monster shoulder bag that is fuzzy and soft. Assembly is in the end, and you can also learn with a video tutorial:
Materials Needed
- Super Bulky / Chunky Chenille Yarn (Size 6): 2 skeins for the bag and a short hand strap. If you want a long crossbody strap, you will need 3 skeins.
- Sport or DK Weight Cotton Yarn: Small amounts of White (for the eyes) and Brown (for the legs).
- Crochet Hooks: A larger hook suitable for your chunky yarn (usually 6.0mm – 8.0mm), and a 2.5mm or 3.0mm hook for the cotton yarn.
- Safety Eyes: 12mm.
- Nose: 1 small pom-pom (if you don’t have one, you can crochet a small circle instead).
- Hardware: 1 magnetic snap button closure.
- Tools: Tapestry needle, scissors, and a hot glue gun (for attaching the eyes and nose).
Abbreviations (US Terms)
- MR: Magic Ring
- ch: chain
- sc: single crochet
- inc: increase (2 single crochets in the same stitch)
- dec: decrease (single crochet 2 stitches together)
- sl st: slip stitch
- st(s): stitch(es)
Pattern Instructions
Main Bag Body (Make 2 identical panels)
Use the Chunky Chenille yarn and your larger hook. Work in joined rounds.
- Round 1: Make a MR, ch 1, 8 sc into the ring. Pull tight and sl st to the first st to join. (8 sts)
- Round 2: ch 1, inc in each st around. sl st to join. (16 sts)
- Round 3: ch 1, (1 sc, 1 inc) repeat 8 times around. sl st to join. (24 sts)
- Round 4: ch 1, (2 sc, 1 inc) repeat 8 times around. sl st to join. (32 sts)
- Round 5: ch 1, (3 sc, 1 inc) repeat 8 times around. sl st to join. (40 sts)
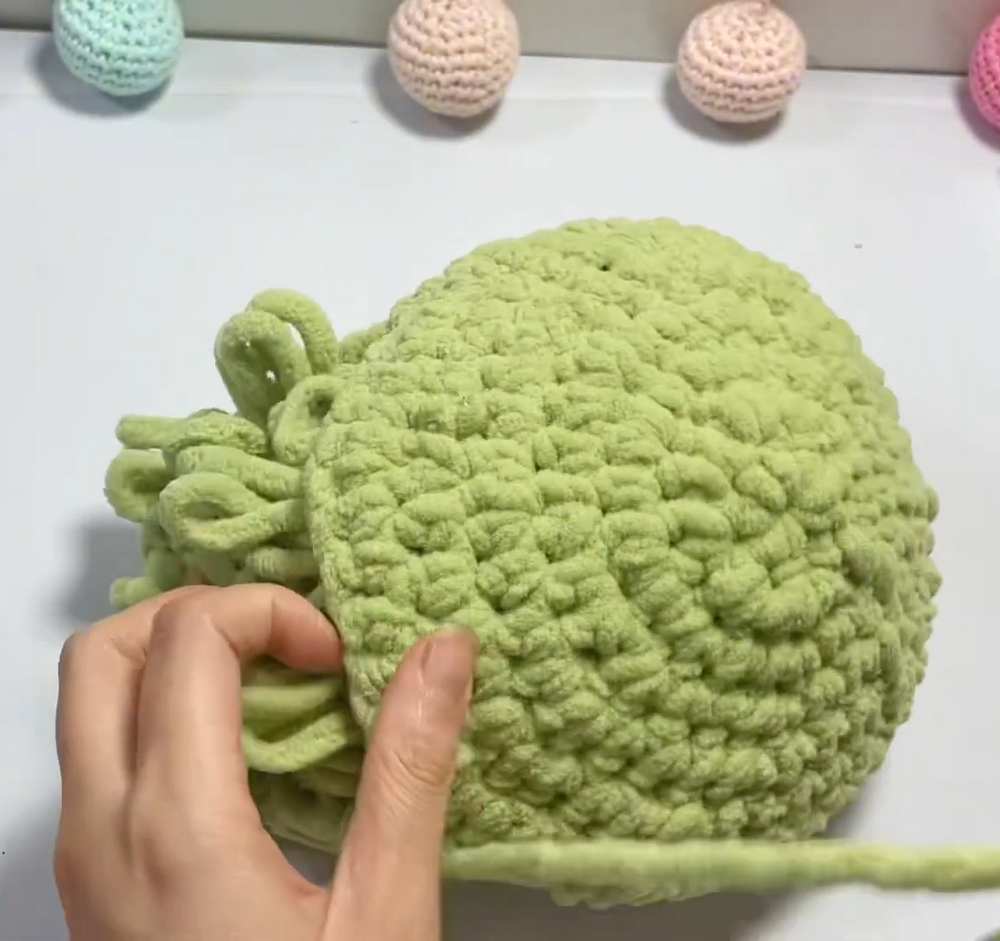
Note: If you are making a smaller size for a child, you can stop increasing here. For an adult-sized bag that fits a phone, continue with the next two rounds.
- Round 6: ch 1, (4 sc, 1 inc) repeat 8 times around. sl st to join. (48 sts)
- Round 7: ch 1, (5 sc, 1 inc) repeat 8 times around. sl st to join. (56 sts)
Fasten off. On your second panel, leave a very long yarn tail for sewing.
Bag Body Assembly
- Place the two round panels together with the right sides facing inwards (you will sew on the wrong side and turn it inside out later).
- Whipstitch the edges together stitch by stitch, but leave a gap of about 15 stitches unsewn at the top to create the opening of the bag.
- Tie off the yarn, weave in the ends, and flip the bag right-side out.
- Attach your magnetic button clasp to the inside of the top opening.
Eyes (Make 2)
Use the White cotton yarn and your 2.5mm or 3.0mm hook. Work in joined rounds.
- Round 1: Make a MR, ch 1, 8 sc into the ring. sl st to join. (8 sts)
- Round 2: ch 1, inc in each st around. sl st to join. (16 sts)
- Round 3: ch 1, (1 sc, 1 inc) repeat 8 times around. sl st to join. (24 sts)
- Round 4: ch 1, (2 sc, 1 inc) repeat 8 times around. sl st to join. (32 sts)
- Optional: If your cotton yarn is very thin, you can add a 5th round of (3 sc, 1 inc) to make the eyes slightly bigger.
Fasten off. Insert the 12mm safety eyes through the center hole of the white patches.
Legs (Make 2)
Use the Brown cotton yarn and your 2.5mm or 3.0mm hook. You will be working in an oval around a foundation chain.
- Round 1: ch 7. Starting in the 2nd ch from the hook, make 5 sc. In the last ch, make 3 sc. Continue working on the opposite side of the foundation chain: make 4 sc, then 2 sc in the very last st. sl st to the first st to join. (14 sts)
- Round 2: ch 1. 1 inc, 4 sc, 3 inc, 4 sc, 2 inc. sl st to join. (20 sts)
- Round 3: ch 1. 1 sc, 1 inc, 4 sc, (1 sc, 1 inc) repeat 3 times, 4 sc, (1 sc, 1 inc) repeat 2 times. sl st to join. (26 sts)
- Rounds 4-5: ch 1. 1 sc in each st around. sl st to join. (26 sts for 2 rounds)
- Round 6: ch 1. 8 sc, 4 dec, 10 sc. sl st to join. (22 sts)
- Round 7: ch 1. 6 sc, 4 dec, 8 sc. sl st to join. (18 sts)
- Round 8: ch 1. 4 sc, 4 dec, 6 sc. sl st to join. (14 sts)
- Rounds 9-23: ch 1. 1 sc in each st around. sl st to join. (14 sts for 15 rounds)
Fasten off. Fold the top opening of the leg completely flat, and sew the edges closed to seal it.
Bag Strap
Use the Chunky Chenille yarn and your larger hook.
- Chain a length long enough for your desired strap.
- Turn your work and make 1 sc in each chain stitch all the way back across.
- Fasten off and leave long tails at both ends for sewing.
Final Details & Assembly
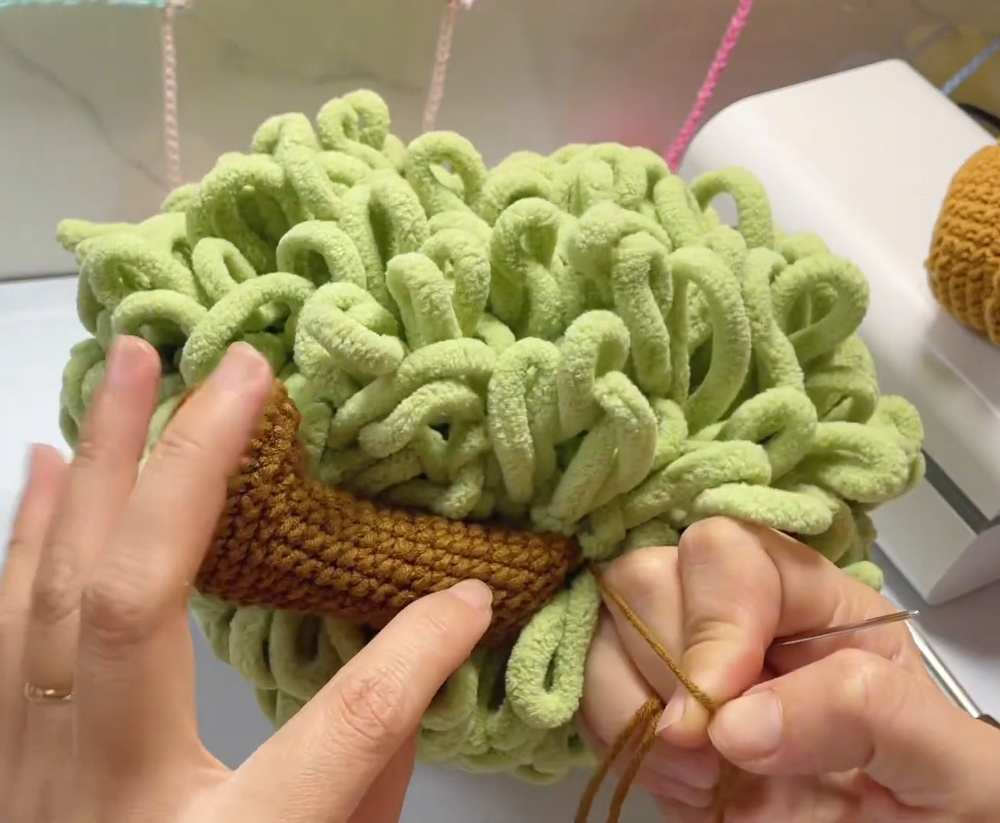
- Attach the Legs: Sew the flat tops of the legs to the bottom side seams of the bag. Make sure the little feet are pointing forward.
- Attach the Eyes: Using a hot glue gun (or a sewing needle if you prefer), attach the white eye patches to the top front of the bag. Apply glue generously to the wrong (back) side of the crochet piece so it adheres firmly to the fuzzy texture of the bag.
- Attach the Nose: Glue the small pom-pom right between the eyes.
Learn Crocheting with a Video Tutorial

About "Talha"
Hey, I’m Talha, the Crafter on Craftstive.com. I love to share guides on folding cute origami models and paper crafts, and I am always ready to inspire your next craft project with my weekly craft discussions.