
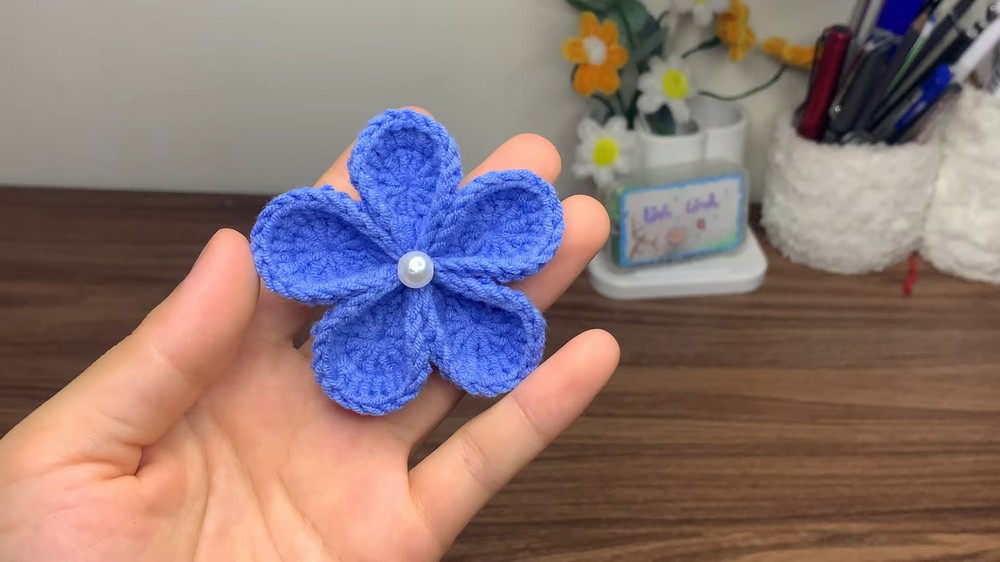
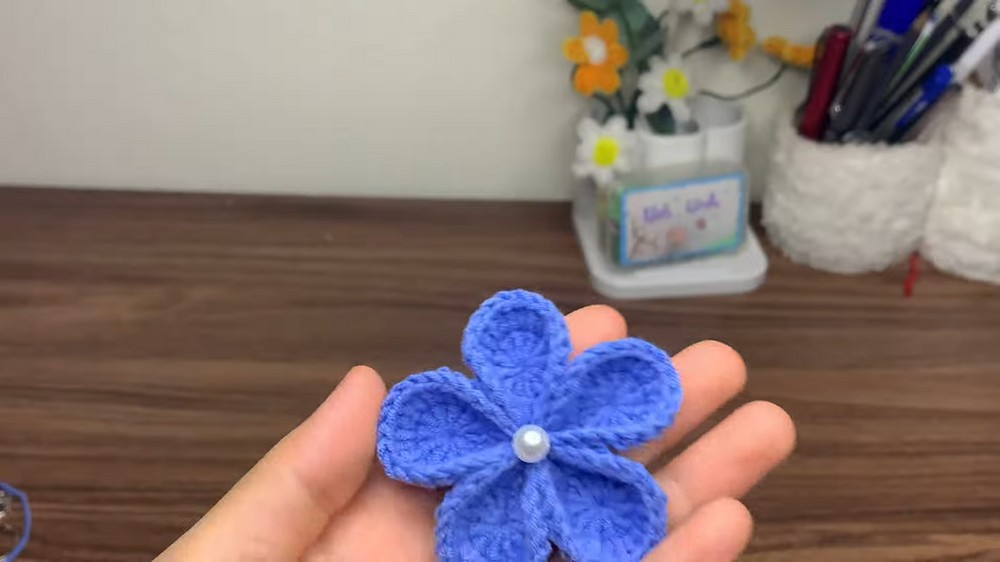
Learn a REALLY creative method to crochet a beautiful 10-minute crochet flower with this pattern. This is a 3D zero-stuffing crochet flower crocheted by joining many small 2-round crochet circles to make each petal. You can use this crochet flower in hair clips, headbands, bandanas, or simply use it as a keychain, just like you are shown. There is also a small pearl in the center that makes it look simply elegant.
Because of the way we attach the folded-circle flower petals, we will get beautiful raised edges and dips in the petals. This is the most special thing about this crochet spring memory keychain. You can also crochet a handful of them in different colors, such as red, yellow, and even purple. Now, continue reading for the full pattern to crochet it.
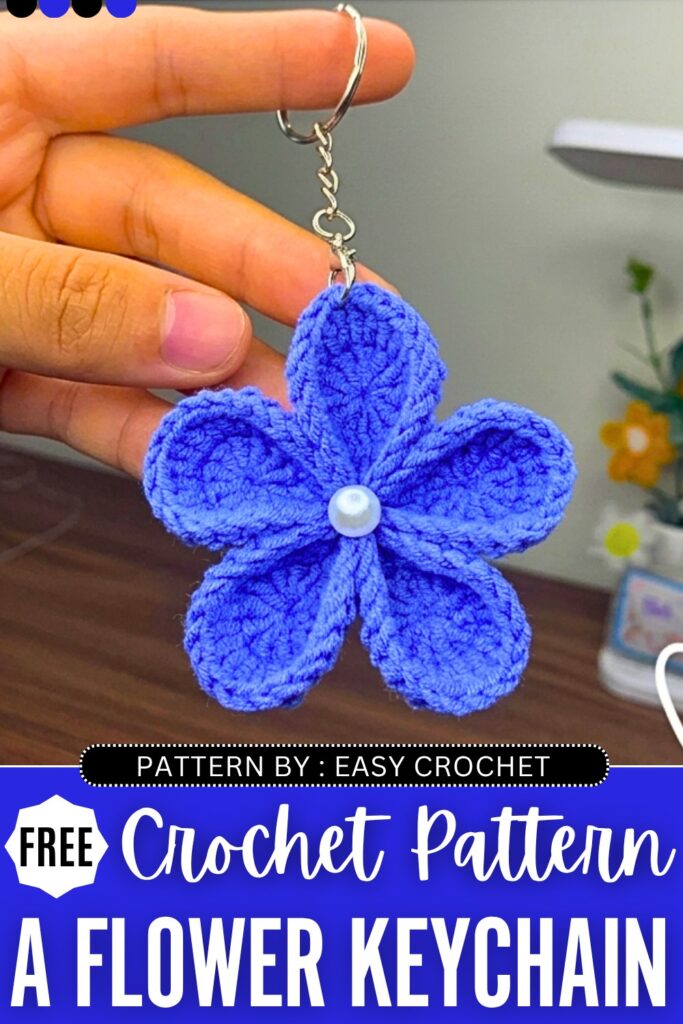
Crochet Solid Loops UNIQUE Flower: Round-by-Round Pattern
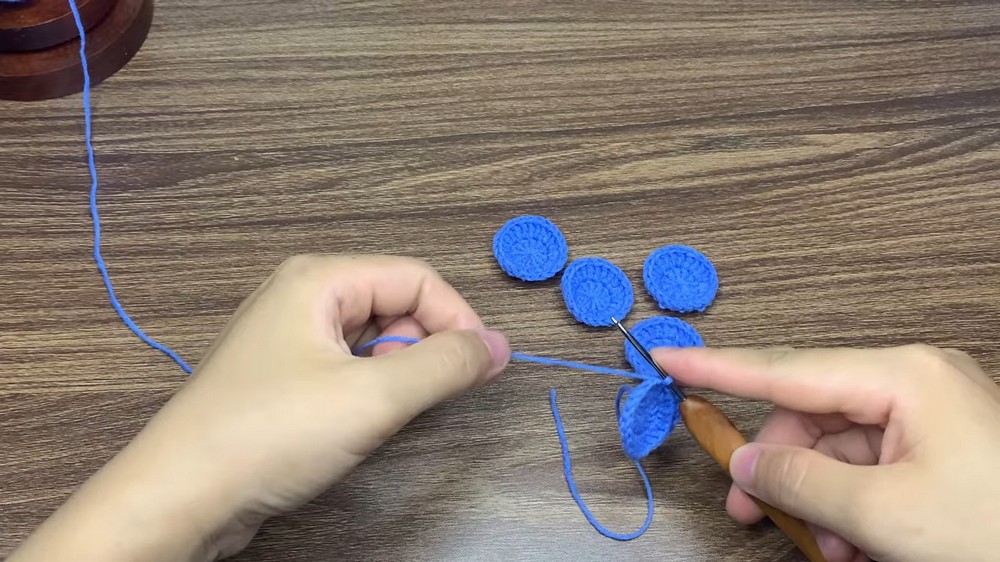
This pattern creates a sweet, simple five-petal 3D flower. You will crochet five individual semicircular petals and then assemble them together. A stiff or sturdy yarn works best for this pattern to help the petals hold their rounded shape.
Quick Making Guide
-
Create 5 identical semi-circle pieces (petals).
-
The first round uses Double Crochets (dc) into a Magic Ring.
-
The second round places 2 Double Crochets into every stitch (an increase round).
-
Stitch the 5 petals together at their base edges using a tapestry needle.
-
Use a dab of hot glue (or fabric glue) between the petals to secure them in a blooming shape, and attach a faux pearl to the center.
Materials Needed
-
Yarn: Baby Yarn (approximately 1.5mm thickness). You can use any yarn, but stiffer yarn helps the flower keep its form.
-
Crochet Hook: 2.5 mm hook
-
Tools: Tapestry needle, scissors, a stitch marker
-
Embellishment: A faux pearl bead for the center
-
Adhesive: Hot glue gun or fabric glue
Abbreviations (US Terms)
-
MR: Magic Ring
-
Ch: Chain
-
Dc: Double crochet
-
Inc: Increase (Place 2 double crochets in the same stitch)
-
Sl st: Slip stitch
-
St(s): Stitch(es)
Step-by-Step Pattern Instructions
Make 5 Petals:
Round 1:
-
Start by creating a Magic Ring.
-
Chain 2. (These chains do not count as your first stitch).
-
Work 11 Double Crochets (dc) into the Magic Ring.
-
Tip: Place a stitch marker in the top of your very first dc to help you find the end of the round.
-
-
Pull the short yarn tail tightly to close the center hole.
-
Join the round by working a slip stitch (sl st) into the top of the first dc you made (where you placed your marker).
Round 2:
-
Chain 3.
-
In the very first stitch (the same spot where you made your slip stitch join), work 2 double crochets (This is an Inc).
-
Work 1 Inc (2 double crochets) into the next stitch.
-
Continue working 1 Inc into every single stitch around the semi-circle. You should have 11 increases in total (22 dc stitches).
-
Join the round with a slip stitch into the first dc stitch you made.
-
For Petals 1 through 4: Cut your yarn, leaving a short tail for weaving in. Weave in the ends for these four petals immediately so they are neat.
-
For Petal 5: When you finish the last petal, do not cut a short tail. Cut a very long tail (at least 12 inches/30 cm) and pull it through your loop to secure it. You will use this long tail to sew all the petals together.
Assembly Instructions
-
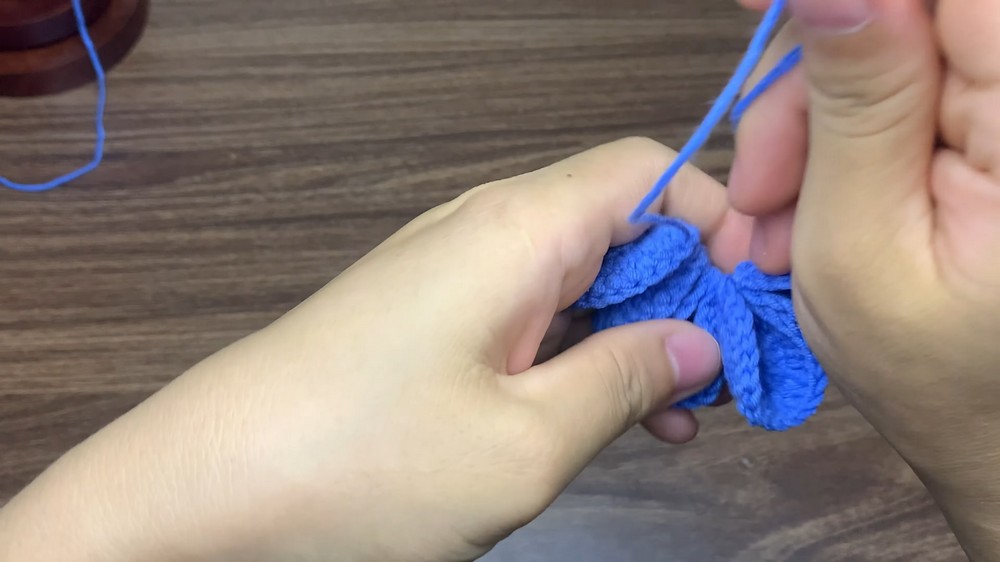
Threading: Thread the long yarn tail from Petal 5 onto your tapestry needle.
-
Arranging: Gather your 5 petals. Notice that the flat, straight edge of the semi-circle is the bottom of the petal, and the curved edge is the top.
-
Sewing the Base: Line up two petals side-by-side. Insert your needle through the bottom edge stitches (the first and last stitches of Round 1) of both petals to connect them. Pull the yarn tight.
-
Connecting all 5: String the third petal onto the needle, passing through its bottom edge stitches, and pull it tight against the second petal. Repeat this process until all 5 petals are strung together on the yarn tightly in a circle.
-
Securing the Ring: Pass your needle through the bottom edge of the very first petal again to close the circle and pull tightly. Run the needle back through the base of a few more petals to make the center completely secure and tight. Tie a small knot, weave the end into the base stitches, and cut the remaining yarn.
-
Shaping the Petals: Right now, the petals might be floppy. Take your hot glue gun (or fabric glue) and place a tiny dot of glue on the lower side edge of a petal, right where it touches the petal next to it. Press them gently together. Repeat this small glue dot between every single petal to lock them into an open, blooming cup shape.
-
Finishing Touch: Add a larger dot of glue right in the center hole of the assembled flower and press your faux pearl bead securely into place.
-
Gently bend the top edges of the petals outward to make them look full and round.
Your cute crochet flower is finished!

About "Talha"
Hey, I’m Talha, the Crafter on Craftstive.com. I love to share guides on folding cute origami models and paper crafts, and I am always ready to inspire your next craft project with my weekly craft discussions.