
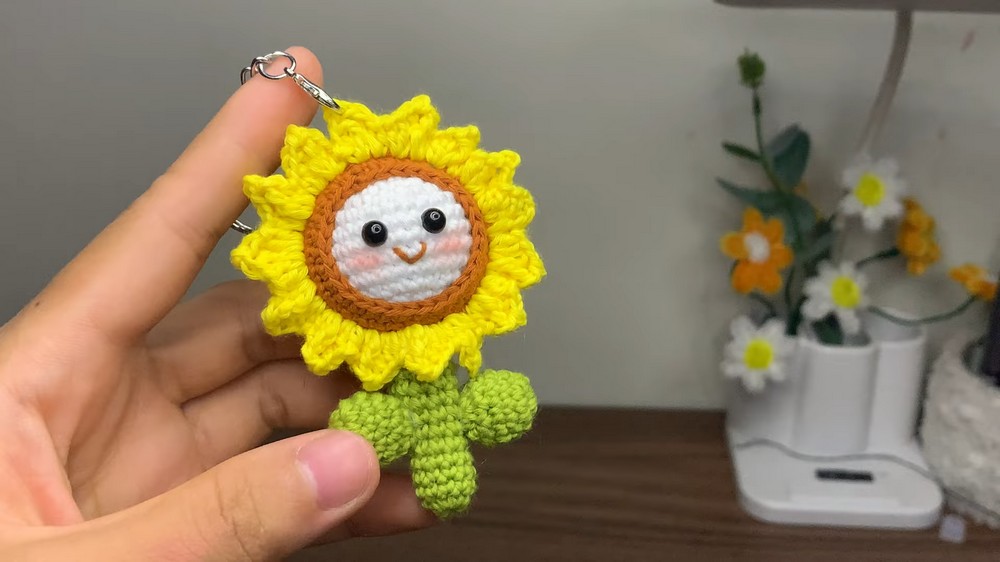
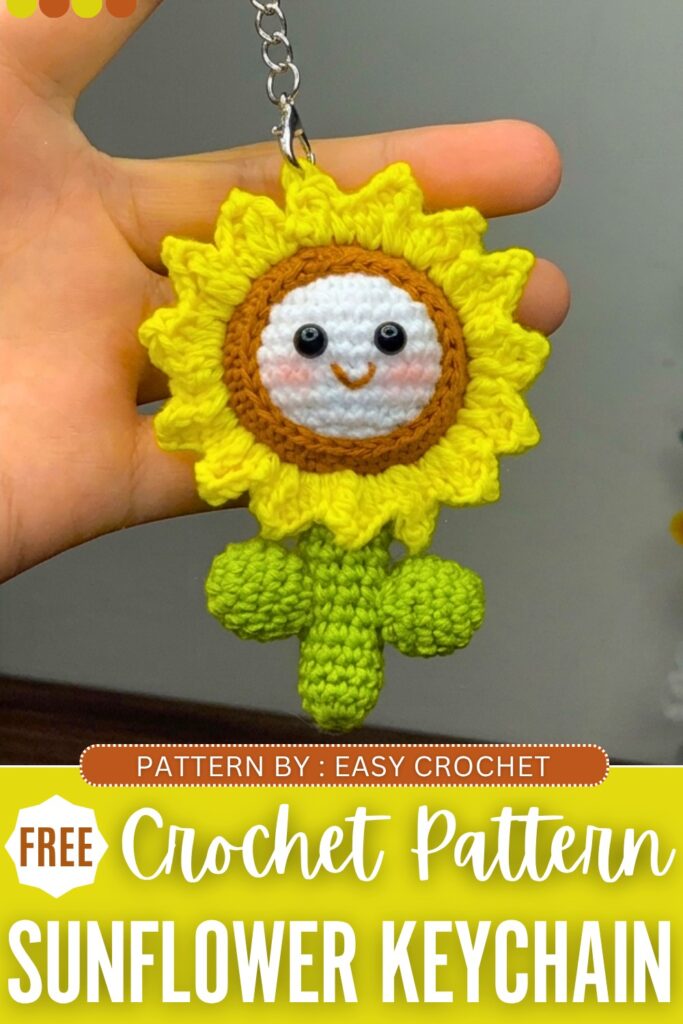
The end of spring does not mean you can’t crochet the flowers! So, this summer, crochet this CUTE smiling sunflower amigurumi keychain with a FREE pattern for beginners. This is small and simply adorable with its Mochi face, blush, and the stuffed crochet & leaves. You can crochet it as a bag charm for your beach tote bag or add it in the middle of a crochet present bouquet, whether it’s for graduation or Father’s Day.
This crochet sunflower is inspired by a popular baby daisy flower pattern. We will, however, crochet the petals flat, but that looks cute, still. You can also crochet it as a small pocket companion for kids. Overall, it is easy and quick to crochet. Now, continue reading for the full flower pattern.
[ez-toc]
Crochet Mochi Sunflower Keychain Pattern
This adorable amigurumi sunflower keychain makes for a quick and fun project! It is constructed in several distinct pieces. The center head (which forms the “soil” cap and the face), the bright yellow petals, the green stem, and the little leaves, that are assembled at the end.
Quick Making Guide
- Skill Level: Beginner/Intermediate
- Construction: Worked in continuous rounds for the amigurumi pieces (head, stem, leaves) and joined rounds for the petals.
- Assembly: Involves stuffing, sewing the head closed, and using hot glue (or sewing) to attach the head to the cap, stem, and leaves.
Materials Needed
- Yarn: Vietnam Cotton yarn (approx. 1mm thickness) in four colors: Brown (for the flower center), White/Beige (for the head base), Yellow (for the petals), and Green (for the stem and leaves). Note: You can substitute any yarn under 2mm thick.
- Crochet Hook: 1.0 mm (or appropriate size for your yarn choice to ensure tight stitches).
- Tools: Tapestry needle, scissors, stitch markers, hot glue gun (optional, for assembly), and blush/pink chalk for cheeks.
- Filling: Polyfill stuffing.
- Hardware: Keychain ring.
Abbreviations (US Terms)
- MR: Magic Ring
- Ch: Chain
- Sl st: Slip stitch
- Sc: Single crochet
- Hdc: Half double crochet
- Dc: Double crochet
- Tr: Treble crochet
- Inc: Increase (2 sc in the same stitch)
- Dec: Decrease (sc 2 stitches together, preferably an invisible decrease)
- BLO: Back Loops Only
- FLO: Front Loops Only
Step-by-Step Pattern
Part 1: The Brown Flower Center (The “Hat”)
Worked in Brown yarn.
Round 1: Start with a MR, ch 1, 6 sc into the ring. Sl st to the first sc to join. (6 sts)
Round 2: Ch 1, Inc in every stitch around. Sl st to join. (12 sts)
Round 3: Ch 1, [1 sc, Inc] repeat 6 times around. Sl st to join. (18 sts)
Round 4: Ch 1, [1 sc, Inc, 1 sc] repeat 6 times around. Sl st to join. (24 sts)
Round 5: Ch 1, [3 sc, Inc] repeat 6 times around. Sl st to join. (30 sts)
Rounds 6–10: Ch 1, sc in each stitch around (30 sts for 5 rounds). Sl st to join at the end of each round.
Round 11: Ch 1, working in BLO, sc in each stitch around. Sl st to join. (30 sts)
Round 12: Ch 1, working through both loops again, sc in each stitch around. Sl st to join. (30 sts)
Fasten off and weave in the end.
Part 2: The Head Base
Worked in White/Beige yarn.
Rounds 1–9: Repeat Rounds 1 through 9 of the Brown Flower Center exactly. You will have a piece with 30 stitches around.
Round 10: Ch 1, [3 sc, Dec] repeat 6 times around. Sl st to join. (24 sts)
Round 11: Ch 1, [1 sc, Dec, 1 sc] repeat 6 times around. Sl st to join. (18 sts)
Round 12: Ch 1, [1 sc, Dec] repeat 6 times around. Sl st to join. (12 sts)
Fasten off, leaving a long tail for sewing. Stuff the head firmly with polyfill. Using a tapestry needle, weave the tail through the front loops of the remaining 12 stitches and pull tight to close the hole securely. Weave in the end.
Part 3: The Stem
Worked in Green yarn. This piece is worked in continuous spiral rounds without joining.
Round 1: Start with a MR, 10 sc into the ring. Pull tight. (10 sts)
Continuous Rounds: Sc in each stitch around continuously, working in a spiral, until the stem reaches your desired length.
Once long enough, sl st into the next 2 stitches to even out the edge. Fasten off. Stuff the stem firmly.
Part 4: The Leaves (Make 2)
Worked in Green yarn.
Round 1: Start with a MR, ch 1, 6 sc into the ring. Sl st to join. (6 sts)
Round 2: Ch 1, Inc in every stitch around. Sl st to join. (12 sts)
Rounds 3–5: Ch 1, sc in each stitch around. Sl st to join. (12 sts for 3 rounds)
Round 6: Ch 1, Dec around 6 times. (6 sts)
Fasten off, leaving a tail for sewing if you are not using hot glue. Stuff the little leaf lightly, then sew the open end flat to close it.
Part 5: The Sunflower Petals
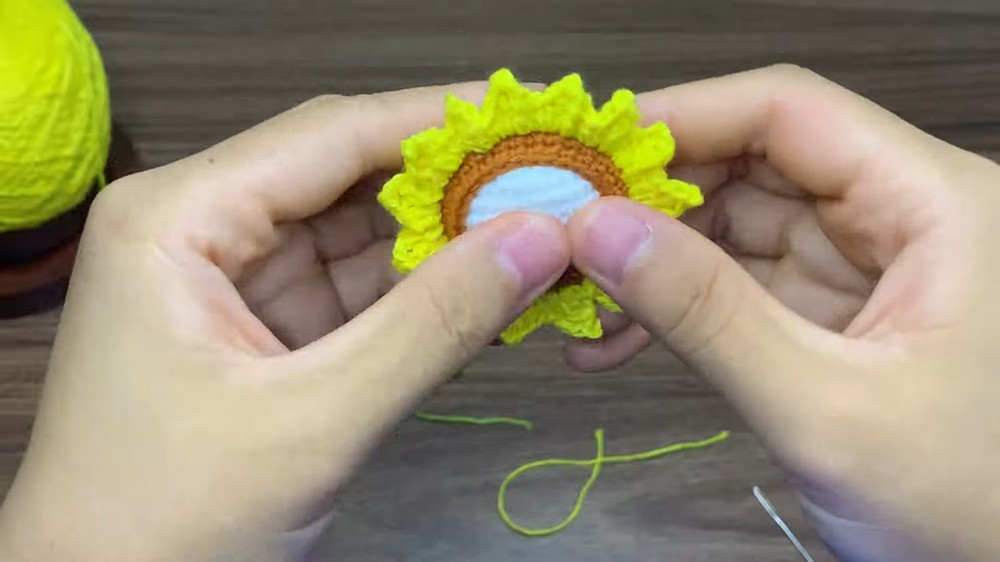
Worked in Yellow yarn. You will be crocheting into the unworked Front Loops (FLO) left over from Round 11 of the Brown Flower Center.
To Begin: Attach your yellow yarn to any front loop on Round 11. Ch 1. Each petal is worked across two stitches.
First Half of Petal (in St 1):
- Work 1 Hdc, 1 Dc, and 1 Tr all into the first stitch.
- Ch 2, then sl st into the first of those two chains to create a picot point.
Second Half of Petal (in St 2):
- Move to the next stitch. Work 1 Tr, 1 Dc, and 1 Hdc all into the second stitch.
- Ch 1.
Repeat: Repeat this 2-stitch petal sequence all the way around the rim of the hat. Since there are 30 stitches on the rim, you will create a total of 15 petals.
When you finish the last petal, sl st into the base of the first petal to join. Fasten off and weave in your yellow ends securely.
Part 6: Assembly and Details
- Fit the Head: Take the stuffed White/Beige head base and insert it securely inside the Brown Flower Center cap. You can secure it with a few dots of hot glue inside the cap if desired.
- Attach the Stem: Apply hot glue to the top edge of the stuffed green stem and press it firmly to the back/bottom center of the brown cap. (You can also sew it on using the green tail if you prefer not to use glue).
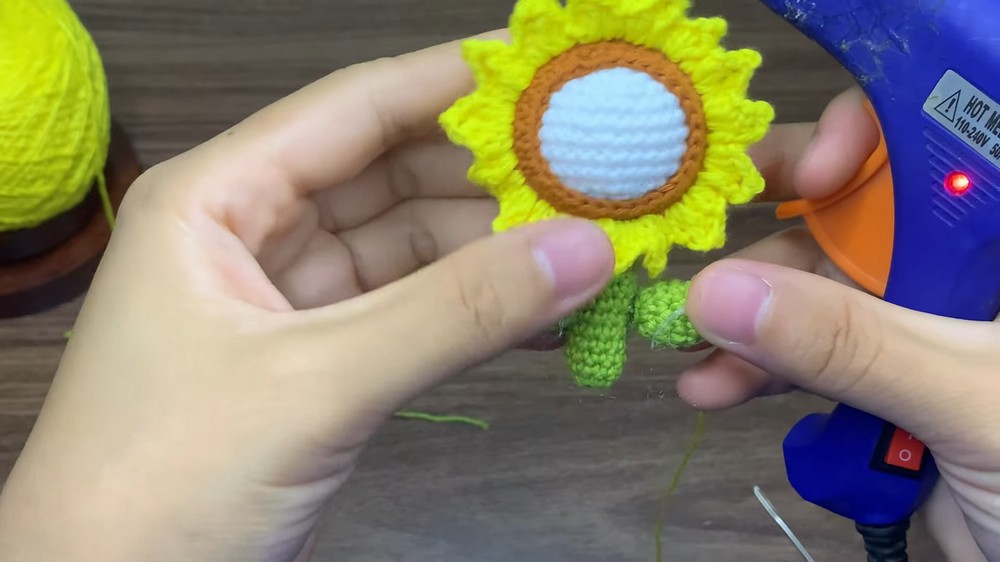
- Attach the Leaves: Apply hot glue to the pinched ends of the two leaves and attach them to either side of the green stem.
- Facial Features: Use black yarn or thread to embroider two small eyes and a tiny little smile on the white face area.
- Blush: Apply a little bit of pink chalk or actual makeup blush under the eyes for a cute kawaii look.
- Keychain: Attach your keychain hardware to the top edge of the sunflower.

About "Talha"
Hey, I’m Talha, the Crafter on Craftstive.com. I love to share guides on folding cute origami models and paper crafts, and I am always ready to inspire your next craft project with my weekly craft discussions.