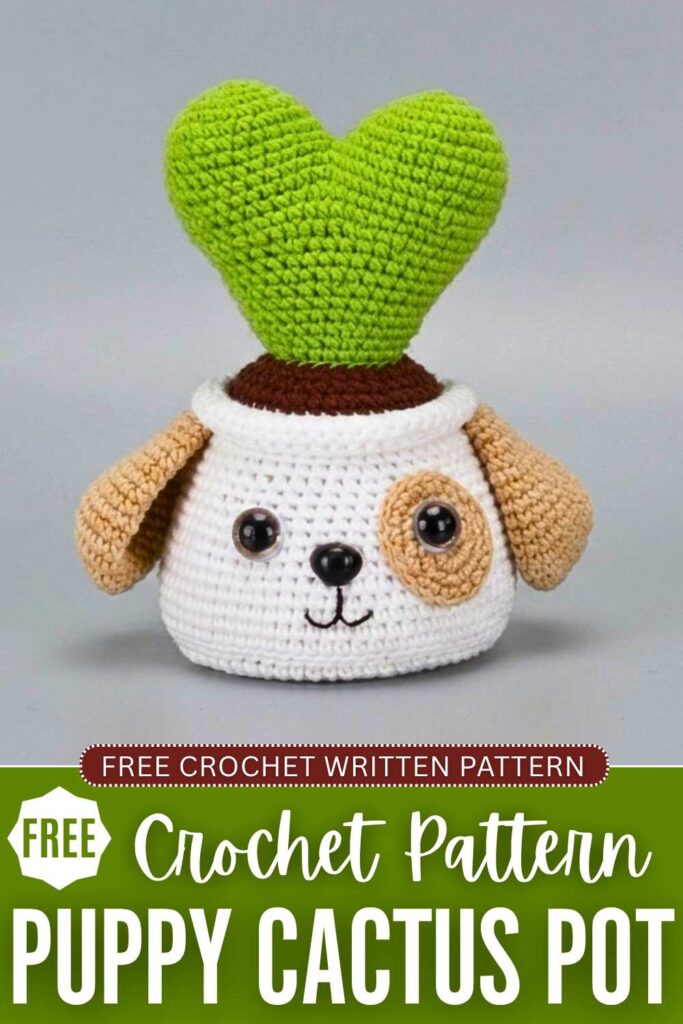
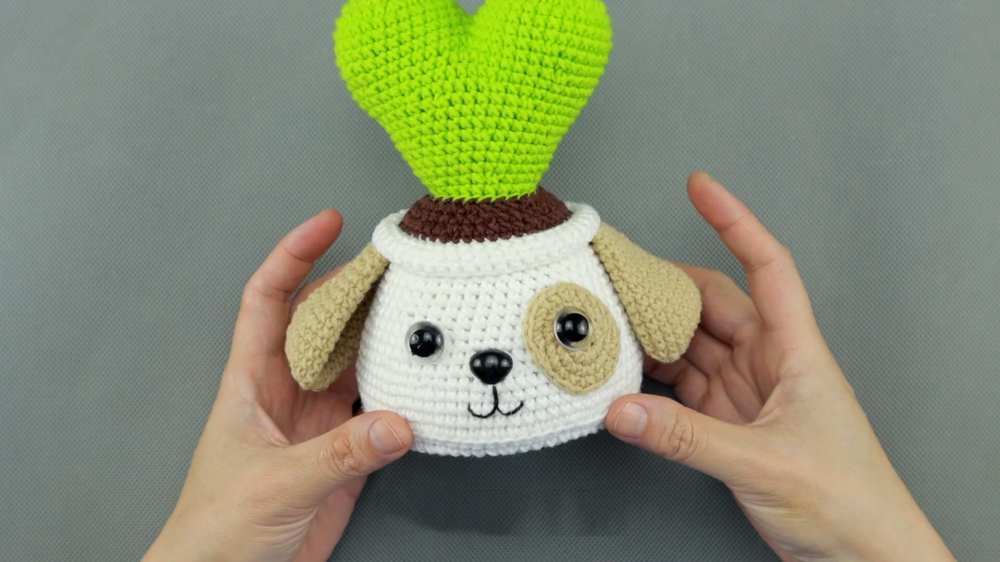
Out of all the crochet potted plant, flower, and succulent patterns I have shared here, the one today will make the MOST special present! It is UNIQUE, mood-lifting, and perfectly shows the LOVE. Introducing the crochet puppy & heart cactus amigurumi pot decoration that you can learn how to crochet with a FREE written pattern.
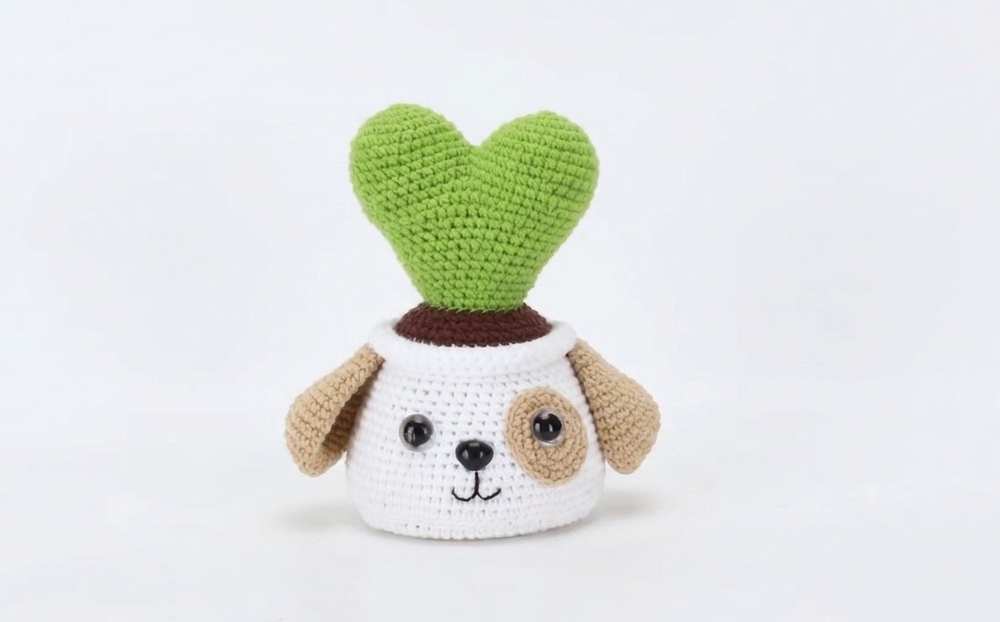
We have an oh-so-cute puppy face as the pot that also has a spot on its eye. Prepare it as a gift for Valentine’s Day, weddings, or just because.
We also have kawaii mouth embroidery, a safety nose, and two-color eyes that make this the best puppy cactus plushie if you use the chenille yarn. Kids, in particular, will love crocheting this amigurumi pot. Now, continue reading for the full crochet pattern.
[ez-toc]
Puppy Potted Heart Plant Crochet Pattern: Written Instructions
This project creates an incredibly adorable puppy-themed flower pot with a vibrant, heart-shaped green plant growing right out of the top! It makes for a perfect desk companion, sweet gift, or a charming piece of handmade decor.
Working this up in a plush or chenille yarn will give the amigurumi a beautiful, velvety finish that makes it extra huggable, though standard medium-weight yarn works wonderfully too.
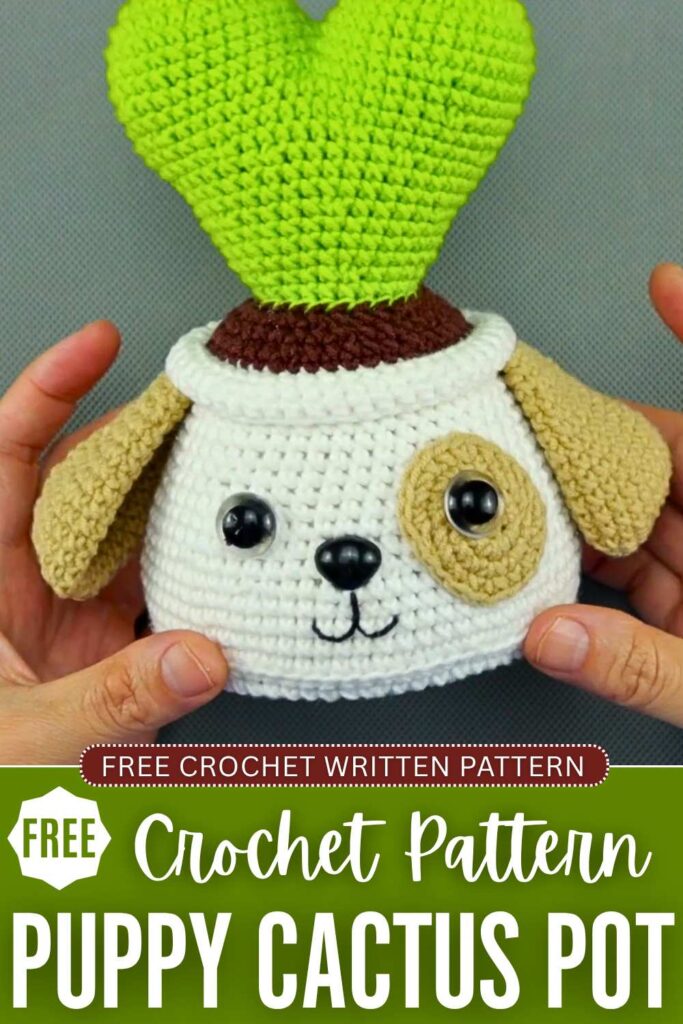
The design features a white puppy pot base, floppy brown ears, a cute eye patch, and a bright green heart top that is shaped by crocheting two identical bumps and joining them together.
Materials Needed
- Yarn: Green, white, and rich brown yarn (plush or chenille).
- Crochet Hook: Use 2.5mm
- Stuffing: Premium polyester fiberfill stuffing.
- Eyes: A set of safety eyes or vibrant glitter eyes to give your puppy character.
- Notions: A blunt yarn needle for joining pieces, a reliable stitch marker, and fine black embroidery thread for facial crafting.
Abbreviations (Standard US Terms)
- MR: Magic Ring
- ch: Chain
- sc: Single crochet
- inc: Increase (2 single crochets worked into the same stitch)
- dec: Decrease (single crochet 2 stitches together)
- Rnd: Round
Pattern Instructions
1. Heart-Shaped Plant (Green Yarn)
This section forms the lush, heart-shaped succulent top.
First Bump:
- Rnd 1: 6 sc in MR (6)
- Rnd 2: 6 inc (12)
- Rnd 3: (sc, inc) * 6 (18)
- Rnd 4: sc, inc, (2 sc, inc) * 5, sc (24)
- Rnd 5: (3 sc, inc) * 6 (30)
- Rnd 6–Rnd 7: 30 sc (30) Fasten off the first bump and set it aside.
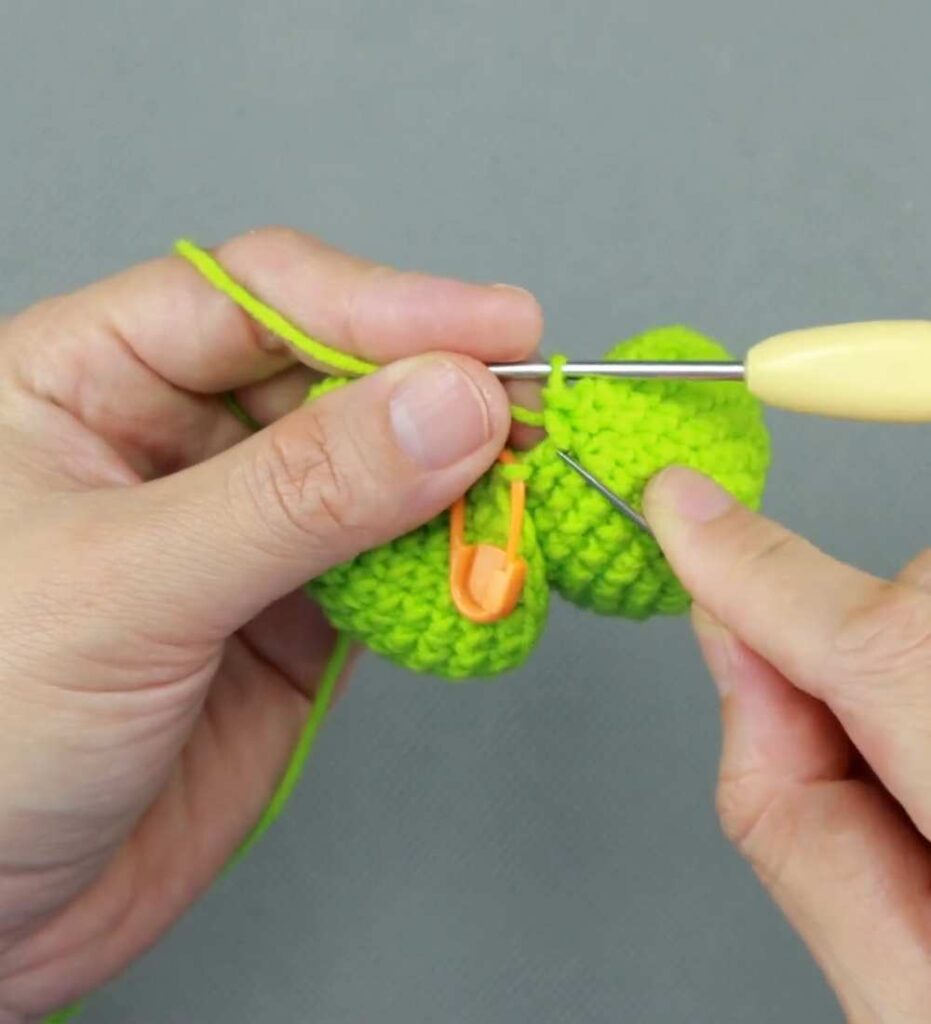
Second Bump & Main Stem: Repeat rounds Rnd 1 through Rnd 7 exactly as detailed above to build the second bump, but do not fasten off the yarn. Continue directly into the connecting rounds and stem decreases.
- Rnd 8: Join the two bumps together by working a continuous single crochet round completely around the outer rims of both pieces (60).
- Rnd 9: 4 sc, dec, (8 sc, dec) * 5, 4 sc (54)
- Rnd 10: 54 sc (54)
- Rnd 11: (7 sc, dec) * 6 (48)
- Rnd 12: 48 sc (48)
- Rnd 13: 3 sc, dec, (6 sc, dec) * 5, 3 sc (42)
- Rnd 14: (5 sc, dec) * 6 (36)
- Rnd 15–Rnd 16: 36 sc (36)
- Rnd 17: 2 sc, dec, (4 sc, dec) * 5, 2 sc (30)
- Rnd 18–Rnd 20: 30 sc (30)
- Rnd 21: (3 sc, dec) * 6 (24)
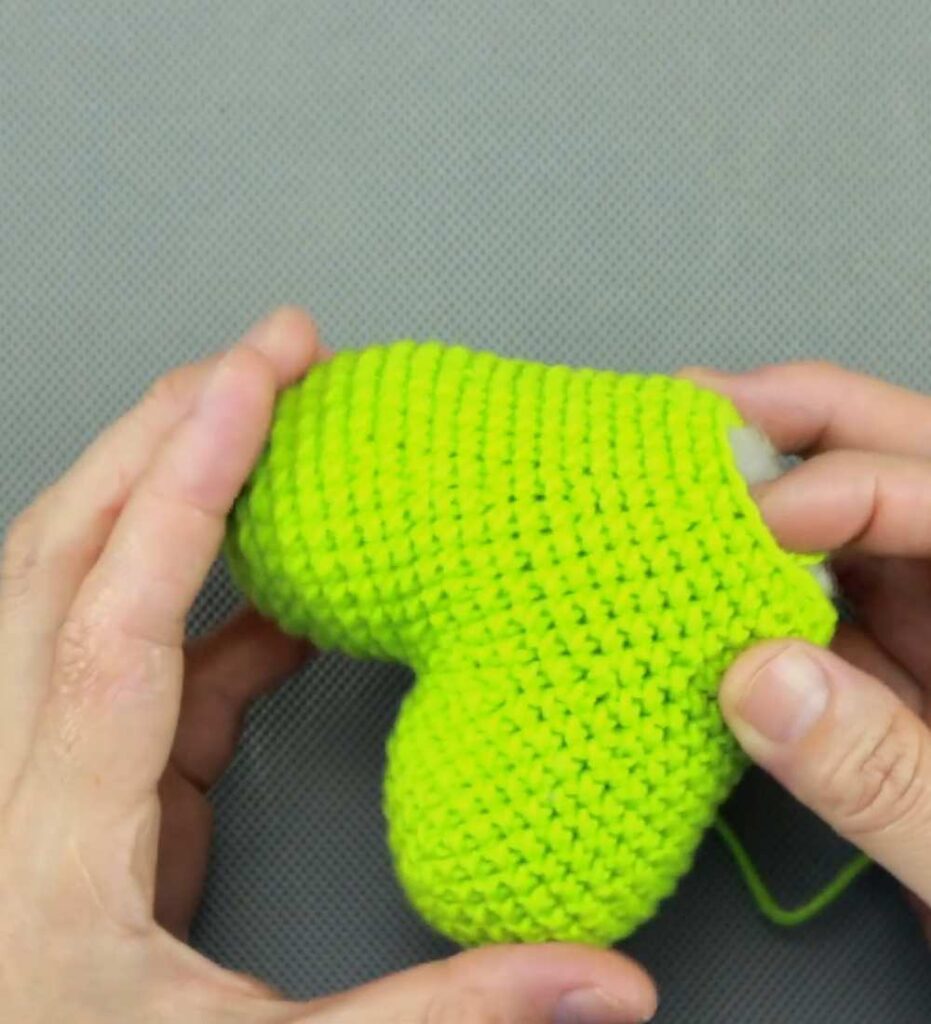
- Rnd 22: 24 sc (24) Fasten off, leaving a generous yarn tail for attachment. Stuff the completed green heart firmly with fiberfill.
2. Pot Body (White Yarn)
The structural white base mimics a traditional ceramic flower pot.
- Rnd 1: 6 sc in MR (6)
- Rnd 2: 6 inc (12)
- Rnd 3: (sc, inc) * 6 (18)
- Rnd 4: sc, inc, (2 sc, inc) * 5, sc (24)
- Rnd 5: (3 sc, inc) * 6 (30)
- Rnd 6: 2 sc, inc, (4 sc, inc) * 5, 2 sc (36)
- Rnd 7: (5 sc, inc) * 6 (42)
- Rnd 8: 3 sc, inc, (6 sc, inc) * 5, 3 sc (48)
- Rnd 9: (7 sc, inc) * 6 (54)
- Rnd 10: 4 sc, inc, (8 sc, inc) * 5, 4 sc (60)
- Rnd 11: (9 sc, inc) * 6 (66)
- Rnd 12: 5 sc, inc, (10 sc, inc) * 5, 5 sc (72)
- Rnd 13–Rnd 17: 72 sc (72)
The structural tapering rounds for the top half.
- Rnd 18: (9 sc, dec) * 6 (60)
- Rnd 19–Rnd 20: 60 sc (60)
- Rnd 21: 4 sc, dec, (8 sc, dec) * 5, 4 sc (54)
- Rnd 22: (7 sc, dec) * 6 (48)
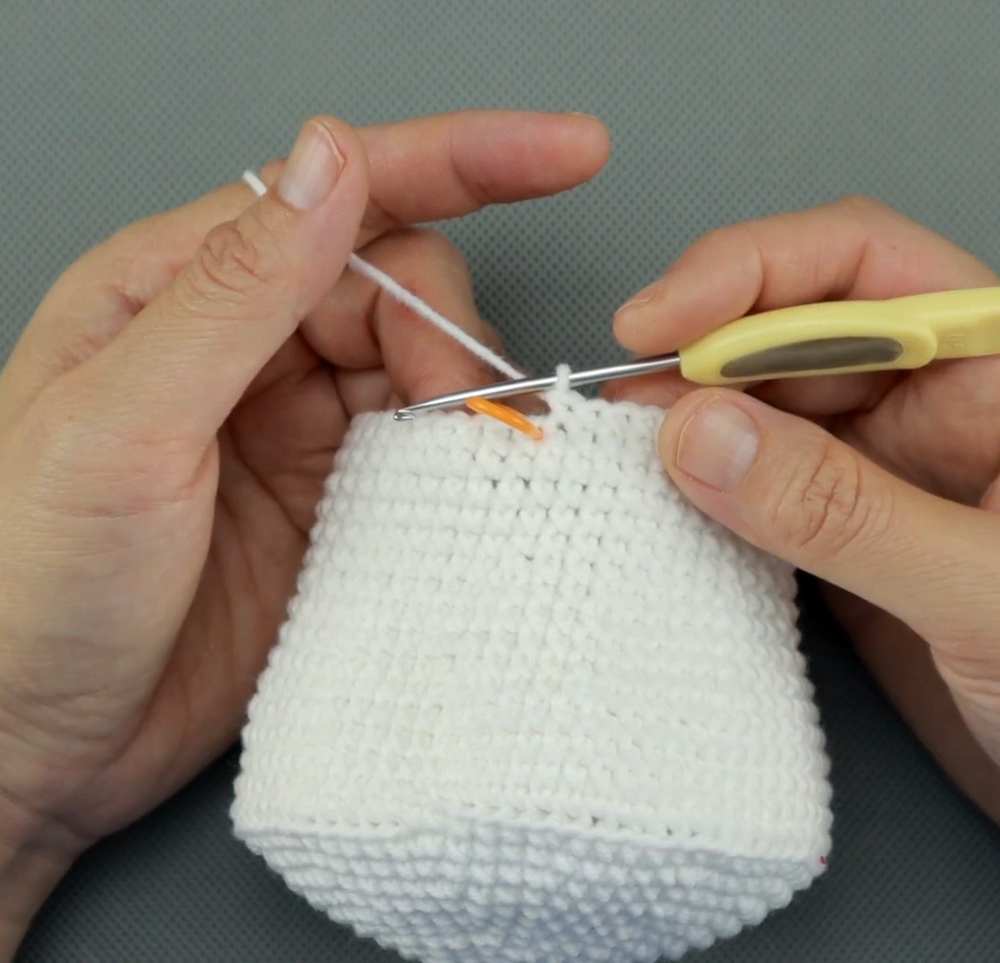
- Rnd 23–Rnd 28: 48 sc (48) Fasten off and pack the base thoroughly with fiberfill stuffing.
3. Soil (Brown Yarn)
This flat divider seals the inner opening of the pot to resemble soil.
- Rnd 1: Start from a base row that seamlessly interfaces with the upper inner rim at 42 stitches. (42)
- Rnd 2: (5 sc, dec) * 6 (36)
- Rnd 3: 2 sc, dec, (4 sc, dec) * 5, 2 sc (30)
- Rnd 4: (3 sc, dec) * 6 (24) Fasten off completely.
4. Ears (Brown Yarn – Make 2)
The long, classic floppy ears drape gracefully down the sides of the white base.
- Rnd 1: 6 sc in MR (6)
- Rnd 2: 6 inc (12)
- Rnd 3: (sc, inc) * 6 (18)
- Rnd 4: (2 sc, inc) * 6 (24)
- Rnd 5: (3 sc, inc) * 6 (30)
- Rnd 6–Rnd 8: 30 sc (30)
- Rnd 9: (3 sc, dec) * 6 (24)
- Rnd 10–Rnd 11: 24 sc (24)
- Rnd 12: (2 sc, dec) * 6 (18)
- Rnd 13–Rnd 14: 18 sc (18)
- Rnd 15: (sc, dec) * 6 (12)
- Rnd 16–Rnd 17: 12 sc (12) Fasten off and leave a long connection tail. Do not stuff these sections tightly; leaving them mostly flat helps them fold over organically.
5. Eye Patch (Brown Yarn)
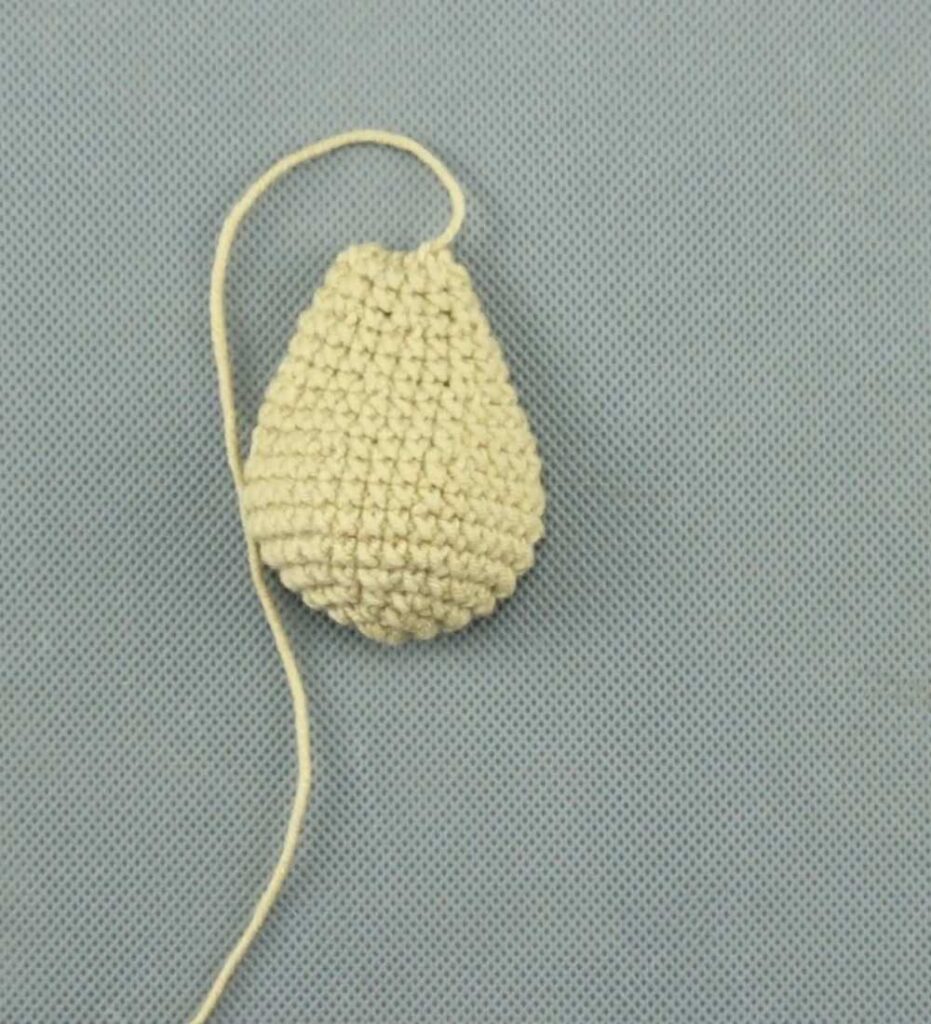
An organic oval spot frames one safety eye to offer a sweet puppy look.
- Rnd 1: 6 sc in MR (6)
- Rnd 2: 6 inc (12)
- Rnd 3: 3 sc, 3 inc, 3 sc, 3 inc (18)
- Rnd 4: 3 sc, (sc, inc) * 3, 3 sc, (sc, inc) * 3 (24) Fasten off and maintain a long tail for clean surface stitching.
Assembly Instructions
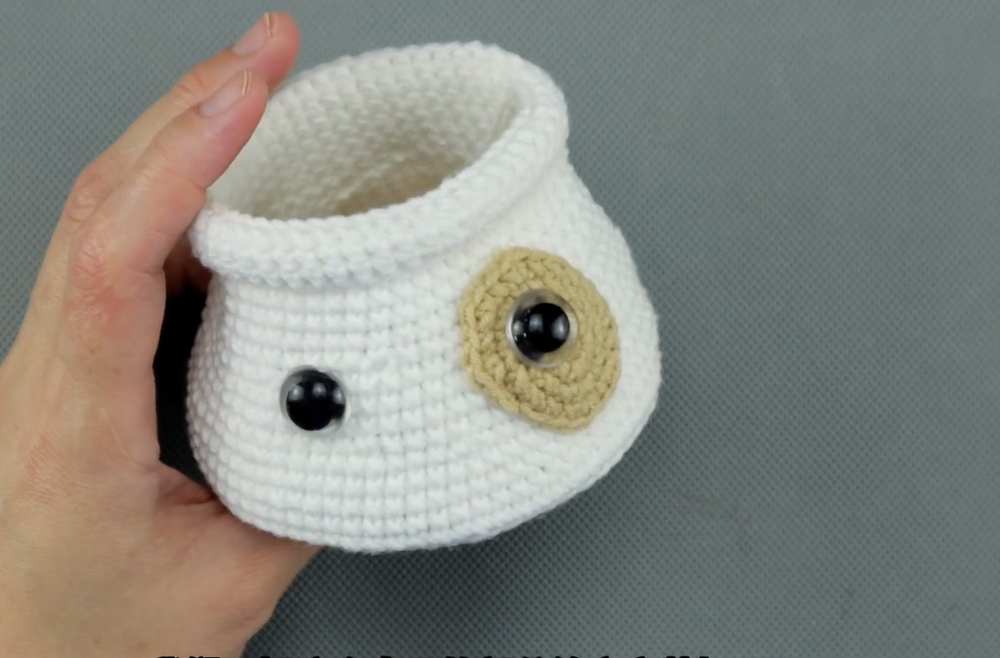
- Face Assembly: Position the brown eye patch onto the upper-front area of your white pot base. Smooth out the patch and whipstitch it flat against the surface.
- Eyes Placement: Insert your safety eyes or glitter eyes through the fabric. One eye should pass securely through the center of the brown eye patch, and the second eye should match horizontally directly on the plain white body side.
- Facial Details: Using your black embroidery thread, stitch a small triangular nose directly centered between the eyes. Create two soft downward loops from the base of the nose to complete a happy muzzle expression.
- Ear Joins: Sew the open ends of the long brown ears onto opposite top sides of the white pot, ensuring they clear the face features evenly.
- Top Seal: Fit the brown soil piece snugly within the upper rim opening of your white pot base. Use an invisible mattress stitch to fix the border lines.
- Plant Connection: Position the green heart stem base into the center hole opening of the brown soil disk. Stitch around the stem firmly, packing in any last bits of fiberfill to provide structural stability before catching the final threads and weaving in all remaining yarn ends