
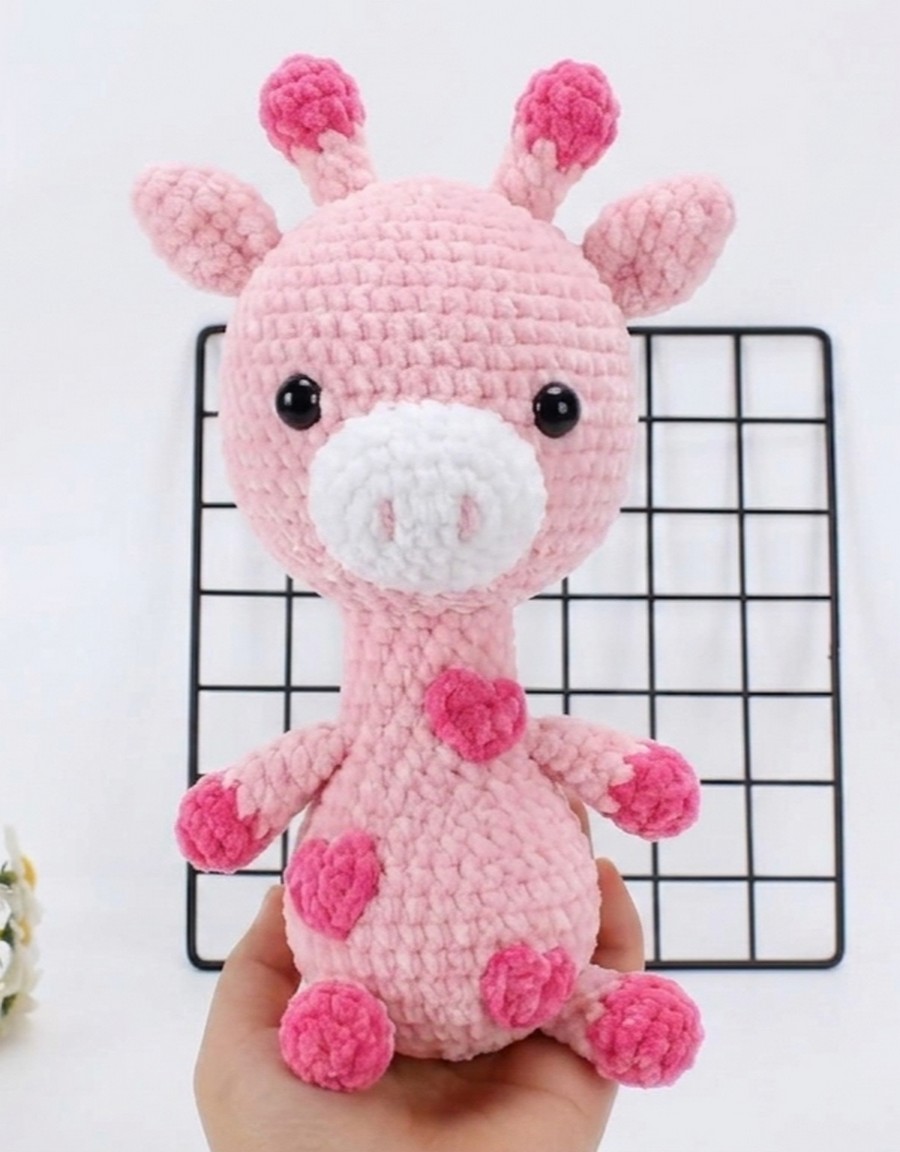
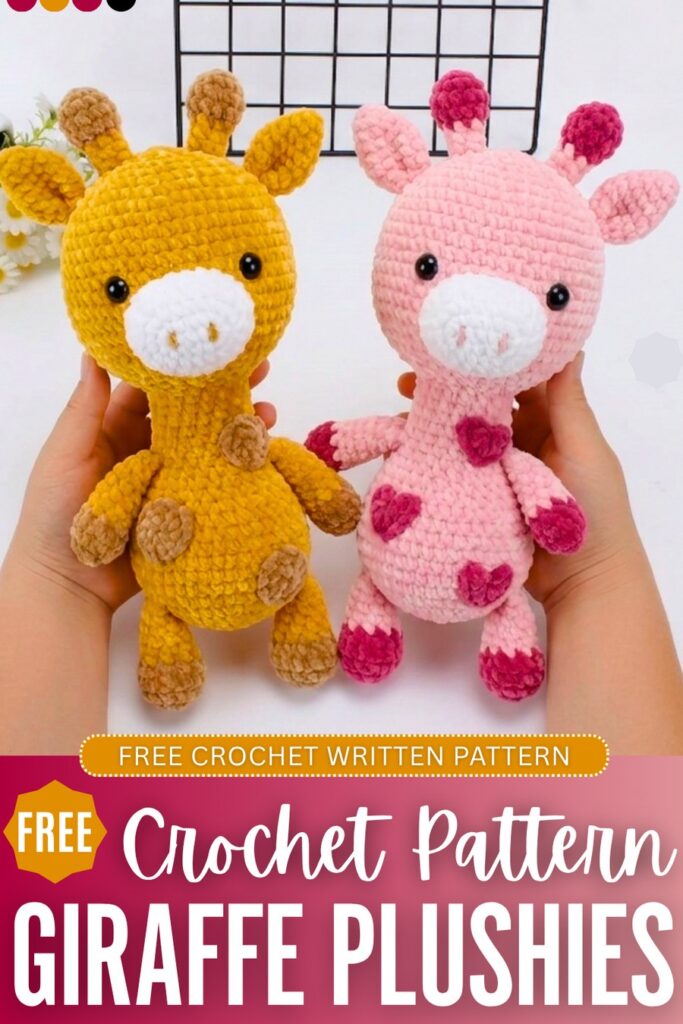
I am starting the “Safari Animals” plushie series with this crochet baby giraffe with beautiful heart spots on its body. This shape will be very appealing to little ones, and they can use it as a sleeping snuggler. There are two versions you can crochet: pink and brown; both look equally pleasing to me, but if you wanna make a handmade present for a girl, give her the pink version. It can also be gifted at a baby shower, Valentine’s Day, birthday, or just because.
I have tried to present the pattern in the simplest and non-messy way. So, after getting the materials, you can crochet this oh-so cute plushie in less than 2 hours. This is definitely a big giraffe plushie, even when you use amigurumi yarn. Now, continue reading for the full pattern to crochet this animal plush.
[ez-toc]
Crochet Giraffe Plush for Safari Lovers: Round-by-Round Pattern
Learn how to crochet this plush giraffe doll with crochet spots round-by-round with this free pattern for beginners:
Materials List
- Yarn: Super bulky yarn (Main Color: Yellow or Pink; Secondary Color: Brown or White for horns/hooves/spots; small amount of dark thread for the nostrils)
- Crochet Hook: 5mm crochet hook
- Safety Eyes: 1 pair (approx. 12 mm)
- Other Tools: Fiberfill (PP Cotton), Yarn needle, Stitch markers, Scissors, and a small piece of craft shaping wire for the tail.
Crochet Abbreviations Legend
- Ch: Chain
- X: Single crochet
- V: Increase (2 single crochet in one stitch)
- A: Decrease (invisible decrease recommended)
- W: 3 single crochet in the same stitch
- T: Half double crochet
- F: Double crochet
- Sl st: Slip stitch
- [ ] * n: Repeat the instructions inside the brackets n times
Crochet Pattern
1. Head
Worked in a continuous spiral (spiral/method).
- R1: Magic ring of 6X (6)
- R2: 6V (12)
- R3: [X, V] * 6 (18)
- R4: [2X, V] * 6 (24)
- R5: [V, 3X] * 6 (30)
- R6: X, [V, 4X] * 5, V, 3X (36)
- R7: [5X, V] * 6 (42)
- R8: 3X, [V, 6X] * 5, V, 3X (48)
- R9: [7X, V] * 6 (54)
- R10: 4X, [V, 8X] * 5, V, 4X (60)
- R11: [9X, V] * 6 (66)
- R12: 5X, [V, 10X] * 5, V, 5X (72)
- R13: [11X, V] * 6 (78)
- R14–R24: 78X (78) (11 rounds total)
- R25: 5X, [A, 11X] * 5, A, 6X (72)
- R26: [10X, A] * 6 (66)
- R27: 4X, [A, 8X] * 5, A, 4X (60)
- R28: [7X, A] * 6 (54)
- R29: 3X, [A, 6X] * 5, A, 3X (48)
- R30: [5X, A] * 6 (42)
- R31: 2X, [A, 4X] * 5, A, 2X (36)
- R32: [3X, A] * 6 (30)
- R33: X, [A, 2X] * 5, A, X (24) Stuff firmly with fiberfill and fasten off, leaving a clean edge.
2. Body
Worked in a continuous spiral.
- R1: Magic ring of 6X (6)
- R2: 6V (12)
- R3: [X, V] * 6 (18)
- R4: [2X, V] * 6 (24)
- R5: [3X, V] * 6 (30)
- R6: [4X, V] * 6 (36)
- R7: [5X, V] * 6 (42)
- R8: [6X, V] * 6 (48)
- R9: [7X, V] * 6 (54)
- R10–R14: 54X (54) (5 rounds total)
- R15: [7X, A] * 6 (48)
- R16–R17: 48X (48)
- R18: [6X, A] * 6 (42)
- R19–R20: 42X (42)
- R21: [5X, A] * 6 (36)
- R22–R23: 36X (36)
- R24: [4X, A] * 6 (30)
- R25–R29: 30X (30) (5 rounds total for the long neck)
- R30: [3X, A] * 6 (24)
- R31: 24X (24) Stuff firmly and leave a long yarn tail for sewing.
3. Muzzle / Snout
- R1: Ch 6, start in the 2nd ch from hook: 4X, 1W in the last chain loop; turn to work along the opposite side of the chain: 3X, 1V (12)
- R2: 1V, 3X, 3V, 3X, 2V (18)
- R3: 1X, 1V, 3X, [1X, 1V] * 3, 3X, [1X, 1V] * 2 (24)
- R4: 2X, 1V, 3X, [2X, 1V] * 3, 3X, [2X, 1V] * 2 (30)
- R5–R7: 30X (30) Fasten off, leaving a long tail for sewing.
4. Horns — Make 2
Start with Secondary Color (Brown/White). Change rounds require join-and-chain stitches.
- R1: Magic ring of 6X, sl st to join (6)
- R2: Ch 1, 6V, sl st to join (12)
- R3–R4: Ch 1, 12X, sl st to join (12)
- R5: Ch 1, [2X, A] * 3, changing color to Main Color (Yellow/Pink) on the final step of the last decrease, sl st to join (9)
- R6: Ch 1, 6A (wait, adjust to 6X if continuing straight, or follow chart text: 6A means bringing 12 down to 6—if starting from 12: R5 is skipped and R5 is directly 6A to become 6. Follow the video’s direct transition: R5 becomes 6A (6), then R6-R9: 6X).
- R7–R9: Ch 1, 6X, sl st to join (6) Stuff the top bulbous portion lightly and leave a tail.
5. Ears — Make 2
Worked in a continuous spiral.
- R1: Magic ring of 6X (6)
- R2: [X, V] * 3 (9)
- R3: [2X, V] * 3 (12)
- R4: [3X, V] * 3 (15)
- R5: [4X, V] * 3 (18)
- R6–R8: 18X (18)
- R9: [4X, A] * 3 (15)
- R10: [3X, A] * 3 (12)
- R11: [2X, A] * 3 (9) Fasten off, pinch the base flat, and leave a tail for sewing.
6. Arms & Legs — Make 4
Start with Secondary Color.
- R1: Magic ring of 6X (6)
- R2: 6V (12)
- R3: [X, V] * 6 (18)
- R4: 18X (18)
- R5: [X, A] * 6, change to Main Color on the final stitch (12)
- R6–R11: 12X (12) Stuff only the bottom/hoof area lightly, leave the top flatter, and leave a tail.
7. Tail
Start with Secondary Color.
- R1: Magic ring of 6X (6)
- R2–R3: 6X (6) (Change to Main Color at the end of R3)
- R4–R10: 6X (6) Do not stuff. Leave a tail.
8. Large Heart Spots — Make 2
- R1: Magic ring of 5X (5)
- R2: 5V (10)
- R3: Sl st in next 2 sts, 1X in next st, [1T, 1F] in next st, [2F, 1Sl st] in next st, [1Sl st, 2F] in next st, [1F, 1T] in next st, 1X in next st, Sl st in last 2 sts. Fasten off and leave a tail.
9. Small Heart Spots (小桃心) — Make 3
- R1: Magic ring of 5X (5)
- R2: Sl st in st 1, [1X, 1T] in st 2, [2F, 1Sl st] in st 3, [1Sl st, 2F] in st 4, [1T, 1X] in st 5. Fasten off and leave a tail.
Detailed Assembly Instructions
- Head and Body Connection: Both opening edges have exactly 24 stitches. Align them carefully and sew them together stitch-by-stitch. Add extra security stitches at your starting point so the neck stays firm and upright.
- Horns: Position the two small horns right on top of the head between Rounds 4 and 7. Sew them down symmetrically.
- Ears: Place the folded ears on the sides of the head slightly below the horns, specifically between Rounds 11 and 13. Sew securely.
- Muzzle & Nose Details: Pin the muzzle to the lower center of the face spanning across Rounds 19 to 28. Begin sewing it down, stuffing it lightly with fiberfill right before you close it completely. Use your dark embroidery yarn to thread two simple vertical parallel bars into the center front of the muzzle to shape the nostrils.
- Safety Eyes: Insert or secure your safety eyes between Rounds 23 and 24 of the head. Space them exactly 18 stitches apart so they sit evenly on either side of the muzzle.
- Arms: Take two of your limb pieces. Flatten the top openings without extra stuffing inside the upper part. Sew them to the upper left and right sides of the body around Round 22.
- Legs: Take the remaining two limb pieces. Flatten their tops and sew them onto the lower front area of the body spanning Rounds 4 to 8, positioning them so the giraffe looks like it is sitting comfortably.
- Tail Installation: Take a small piece of craft shaping wire. Gently push one end into the lower back of the giraffe’s body between Rounds 6 and 8, bending the inner tip slightly inside so it doesn’t slip out. Slide the crocheted tail piece completely over this wire sleeve, and sew the base of the tail to the body. You can now bend the tail into a playful wave.
- Heart Spots: Arrange the five decorative heart patches around the body:
- Front: Sew 1 Large Heart onto the lower belly, and accent it with 2 Small Hearts scattered above/beside it.
- Back: Sew 1 Large Heart onto the upper back, and accent it with the remaining 1 Small Heart nearby. Sew all patches completely flat against the body surface.