
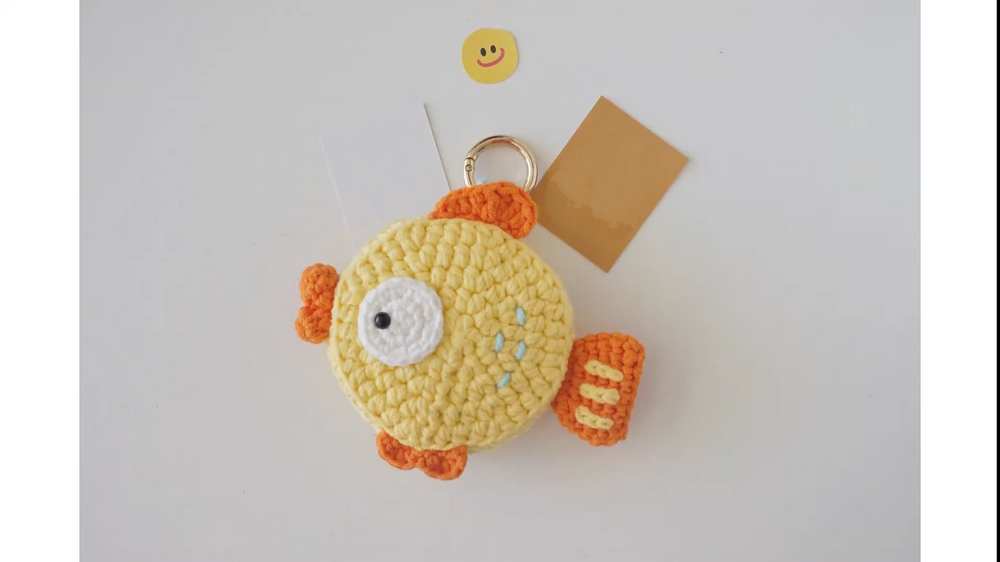
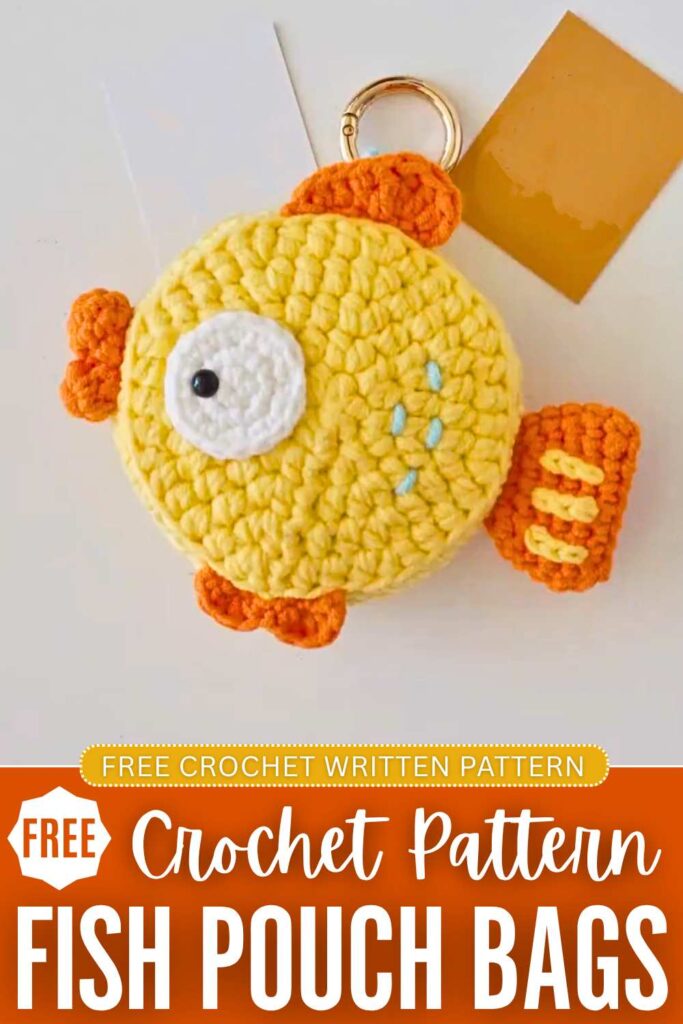
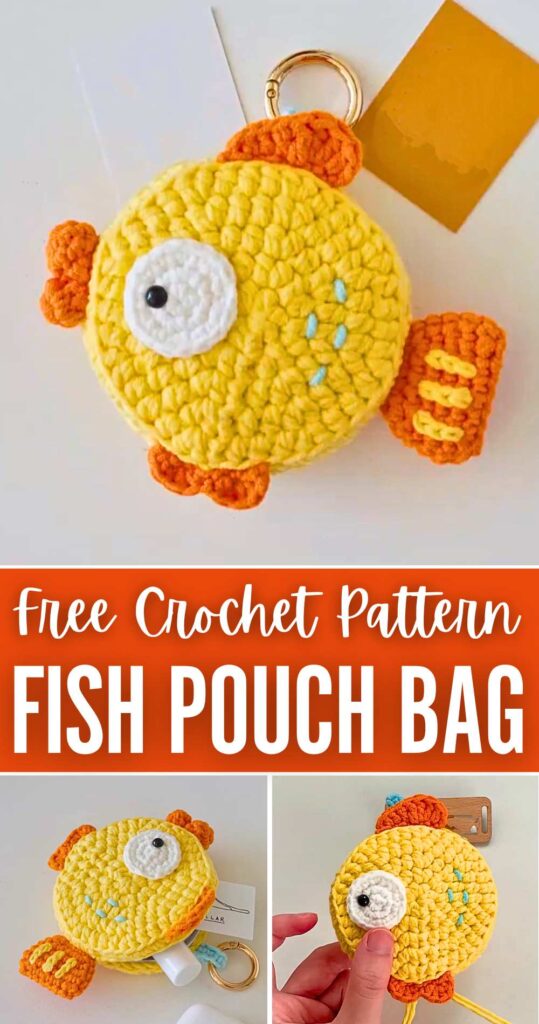
Looking for the CUTEST charm for your beach tote bag? Learn how to crochet a 2-in-1, miniature, chubby and googly-eyed fish pouch and bag charm with this FREE pattern. This is a part of “Oh-so cute Summer Charms” series, and I have found it the most adorable. The kissing mouth of the fish is looks FUNNY and cute at the same time.
To make it sturdy, we shall crochet it using the two strands of yarn at the same time. As for the eye, it is we will crochet it and attach a small safety bead in the middle.
Kids will love to have it as their coin purse. There is also a beautiful embroidery on the tail and the body and you will love it. We will have to crochet just two similar pieces and attach them to finish this the sweet handmade fish present.
Crochet Kawaii Goldfish Pouch & Charm: Written Instructions
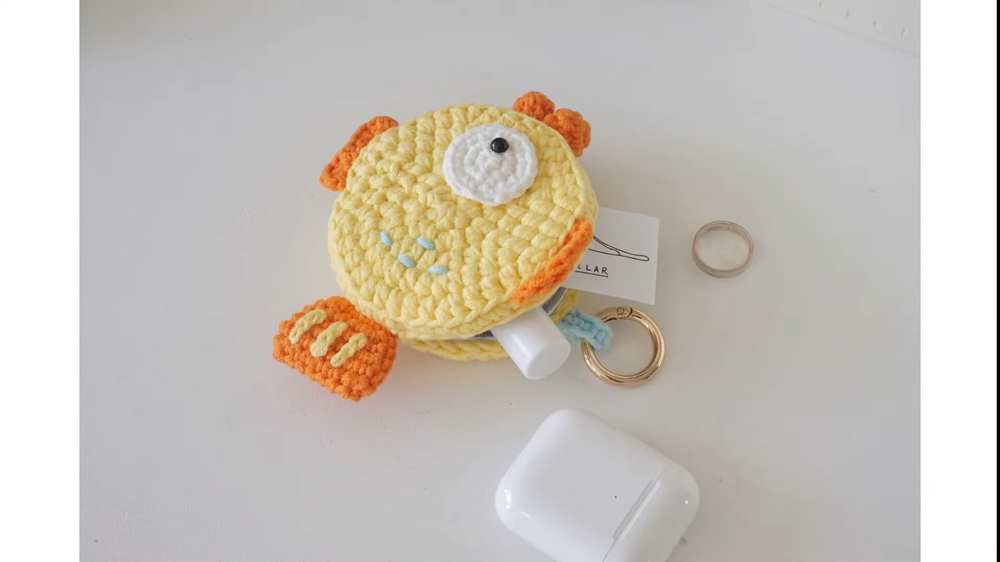
This adorable fish-shaped coin purse is a fantastic project that doubles perfectly as a pouch for your earphones, keys, or small treasures. D
esigned by Huhu Crochet, the pattern features a sturdy, double-stranded body for shape, paired with single-stranded colorful fins, a tail, and cute puffy lips.
The construction involves crocheting two circular panels and joining them together with a zipper. It is a quick and satisfying make that holds its shape beautifully!
Materials
- Yarn: 5-ply milk cotton yarn (Main color for the body, plus accent colors like orange, yellow, white, and a small amount of blue for details).
- Crochet Hooks: 3.5 mm (for body panels) and 2.5 mm (for tail, fins, and facial features).
- Zipper: One small zipper.
- Eyes: Safety eyes or stick-on flat black eyes.
- Tools: Yarn needle, scissors, and stitch markers.
Abbreviations (US Terms)
- MR: Magic Ring
- ch: Chain
- sl st: Slip Stitch
- sc: Single Crochet
- hdc: Half Double Crochet
- dc: Double Crochet
- tr: Treble Crochet
- inc: Increase (2 sc in the same stitch, unless otherwise noted)
- dec: Decrease (sc 2 together)
- BLO: Back Loop Only
- FO: Fasten off
Body Panel (Make 2)
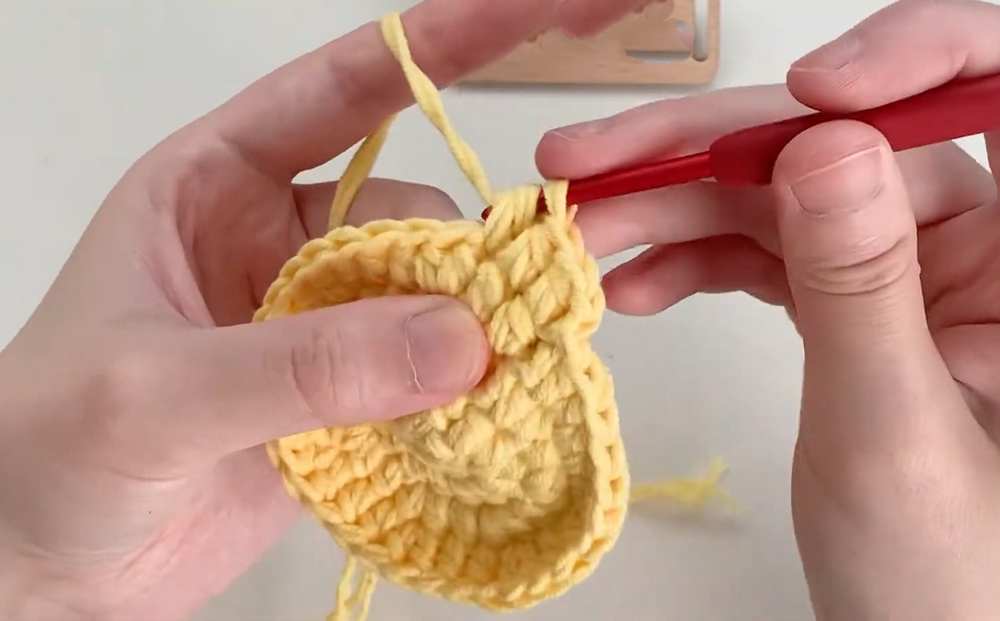
Use the 3.5 mm hook and hold your main color yarn double-stranded. The starting ch-2 of each round does not count as a stitch.
- Round 1: MR, ch 2, 8 hdc in the ring, sl st to first hdc to join. (8 sts)
- Round 2: ch 2, 2 hdc in each st around, sl st to first hdc. (16 sts)
- Round 3: ch 2, (1 hdc, hdc-inc) repeat 8 times, sl st to first hdc. (24 sts)
- Round 4: ch 2, (2 hdc, hdc-inc) repeat 8 times, sl st to first hdc. (32 sts)
- Round 5: ch 2, (3 hdc, hdc-inc) repeat 8 times, sl st to first hdc. (40 sts)
- Round 6: ch 1, BLO 1 sc in each st around, sl st to first sc. (40 sts)
- Finishing: Leave a long tail for sewing and FO. On one panel, use a single strand of blue yarn to embroider small “v” shaped fish scales between Rounds 2 and 3.
Tail (Make 1)
Use the 2.5 mm hook and a single strand of orange yarn. Work in an oval around the foundation chain.
- Foundation: ch 6.
- Round 1: Start in 2nd ch from hook working in back bumps: 4 sc, 3 sc in last ch. Turn to work down the opposite side of the ch: 3 sc, 2 sc in last st, sl st to join. (12 sts)
- Round 2: ch 1, (inc, 3 sc, inc, 1 sc) repeat 2 times, sl st. (16 sts)
- Round 3: ch 1, 1 sc in each st around, sl st. (16 sts)
- Round 4: ch 1, (inc, 5 sc, inc, 1 sc) repeat 2 times, sl st. (20 sts)
- Round 5: ch 1, 1 sc in each st around, sl st. (20 sts)
- Round 6: ch 1, (dec, 5 sc, dec, 1 sc) repeat 2 times, sl st. (16 sts)
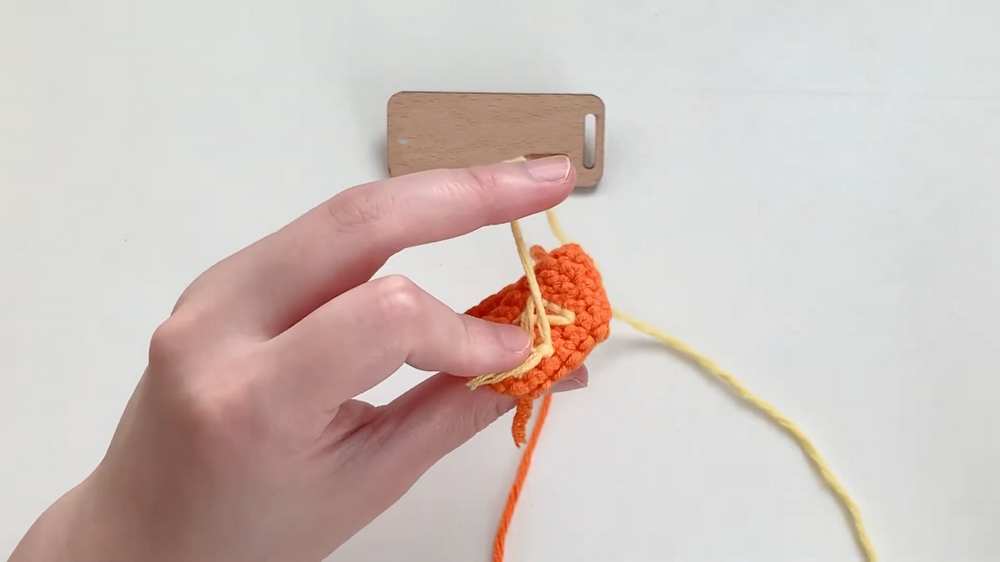
- Finishing: Leave a long tail and FO. Flatten the tail. Using yellow yarn, surface slip stitch 3 decorative vertical lines on the tail (starting between Round 2 and 3). Whip stitch the open end closed.
Fins (Make 1 of each)
Use the 2.5 mm hook and a single strand of yarn.
- Top Fin: ch 9. Start in 3rd ch from hook (working in back bumps): 1 dc, 1 tr, 2 tr in next st, 1 tr, 1 dc in next 2 sts, 1 hdc, 1 sc. FO leaving a long tail.
- Bottom Fin: ch 8. Start in 2nd ch from hook (working in back bumps): 1 sc, (1 hdc, 1 dc) in next st, 1 hdc, 1 sl st, 1 hdc, (2 dc, 1 hdc) in next st, 1 sc. FO leaving a long tail.
Eyes Base (Make 2)
Use the 2.5 mm hook and a single strand of white yarn.
- Round 1: MR, ch 1, 6 sc in ring, sl st. (6 sts)
- Round 2: ch 1, 6 inc, sl st. (12 sts)
- Round 3: ch 1, (1 sc, inc) repeat 6 times, sl st. (18 sts)
- Finishing: FO and weave in ends.
Lips (Make 1 of each)
Use the 2.5 mm hook and a single strand of yarn.
- Upper Lip:
- Round 1: MR, ch 1, 6 sc in ring, sl st. (6 sts)
- Round 2: ch 1, 1 sc, 4 inc, 1 sc, sl st. (10 sts)
- Round 3: ch 1, 10 sc, sl st. (10 sts)
- Round 4: ch 1, 1 sc, 4 dec, 1 sc, sl st. (6 sts)
- Lower Lip:
- Rounds 1-2: Same as Upper Lip Rounds 1 and 2. (10 sts)
- Round 3: ch 1, 1 sc, 4 dec, 1 sc, sl st. (6 sts)
- Finishing: Leave long tails for both and FO.
Keychain Strap
Use the 2.5 mm hook and a single strand of yarn.
- Foundation: ch 8.
- Round 1: Start in 2nd ch from hook: 7 sc. (7 sts)
- Finishing: Leave a long tail and FO.
Assembly Steps
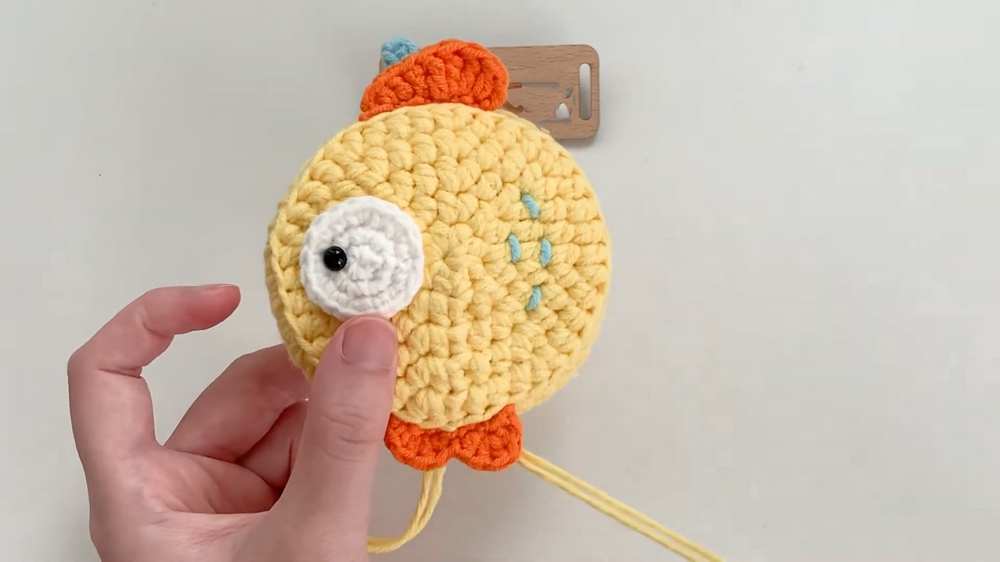
- Fin Placement: Sew the top and bottom fins to the top and bottom center edges of one body panel.
- Strap Attachment: Sew the keychain strap loop slightly offset near the top of the same body panel.
- Joining Panels: Place the two body panels wrong-sides together so the stitches align perfectly. Whip stitch the two panels together around the edges, sewing through 12 stitches on the left side and 12 stitches on the right side. Leave exactly 16 stitches unworked at the top center for the zipper opening.
- Zipper: Open your zipper and carefully hand-sew it into the 16-stitch opening at the top, following the inner thread line of the zipper fabric to hide the stitches.
- Face: Stitch the upper and lower lips together slightly, then sew the mouth assembly to the front edge of the fish.
- Finishing Touches: Sew the flattened tail to the back edge of the fish. Attach the eye bases onto the sides of the face and secure your black eyes onto the white bases. Weave in all remaining loose ends securely on the inside of the pouch.
Learn with the Video Tutorial