
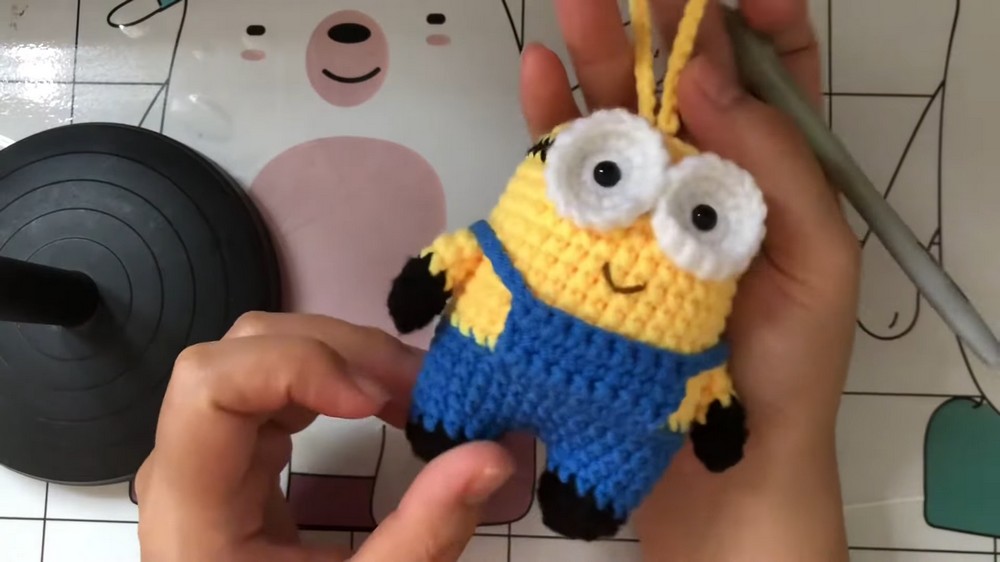
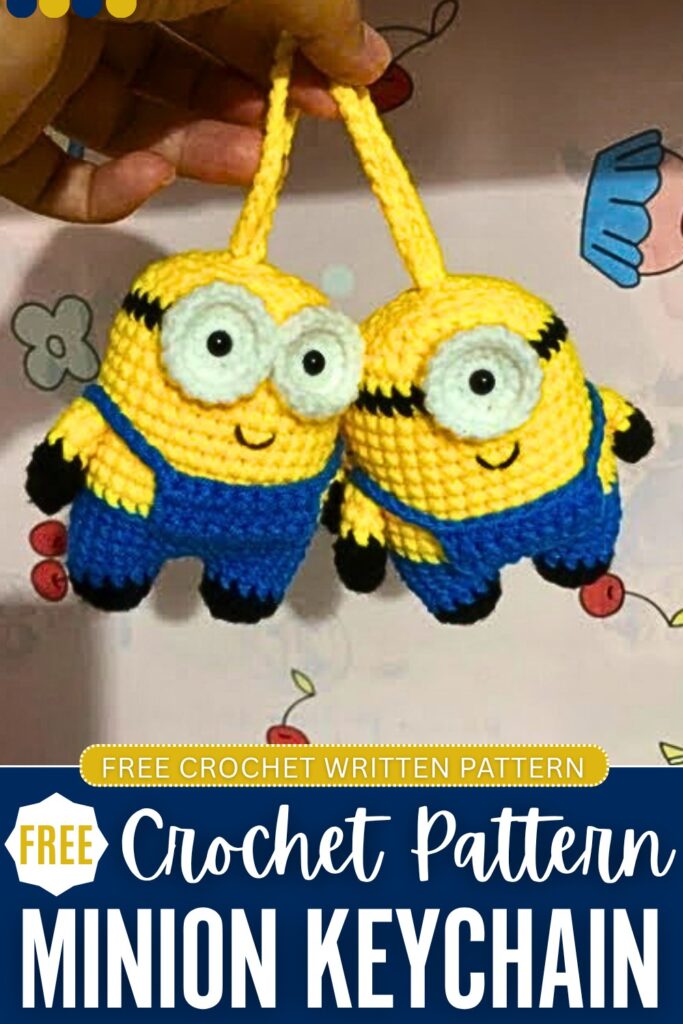
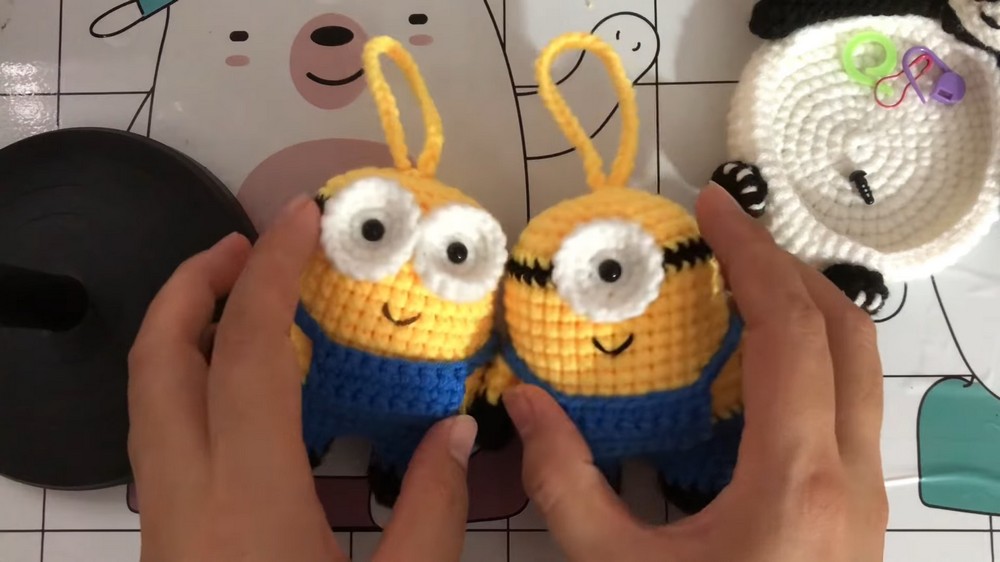
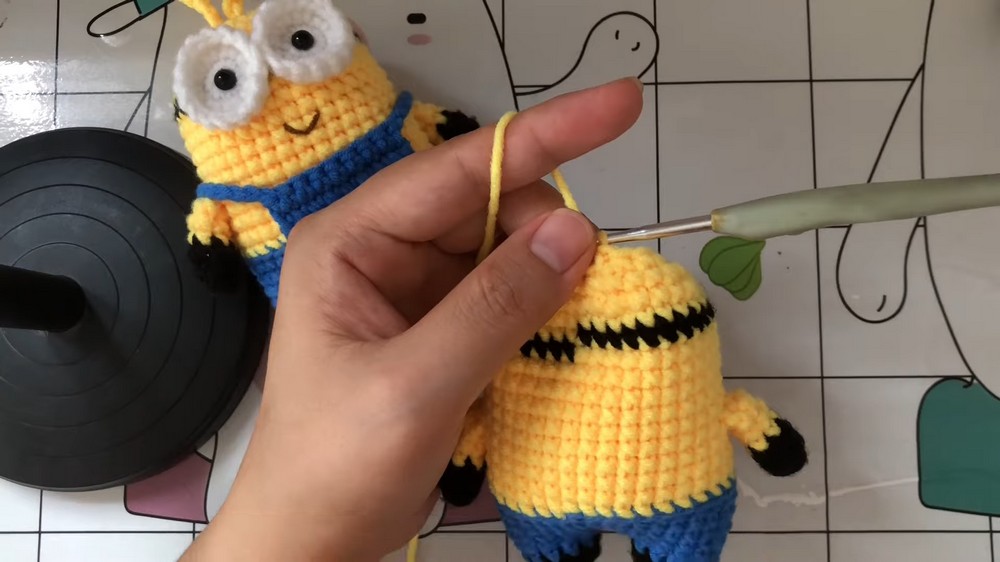
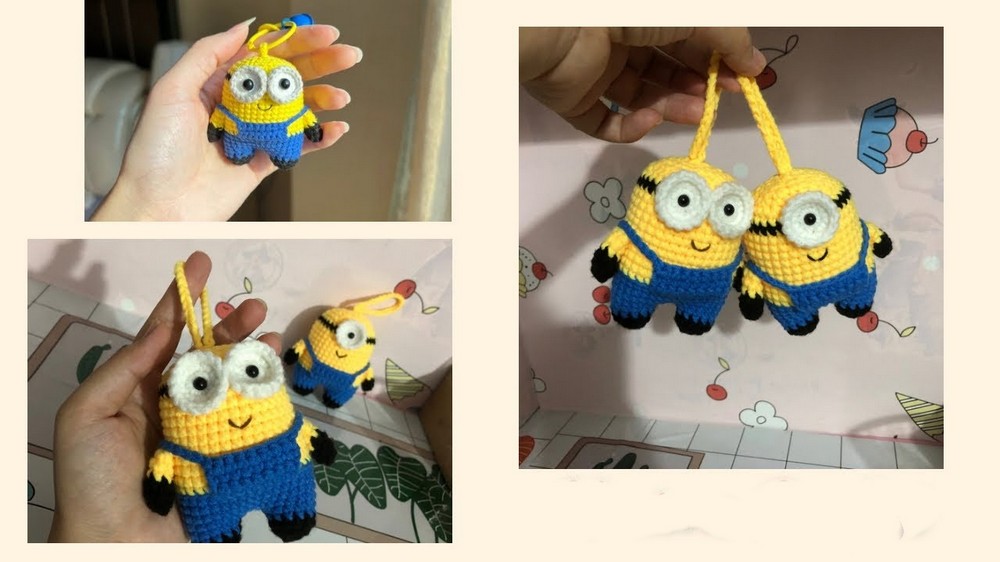
Welcome to another part of the “crochet character amigurumi” series. Today, you will learn how to crochet these amigurumi Minions, including both Carl and Bob. The base pattern for both these amigurumi will be the same, just one has two crochet googly eyes while the other has only one. It is also a no-sew amigurumi, and the blue overalls are also removable.
Kids will love to receive this amigurumi Minions set as a present. We will also crochet the chain loops, so you can use them as the bag charms. This amigurumi also requires the color changes so you can crochet the pants and the body stripes without crocheting an sewn-on parts. Now, continue reading for the full pattern to crochet both.
[ez-toc]
Another popular character plushie pattern?
Super Simple Minion Amigurumi: Round-by-Round Pattern
This pattern works in continuous rounds. Using a stitch marker to keep track of the beginning of each round is highly recommended. And below is the free crochet pattern you need to crochet this Minion present for a kid, with the assembly in the end:
Materials
- Yellow, Blue, Black, and Grey yarn (Chenille or velvet yarn works incredibly well for this if you want a soft, highly huggable texture for your finished plushie)
- Crochet hook appropriate for your yarn choice
- Stitch marker
- Tapestry needle
- Fiberfill stuffing
- One safety eye (or black yarn to embroider a French knot)
- Scissors
Abbreviations (US Terms)
- mr – magic ring
- sc – single crochet
- sl st – slip stitch
- inc – increase (2 sc in one stitch)
- dec – invisible decrease (sc 2 stitches together)
- BLO – back loops only
- ch – chain
- st(s) – stitch(es)
- ( ) – indicates the total number of stitches at the end of the round
- [ ] x times – repeat the instructions between the brackets the indicated number of times
Head and Body
- Round 1: Using Yellow yarn, make 6 sc in a magic ring. (6)
- Round 2: Make 1 inc in each st around. (12)
- Round 3: [1 sc, 1 inc] 6 times. (18)
- Round 4: [2 sc, 1 inc] 6 times. (24)
- Rounds 5 – 10: 1 sc in each st around for 6 rounds. (24)
- Change color to Blue yarn in the last step of the final stitch of Round 10.
- Round 11: 1 sc in each st around. (24)
- Round 12: Working in BLO, make 1 sc in each st around. (24)
- Rounds 13 – 14: 1 sc in each st around for 2 rounds. (24)
- Round 15: Working in BLO, [2 sc, 1 dec] 6 times. (18)
- Stuff the body firmly with fiberfill, shaping it into a pill/capsule shape.
- Round 16: [1 sc, 1 dec] 6 times. (12)
- Round 17: Make 6 dec. (6)
- Fasten off, cut the yarn leaving a short tail. Thread the tail through the front loops of the remaining 6 stitches, pull tight to securely close the bottom hole, and weave in the end.
Overalls (Bibs and Straps)
- Front Bib: Hold the body upside down. Attach Blue yarn to the front loops of Round 11 (these are the unworked loops left from working Round 12 in the back loops).
- Row 1: 1 sc in the next 6 front loops, ch 1, turn. (6)
- Row 2: 1 sc in each of the 6 sts. Fasten off and weave in the ends. (6)
- Back Bib: Skip the next 6 front loops on the body, attach Blue yarn, and repeat Rows 1 and 2 to create the back bib.
- Straps: Attach Blue yarn to the top right corner of the front bib. Chain 10 (or chain until it comfortably reaches over the shoulder). Sl st into the corresponding top right corner of the back bib. Fasten off. Repeat this process on the left side for the second strap.
Eye and Goggles
- Round 1: Using Grey yarn, make 6 sc in a magic ring. Sl st to the first sc to close the circle. (6)
- Fasten off, leaving a long tail for sewing.
- Insert your safety eye through the center of the grey circle, then attach it to the upper center of the yellow face (around Rounds 6 and 7).
- Use the grey yarn tail to sew the outer edge of the goggle flush to the face.
- Goggle Strap: Using Black yarn and your tapestry needle, embroider a straight line extending horizontally from each side of the grey goggle, wrapping around the circumference of the head to meet at the back.
Arms (Make 2)
- Round 1: Using Black yarn, make 4 sc in a magic ring. (4)
- Change color to Yellow yarn.
- Rounds 2 – 4: 1 sc in each st around. (4)
- Fasten off, leaving a long tail for sewing. Do not stuff the arms. Pinch the top opening flat and sew them securely to the sides of the body right on Round 10, where the yellow meets the blue.
Legs (Make 2)
- Round 1: Using Black yarn, make 5 sc in a magic ring. (5)
- Change color to Blue yarn.
- Rounds 2 – 3: 1 sc in each st around. (5)
- Fasten off, leaving a long tail for sewing. Do not stuff the legs. Sew them to the bottom base of the body (centered around Round 16) so the Minion can sit upright.
Learn with the Video Tutorial

About "Talha"
Hey, I’m Talha, the Crafter on Craftstive.com. I love to share guides on folding cute origami models and paper crafts, and I am always ready to inspire your next craft project with my weekly craft discussions.