
We all have those little leftover bits of yarn in our baskets, and we have the perfect way to turn them into something magical. This collection features the cutest mini pumpkin crochet patterns, designed to help you use up your scraps while making fun autumn decor. From tiny desk toys to sweet keychains, these projects turn small pieces of yarn into a beautiful harvest of handmade treasures that will make your home feel cozy.
Crochet Mini Pumpkin Amigurumi Patterns
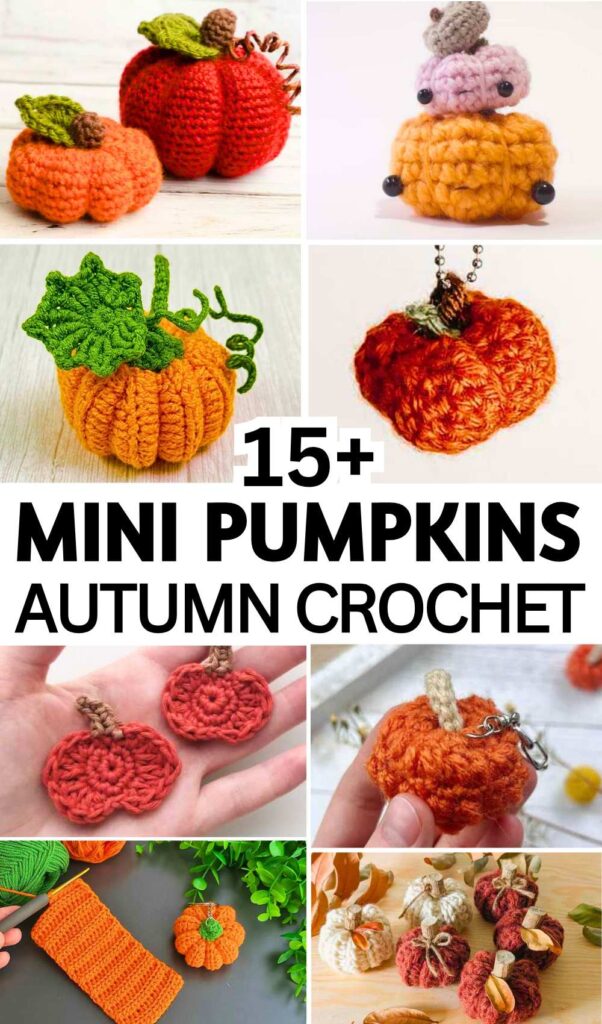
These ideas are all about being quick, simple, and fun. Whether you are new to crochet or an expert looking for a fast project, you will find something here that you love. I have included a mix of styles, like flat shapes, classic stuffed toys, and clever designs that don’t need any sewing. These patterns show that you don’t need much time or fancy supplies to create professional-looking pumpkins that are perfect for the fall season.
Each pattern was chosen for its unique charm and how many ways you can use it. You will find pumpkins with pretty ridges, realistic shapes, and even tiny ones perfect for earrings or keychains. Each guide is clear and easy to follow, with simple tips on how to shape your pumpkins, make tiny stems, and even how to stuff them with your tiniest yarn scraps so you can keep your craft space clean.
Small Crochet Pumpkin Pattern
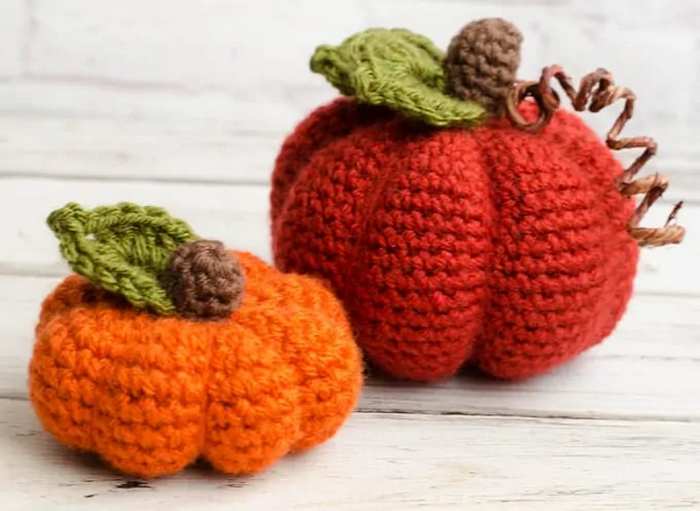
Add a cozy, handmade touch to your autumn decor with these quick, beginner-friendly crochet pumpkins. This project is perfect for using up leftover worsted weight or plush chenille yarn to create a whole patch in an afternoon. The simple ribbed texture gives them a beautiful, rustic look that is perfect for scattering across a mantel, filling a decorative bowl, or sharing as a sweet seasonal gift.
To make the pumpkin, crochet a flat rectangle using half double crochet stitches in the back loops only. Sew the short ends together to form a tube, gather the bottom edge tightly closed, and stuff it firmly with fiberfill. Cinch the top opening shut, pull the yarn tail straight through the center a few times to flatten and shape the pumpkin, and finish by gluing a cinnamon stick or twig to the top for a stem.
Stack Of Mini Pumpkin Amigurumi
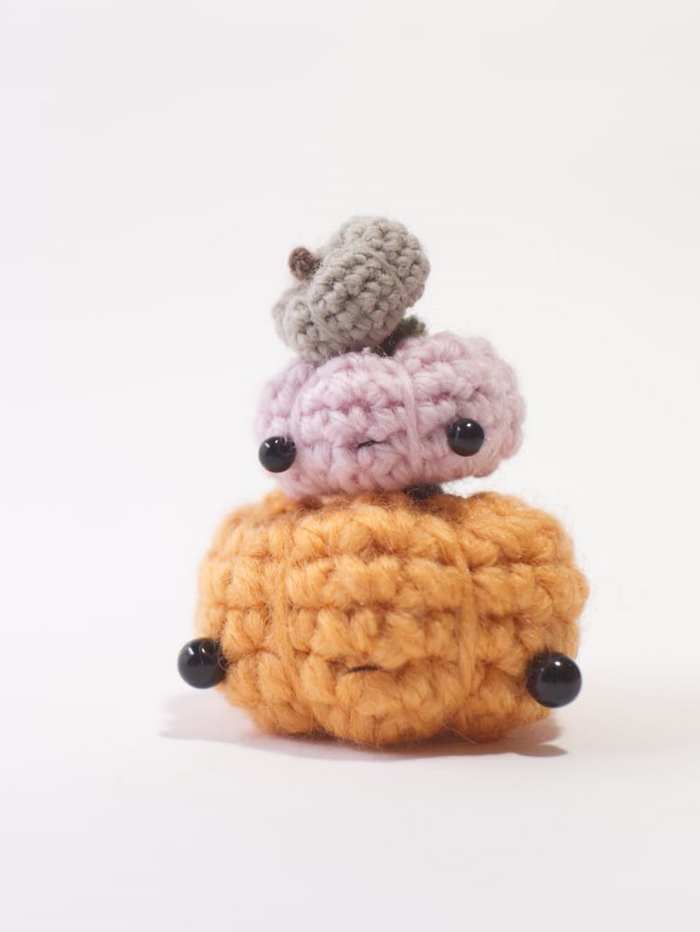
Perfect for using up orange yarn scraps, this project takes less than an hour to complete. They make adorable festive keychains, desk buddies, or pocket charms to scatter around your home.
To make it, start with a magic ring and work single crochet stitches in continuous rounds, increasing and decreasing to form a small ball. Add safety eyes, embroider a tiny smile, and stuff firmly with fiberfill before closing. Wrap a long yarn tail tightly around the outside from top to bottom a few times to create the pumpkin ridges, then crochet and attach a tiny brown stem to the top.
FREE Mini Crochet Pumpkin Pattern
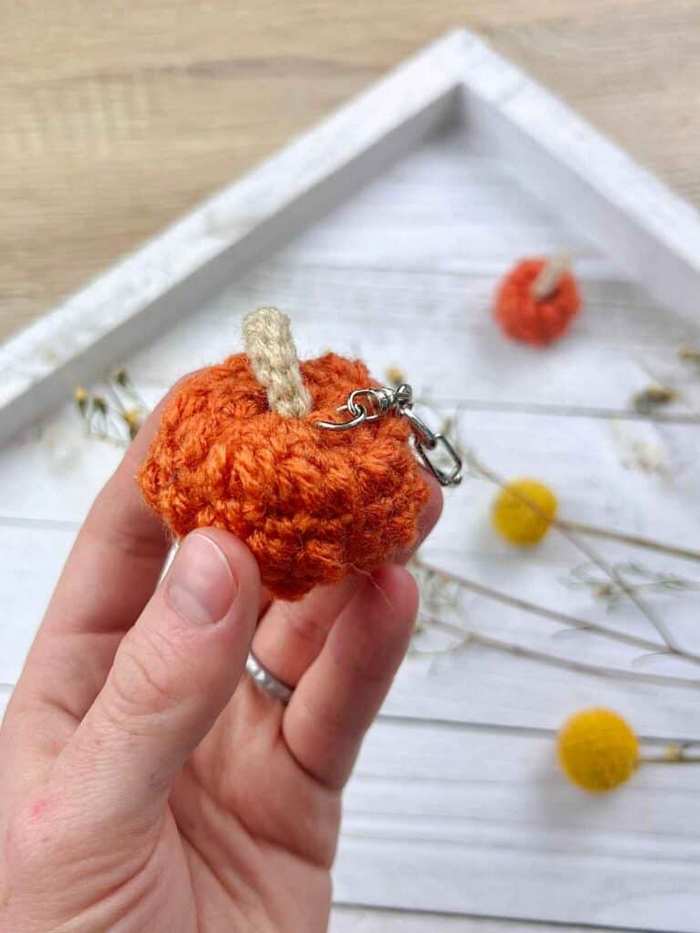
These tiny pumpkins work up incredibly fast—taking anywhere from 5 to 15 minutes to finish—making them a great stash-buster for using up small amounts of orange and brown worsted weight yarn. The pattern includes options for two different sizes, so you can easily customize them to fit your style.
What makes these little pumpkins stand out is the beautiful texture created by using mini puff stitches instead of a standard smooth design. Once you finish working the body in the round, you simply add polyfill stuffing, sew a few quick ridges to create the classic pumpkin segments, and attach a simple stitched stem. They make wonderful festive keychains, quick handmade gifts, or cute little decorative accents to scatter around your home for Fall!
Free Mini Crochet Pumpkin Pattern
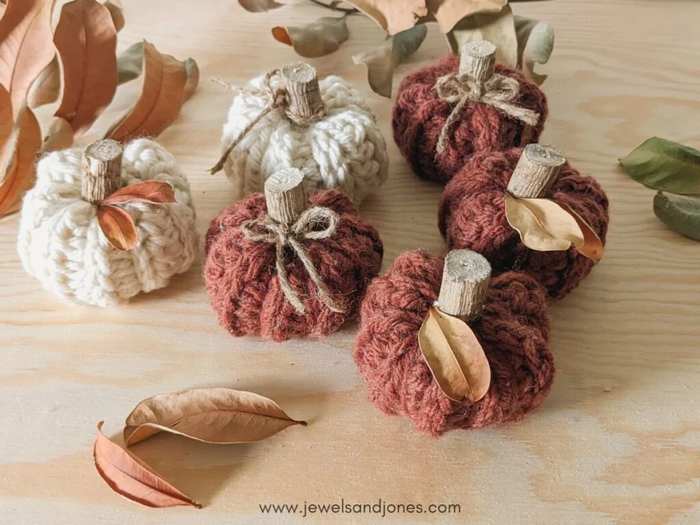
Think you can’t crochet a pumpkin? This genius pattern proves otherwise by using a completely flat, simple rectangle. Using thick, bulky-weight yarn, you quickly stitch a basic panel that creates a cozy, textured fabric in no time. It is an ideal, fast project for beginners or anyone looking to clear out small leftovers of chunky yarn from their stash.
Putting it together is like magic. You just seam the sides of the rectangle to make a tube, cinch the bottom, stuff it with polyfill, and pull the top closed. Wrapping your yarn tail vertically around the outside easily squeezes it into a classic, dimpled pumpkin shape. Finish it off with a real twig or cinnamon stick for a beautiful, rustic look.
Mini Pumpkin Crochet Pattern
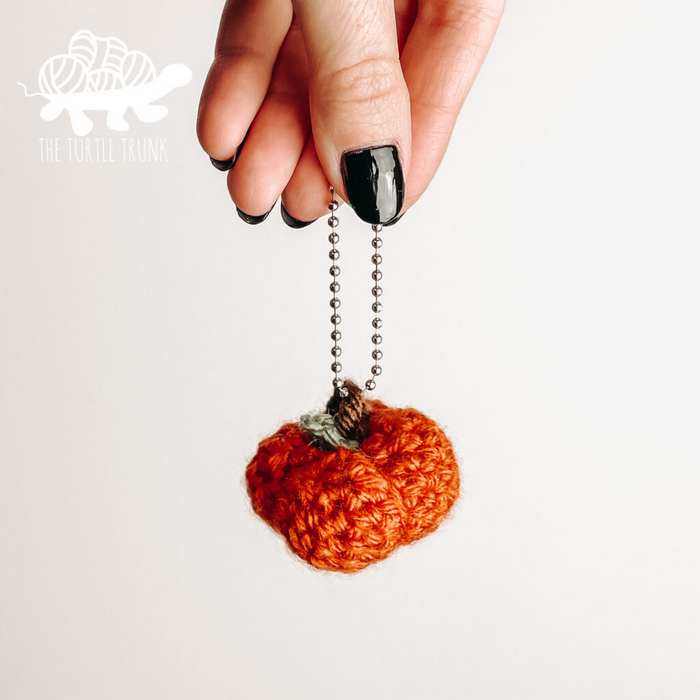
This pattern is worked in a simple continuous round, resulting in a tiny two-inch pumpkin that takes only a few minutes to complete. To finish it off, you weave the yarn tail through the sides to create four quick segments, then sew on a tiny, separate stem and leaf. It is incredibly versatile and can be turned into a cute backpack keychain, strung into a festive garland, or dumped into a glass vase for instant fall decor.
Crochet Mini Pumpkin Applique
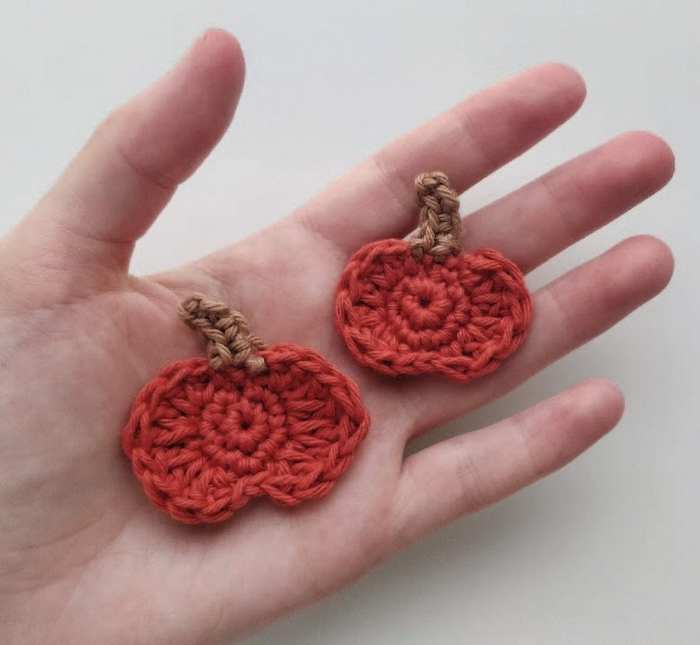
If you prefer flat motifs rather than chunky, stuffed amigurumi plushies, this super quick video tutorial is exactly what you need. Instead of a thick ball, this pattern creates a flat, silhouette-style pumpkin that is worked in just three simple rows.
The magic of this design is how it creates that perfect, curvy pumpkin outline without any sewing or stuffing required. By clever placement of slip stitches, double crochets, and triple crochets, the shape naturally dips at the top and bottoms while bulging perfectly out at the sides. You finish the look by joining small scraps of brown yarn right onto the top loop to stitch a quick, tiny stalk, making the entire project a breeze for beginners.
Crochet Pumpkin Keychain
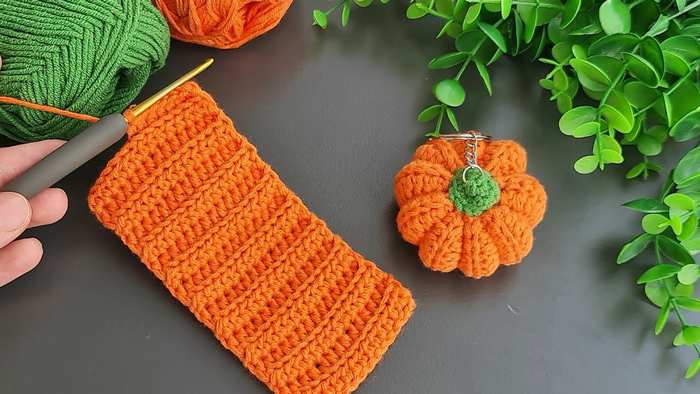
If you prefer standard, squishy amigurumi that holds its shape perfectly on a set of keys, you will want to add this classic design to your list. It is worked completely in the round using single crochet stitches, which creates a tight, neat fabric that ensures none of your polyfill stuffing peeks through. Because it is so compact and straightforward, it works up seamlessly in just one short sitting.
Once you close up the bottom, you wrap a long yarn tail around the outside of the stuffed sphere and pull it tight to create those deep, realistic pumpkin grooves. Finish it off by securing a tiny crocheted stem to the top, and you have a durable, pocket-sized accessory ready to be attached to a keychain ring or a backpack.
Mini Pumpkin Tutorial
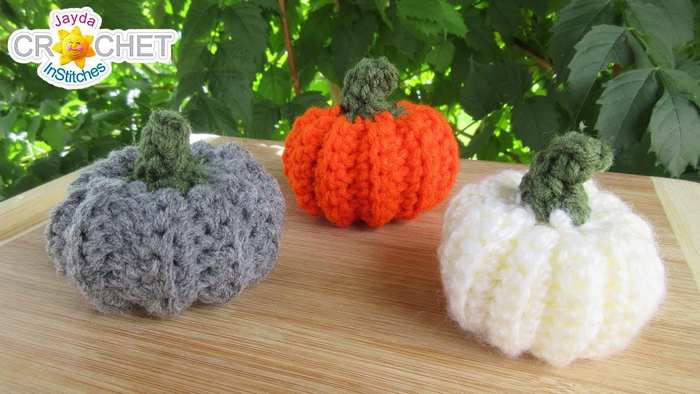
Skip the complicated shaping and let the stitches do the heavy lifting with this ribbed pumpkin design. By working single crochet stitches exclusively into the back loops for 22 quick rows, you create a beautiful, stretchy ribbed fabric. The lines naturally form the vertical grooves of a pumpkin, saving you the extra step of sewing on deep segments at the very end.
The unique twist here is how the stem is seamlessly integrated right onto the piece instead of being crocheted separately. After seaming your flat fabric into a tube and cinching the bottom, you join your green yarn directly to the top edge and use a series of decreasing stitches to close it up. This effortlessly forms a realistic, tapered stem while drawing the center down into a perfect, dimpled gourd shape.
Crochet Tinniest Amigurumi Pumpkin
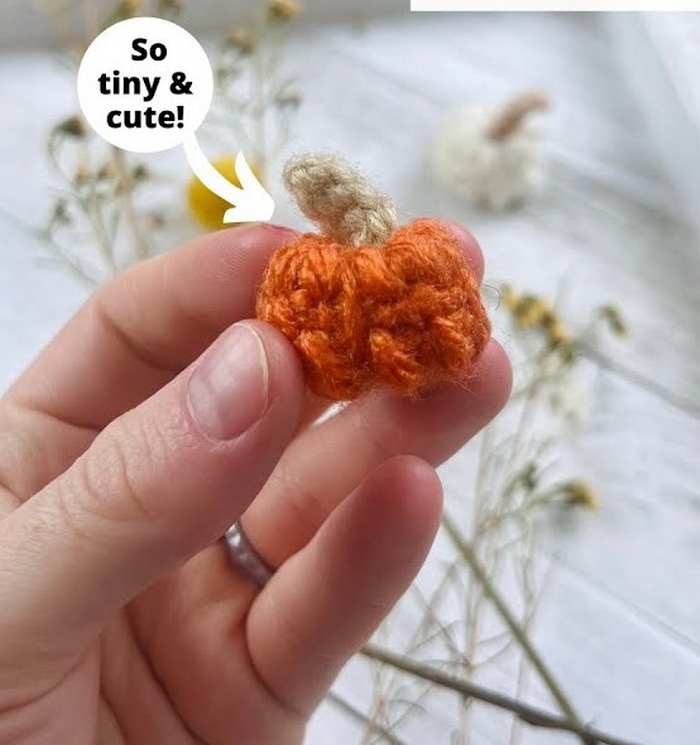
These pumpkins are so incredibly small that they are actually perfect for making festive autumn earrings. Starting with a tiny magic ring, this quick five-minute pattern alternates single crochets with puff stitches to give the surface a beautiful, bumpy texture. It uses barely any yarn and is so tiny that you can just stuff the inside with small yarn scraps instead of using polyfill.
The classic heirloom look comes together during the final assembly. After closing up the bottom, you wrap your yarn tail around the outside five times to pull it into deep, realistic sections right between the puff stitches. To finish, you crochet a quick five-stitch stem and pull the yarn ends straight down through the center, which naturally dimples the top and anchors the stem securely in place.
Crochet No Sew Amigurumi Pumpkin
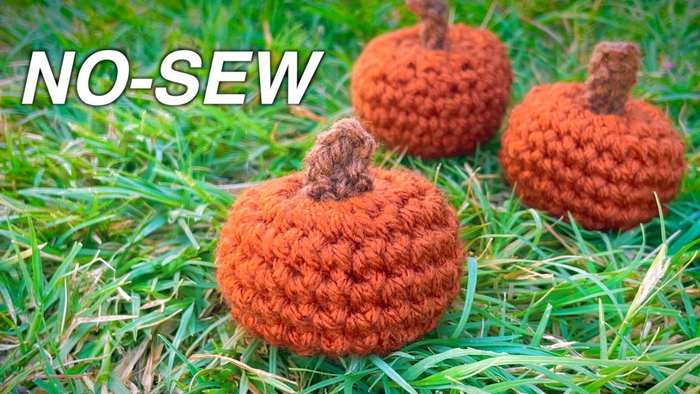
We also have a no-sew version start like this if you want a clean, smooth finish without the hassle of wrapping extra yarn around the outside. Instead of making deep ridges, this quick project focuses on crocheting a neat, basic ball in continuous rounds. It is a super fast and streamlined option that gives your pumpkin a perfectly uniform look.
The cute pumpkin shape comes entirely from how you pull the center together rather than sewing the outside. Once the ball is stuffed and closed, you simply push a yarn needle straight through the middle from bottom to top and pull it tight. This squishes the ball down, naturally dimpling the ends so it is ready for a quick, four-stitch brown stem.
Crochet This Real Like Pumpkin Amigurumi
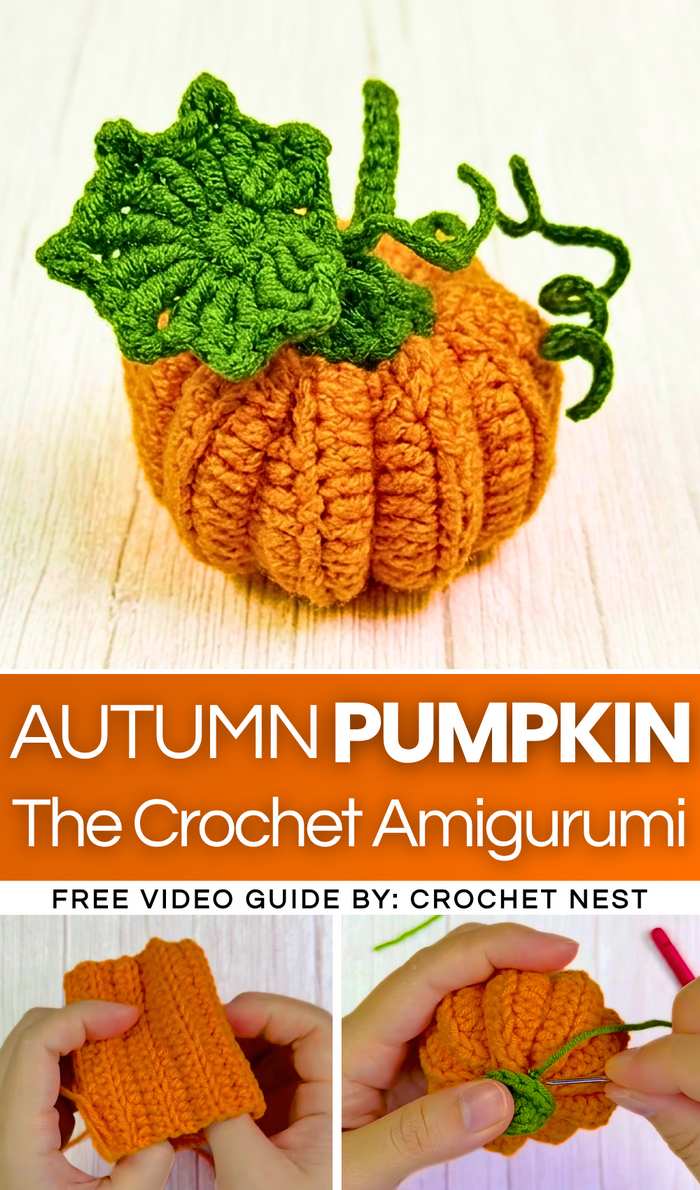
Let’s end this collection with this life-like version start like this if you want a highly realistic look. By using a warm orange yarn for the body and a rustic, heathered yarn for the stem, this design perfectly mimics a real farmhouse pumpkin. It uses simple stitches in the round to create a neat, solid fabric that completely hides your stuffing.
The realistic magic happens when you sculpt the shape at the end. After closing the ball, you wrap a long strand of yarn tightly around the outside to divide it into perfect, deep sections. Adding a slightly twisted stem gives it a beautiful, high-end boutique finish.