
Subscribe to Juanjuan Crochet! The video tutorial & instructions are below!
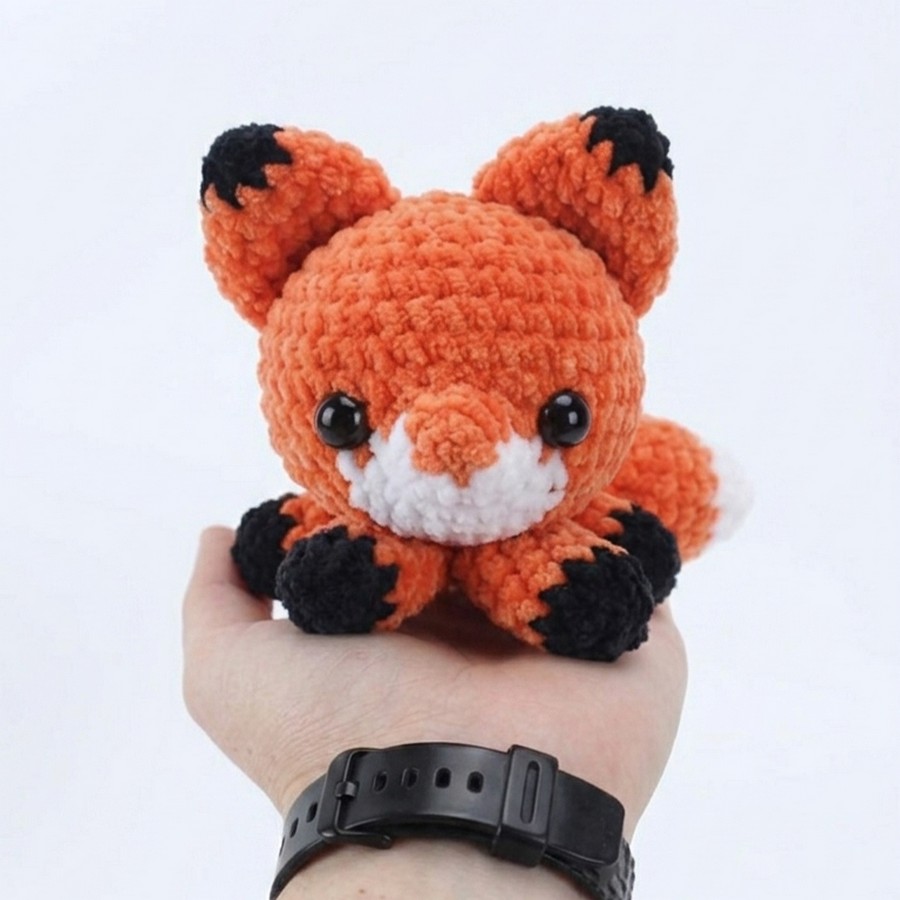
Learn how to crochet a chubby fox plushie for kids this fall with a free pattern. This low-sew fox plush is made as a square amigurumi; that’s why the head is crocheted from a solid square base instead of round or oval. With a fluffy, big stuffed tail, big softie ears, body, and the head made as one piece, this will make the most huggable desk buddy for adults and a softie for kids.
You can also crochet it as an amigurumi fox, and you will still have a pretty big size for it. There is also a NICE colorwork pattern for this plushie, so I recommend it to intermediates. Can be crocheted in less than 1.5 hours. Now, let me provide you with a free pattern in US terms.
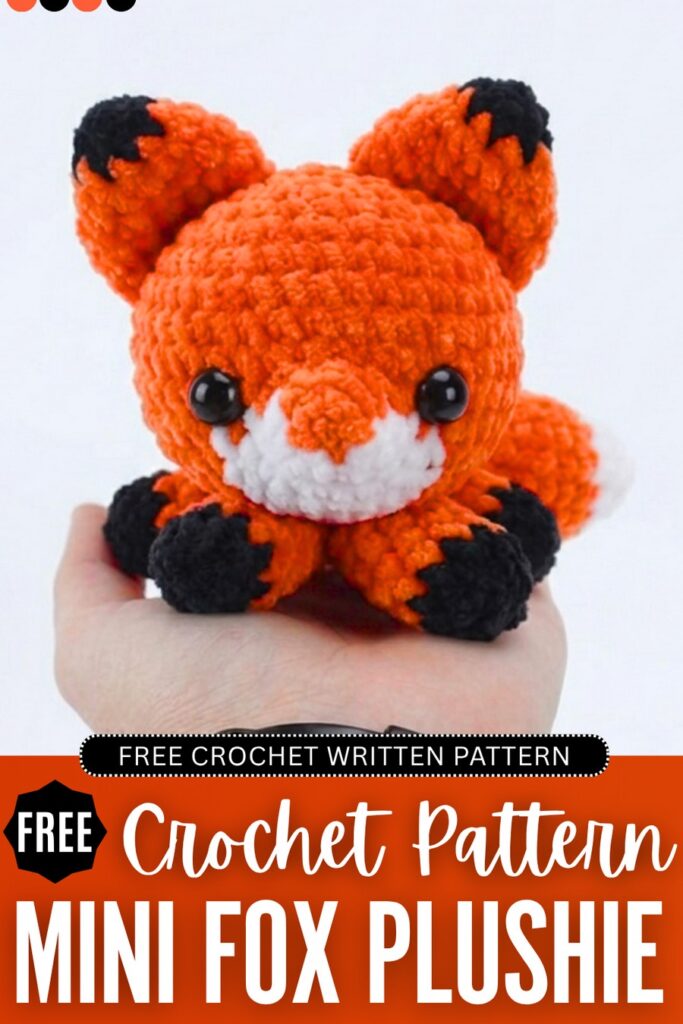
This pattern is perfectly accurate, like the one recommended, so you will love crocheting it!
Crochet Little Fox Plushie: Row-by-Row Pattern
Here is the full pattern written in US instructions for this little fox plushie for kids:
Abbreviations Used
- x: Single crochet
- v: Increase (2 single crochet in one stitch)
- w: 3 single crochet in one stitch (used to create the square corners)
- a: Decrease
- m: Triple decrease (also referred to as “2x decrease” in the pattern notes to reduce stitch count significantly)
- ch: Chain
- sl st: Slip stitch
- R / Rnd: Round
Materials
Here are the supplies recommended if you want to crochet this fox amigurumi as a plushie:
- Yarn: Super bulky plush yarn in orange, white and black. You can use Bernat Blanket yarn.
- Hook: 5.0mm or 5.5mm (depending on your tension).
- Other: Safety beads, fiberfill stuffing, Black thread, and a yarn needle.
Body Pattern
Work this pattern in the spiral crochet method, meaning rounds are worked continuously without joining.
R1: Magic ring, 4x (4 stitches).
R2: 4w (12 stitches).
R3: x, w, (2x, w) * 3, x (20 stitches).
R4: 2x, w, (4x, w) * 3, 2x (28 stitches).
R5: 3x, w, (6x, w) * 3, 3x (36 stitches).
R6: 4x, w, (8x, w) * 3, 4x (44 stitches).
R7: 5x, a, (9x, a) * 3, 4x (40 stitches).
R8–R11: 40x (40 stitches total per round; no increases/decreases).
R12: 7x (Orange), 7x (White), 26x (Orange) (40 stitches).
R13: 6x (Orange), 9x (White), 25x (Orange) (40 stitches).
Color Pattern
Rounds 1–11: Worked in the Main Color (Orange).
Round 12: Change to White for the 7 stitches in the middle of the face area.
Round 13: The White section expands to 9 stitches, centered over the previous round’s white section.
Body (Continued)
R14: 4x (Orange), m (Orange), 7x (White), Skip 1 stitch then 2x decrease (as m), (7x, m) * 2 (Orange), 3x (Orange). (32 stitches).
R15: 3x (Orange), m (Orange/White mix), 5x (White), Skip 1 stitch then 2x decrease (treated as m), (5x, m) * 2 (Orange), 2x (Orange). (24 stitches).
R16: 2x (Orange), m (Orange/White mix), 3x (White), Skip 1 stitch then 2x decrease (treated as m), (3x, m) * 2 (Orange), 1x (Orange). (16 stitches).
Note: At the end of R16, stuff the head with polyester fiberfill.
R17: (x, m) * 4 (Orange). (8 stitches).
Finish: Cut the yarn and use a sewing needle to weave through the front loops of the remaining 8 stitches to close the hole.
Tail Pattern
The tail uses the joining method (slip stitch at the end of each round) rather than the spiral method.
R1: Using White yarn, Magic Ring, 5x. Join with a slip stitch (sl st). (5 stitches).
R2: ch 1, 5 v. Join with sl st. (10 stitches).
Color Pattern
Head (R14–R17): The White section gradually decreases in width (7 stitches, then 5, then 3) as you decrease the overall stitch count. After R16, the white yarn is cut, and the final round (R17) is finished in Orange.
Tail (Continued)
R3: ch 1, 10x, join. (10)
R4: ch 1, (4x, v) * 2, join. Change to Orange on the last stitch. (12)
R5: ch 1, (2x, v) * 4, join. (16)
R6–R8: ch 1, 16x, join. (16)
R9: ch 1, (3x, a) * 4, join. (12)
R10–R12: ch 1, 12x, join. (12 stitches total per round).
R13: ch 1, (2x, a) * 3, join. (9 stitches).
R14–R15: ch 1, 9x, join. (9 stitches total per round).
R16: ch 1, (x, a) * 3, join. (6 stitches).
Legs Pattern
R1: Magic ring, 5x (Black). (5)
R2: 5v. (10)
R3: 10x. (10)
R4–R7: 10x (Orange). (10)
Make 4 legs.
Ears Pattern
R1: Magic ring, 5x (Black). (5)
R2: v, x, v, x, v. Change to Orange. (8)
R3: (x, v) * 4. (12)
R4: (3x, v) * 3. (15)
R5: (4x, v) * 3. (18)
R6: 18x. (18)
Make 2 ears.
Snout (Mouth) Pattern
R1: Magic ring, 5x (Orange). (5)
R2: (Orange) v, x (change color), (White) v, x (change color), (Orange) v. (8)
R3: (Orange) x, v, x (change color), (White) v, x, v, x (change color), (Orange) v. (12)
Assembly Instructions
Snout: Sew the snout onto the center of the face where the white and orange colors meet.
Use Orange thread for the top portion and White thread for the bottom to keep the stitches invisible.
Tail: Fill the tail with fiberfill. Flatten the open end and sew it to the back-center of the body. You can position it lying flat or standing up, depending on your preference.
Ears: Sew the ears symmetrically on the top of the head, starting around the second round from the back.
Legs: Position the fox in a “lying down” pose.
Front Legs: Sew them symmetrically towards the front of the body.
Back Legs: Sew them towards the back, angled slightly outward.
Eyes: Attach safety eyes or sew eyes on either side of the snout to complete the face.
Your chubby fox plushie and amigurumi are now complete.
About "Juanjuan Crochet"
She was an iconic crochet designer from China!