
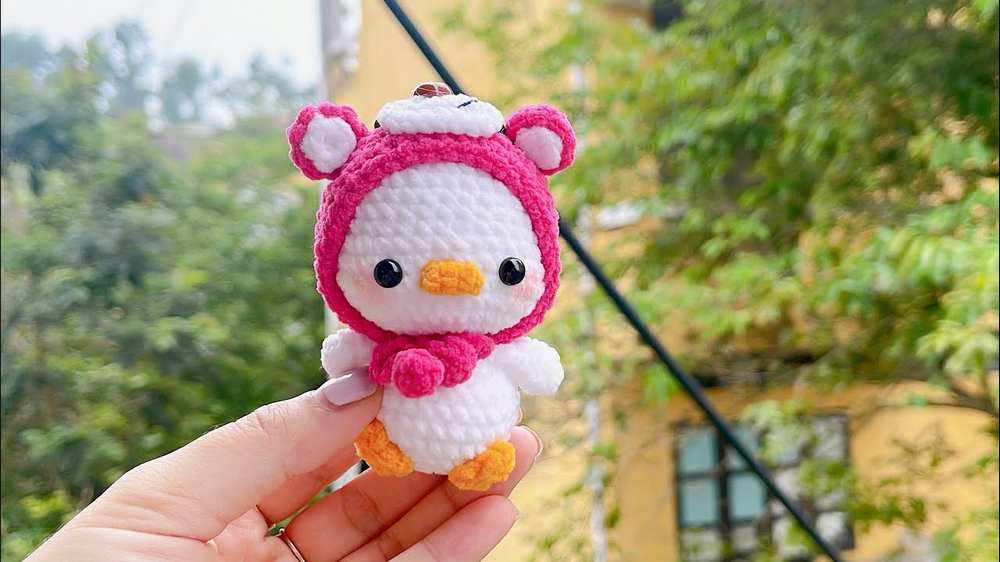
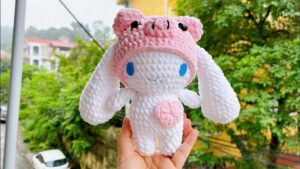
Learn how to crochet a CUTE lotso bear hat for your crochet plushie dolls with this FREE pattern. I will soon also provide a pattern to crochet this 20cm duck doll plushie, too, which fits PERFECTLY. It is part of the crochet “plushie costume” series, and I have already shared some patterns to crochet the animal hats for the Cinnamoroll doll plushie, as well as a pattern for the base.
Now, I am starting the series for the crochet duck doll plushie, too. Soon, you will learn how to crochet the frog and also a doll mom costume, too. Our idea will be to crochet it as a Balacava so you can crochet it as a handmade gift for a baby girl. Now, continue reading for the full strawberry duck doll plushie pattern.
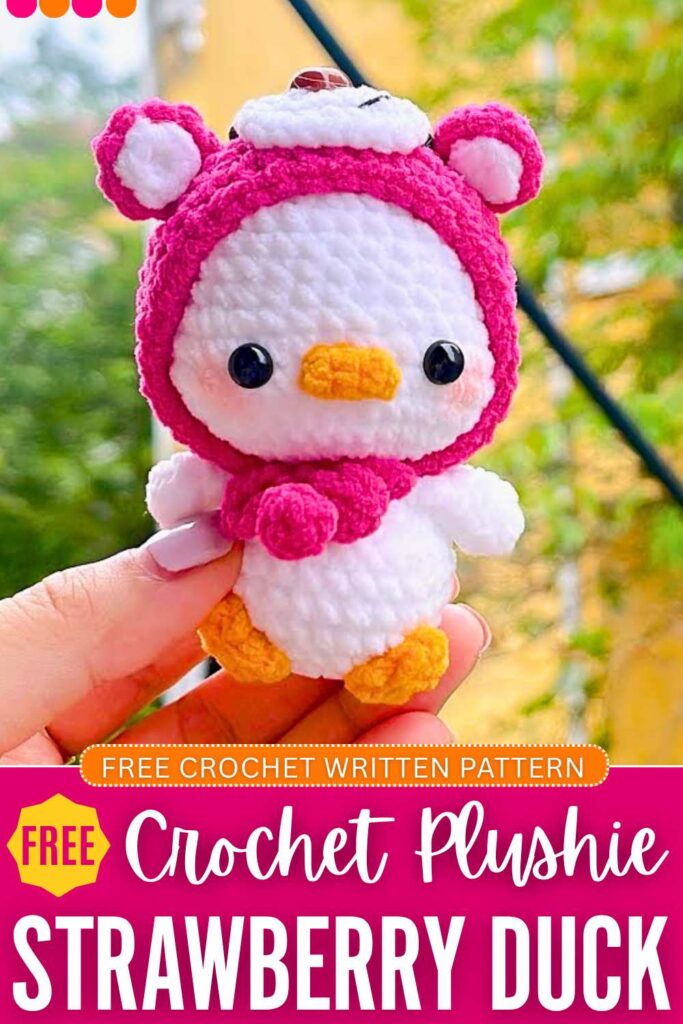
Crochet Strawberry Bear Duck Costume: Round-by-Round Pattern
Here is the written pattern for the Strawberry Bear (Lotso) Duck Hat with the assembly in the end:
Materials Needed
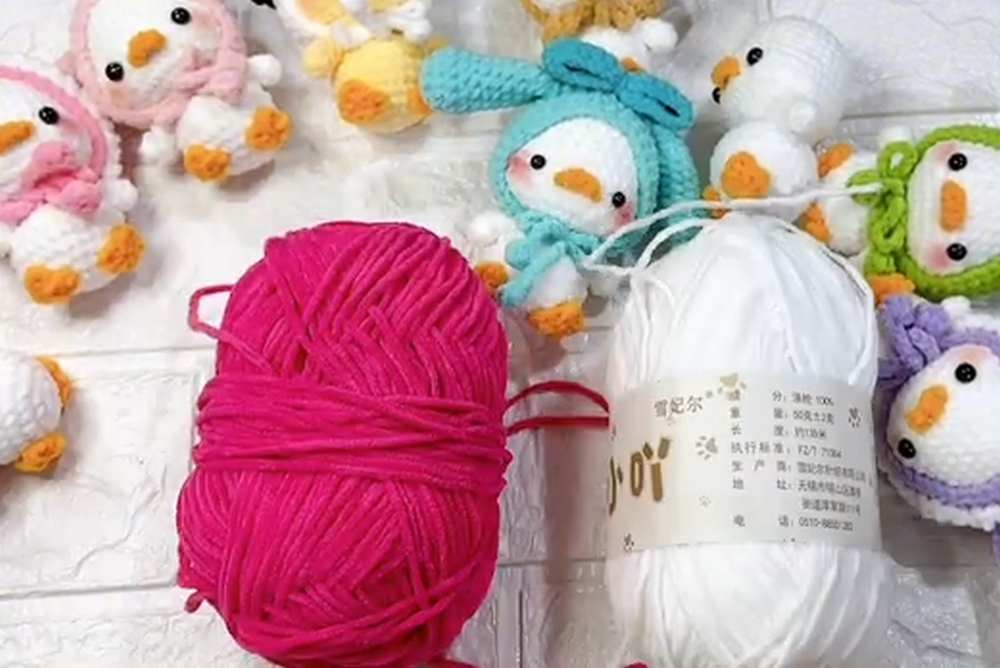
- Yarn: Plush velvet/chenille yarn in Strawberry Pink/Magenta (main hat and outer ears) and White (inner ears and snout).
- Other Tools: 4.5mm Crochet hook, tapestry needle, scissors, glue gun (optional, for attaching inner ears), and stitch markers.
Abbreviations Used
- ch: Chain
- st / sts: Stitch / Stitches
- sl st: Slip stitch
- sc: Single crochet
- hdc: Half double crochet
- dc: Double crochet
- inc: Increase (2 sc in the same stitch)
- hdc-inc: Half double crochet increase (2 hdc in the same stitch)
1. The Main Hat (Strawberry Pink)
The first part of the hat is worked in rounds with a slip stitch to join.
Starting at Round 6, it is worked back and forth in rows to create an open front for the face.
- Round 1: Start with a magic ring. Ch 1, work 8 sc into the ring. Sl st to the first sc to join.
[8 sts] - Round 2: Ch 2. Work 8 hdc-inc around (2 hdc in each stitch, starting in the joining stitch). Sl st to join.
[16 sts] - Round 3: Ch 2. Work a pattern of [1 hdc, 1 hdc-inc] repeated 8 times around. Sl st to join.
[24 sts] - Round 4: Ch 2. Work 1 hdc, 1 hdc-inc. Then, repeat a pattern of [2 hdc, 1 hdc-inc] 7 times. Work 1 hdc in the final stitch. Sl st to join.
[32 sts]
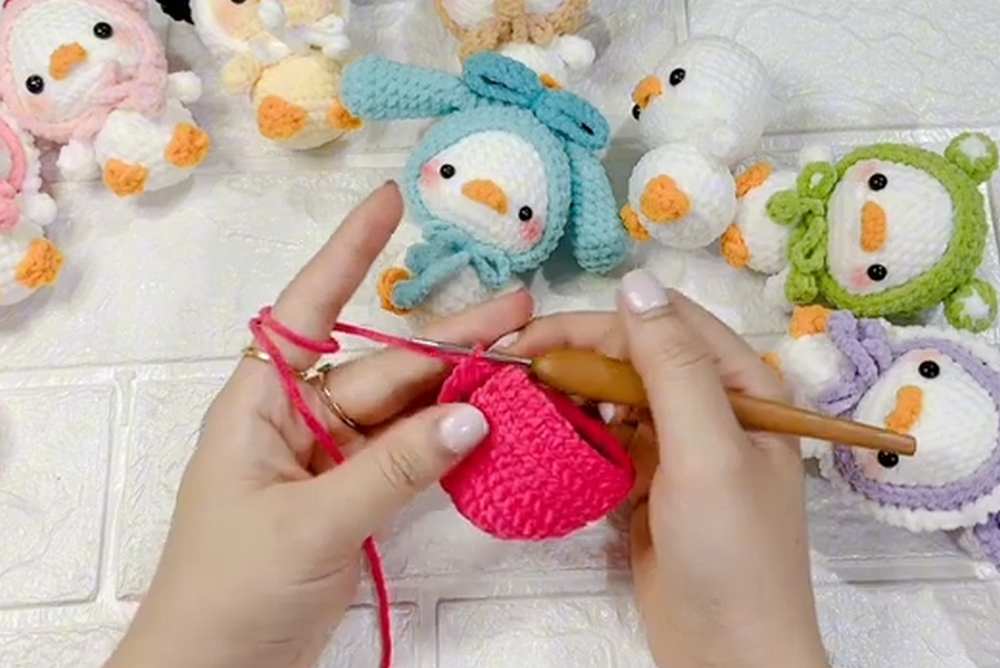
- Round 5: Ch 2. Work 32 hdc around (1 hdc in each stitch). Sl st to join.
[32 sts] - Round 6: Ch 2. Work 32 hdc around, but do not slip stitch to join at the end of this round.
[32 sts] - Rows 7–9: Ch 2, turn your work. Crochet 32 hdc back across the row. Repeat this for rows 8 and 9 to form the open-face flap of the hat. Do not cut the yarn at the end of Row 9.
[32 sts]
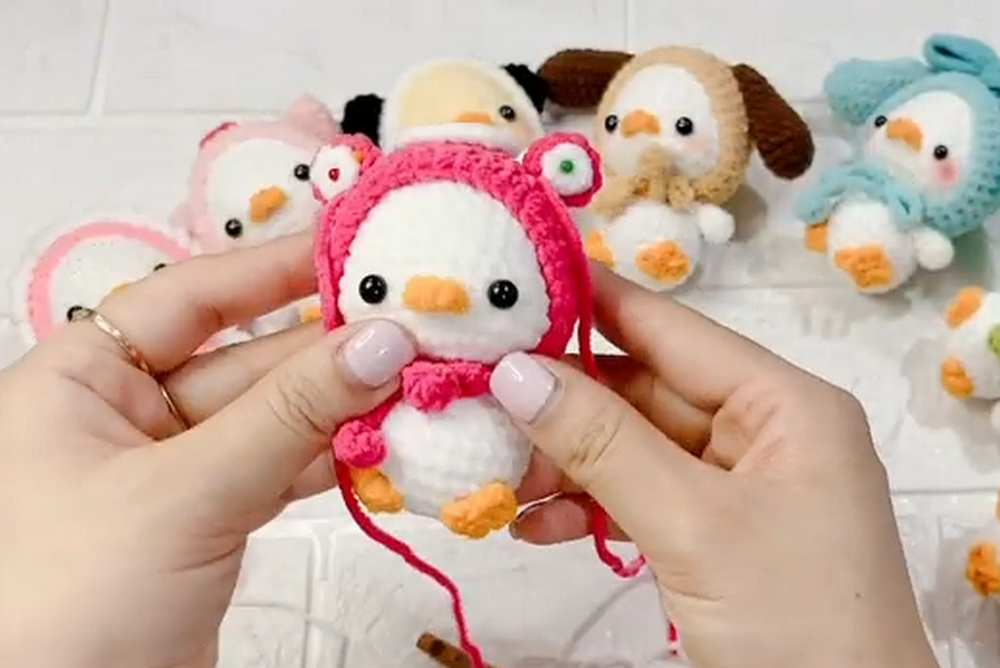
Hat Straps/Ties:
- From the corner of Row 9, ch 20 to create the strap.
- Ch 2 more, then turn and work a bobble/puff cluster of 4 half-closed hdc stitches into the 3rd chain from the hook.
- Pull the yarn through all loops on the hook to close the cluster, ch 2, and sl st back into the same chain loop to form a little ball/tassel.
- Fasten off. Repeat on the opposite side corner of the hat.
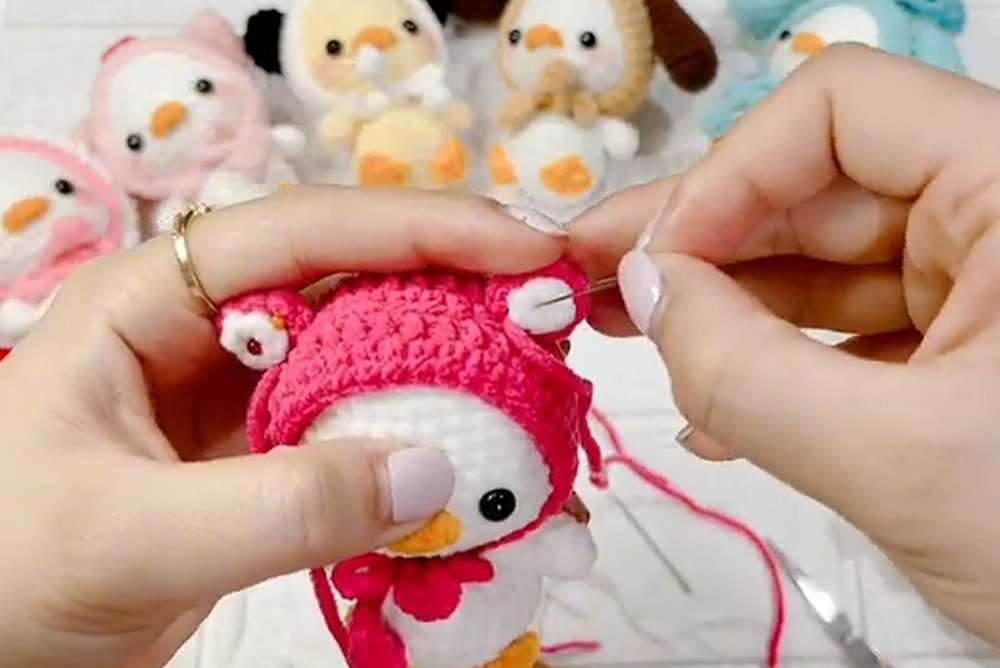
2. The Bear Ears (Make 2 Outer & 2 Inner)
- Outer Ears (Make 2 – Strawberry Pink):
- Start with a magic ring. Ch 2, work 8 dc into the ring.
- Pull the ring closed, sl st to join, and fasten off leaving a long tail for sewing.
[8 sts]
- Inner Ears (Make 2 – White):
- Start with a magic ring. Ch 1, work 6 sc into the ring.
- Pull the ring closed, sl st to join, and fasten off.
[6 sts]
- Assembly: Glue or sew the small White inner ear pieces centrally onto the front face of the Pink outer ears.
3. The Bear Snout (White)
The snout is worked flat in an oval shape around a central foundation chain.
- Foundation: Ch 6.
- Round 1: Skip the first chain from the hook. In the 2nd chain, work an inc (2 sc in the same loop).
- Work 3 sc down the next three chain loops.
- In the last chain loop, work 3 sc together to turn the corner.
- Continue down the back side of the foundation chain: work 3 sc, and finish with an inc in the final loop. Sl st to join. Fasten off, leaving a long tail for sewing.
Assembly Instructions
- Use sewing pins to place the assembled ears symmetrically onto the top curved portion of the hat (around Round 4). Sew them firmly into place.
- Pin the white snout to the front-center edge of the hat, just above the open face line. Sew it securely to the hat shell.
- Pull the hat onto your white amigurumi duck body and tie the chin straps securely underneath the neck.
Learn with the Video Tutorial

About "Talha"
Hey, I’m Talha, the Crafter on Craftstive.com. I love to share guides on folding cute origami models and paper crafts, and I am always ready to inspire your next craft project with my weekly craft discussions.