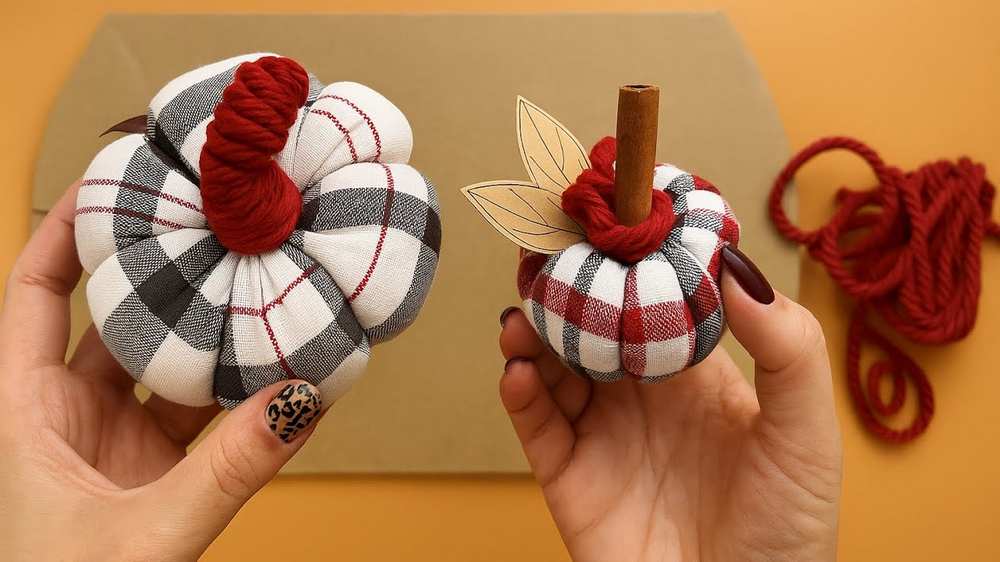
Just like before, today you will learn a REALLY elegant way to decorate your home with handmade fabric pumpkins. Introducing a pair of DIY checkered fabric pumpkin plushies that you can make in less than 10 minutes, with a step-by-step tutorial for all skill levels.
This is a simple needle-sewn fabric pumpkin craft featuring a bright red stalk that contrasts beautifully with the grey and white fabric.
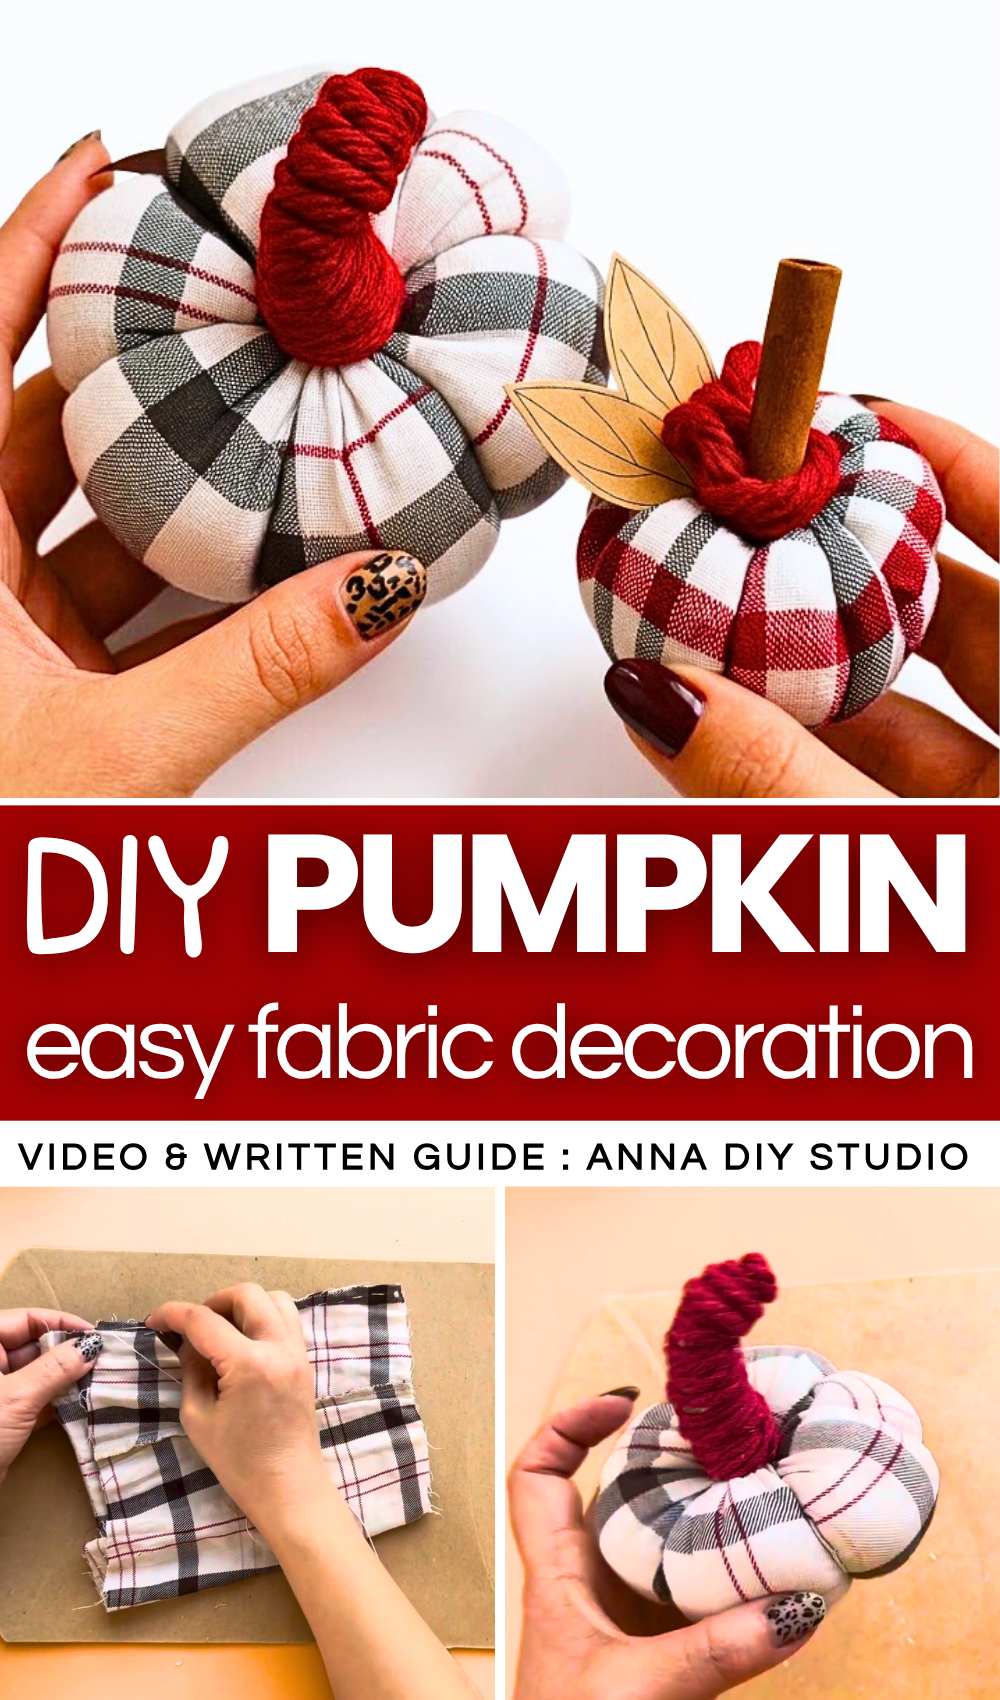
Learn two sizes to complete your fall decorations. You can also make these DIY pumpkins for Halloween and cut felt jack-o’-lantern pieces to make them spooky. However, I would like a more farmhouse-style pumpkin decoration. That’s why I am recommending that you craft this pumpkin using the same or matching checkered fabric!
[ez-toc]
Tutorial to Craft the Cottage Decoration Fabric Pumpkins
This project shows how to make two pumpkins from old cloth. You need cloth, stuffing, yarn, and glue. For the big pumpkin, you cut the cloth and sew it into a ball. You fill the ball with soft stuffing. You tie yarn around it to make lines. You use cloth to make a stem on top.
For the small pumpkin, you use fabric strips and glue them to a base. You use a cinnamon stick for the stem. You cut leaves from paper. These pumpkins are nice for your home. It is very easy to do.
How to Make DIY Fabric Pumpkins
The Larger Pumpkin
Materials needed:
-
Checkered fabric (like an old shirt)
-
Needle and thread
-
Soft stuffing (fiberfill)
-
Red yarn
-
Scissors
Video Tutorial?
Instructions:
-
Prepare the cloth: Cut a large rectangular piece of checkered fabric.
-
Make the tube: Fold the cloth in half and sew the long edges together to make a fabric tube.
-
Close the bottom: Use a needle and thread to sew around one open end of the tube. Pull the thread tight to close the hole and tie a knot.
-
Stuff the pumpkin: Turn the fabric right side out. Fill the inside with soft stuffing until it looks like a round ball.
-
Close the top: Sew around the top opening and pull the thread tight to close the ball.
-
Create segments: Take a long piece of red yarn. Thread it through the center of the pumpkin (from bottom to top) and wrap it over the outside. Do this 6 to 8 times to make the pumpkin look like it has sections. Tie it tight at the bottom.
-
Add the stem: Take a small scrap of fabric and roll it into a thin tube. Wrap red yarn tightly around it to make it look like a stem. Use glue to stick it to the top of your pumpkin.
The Smaller Pumpkin
Materials needed:
-
A small cardboard ring (like a cut toilet paper roll)
-
Checkered fabric strips
-
Red yarn
-
One cinnamon stick
-
Cardboard or heavy paper
-
Hot glue gun
Instructions:
-
Cut the fabric: Cut several small strips of checkered fabric, about 1 inch wide.
-
Cover the ring: Use the hot glue gun to stick the fabric strips around the cardboard ring. The strips should go through the center hole and wrap around the outside until the cardboard is hidden.
-
Add the ribbing: Wrap red yarn around the ring, placing it between the fabric strips to create a pattern.
-
Insert the stem: Put some hot glue inside the center hole of the ring and push a cinnamon stick inside.
-
Make the leaves: Draw two leaf shapes on a piece of cardboard. Cut them out.
-
Decorate the top: Glue the cardboard leaves next to the cinnamon stick.
-
Final touch: Glue a small piece of red yarn to the leaves to look like a small vine.
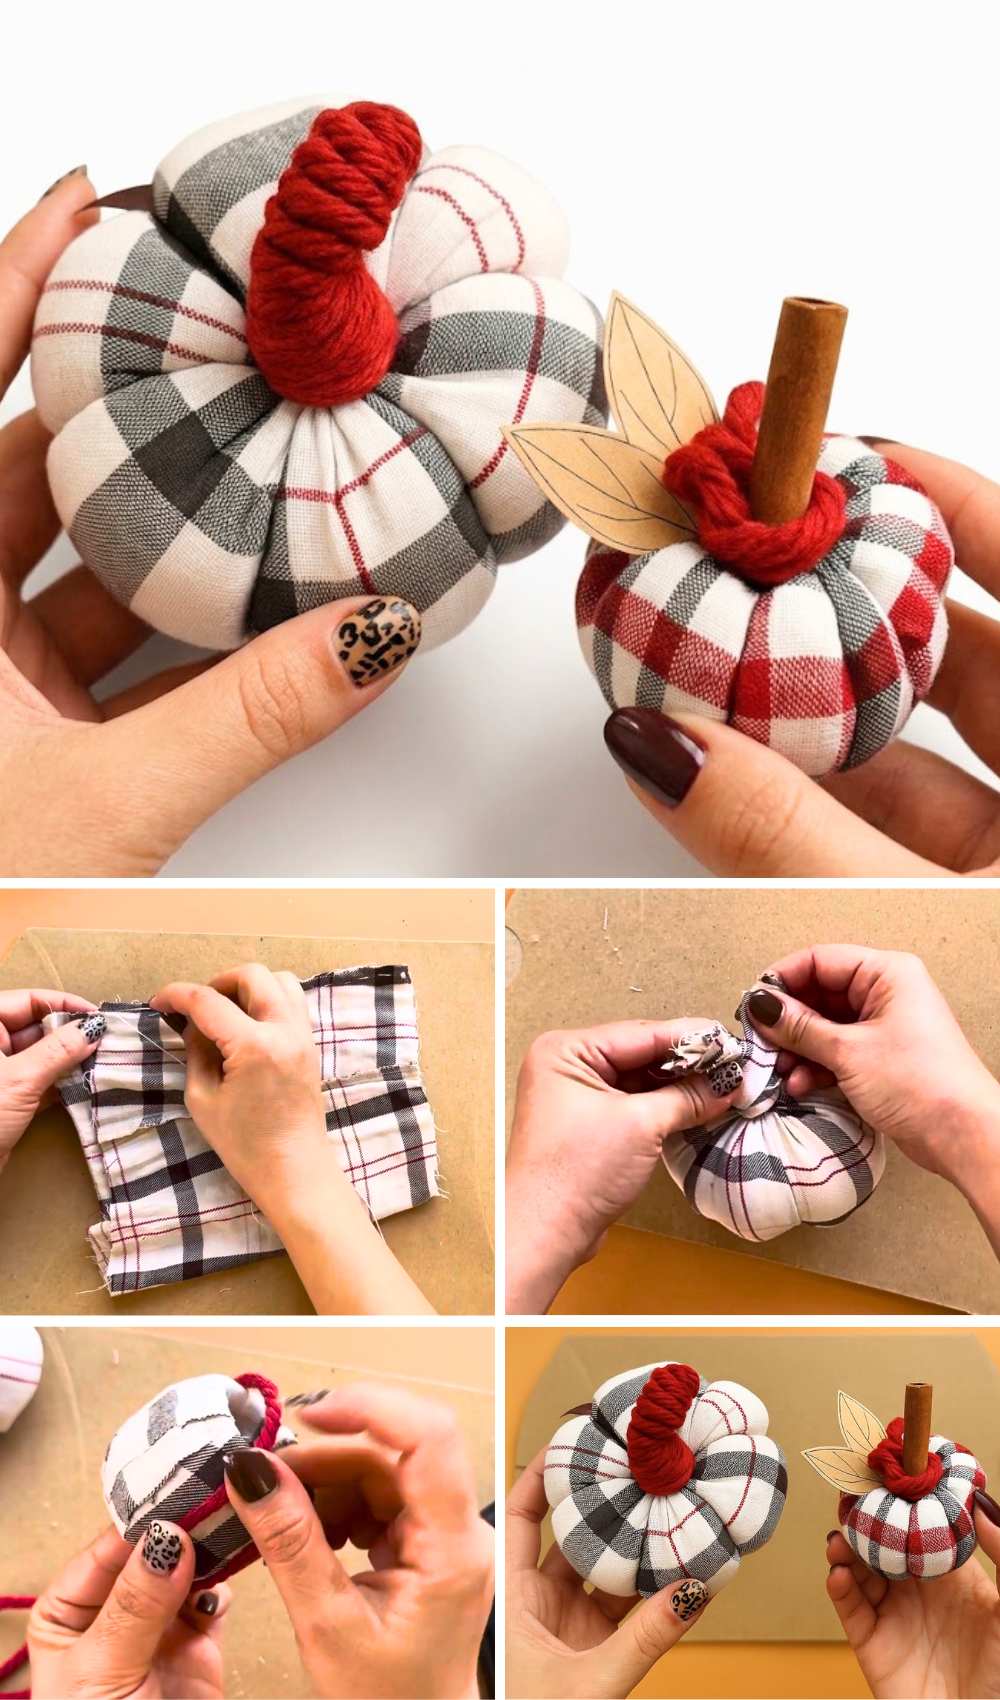
Your pumpkin crafts are now finished!