Subscribe to knot magic!
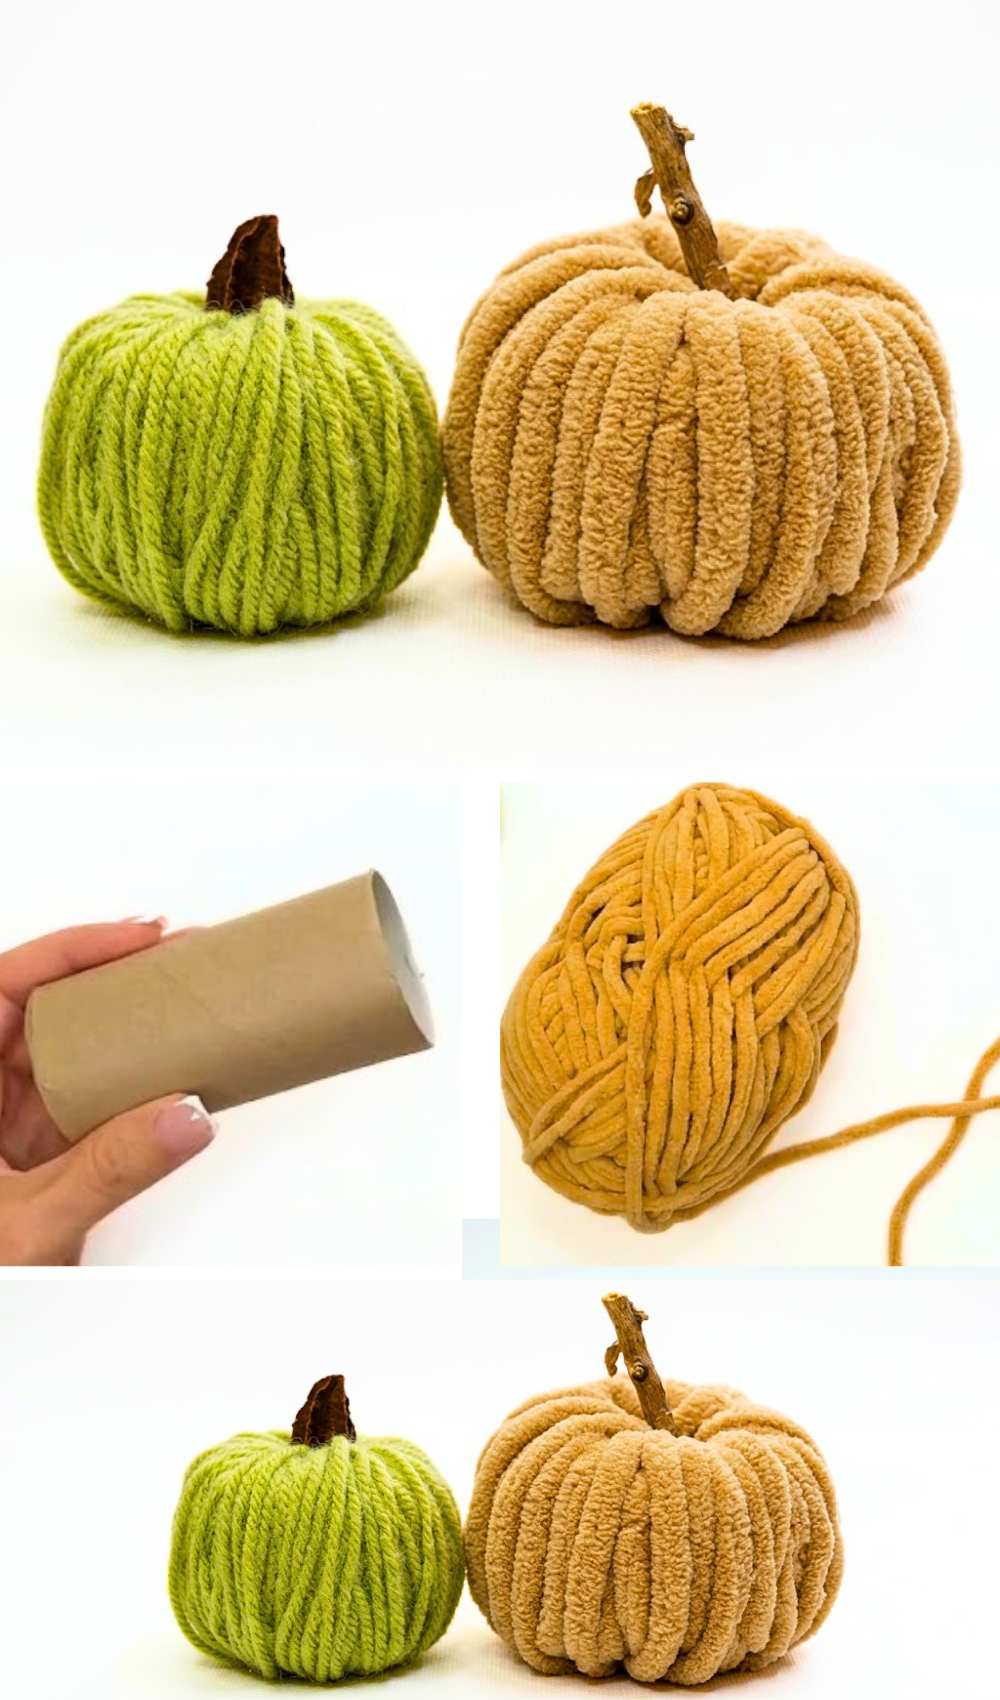
Are you looking for the easiest & fastest way to DIY a yarn pumpkin plushie, and do it by busting your chenille yarn stash? Learn how to DIY this velvety yarn wrapping no-knit yarn plushie out of a super bulky yarn, a tissue paper roll, and a dried wooden stick. With the step-by-step tutorial, you will learn how to make a pumpkin table decoration in less than 10 minutes. You can either cut the cinnamon stick or a small branch piece from your garden tree and use it as a rustic stalk for the pumpkin, just as in the DIY jute rope pumpkin plush for the farmhouse decoration.
Chenille Yarn No-Knit Pumpkin
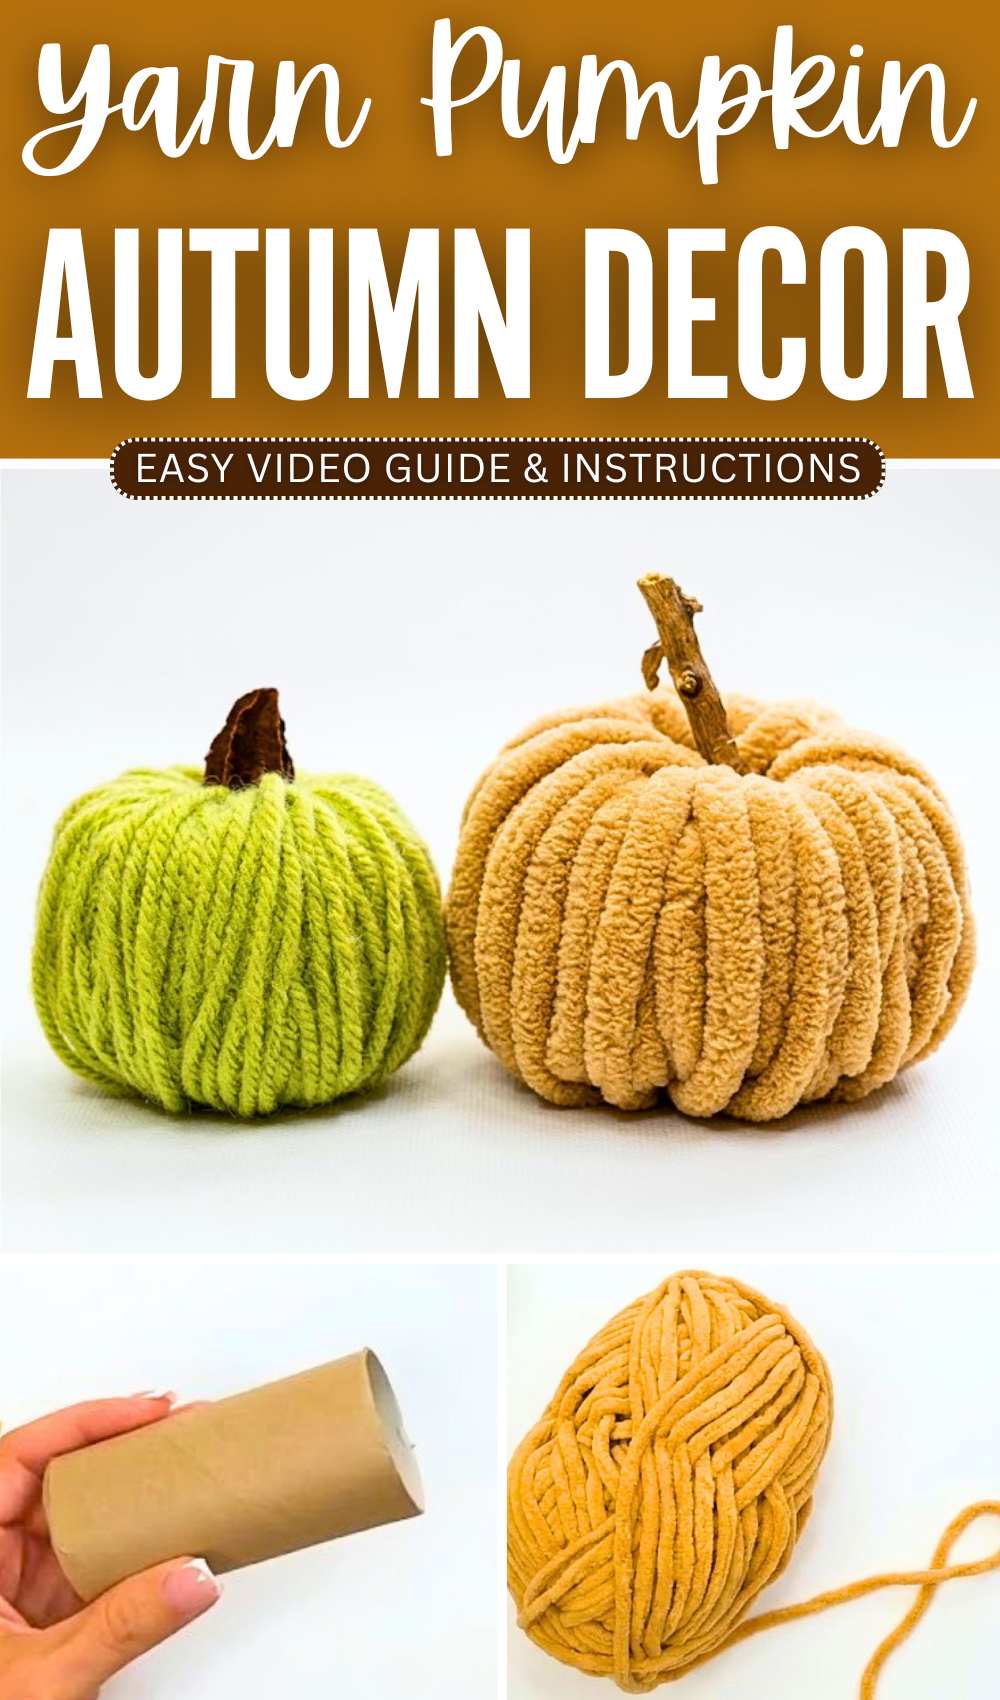
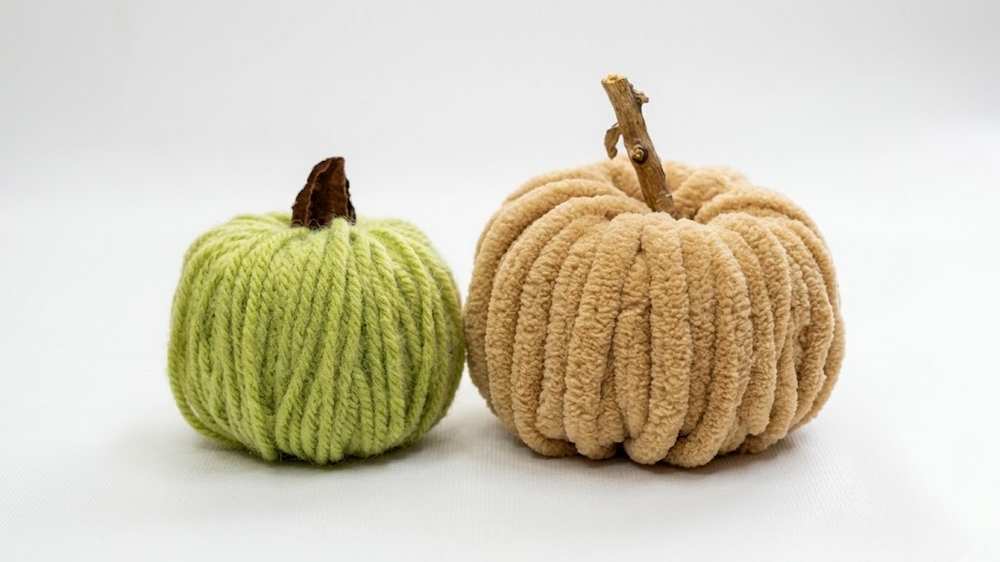
Choose from the soil-colored pumpkin with the beige stick and the dull pistachio-colored pumpkin with the dark brown stem. Once you cut and prepare the tissue paper roll base, all you have to do is wrap the yarn around it and cover it with the yarn.
This simple DIY project is perfect for fall decorations, Halloween, or Thanksgiving. You can also decorate it with the triangle eyes and a spooky face to make a Halloween pumpkin plush. Now, continue reading to learn more about this yarn project. You can also stuff it with the fibrefill or a tealight.
Tutorial: Worsted-Weight or Plush Yarn Pumpkin
This project shows you how to make a soft pumpkin with thick yarn. It is a very easy craft for home. You only need a cardboard tube, scissors, thick yarn, and a small stick. First, cut the tube to make it short. Next, cut many small lines around the top and bottom edges.
Fold these lines back a little bit. Then, wrap the thick yarn around the tube. Go through the center and over the edges. Keep wrapping until you cannot see the tube. Tuck the end of the yarn inside. Put a stick in the middle to look like a stem. Now you have a soft pumpkin.
Materials Needed:
-
A cardboard tube (like an empty toilet paper roll)
-
Thick chenille yarn (fluffy yarn)
-
Scissors
-
A small twig or branch (for the stem)
Video Tutorial?
Step-by-Step Instructions:
1. Prepare the Cardboard Base
-
Take your cardboard tube and cut it in half using your scissors. You only need one of the short halves to make one pumpkin.
2. Cut the Slits (Notches)
-
On the top edge of the tube, use your scissors to cut many small, vertical slits (about half an inch deep). Space them about half an inch apart all the way around.
-
Do the exact same thing on the bottom edge of the tube.
3. Bend the Edges
-
Use your fingers to gently bend the small cardboard tabs you just cut outward. This creates a “lip” on the top and bottom that will hold the yarn in place so it doesn’t slide off.
4. Start Wrapping the Yarn
-
Take a long piece of your thick chenille yarn.
-
Poke one end of the yarn through the center of the cardboard tube.
-
Bring the yarn up over the side of the tube, making sure it sits inside one of the slits you cut.
5. Cover the Entire Tube
-
Continue wrapping the yarn by going through the center hole, over the edge, and back through the center.
-
Move to the next slit every time you wrap.
-
Keep wrapping until the cardboard is completely hidden and the pumpkin looks full and round.
6. Secure the Yarn
-
Once the tube is fully covered, cut the yarn from the main ball.
-
Tuck the loose end of the yarn deep into the center of the pumpkin or under one of the wrapped loops to hide it.
7. Add the Stem
-
Find a small, dry branch or twig.
-
Push the twig into the center hole of your yarn-covered tube. This will be the pumpkin’s stem.
Your chenille yarn pumpkin is finished! You can make many of these in different colors to decorate your home for the fall season.