
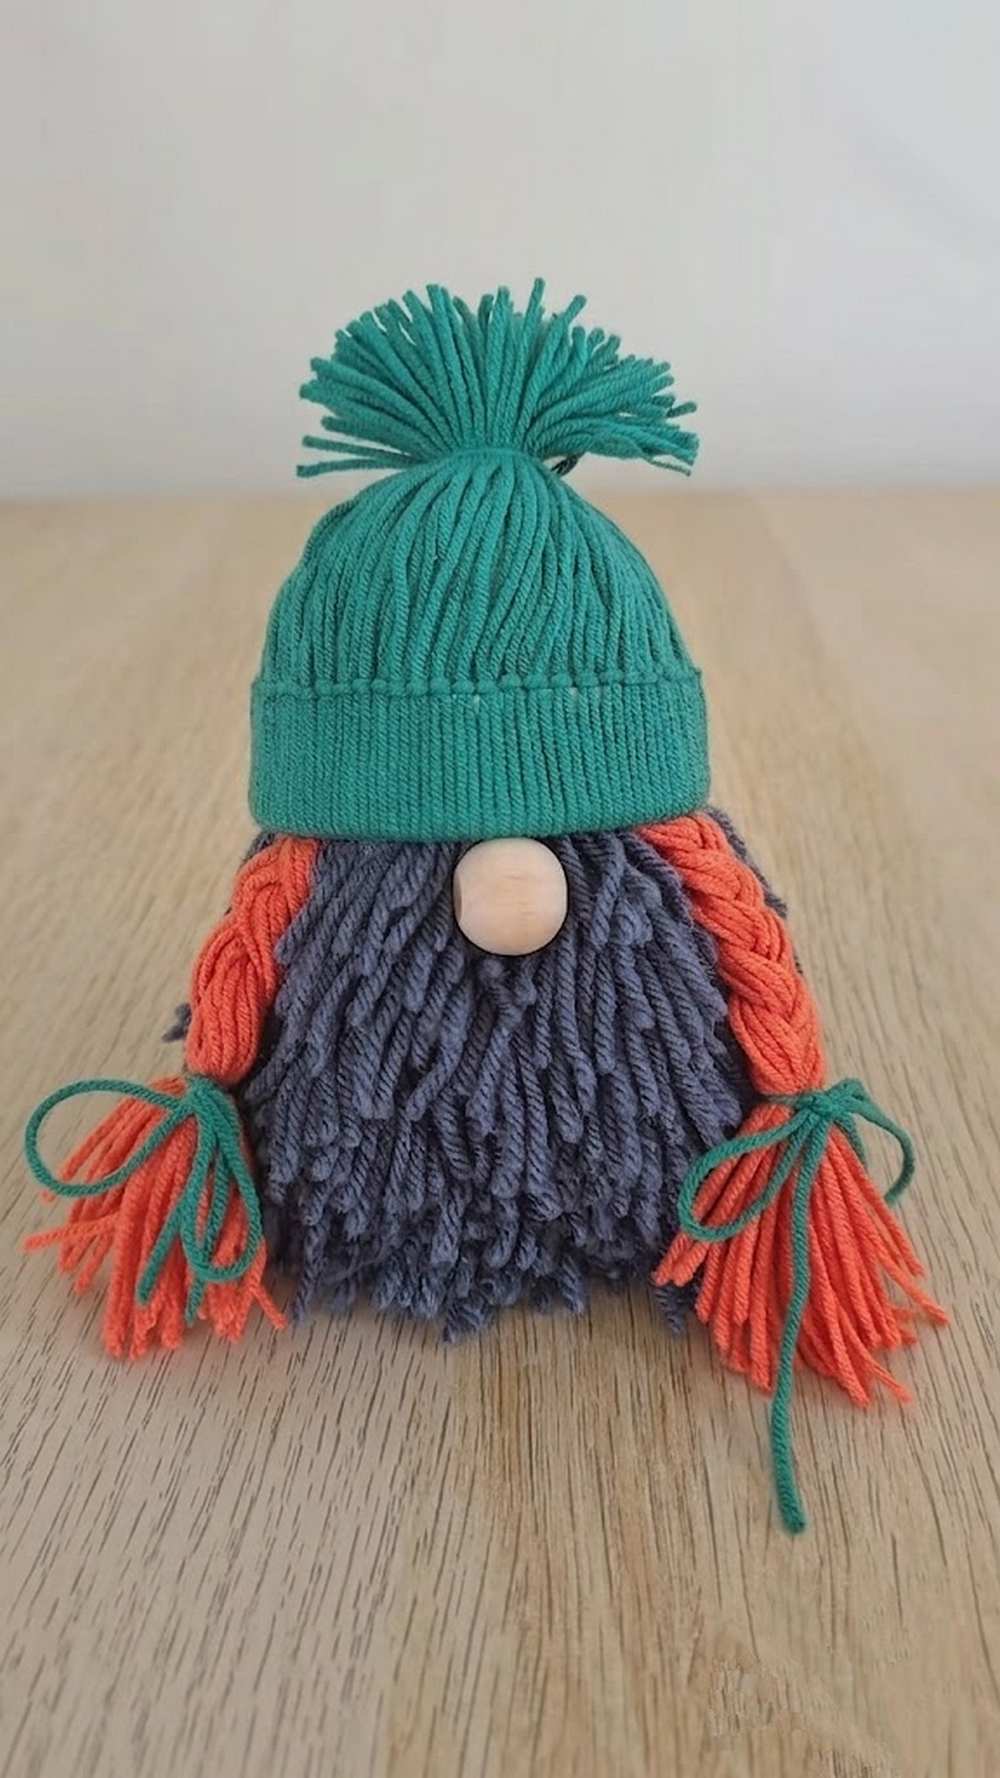
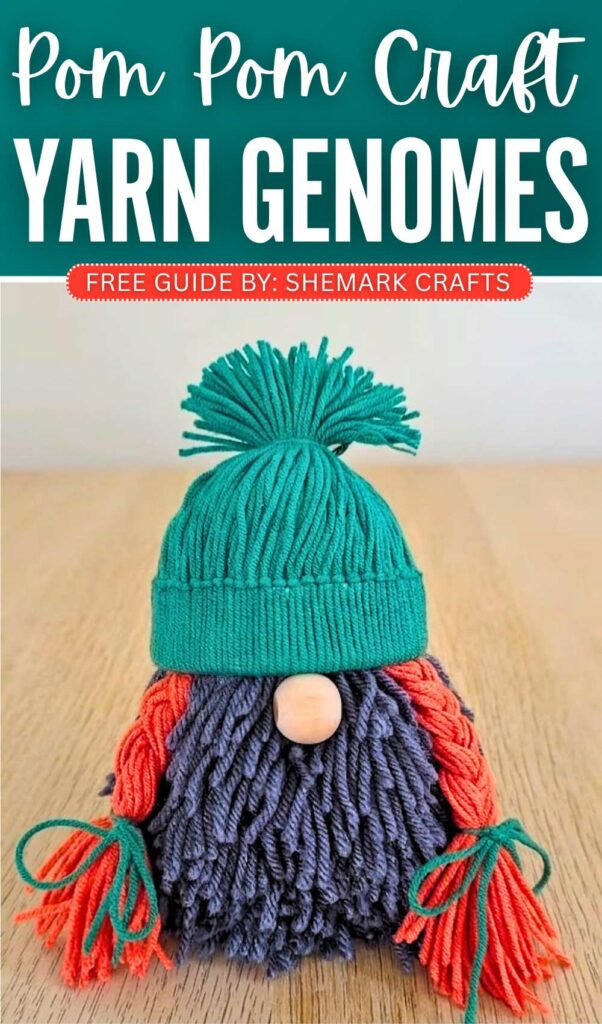
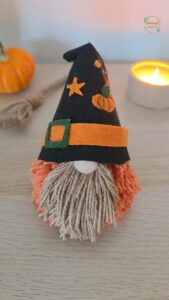
So far, you have learned more than 2 DIY boy gnome yarn plushies, including my favorite, a witch hat gnome, too. Today, learn how to DIY a cute autumn girl gnome plushie using yarn, following a step-by-step guide that requires no experience with yarn crafting. This DIY gnome plush has braided ponytail hair in the front that makes it look so kawaii. This autumn decoration gnome is made from an old paper cup or tissue paper, yarn, and a wooden spacer button craft you can do in less than 30 minutes.
Just like the DIY Christmas gnome, we shall make the beanie by using the paper cup strip as a base and knotting the top; we shall stuff it with the polyester fibre fill. The braid will be done just like you are making a small bracelet.
Luckily, making this DIY girl gnome only requires working with a ball pom pom. It is practically the easiest and the most last-minute craft you can make, whether it’s Halloween, Christmas, New Year, or any special occasion that requires happy moments and luck!
[ez-toc]
Tutorial to Make A Braided Girl Gnome Craft
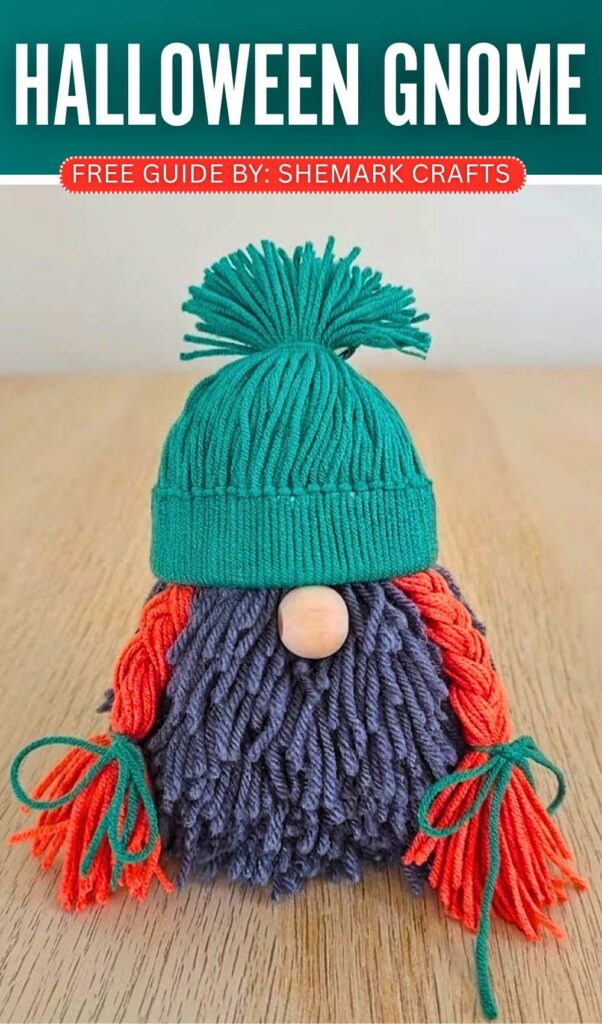
This project shows you how to make a cute gnome that looks like a little witch. You use green yarn for the hat, orange yarn for the hair, and grey yarn for the body. First, you make a hat by tying green yarn to a ring cut from a paper cup. Next, you braid orange yarn to make two long pieces of hair.
Then, you wrap grey yarn around cardboard to make a big, soft ball for the body. You cut the loops to make it fluffy. Finally, you glue the hair, hat, and a wooden bead nose together. It is a fun craft for anyone.
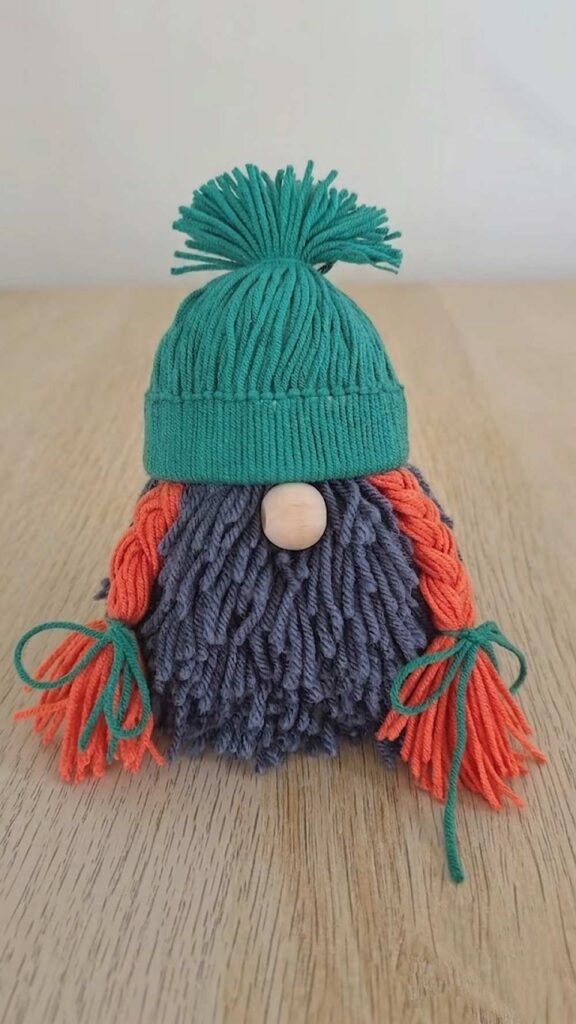
How to Make a Yarn Witch Gnome
What you will need:
-
A paper cup
-
Green, orange, and grey yarn
-
A piece of cardboard
-
Scissors
-
Hot glue gun
-
A small wooden bead (for the nose)
-
Cotton or stuffing
-
Tape
Video Tutorial?
Step-by-Step Instructions
1. Make the Hat Base
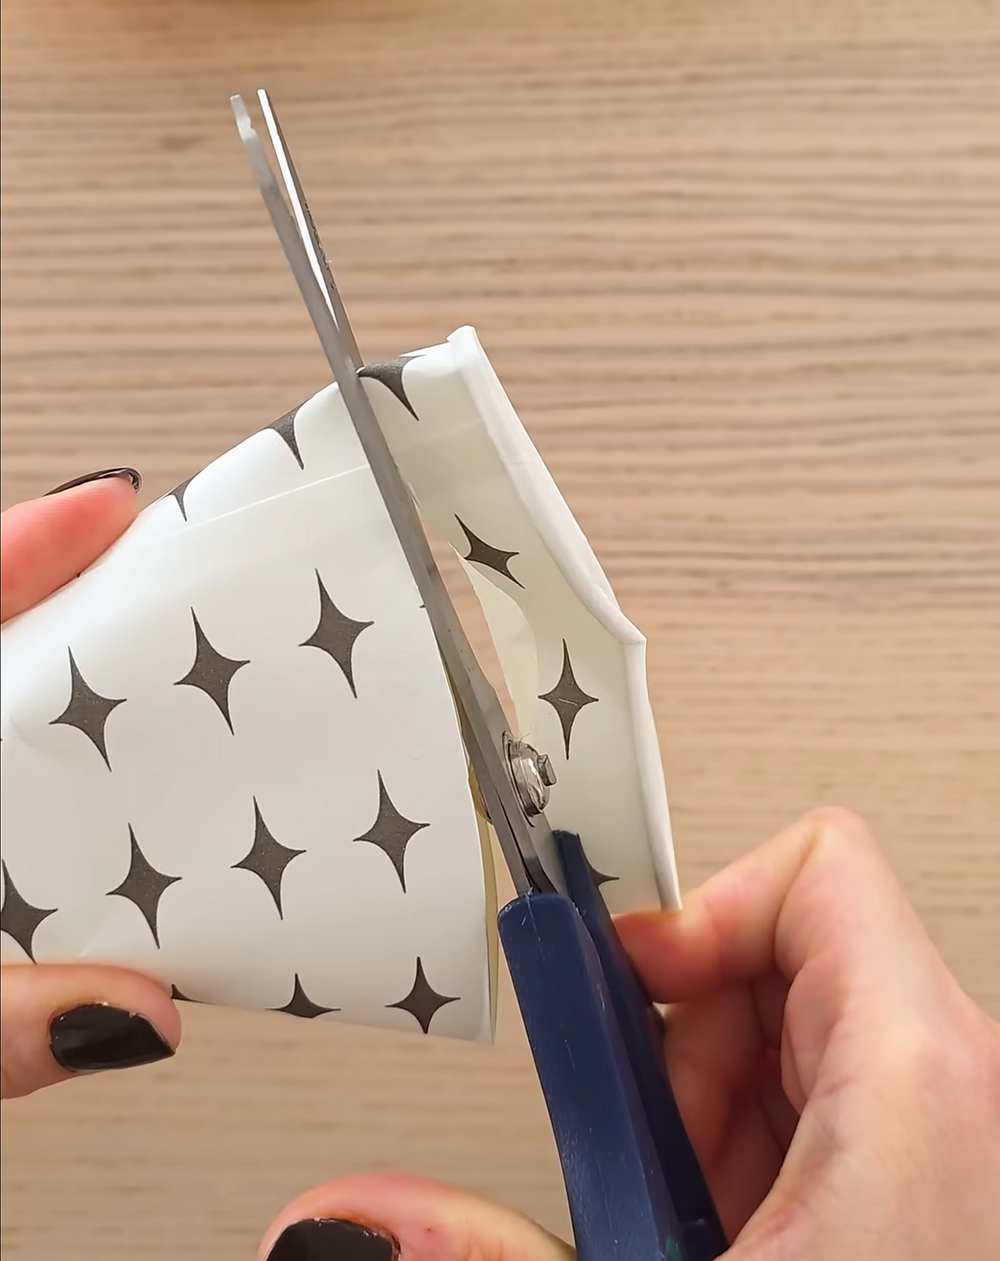
Take your paper cup and cut a small ring (about one inch wide) from the top rim. This will be the frame for your gnome’s hat.
2. Attach the Green Yarn
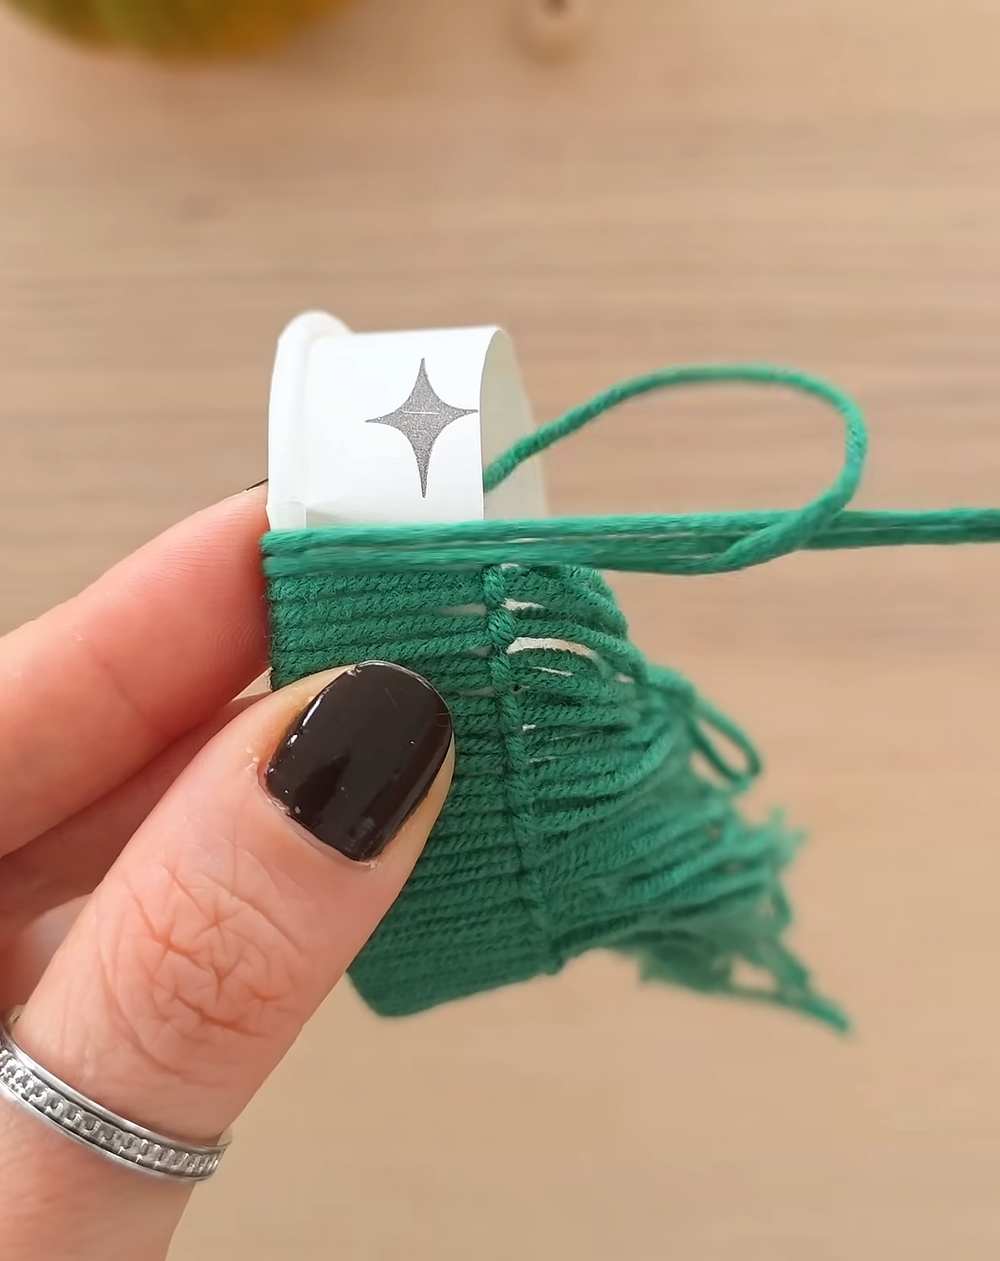
Cut many pieces of green yarn, each about 10 inches long. Fold a piece in half and put the loop through the center of the cup ring. Pull the ends through the loop and pull tight. Repeat this until the whole ring is covered in green yarn.
3. Shape the Hat
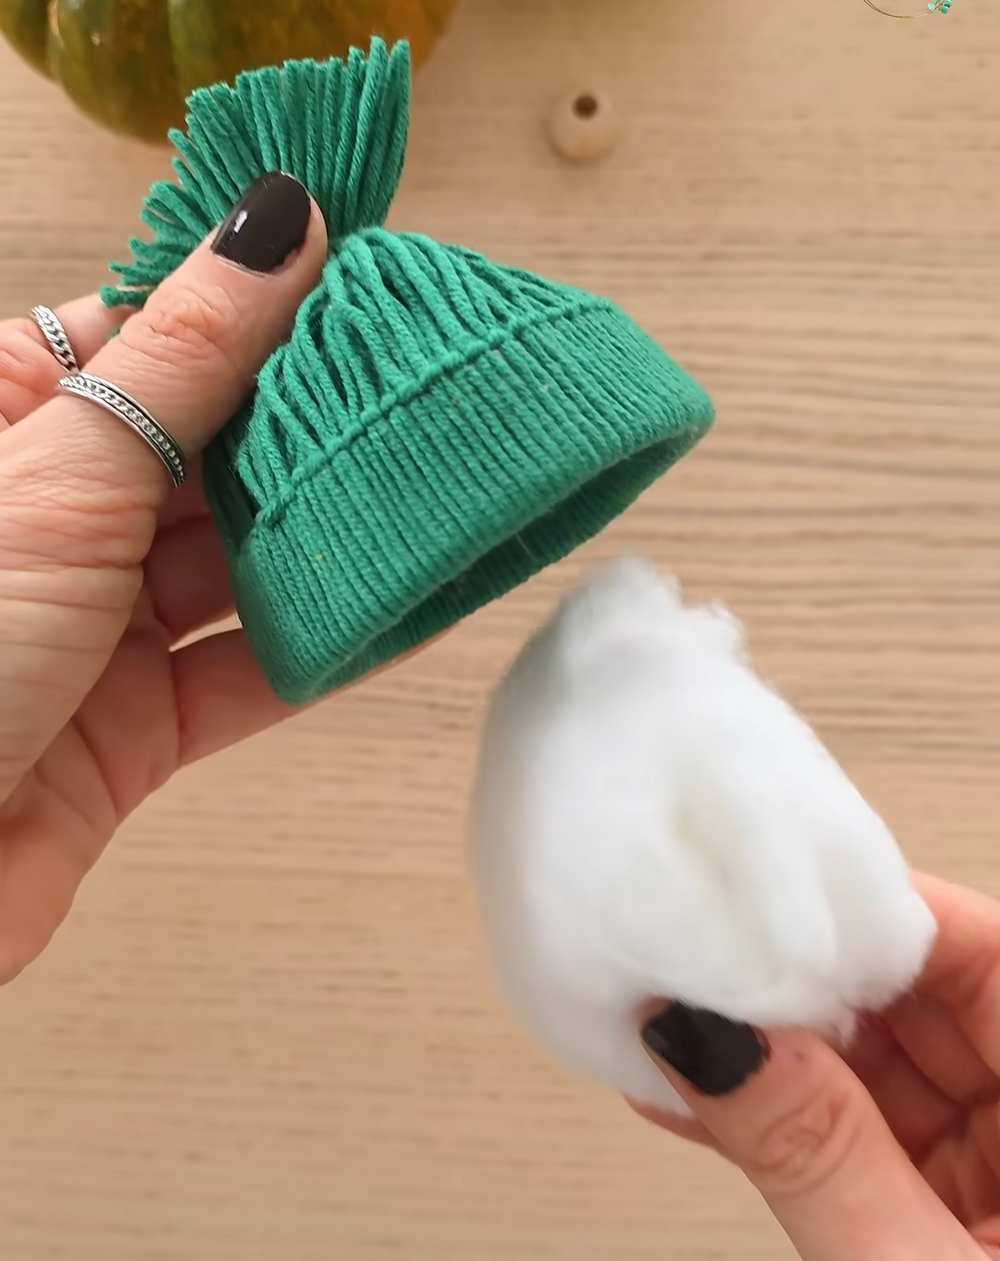
Push all the loose green yarn ends through the middle of the ring to the other side. Stuff the inside with some cotton to make it look full. Tie a piece of green yarn around the top of the bundle to close the hat. Trim the top to look like a neat pom-pom.
4. Make the Orange Braids
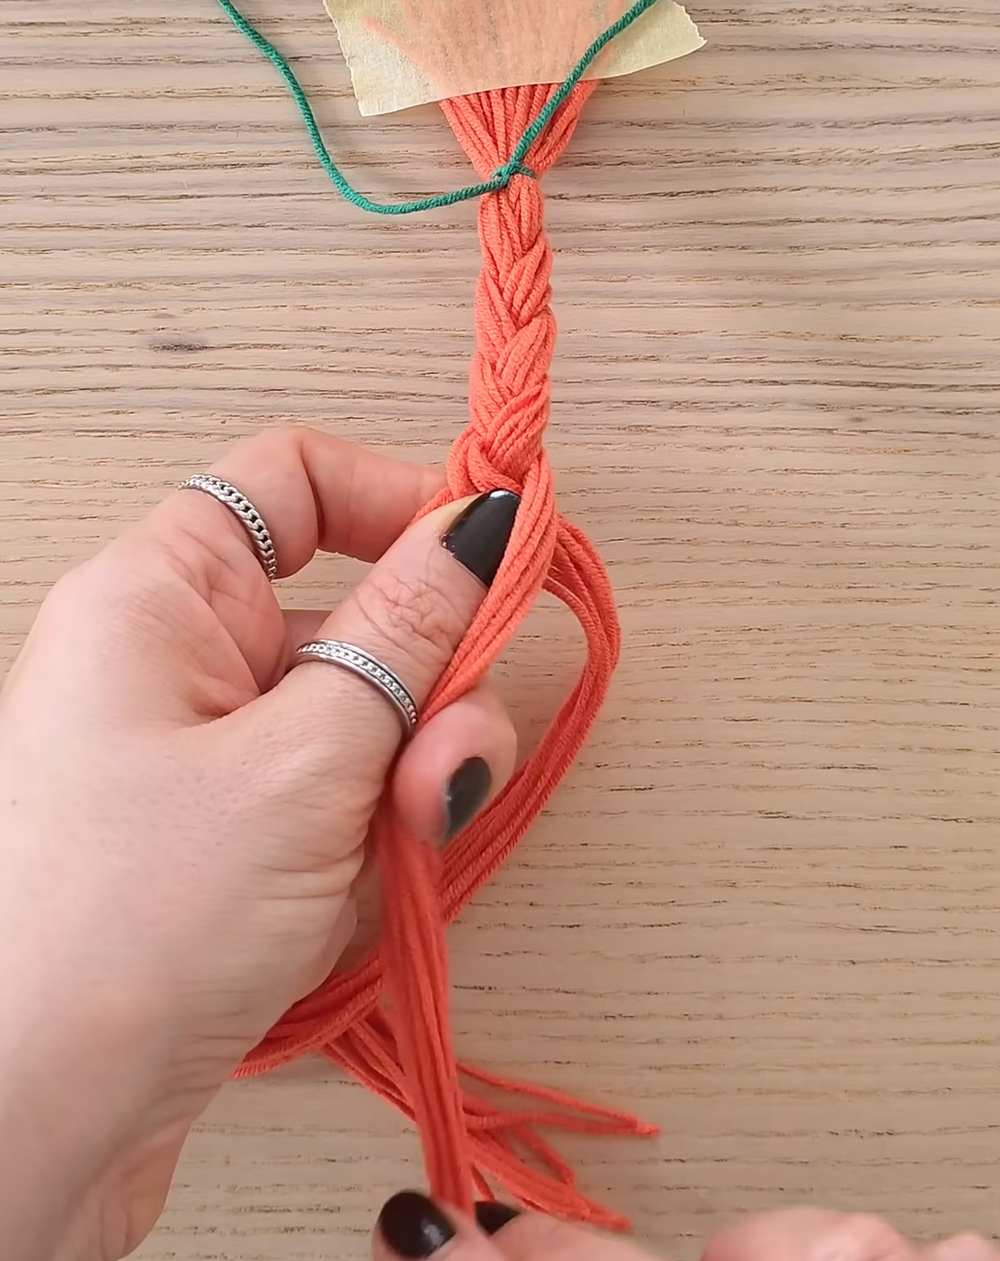
Cut several long strands of orange yarn. Tape the top of the strands to a table to hold them still. Separate them into three sections and braid them together. Tie the ends with a small piece of green yarn. Repeat this to make two long braids.
5. Create the Grey Body
Wrap grey yarn around a piece of cardboard many times until you have a thick bundle. Slide the yarn off the cardboard. Tie a piece of yarn tightly around the middle of the bundle. Use your scissors to cut all the loops on both ends. Trim the yarn until it looks like a round, fluffy ball.
6. Assemble the Gnome
-
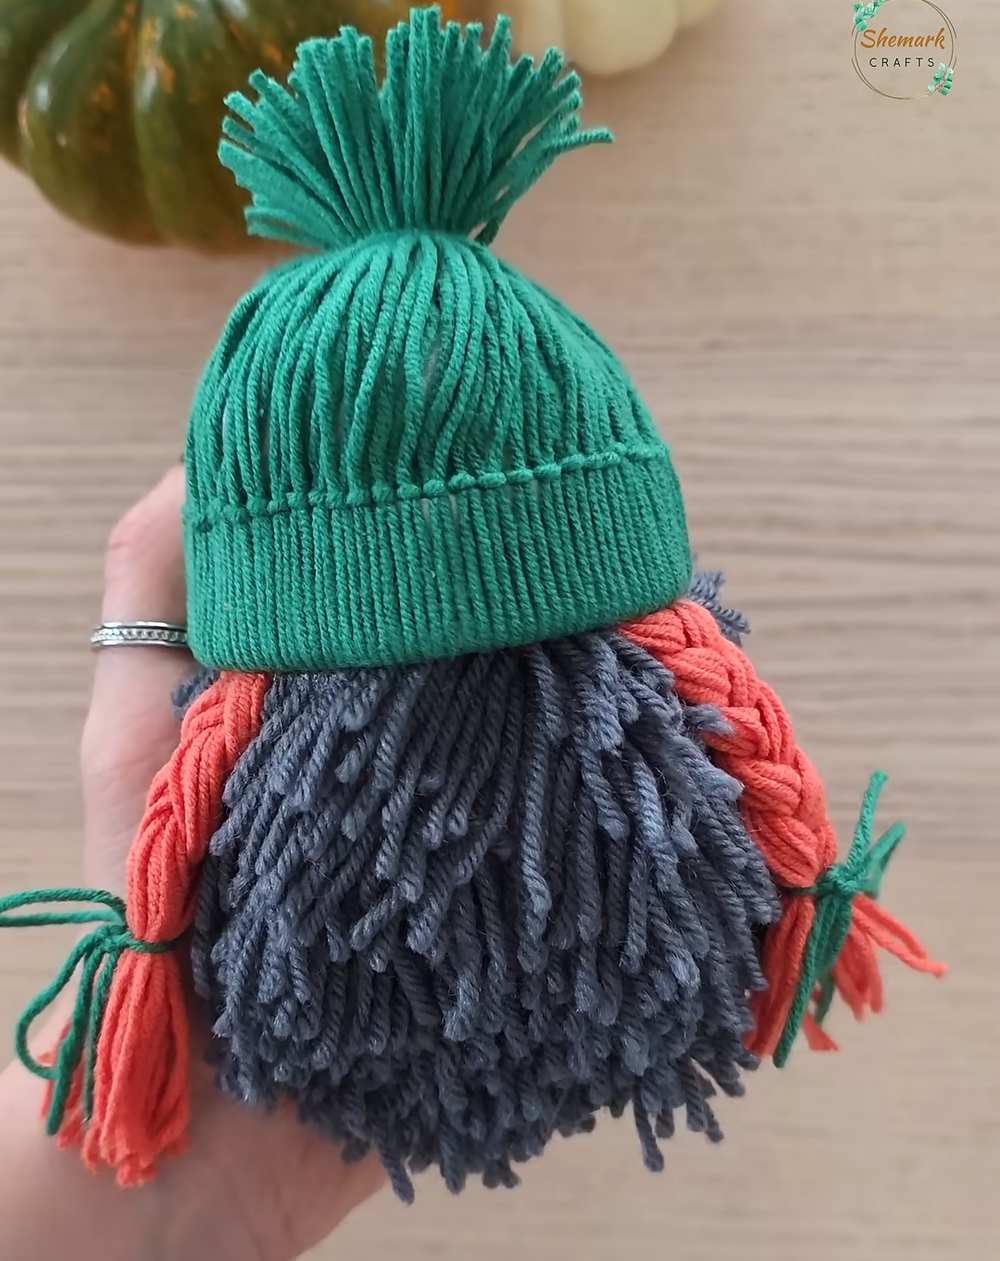
The Hair: Use the hot glue gun to stick the orange braids onto the top of the grey ball, one on each side.
-
The Hat: Put a line of glue inside the rim of the green hat. Press the hat down onto the grey ball, covering the top of the braids.
-
The Nose: Glue the wooden bead right under the edge of the hat, centered between the braids.
Your yarn witch gnome is ready to decorate your home!
Share on Social Media!
About "Shemcrafts"
She is an incredible pom, pipe cleaner and yarn craft!