
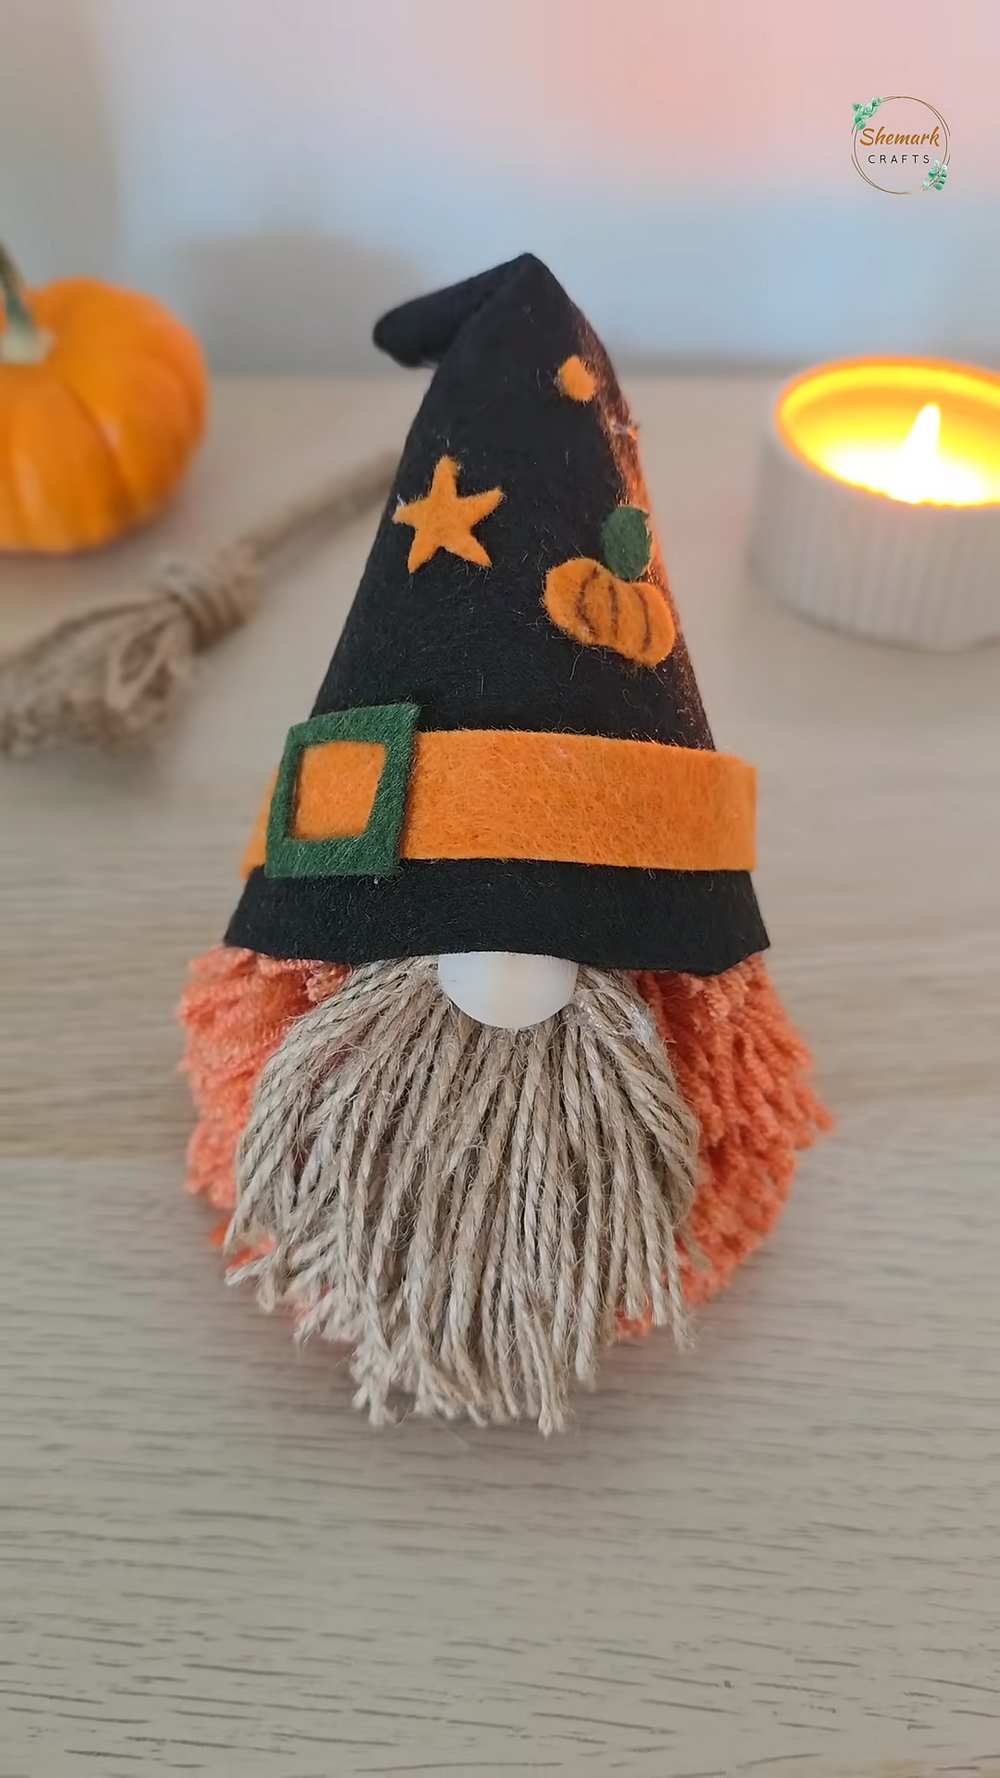
Today, you will learn another Halloween variation of a no-knit yarn gnome plush! So, follow this step-by-step tutorial to make a pom-pom witch gnome plushie using some yarn, felt, and a wooden bead. This way, we have a more detailed felt witch hat: it has the hat belt, small pumpkin, and orange star charms and spots all made of black, orange, and green felt. This time, we are making a gnome with a slouchy witch hat.
Prepare these quick and last-minute gnomes as table decorations, Halloween hangings, or add to a Halloween wreath. You can also customize this felt and yarn gnome for Christmas, just like the skeeing gnome plushies in red and purple.
It is a little bigger gnome plushie that again requires just the ball pom poms, but you would definitely need more yarn than usual. Now, continue reading to learn more about this Halloween doll project + the free pattern to make the gnome plush.
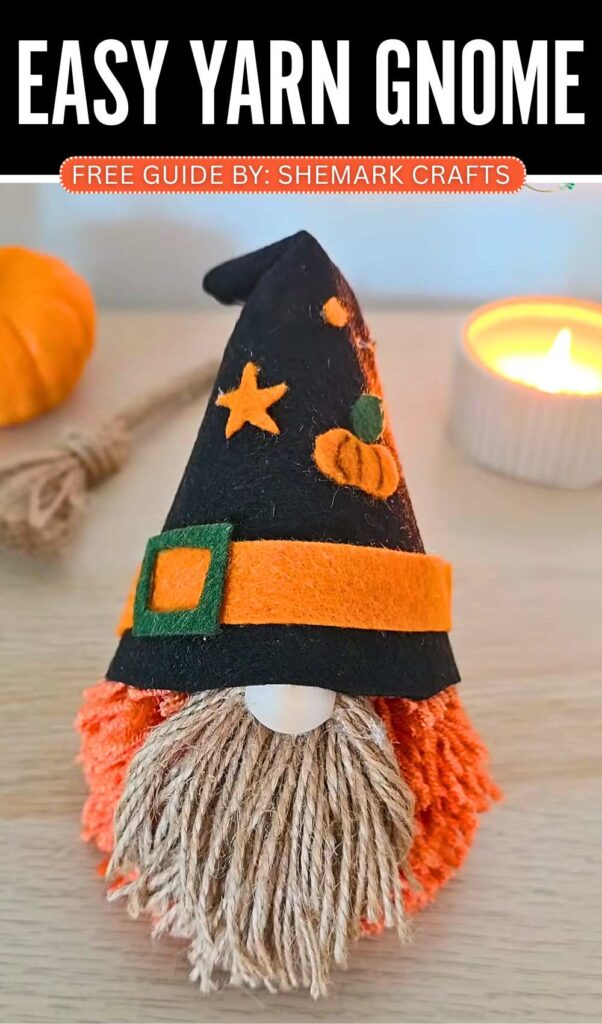

Tutorial to Make A Halloween Yarn Pom Pom Gnome Plush
Making a Halloween gnome is a fun and easy project. You need yarn, felt, beads, and glue. First, you make a pom-pom for the body using orange yarn. Wrap the yarn around cardboard many times and then cut it into a round shape.
Next, you make a beard with brown string. Tie it at the top and cut the bottom loops. Then, you put a bead on a string for the nose. Make a hat from black felt by rolling it into a cone shape. Glue everything together. Finally, add cute decorations like a star or a pumpkin on the hat.
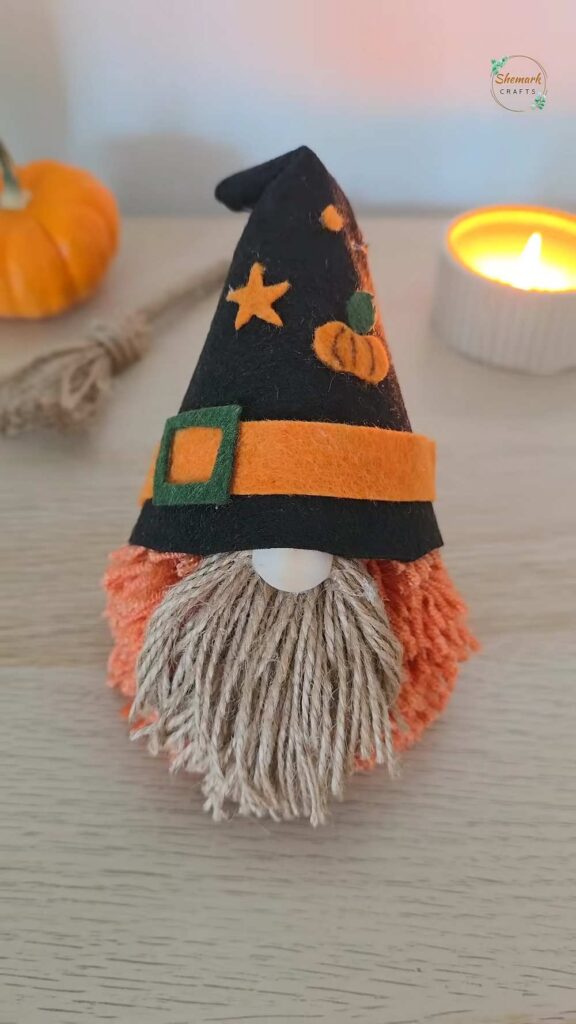
How to Make a Halloween Gnome Plush
Materials Needed:
-
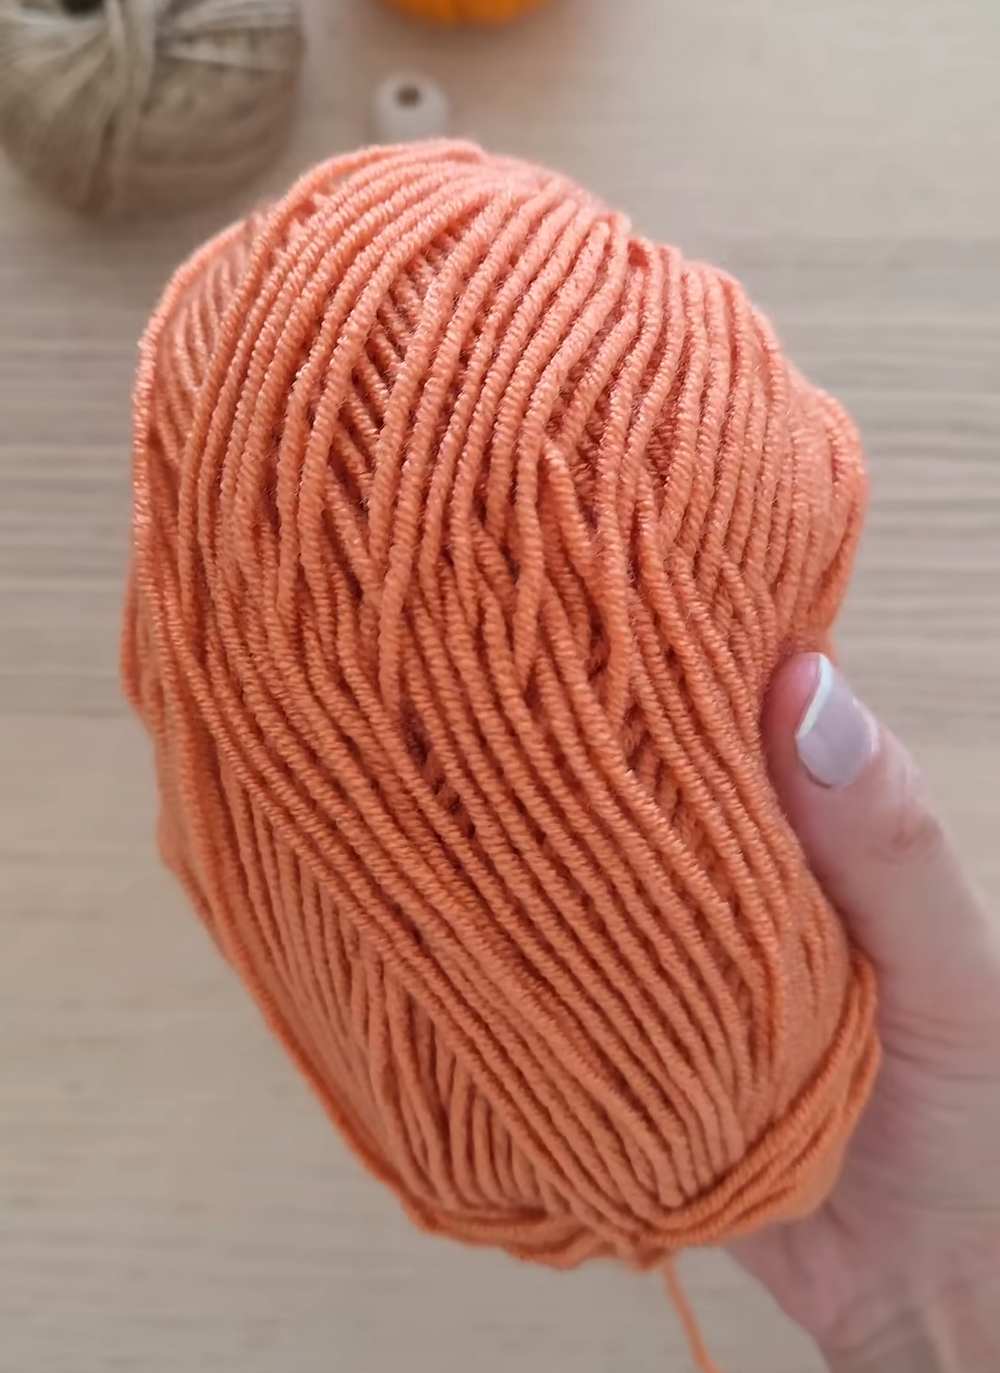
Orange yarn
-
Twine or jute string (brown/natural color)
-
Black felt and orange felt
-
Small wooden bead
-
Cardboard (for wrapping yarn)
-
Scissors
-
Hot glue gun
-
Tweezers
-
Small decorations (star, pumpkin, buckle)
Video Tutorial!
Step-by-Step Instructions
1. Create the Body (The Pom-pom)
-
Take a piece of cardboard and wrap the orange yarn around it many, many times until it is very thick.
-
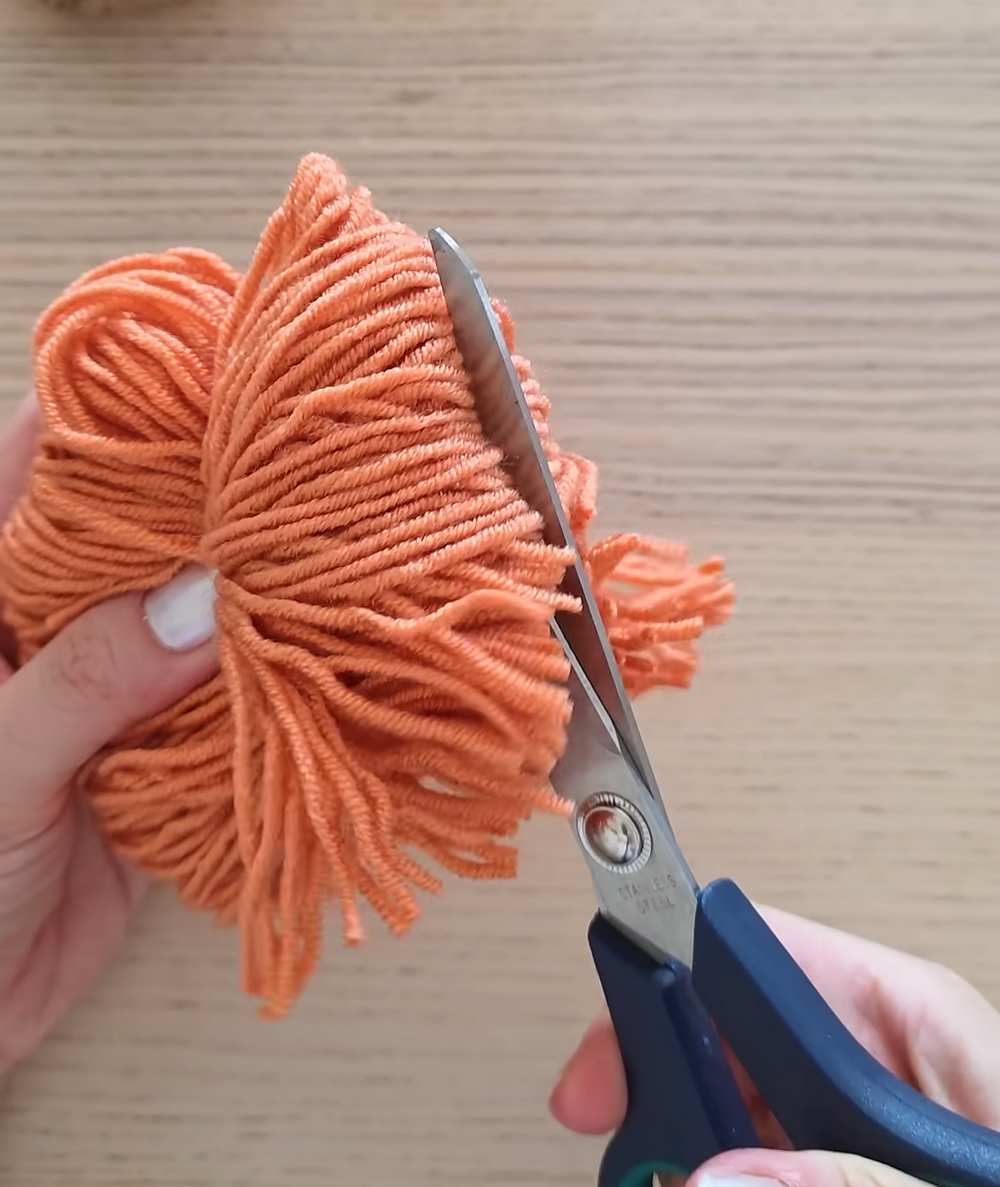
Slide the yarn off the cardboard and tie a piece of string tightly around the middle of the bundle.
-
Cut the loops on both sides with your scissors.
-
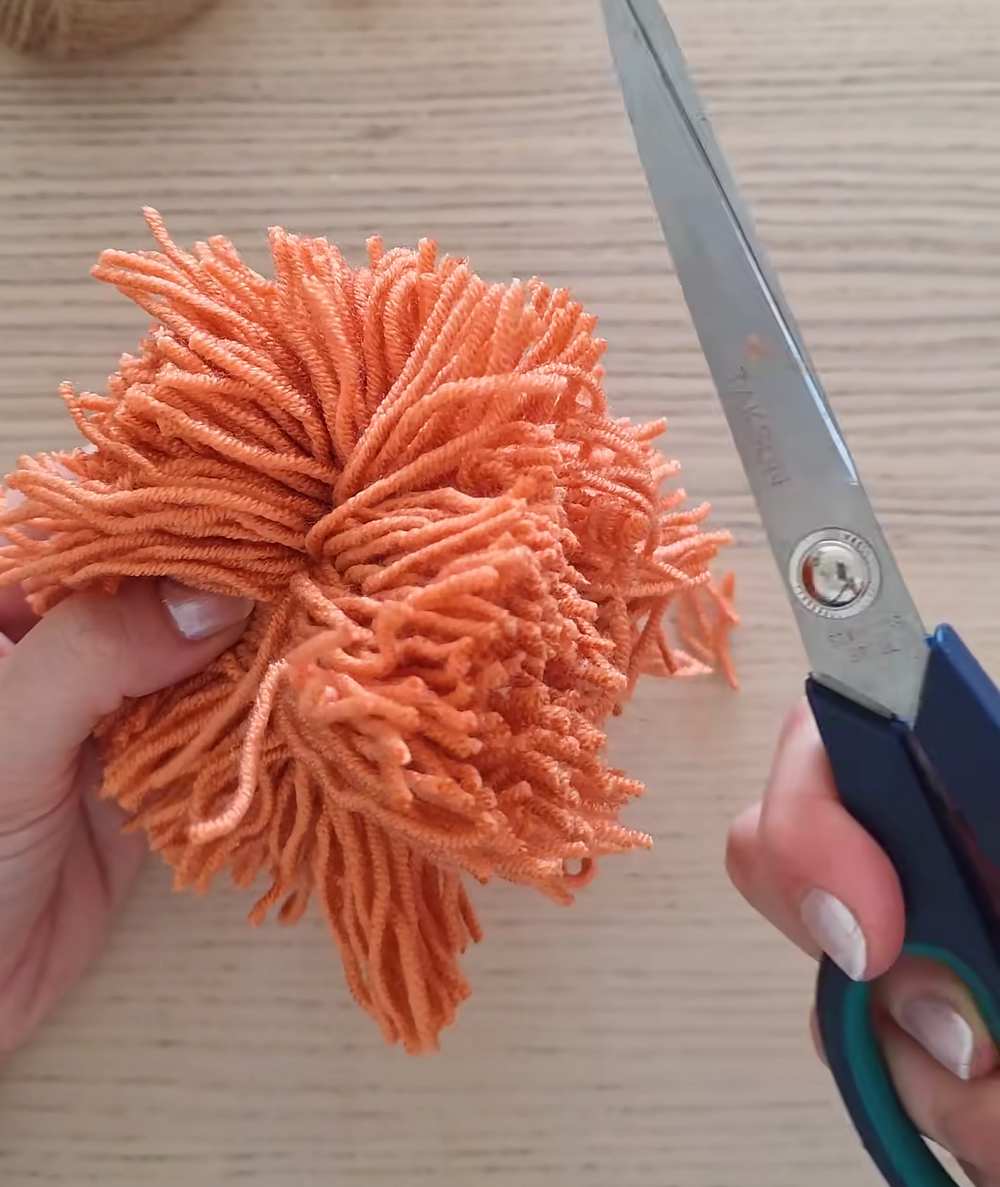
Trim the yarn with your scissors until it forms a nice, round, fluffy ball. This is the gnome’s body.
2. Make the Beard
-
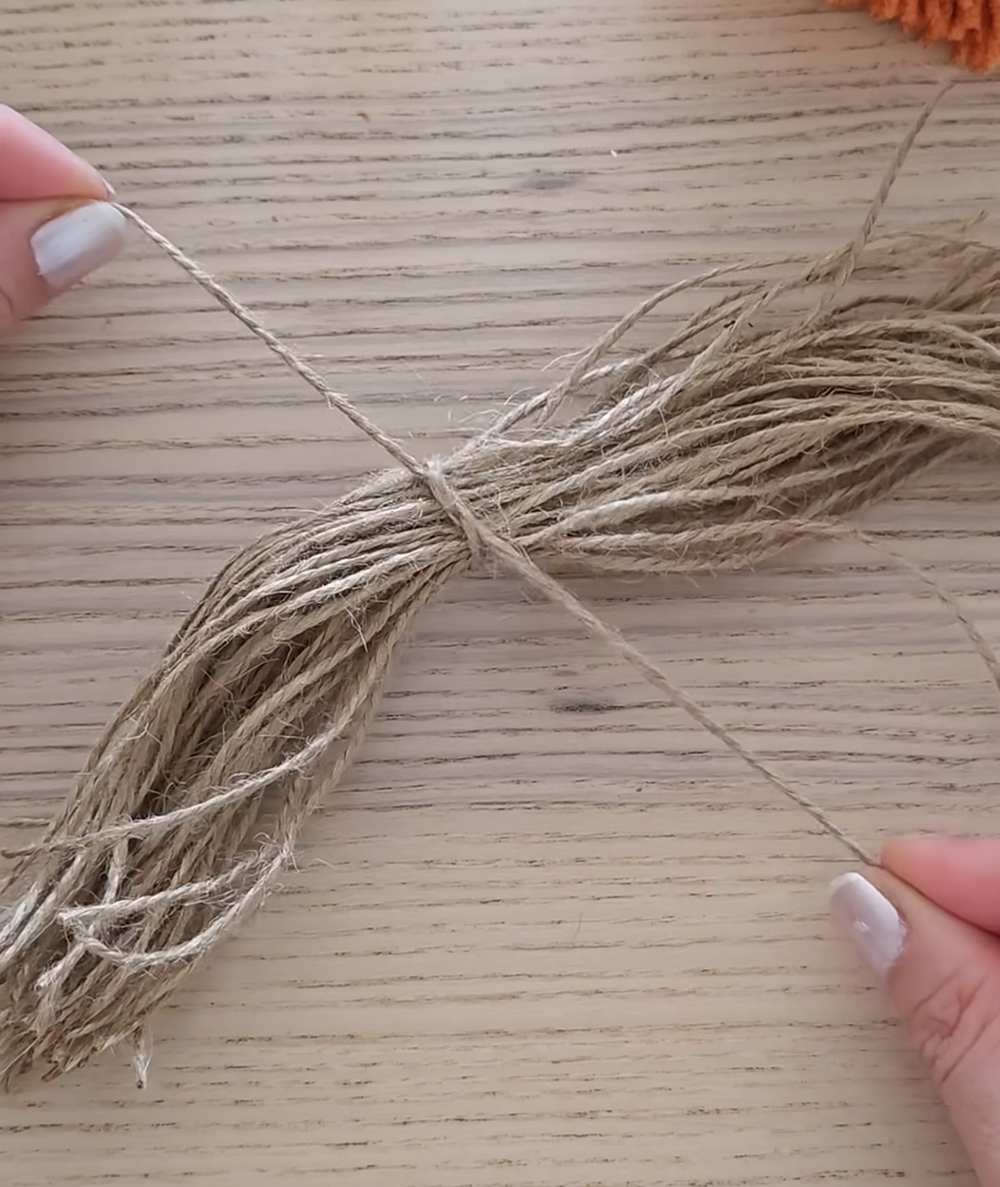
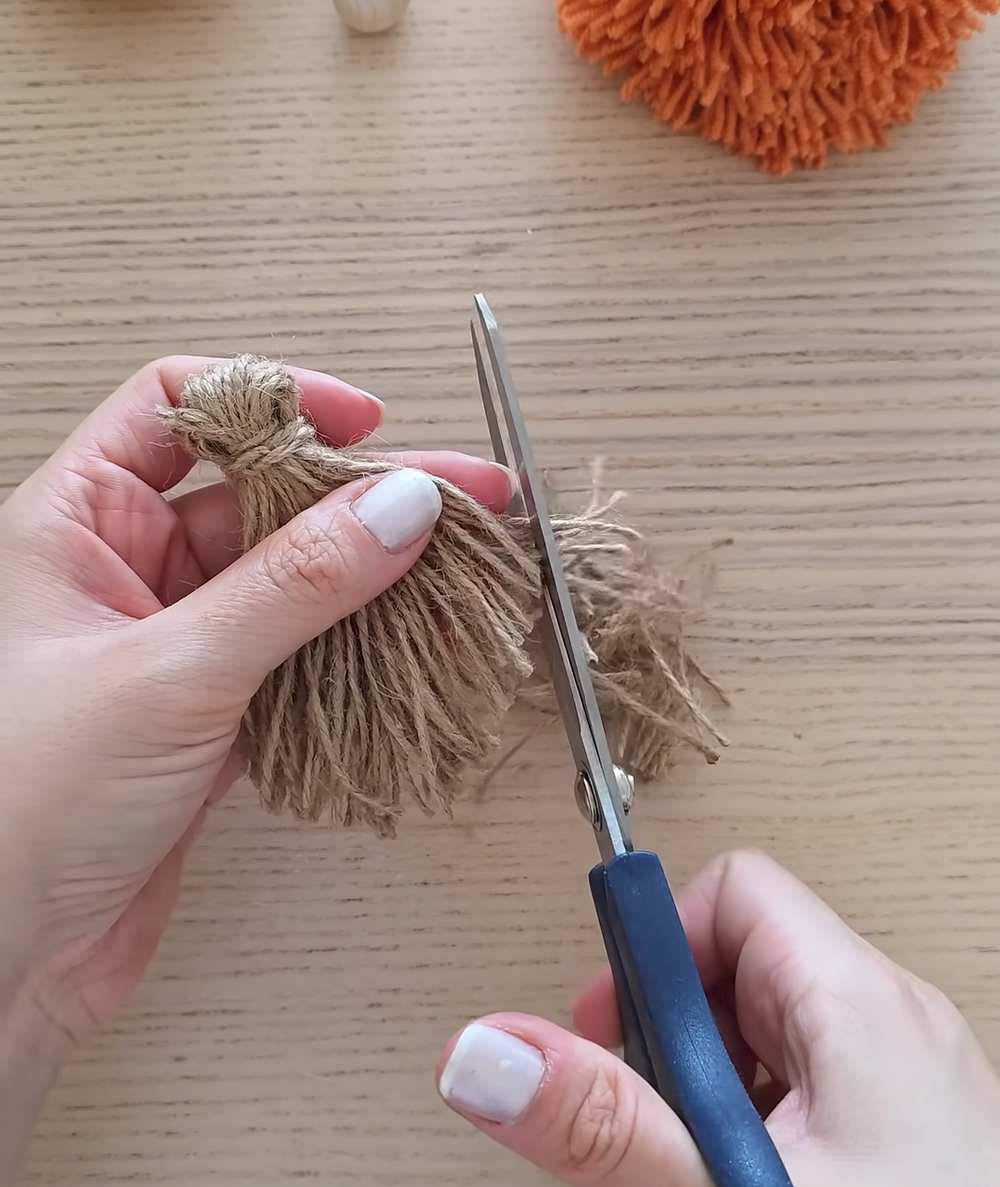
Wrap the twine or jute string around your fingers several times.
-
Tie a knot at the top of the bundle to hold the strands together.
-
Cut the bottom loops so the string hangs down like a long beard.
-
Trim it slightly so it is neat.
3. Prepare the Nose
-
Take a short piece of twine and slide the wooden bead into the center of it. This will be the gnome’s nose.
4. Make the Witches’ Hat
-
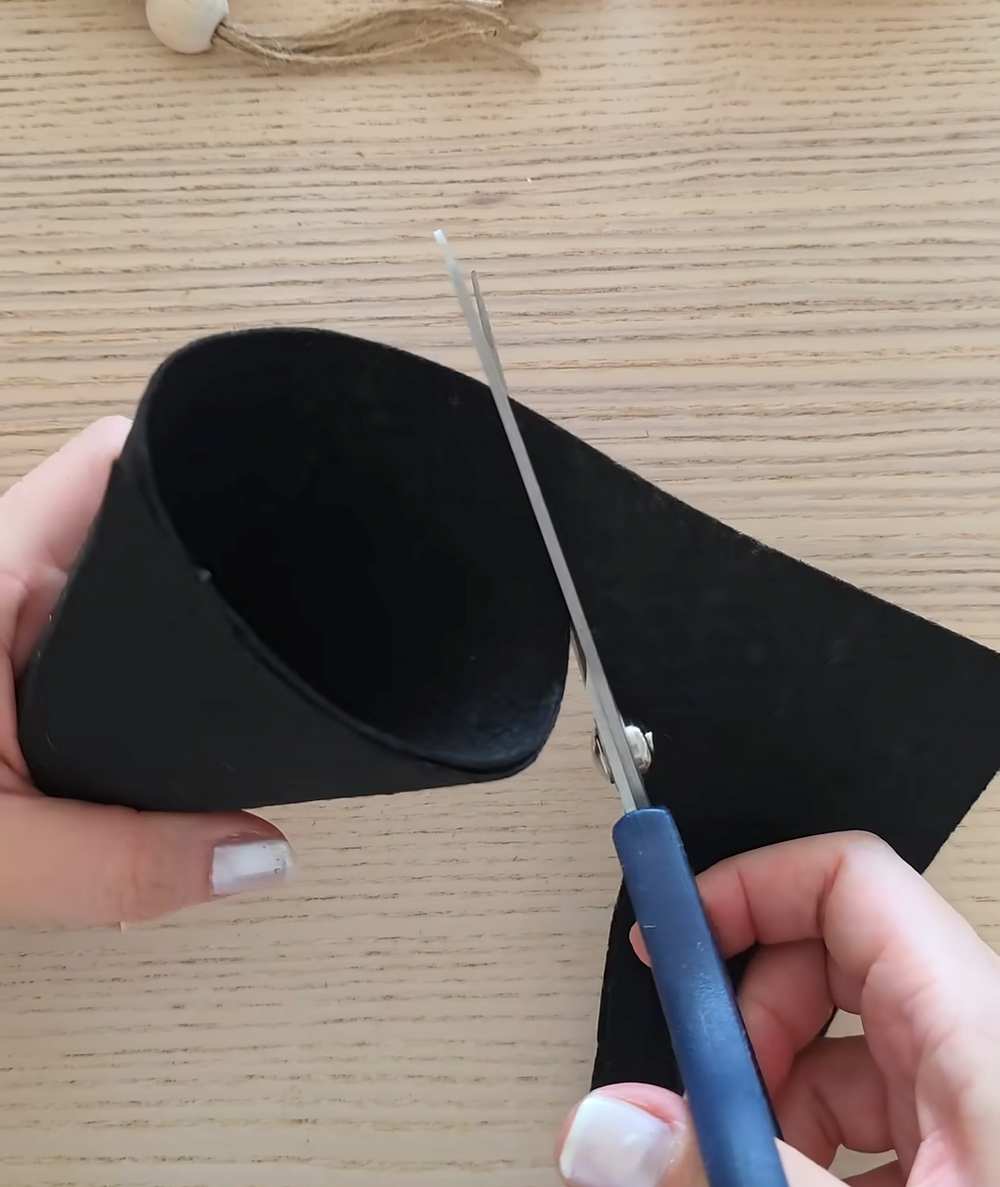
Take a square piece of black felt.
-
Roll it into a cone shape so the top is pointy and the bottom is wide.
-
Glue the edge of the felt down to hold the cone shape.
-
Use scissors to trim the bottom of the cone so it is flat and even.
5. Assemble the Gnome
-
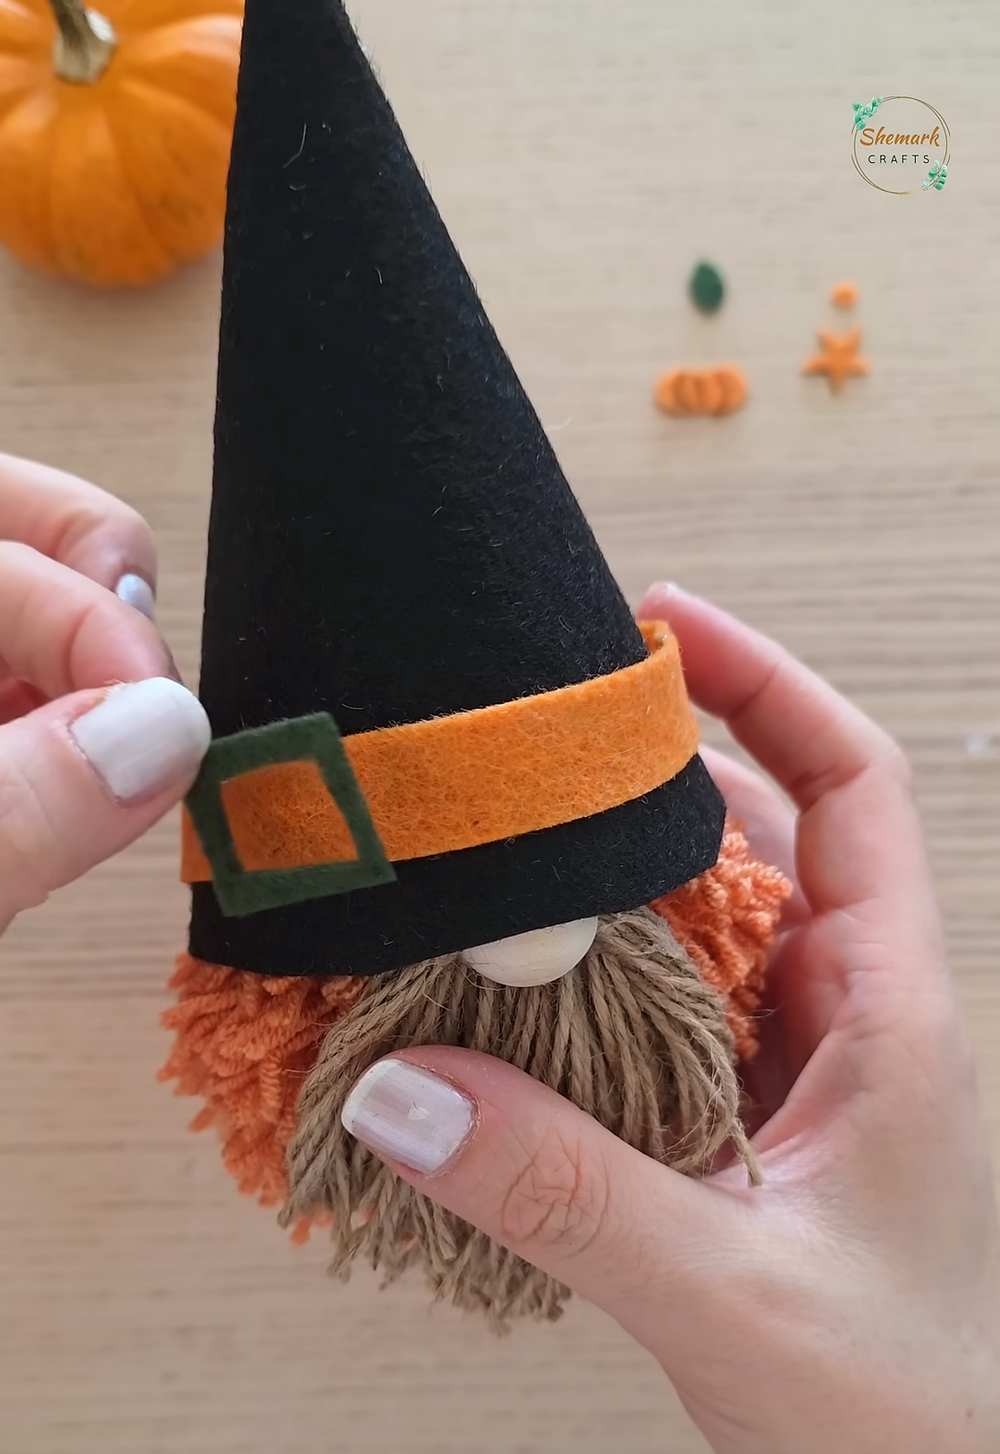
Use the hot glue gun to stick the top of the beard onto the orange pom-pom.
-
Glue the twine with the wooden bead (the nose) just above the beard. The bead should sit right in the middle.
-
Apply glue to the inside rim of the black hat and place it over the pom-pom and the top of the beard/nose.
6. Decorate the Hat
-
Cut a thin strip of orange felt and glue it around the base of the hat like a ribbon.
-
Glue a small green felt square (the buckle) onto the orange strip.
-
Use tweezers to carefully glue on small decorations like a star, a pumpkin, or little orange dots.
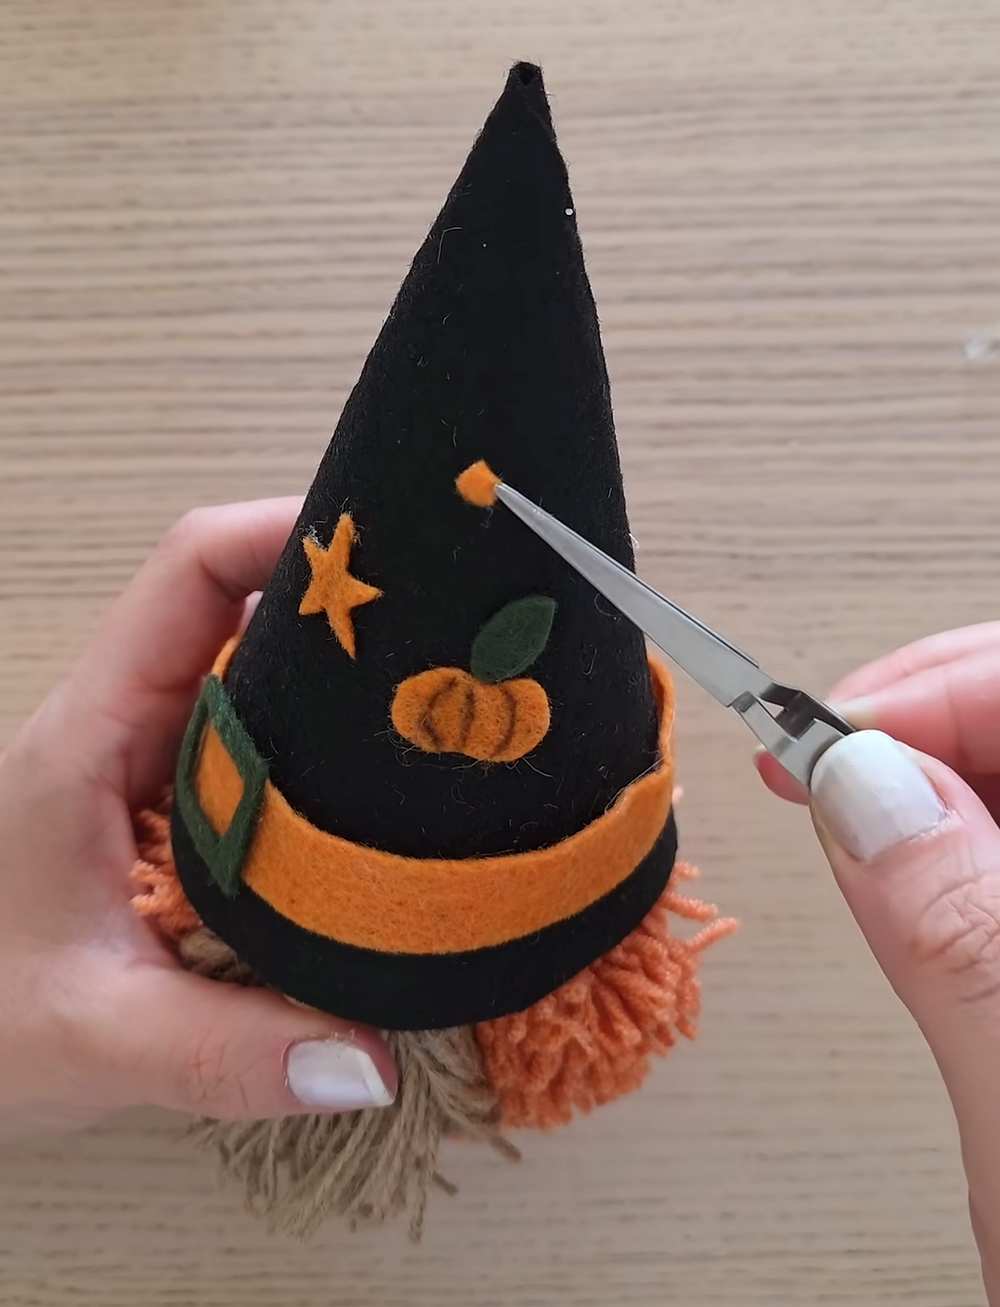
Your Halloween gnome is now ready to decorate your home!