
Subscribe to FishMamaStudio!
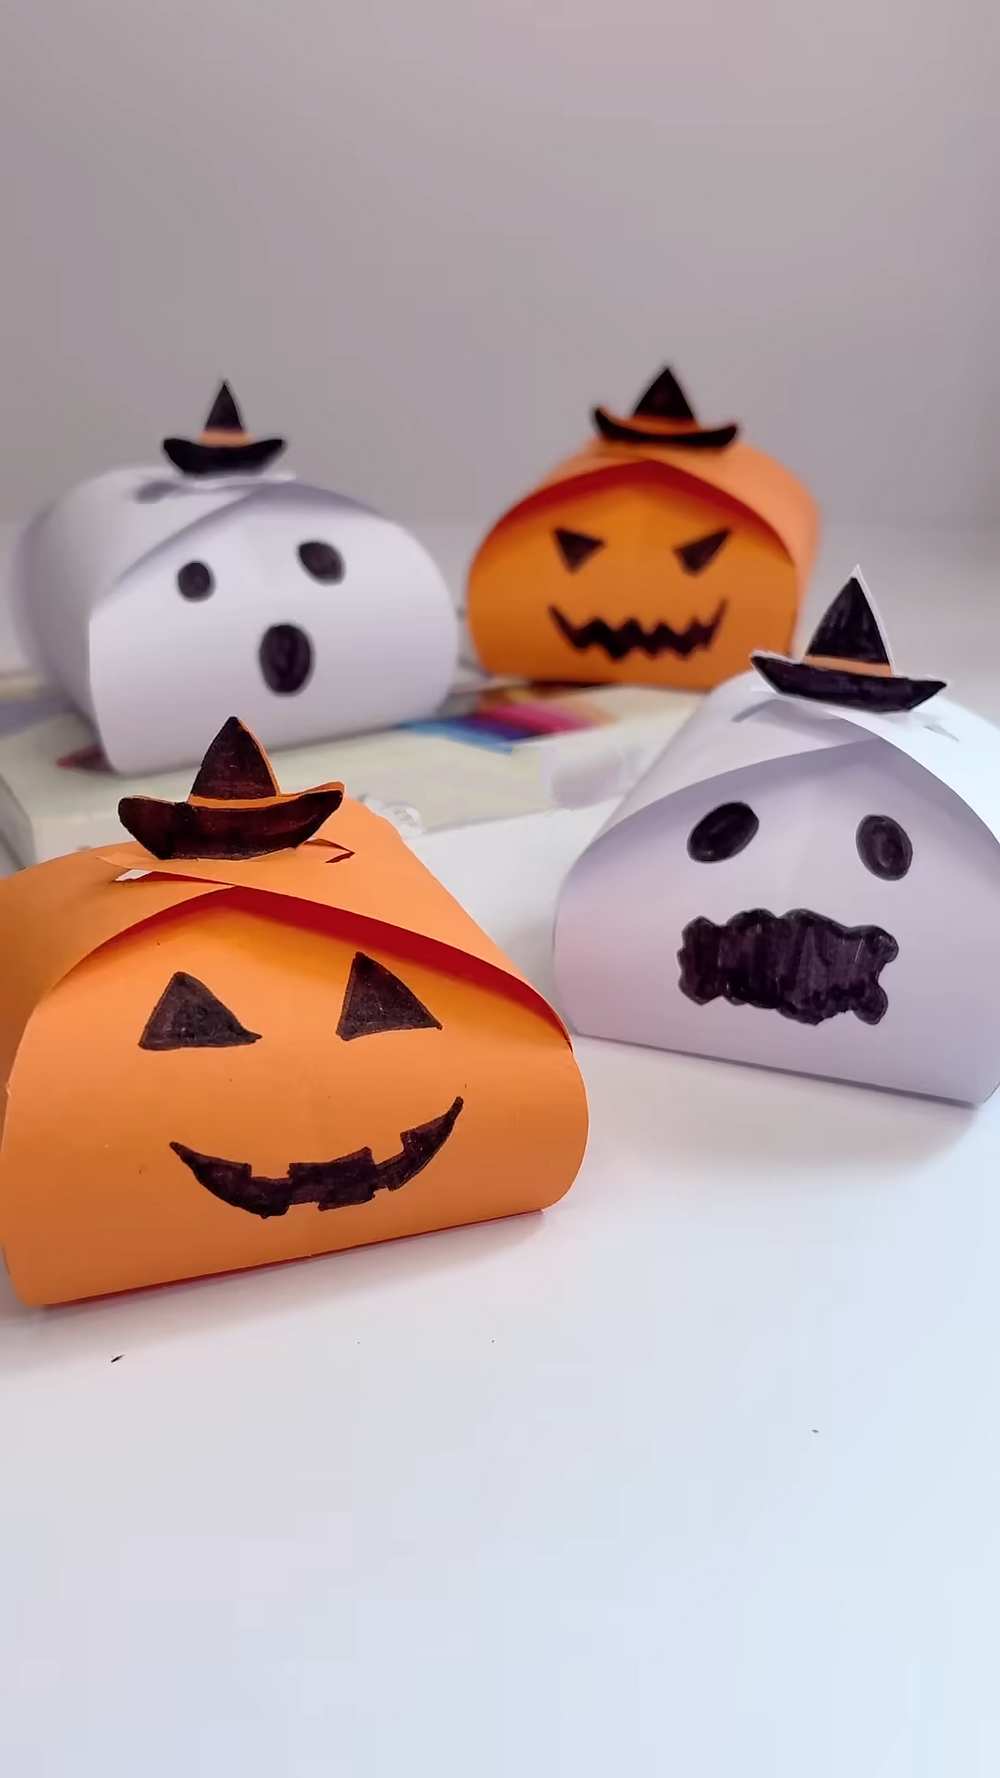
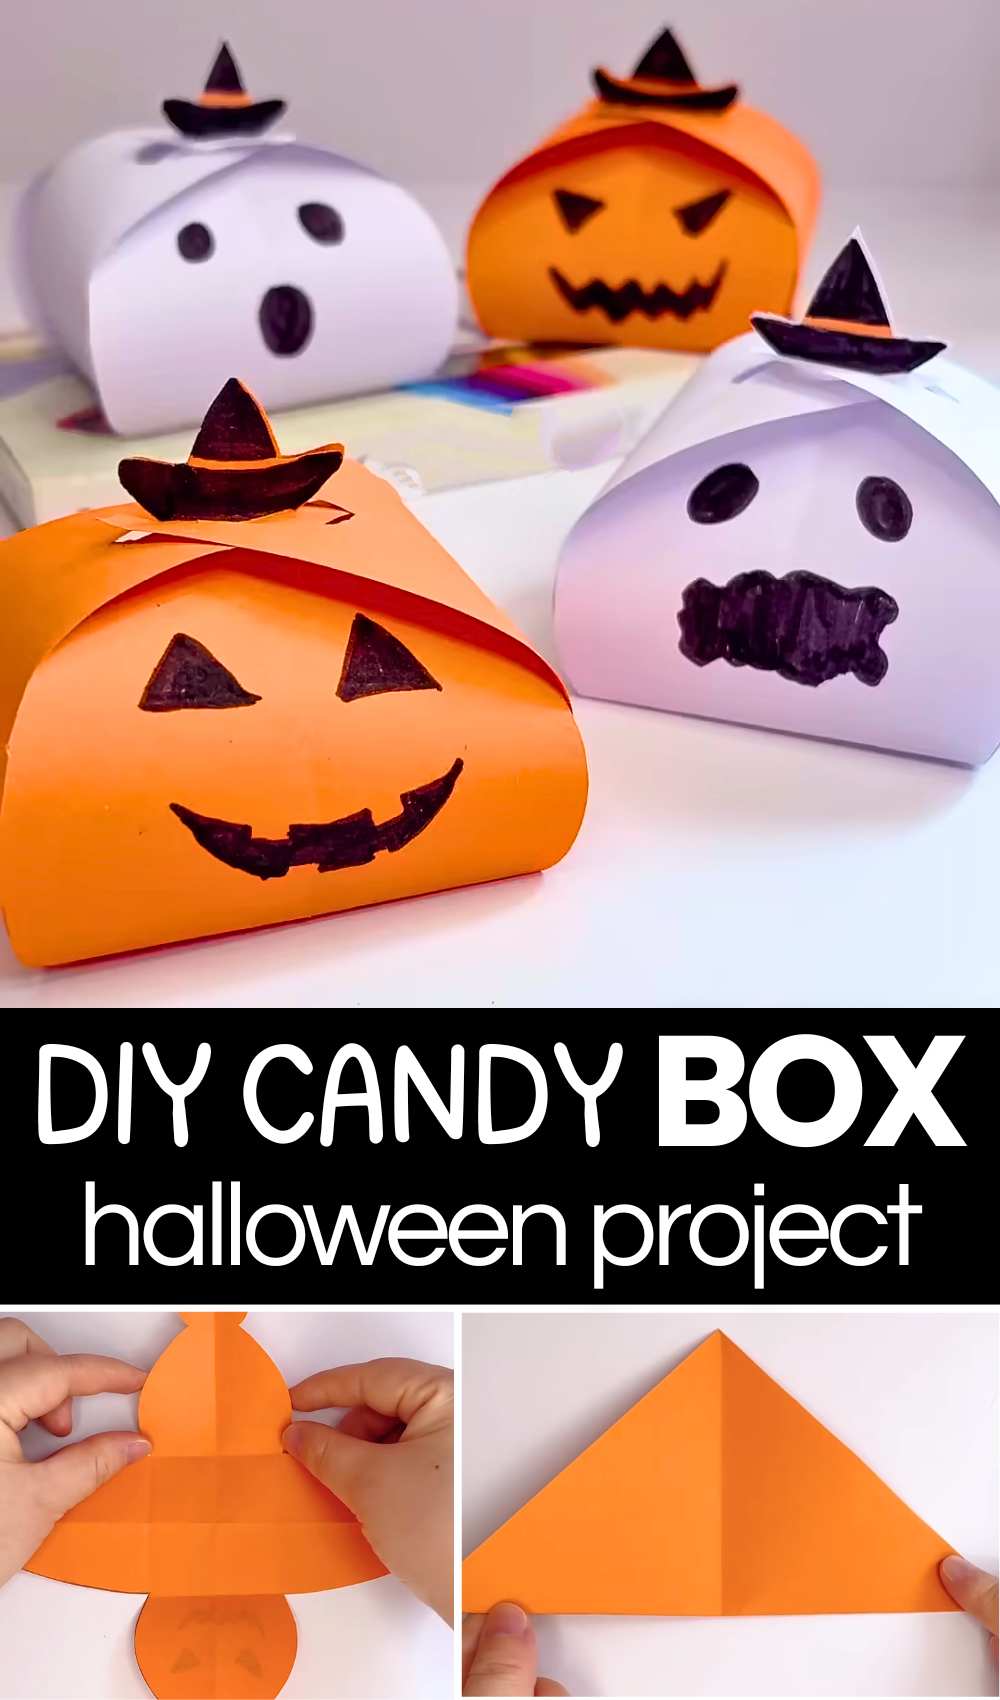
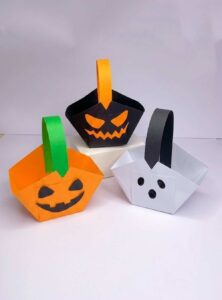
In today’s tutorial, learn another CREATIVE method to DIY a Halloween candy box with just construction paper, colors, and scissors. These are designed more as Halloween gift boxes than treat baskets, unlike the ghost and pumpkin treat baskets you learned how to DIY in the last tutorial. You can either fold a BOO basket into a witch hat or the jack-o-lantern box again, wearing a witch hat.
This is a cut-and-fold Halloween craft, so I have also included the Printable Template for cutting the origami triangle base into the fold-ready candy box.
With the clever cutting pattern, it will have a built-in closing mechanism supported by the hats of the boxes. You can also turn these origami boxes into Halloween table decorations. Anyway, continue reading to learn more about this last-minute Halloween candy box activity for both kids and adults.
Tutorial to DIY A Treat Box For Halloween Craft
Making these paper baskets will be fun for everyone. You need orange or white paper. First, fold the paper into a triangle. Use scissors to cut a special shape with the help of the Printable. Open the paper and draw a face. Use a black marker for the eyes and mouth. Fold the sides to the center. Put one side into the other side.
This makes a small box. You can use it to hold candy. It is very easy to do. You can make a pumpkin or a ghost. These baskets are great for Halloween. Kids like to make them. They are cute and small.
Detailed Guide to Making Halloween Paper Baskets
Materials You Will Need:
-
Square pieces of colored paper (Orange for pumpkin, White for ghost).
-
A black marker.
-
Scissors.
Video Tutorial?
Step-by-Step Instructions:
1. Fold the Paper
-
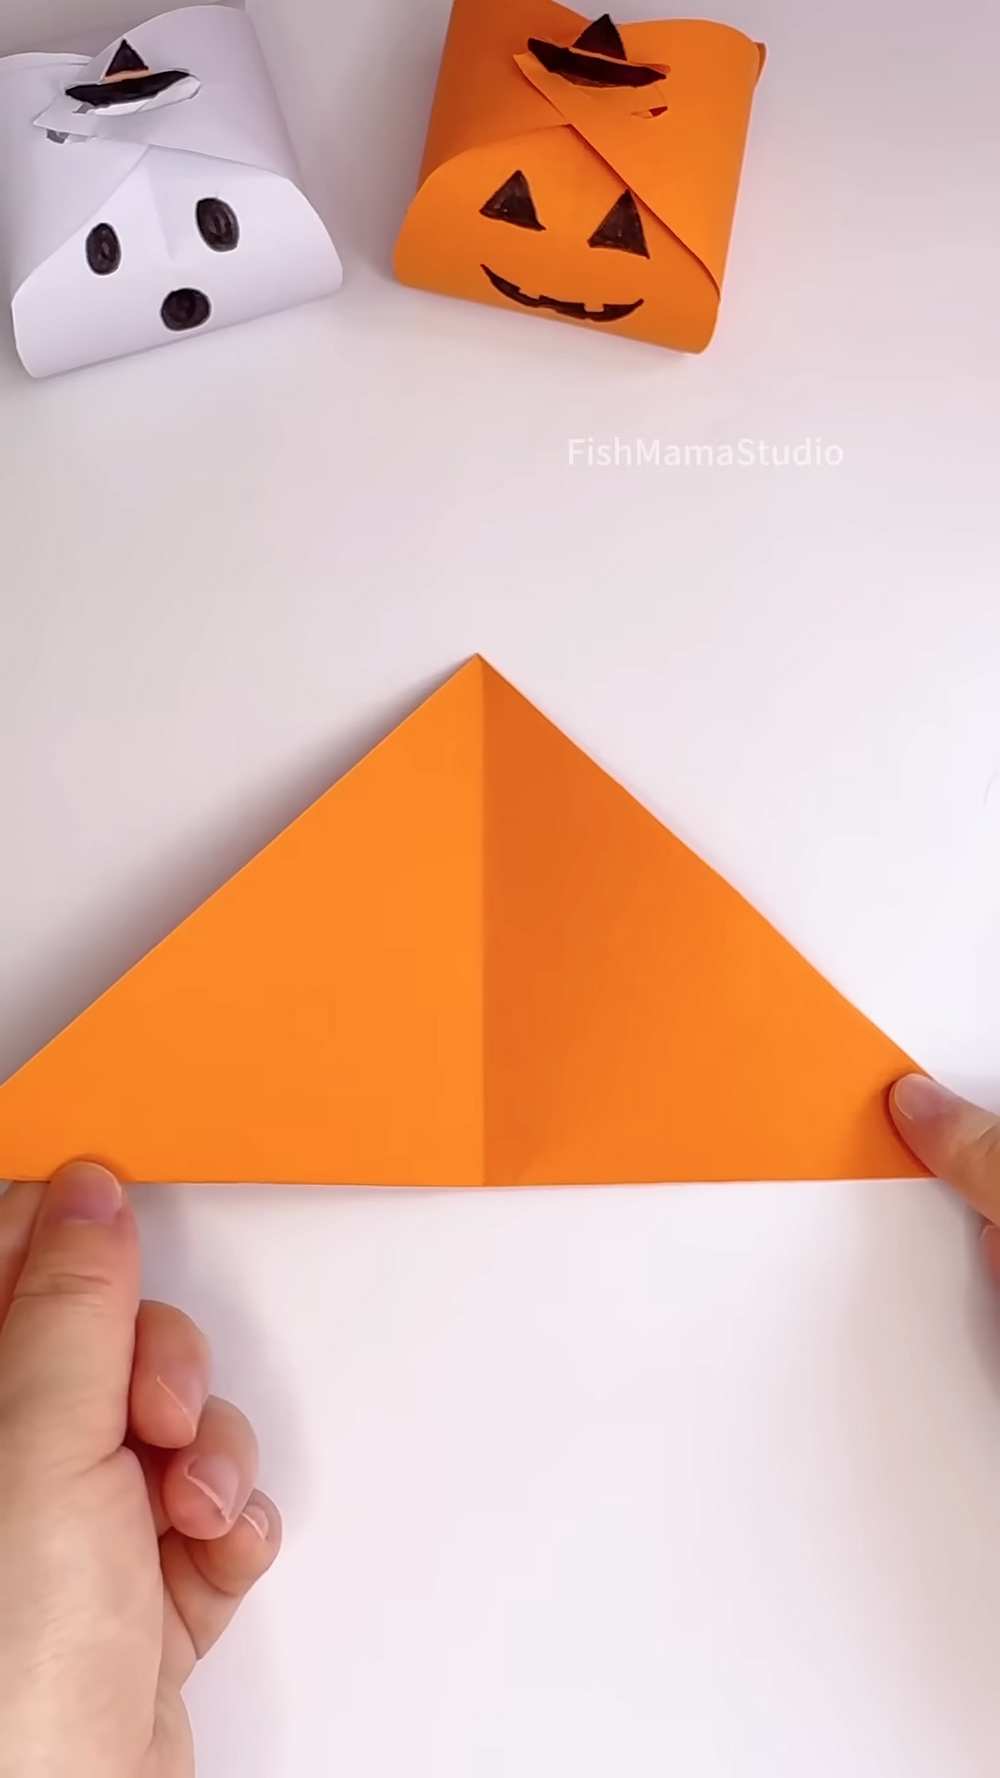
Take your square piece of paper and fold it in half diagonally to create a large triangle.
- Fold it in half again along the vertical line like below!
2. Draw the Shape
-
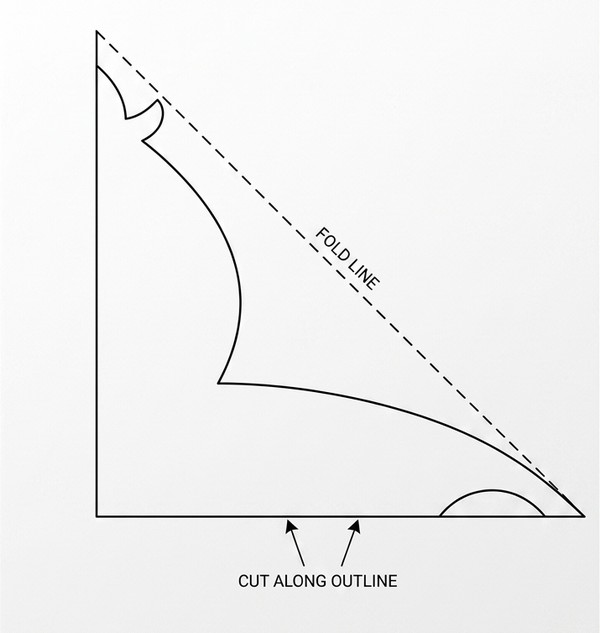
Keep the paper folded. Use a pencil or marker to draw the following shape in the same position with the help of the Printable!
3. Cut the Paper
-
Cut along the line you just drew.
-
When you unfold the paper, it should have two identical opposite flaps. On the top and the bottom flaps, we have the witch hat, and on the left and right sides, we have two elliptical holes that will let you close the box.
4. Draw the Face
-
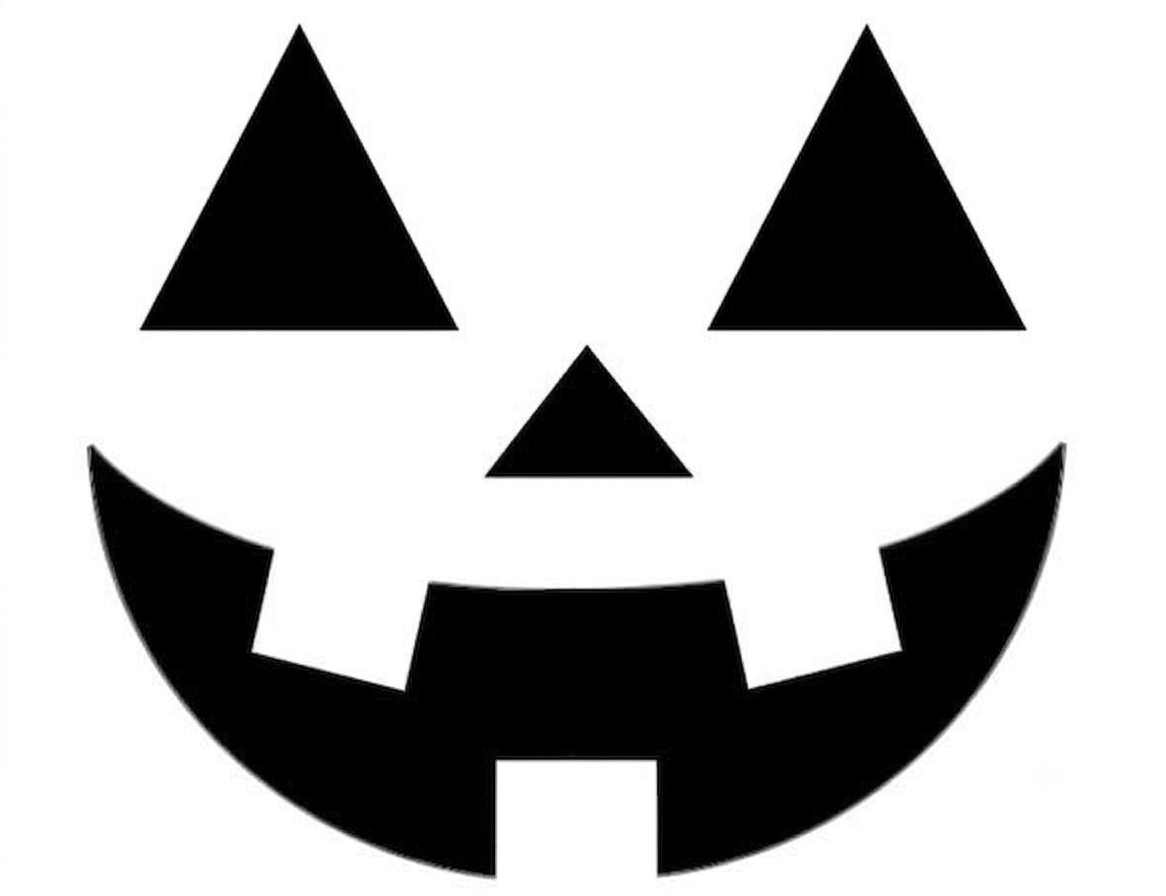
On the top flap, use your black marker to draw a spooky or happy face on the top flap that has the witch hat.
-
For a pumpkin: Draw triangle eyes and a zigzag mouth.
-
For a ghost: Draw large oval eyes and a round mouth.
- Bring the upside of the paper down!
5. Create the Base
-
Assuming a square in the middle, you will fold each flap (curved parts). For example, fold the top flaps along the horizontal while the side flaps along the vertical.
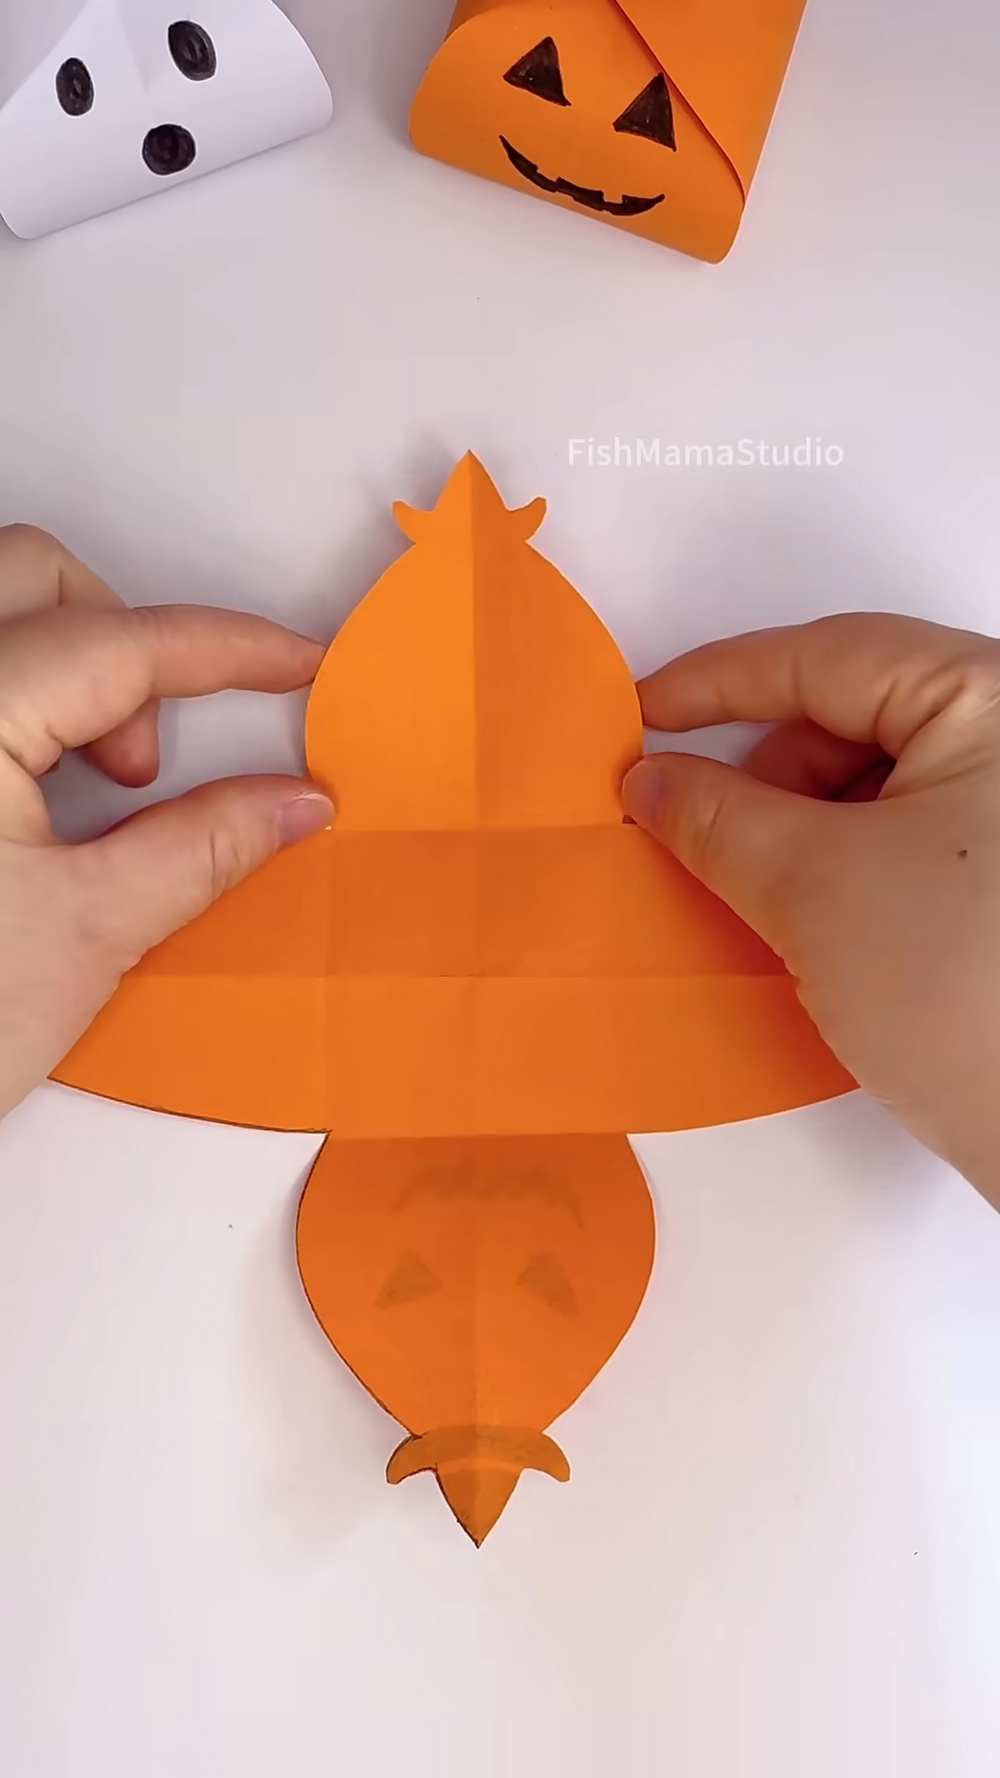
Now fold the top and the bottom flap towards each other along the crease and let their corners meet.
6. Fold the Side Flaps
-
Take the left side flap and fold it toward the center.
-
Take the right side flap and fold it toward the center, overlapping the first flap.
7. Lock the Basket
-
The flaps have a small slit or a shape that allows them to tuck into each other.
-
Carefully tuck one flap into the joined part of the witch hat. This will pull the sides up and create a “pouch” or basket shape. Be sure to also insert your candies before you do so!
8. Final Details
-
You can glue a small black paper hat on top or draw a green stem.
-
Your basket is now ready! You can fill it with small candies or treats.