
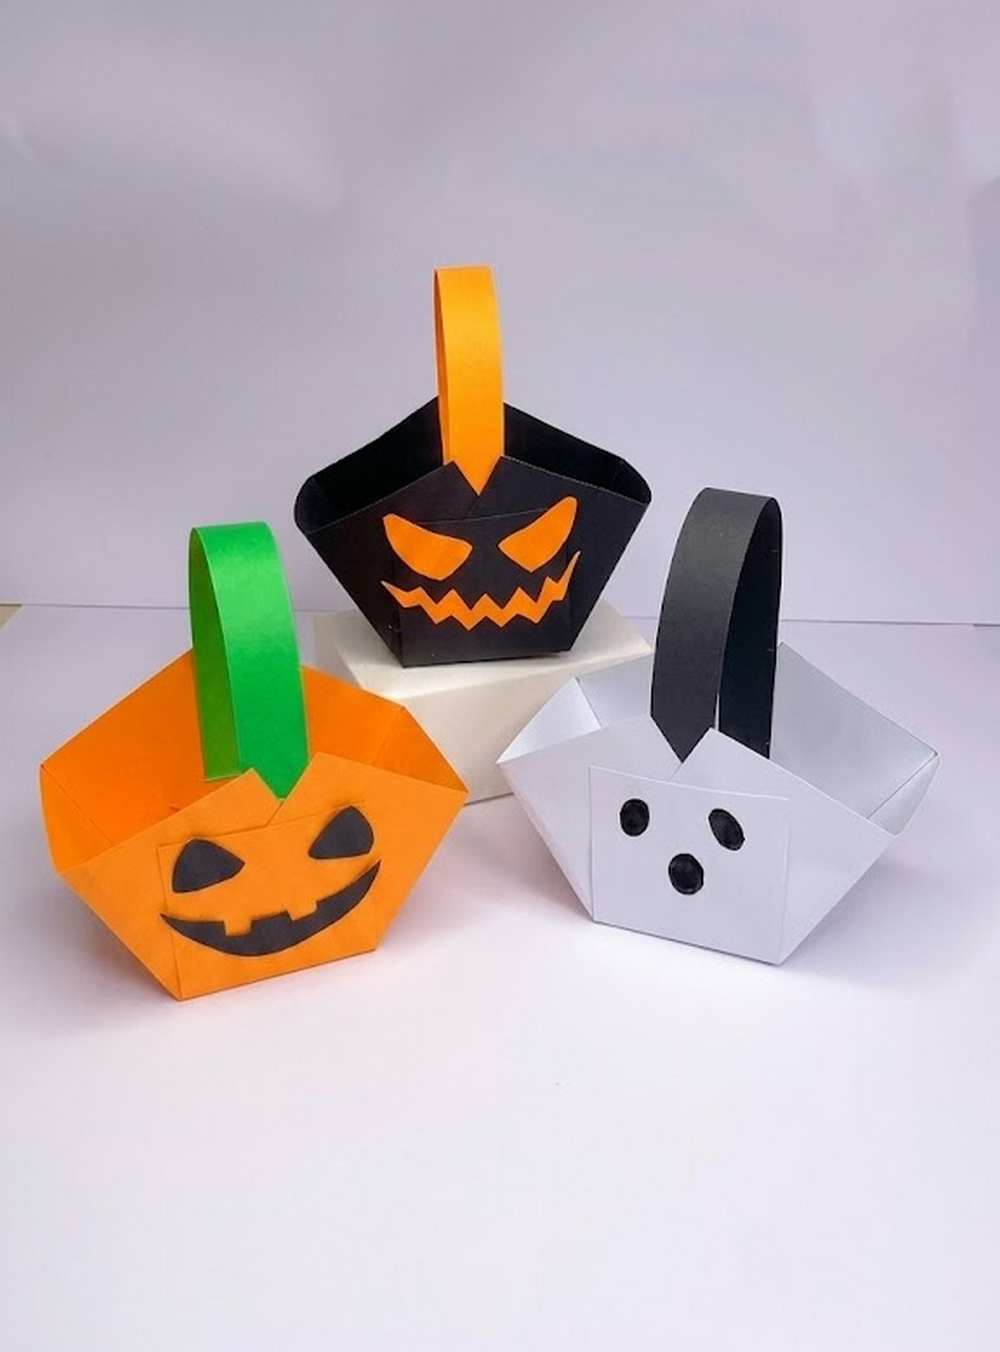
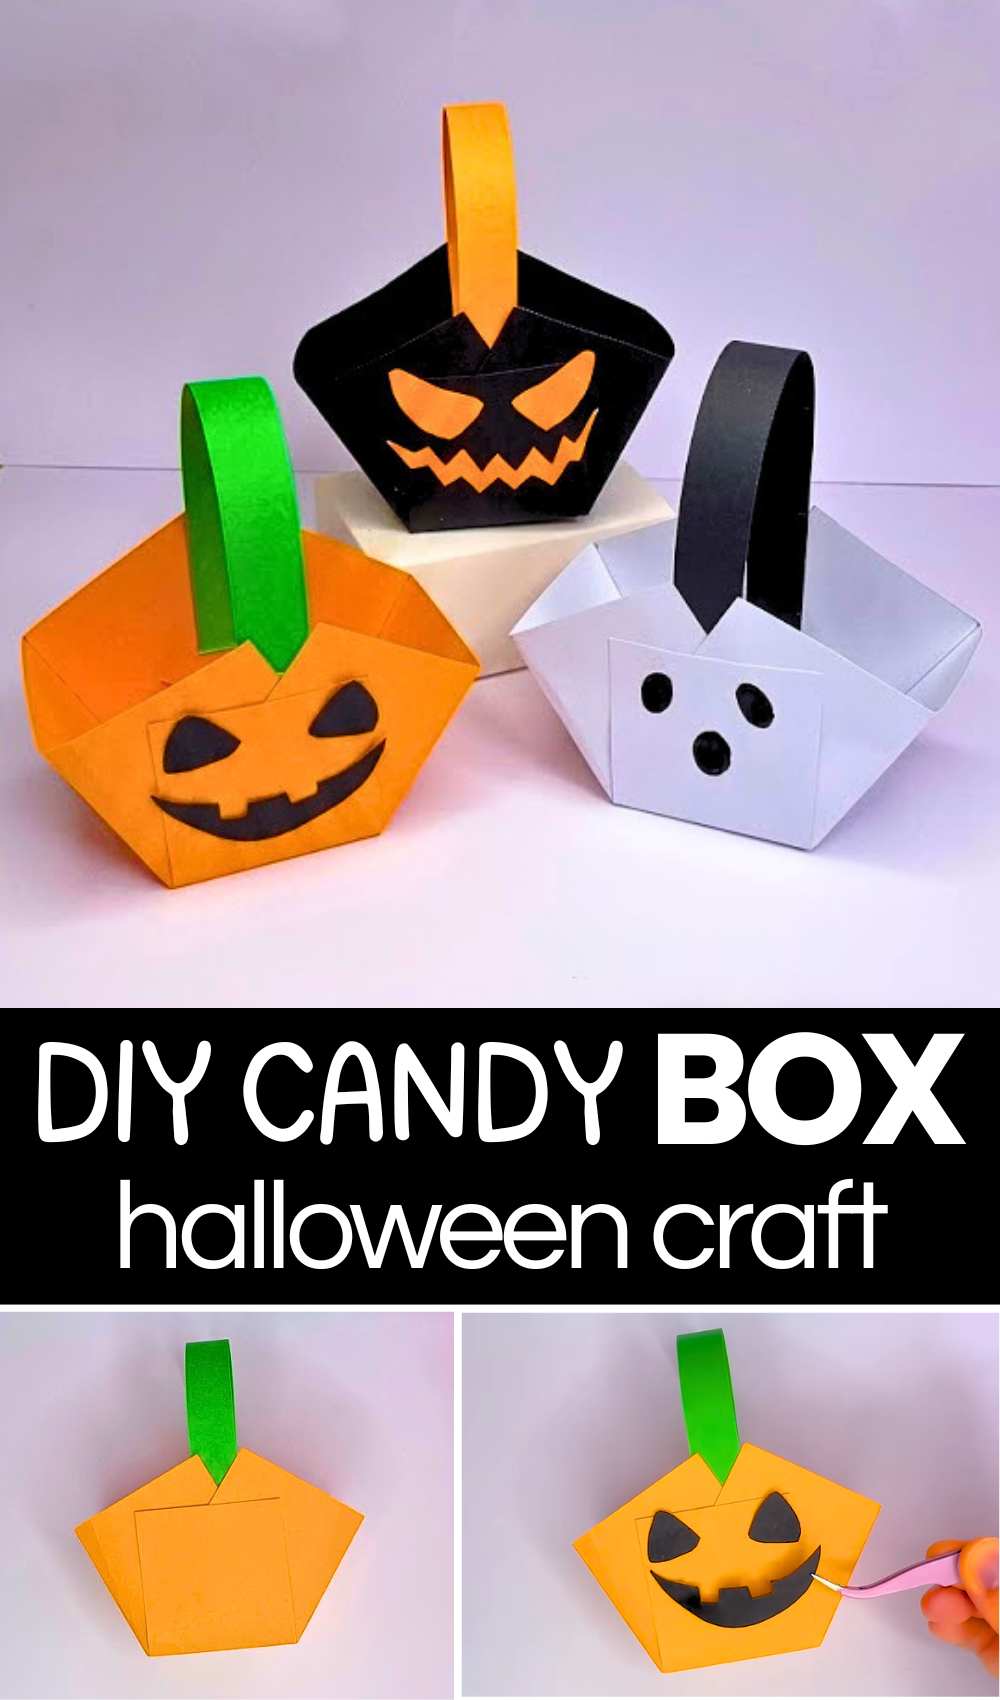
This Halloween, let the kids gather and carry their treats in these small paper baskets with a handle following a step-by-step 3-in-1 tutorial! This is a Halloween character face basket, including an orange jack-o-lantern pumpkin, an ultra spooky black jack-o-lantern pumpkin, and a BOO ghost basket.
Be sure to make all 3 trick-or-treating baskets using Tant paper (avoid Kami for a more functional and durable basket). The easiest one of these paper baskets is the black-and-white ghost basket.
You can fold this origami basket in less than 5 minutes using just the basic folds. This is a cut-and-fold Halloween box craft you should definitely make this year for kids. Now, continue reading to learn more about this 5-minute Halloween craft that is functional, cute, and decorative, too.
![Craft & Gift these Foldable Paper Pumpkins [FREE PRINTABLE TEMPLATE]](https://craftshive.com/wp-content/uploads/2026/07/fall-11-300x229.jpg)
Tutorial to Make 3 Halloween Baskets for Kids
These DIY Halloween baskets are a fun project for kids and adults. You can use them to hold small candy or treats. You only need paper, glue, and scissors to make them. To start, you take a square piece of paper and fold it into nine small squares. Then, you cut four lines in the paper.
You fold the sides up and glue them together to make a box shape. Next, you add a long piece of paper for a handle. Finally, you give the box a face like a pumpkin or a ghost. It is very fast and easy.
Detailed Instructions for Halloween Baskets
What You Need:
-
15cm Square paper (Orange, White, or Black)
-
A strip of paper for the handle (Yellow or Green)
-
Scraps of black paper for the face
-
Glue
-
Scissors
Video Tutorial?
Step 1: Fold the Paper
Take your square piece of paper. Fold it into thirds horizontally, then fold it into thirds vertically. When you open it, you should see a grid of 9 small squares (3 rows and 3 columns). This makes sections of 5cm by 5cm area.
Step 2: Make the Cuts
Look at the grid. On the top row, cut the two vertical lines that separate the squares. Do the same on the bottom row. You should have two flaps at the top and two flaps at the bottom, but the middle row should stay connected.
Step 3: Shape the Basket
Take the two corner flaps on one side and fold them toward the middle square. Overlap them slightly so they form a “V” shape or a point. Apply glue and press them together. Do the same thing on the other side. Now you have a basket shape! Glue the other remaining flaps over, making the sides!
Step 4: Attach the Handle
Take your long, thin strip of paper. Put a small amount of glue on each end. Stick one end to the inside of one side of the basket, and the other end to the opposite side. Press firmly so it stays in place.

Step 5: Decorate the Face
Cut out shapes from your black paper. For a pumpkin, cut triangle eyes and a jagged mouth. For a ghost, cut round eyes and an oval mouth. Glue these onto the front of your basket.
Your Halloween treat basket is ready to be filled!