
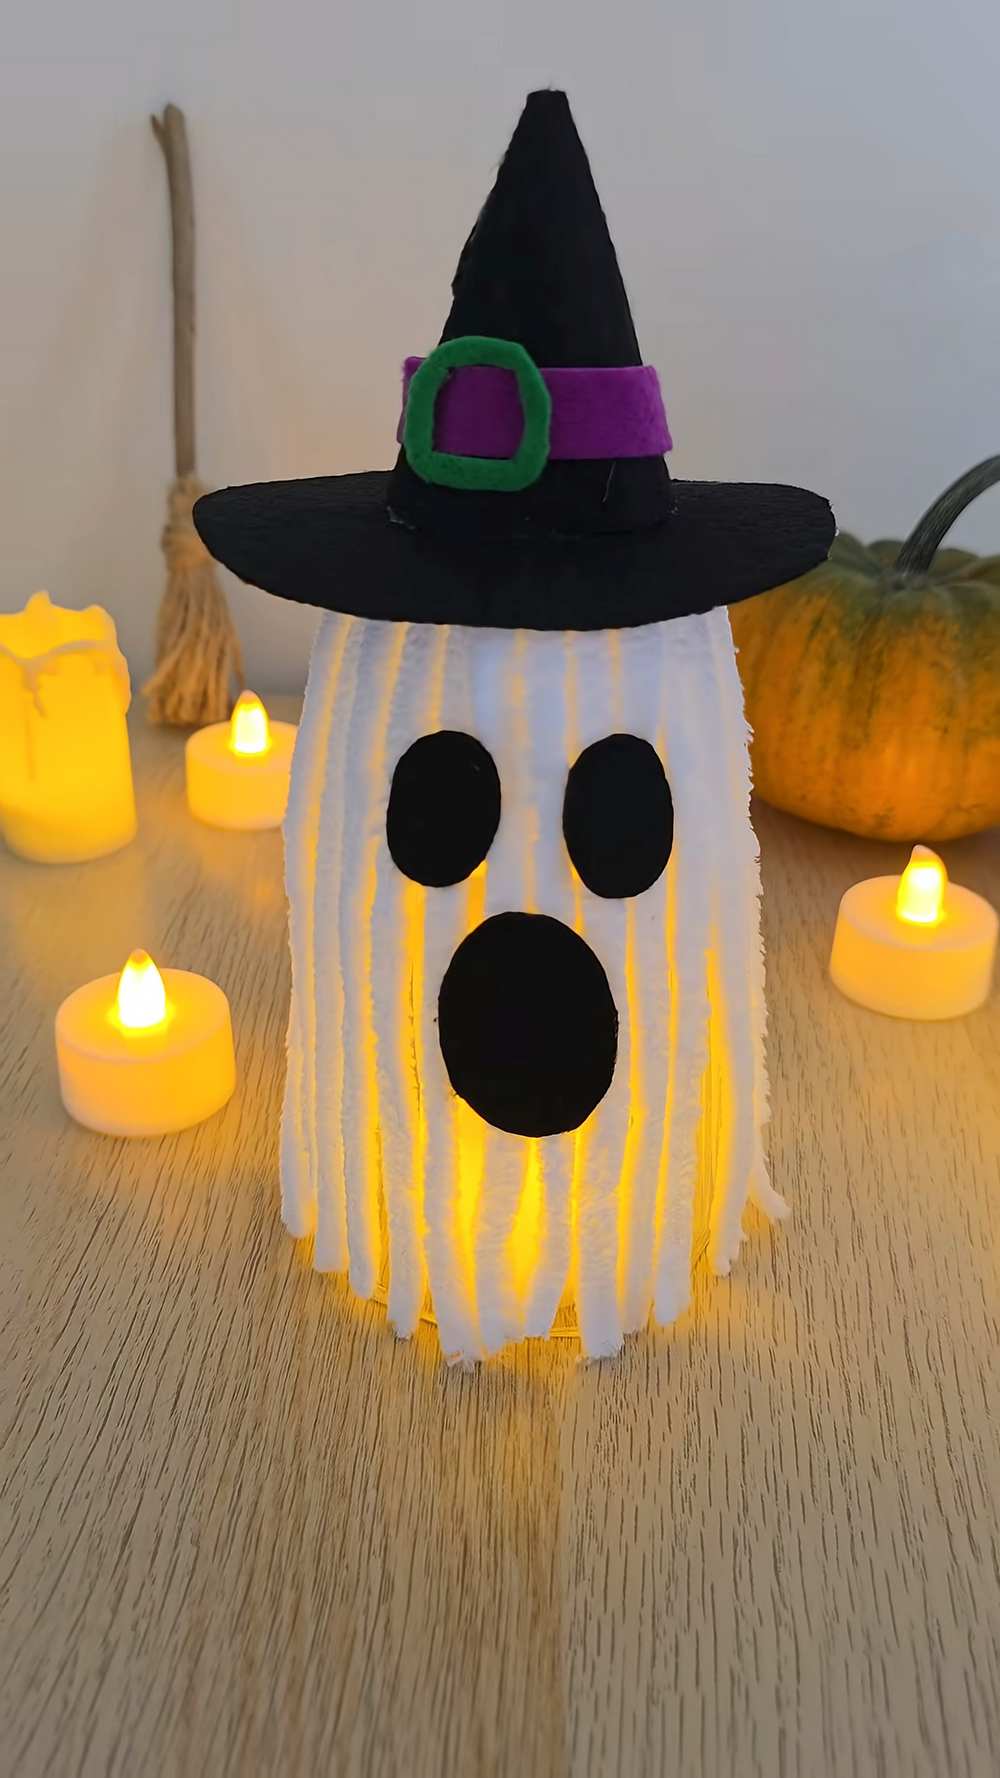
Looking for the CLEVEREST yet FASTEST way to make a DIY ghost lantern? Learn how to DIY this spooky ghost in a witch hat lantern using just your white chenille stem scraps, a water glass, and some felt pieces!
This way of making a ghost plushie is even easier than the chenille stem ghost plushie and makes a perfect lantern. Putting this Halloween decoration lantern together won’t require more than 10 minutes.
This is also a perfect glass cover during the Halloween party the night before serving. The spaces between the yarn pieces will glow much more beautifully, and you can place some outside to call for trick-or-treaters.
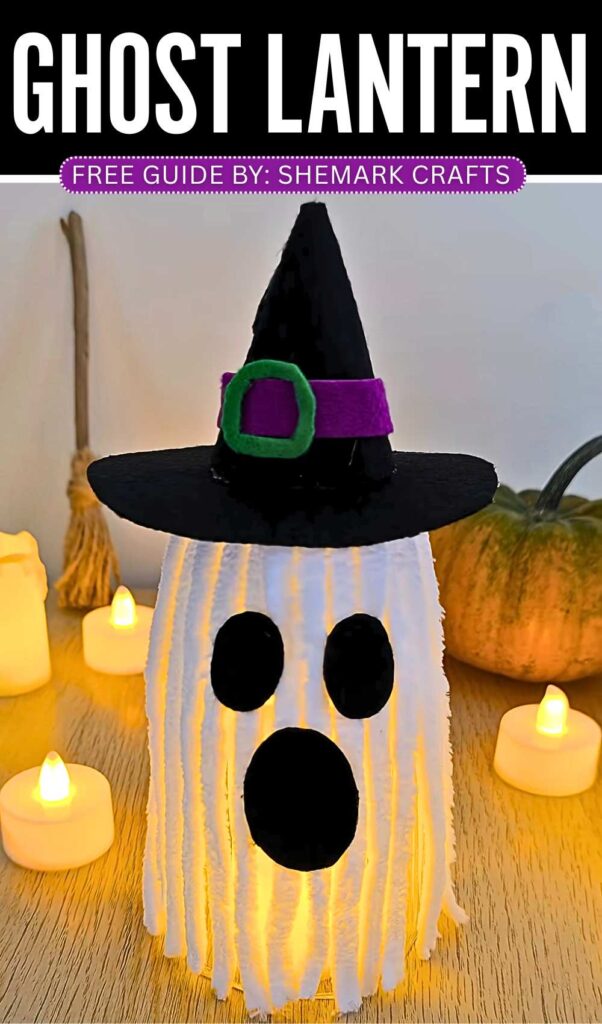
Tutorial to Make A Spooky BOO Halloween Lantern
Making a ghost light is very fun. You can make it for a party. You need white pipe cleaners or chenille yarn, felt, and a cup. First, put glue on the bottom of a cup. Stick long white pipe cleaners on the cup. Let them hang down the sides. Take the white pieces off the cup.
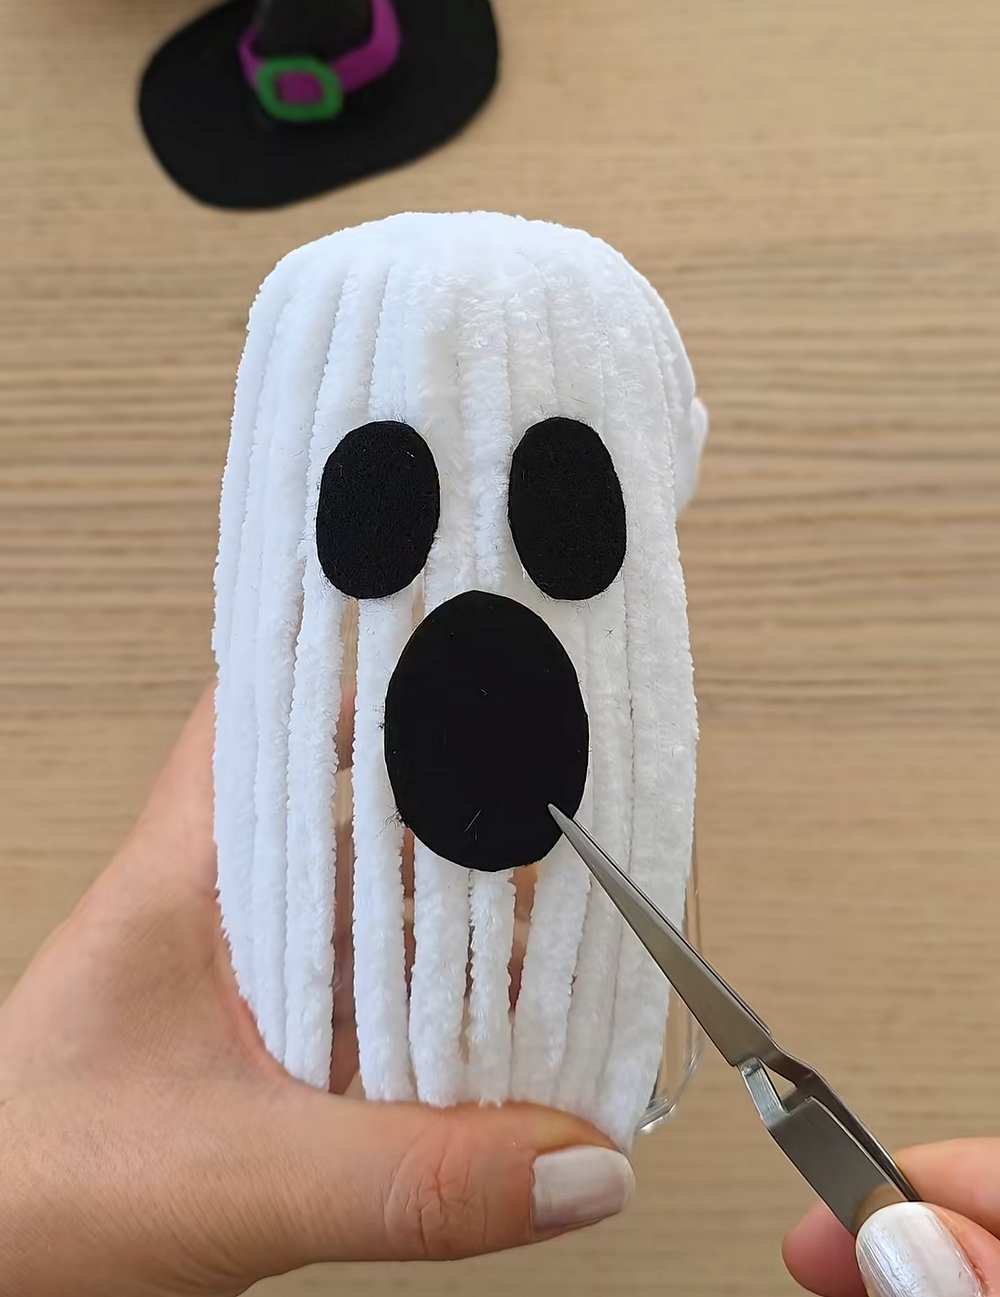
Now it looks like a ghost. Cut black felt to make eyes and a mouth. Glue them on the ghost. Use black felt to make a hat. Put a purple strip on the hat. Glue the hat on the ghost’s head. Put a small light inside. It will glow. It is very cute and easy to do.
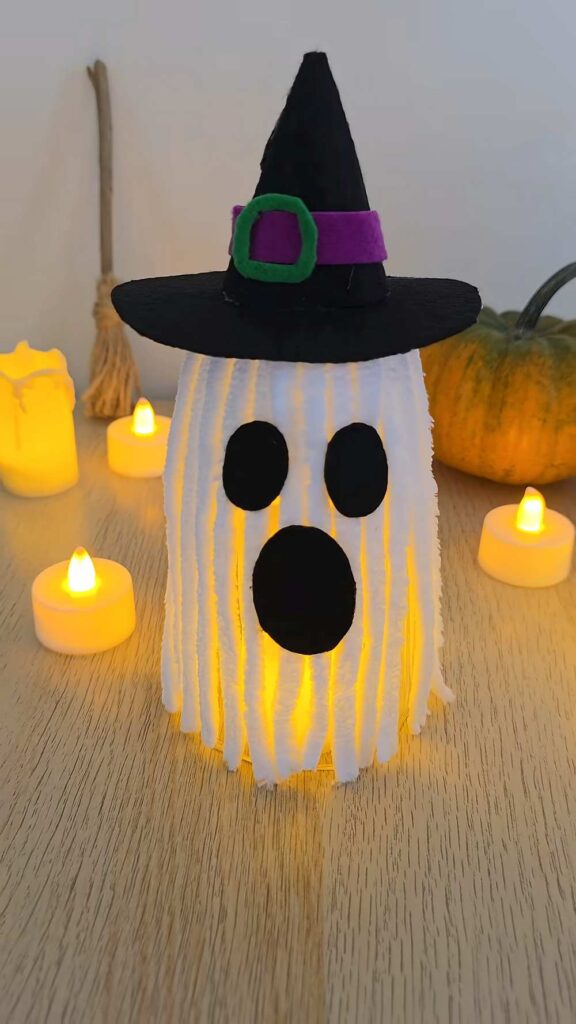
How to Make a DIY Ghost Lantern
Materials You Will Need:
-
White pipe cleaners: Choose the thick, fluffy kind.
-
A glass cup: To use as a mold.
-
Black, purple, and green felt: For the face and hat.
-
Hot glue gun: To stick everything together.
-
Scissors and a marker: For cutting and drawing.
-
Tweezers: To help place small pieces.
-
Small LED candle: For the light.
Step-by-Step Instructions
Step 1: Make the Ghost Body
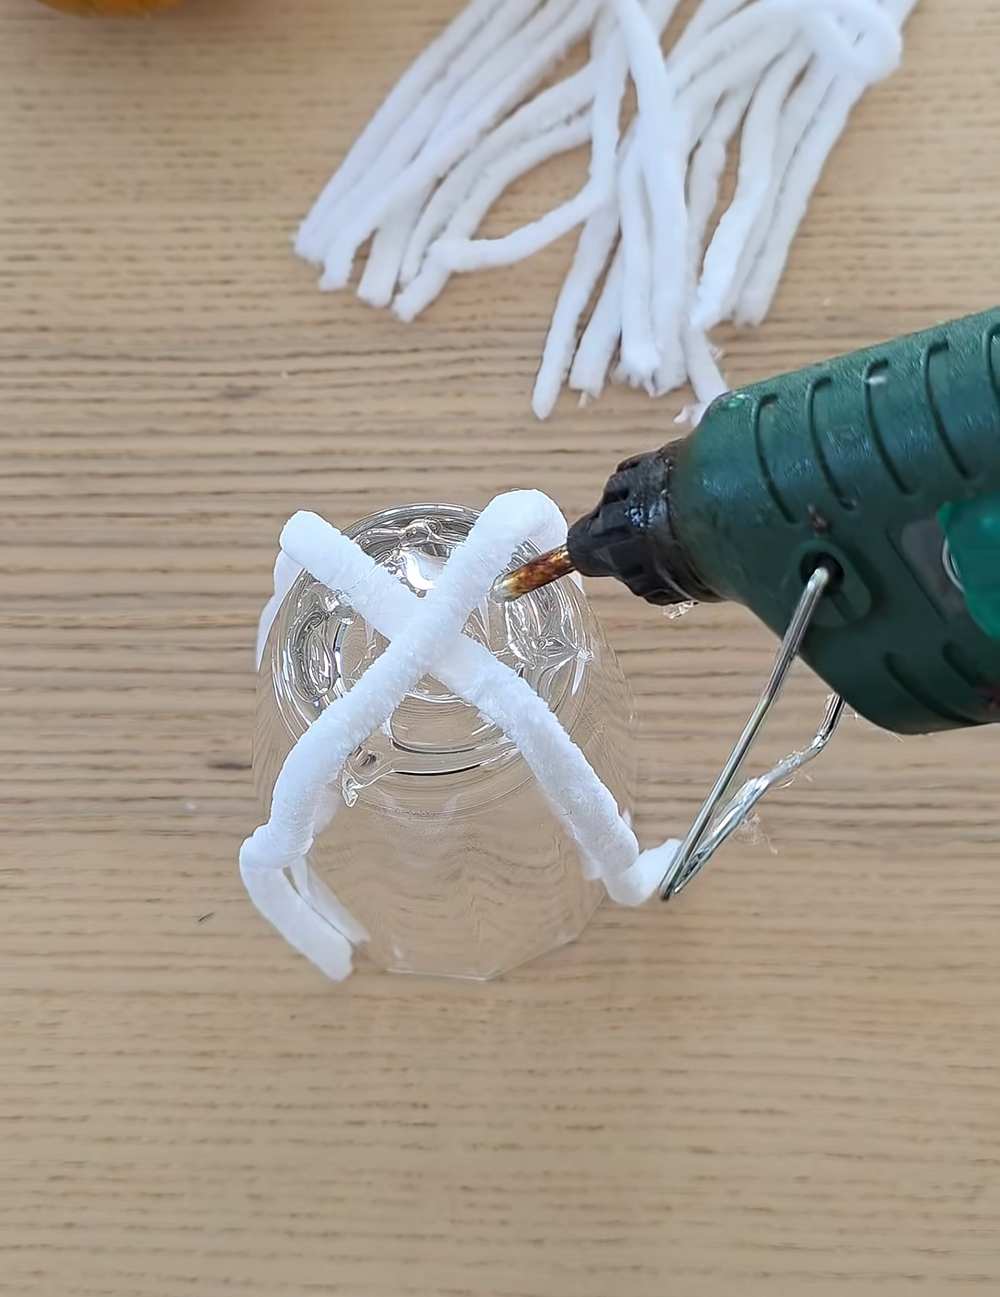
Turn your glass cup upside down. Put a big drop of hot glue in the middle of the bottom of the glass. Stick two white pipe cleaners across each other in a “+” shape.
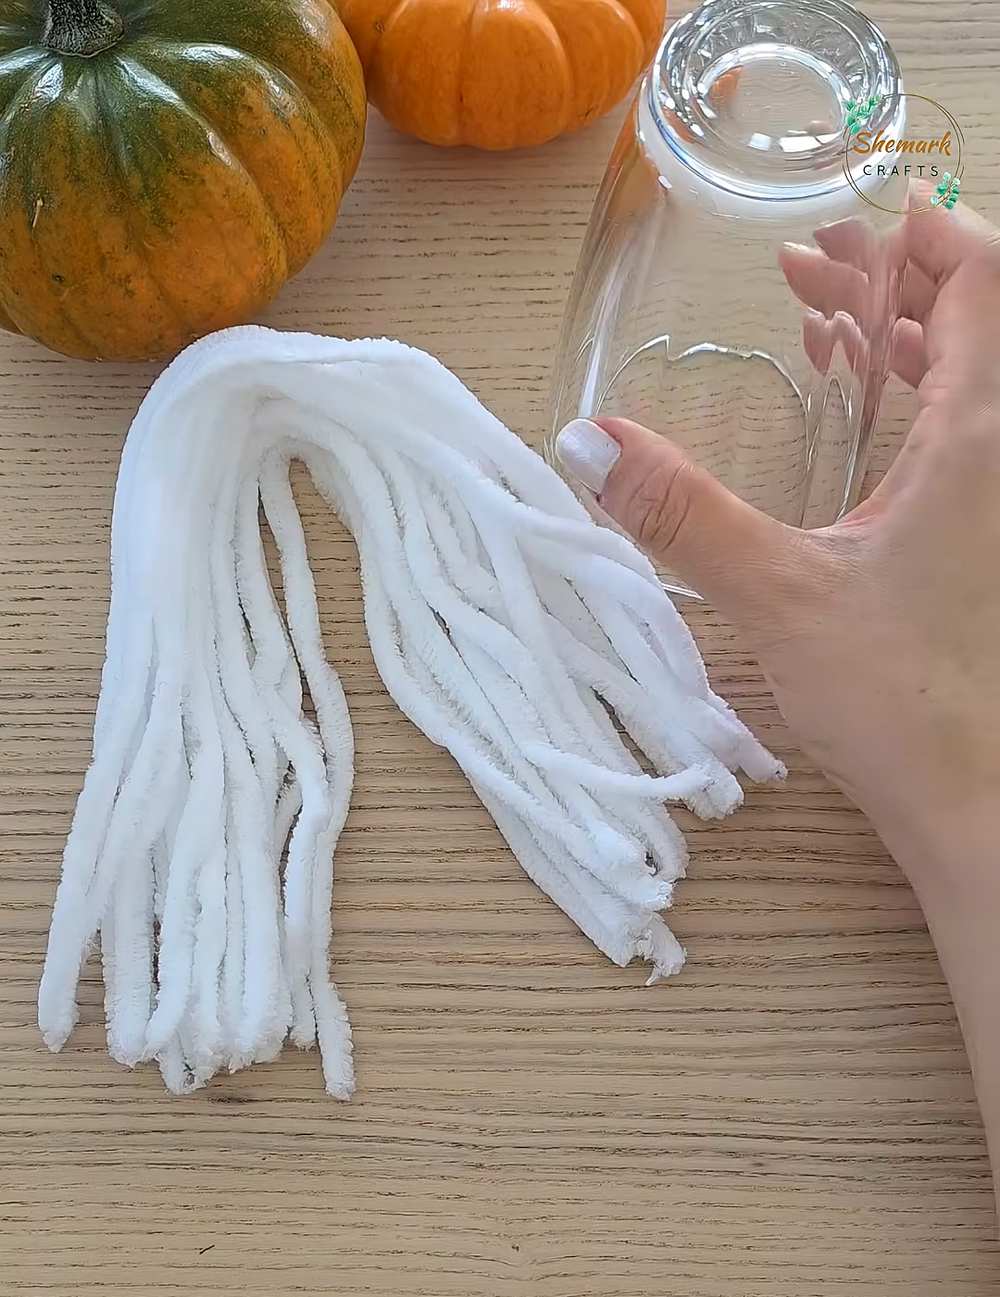
Step 2: Add More Layers
Keep adding more white pipe cleaners from the center. Glue them down and let them hang over the sides of the glass. Do this until the glass is covered and looks like a white ghost.
Step 3: Remove the Mold (for Pipe Cleaners)
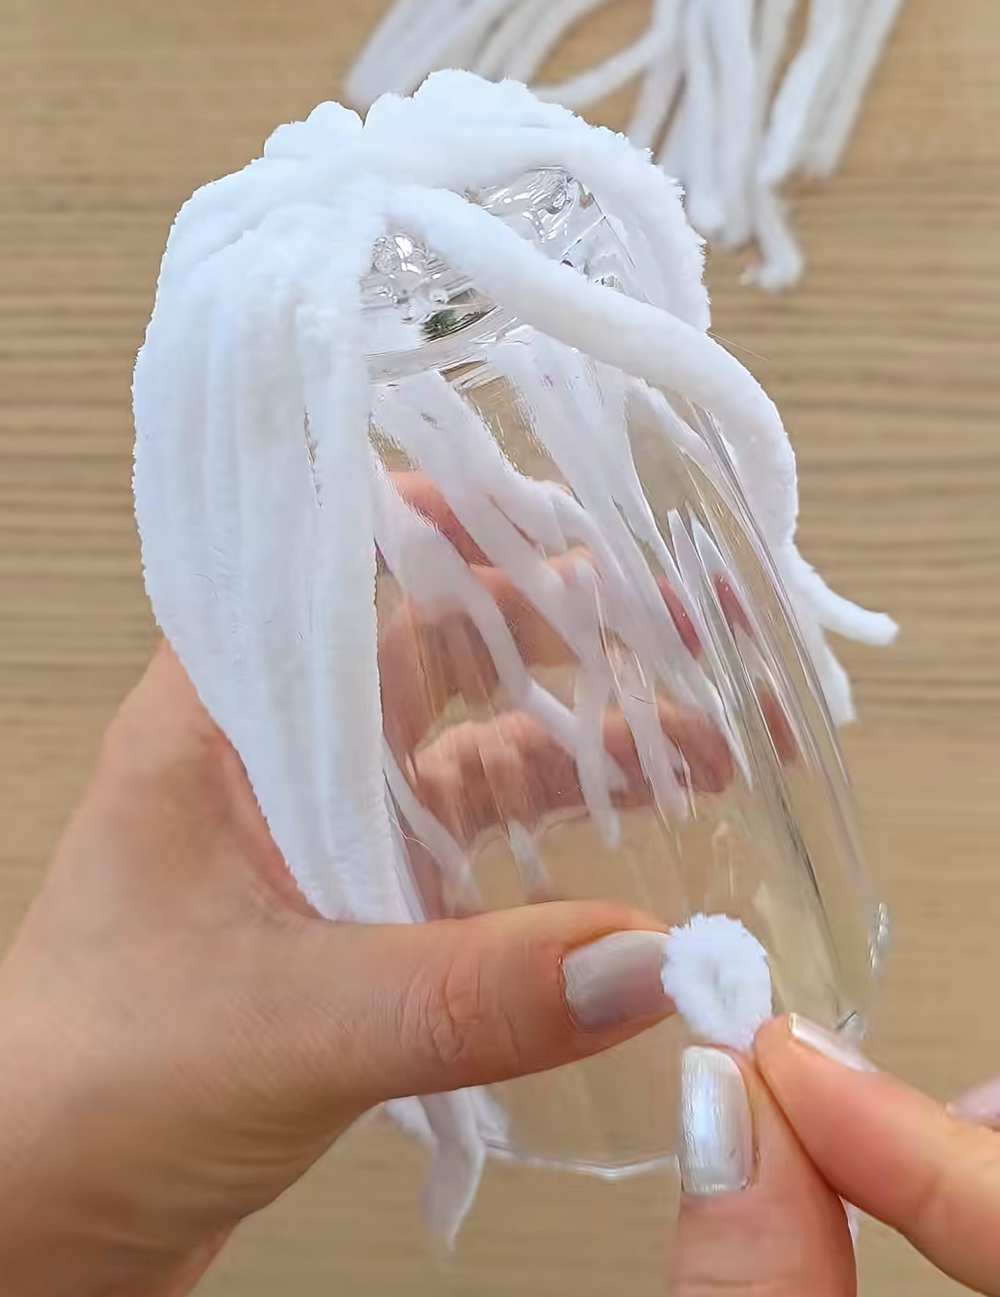
If you are using the pipe cleaners, wait for the glue to dry. Gently lift the white pipe cleaner shell off the glass. It should keep its shape like a little tent.
Step 4: Make the Ghost Face
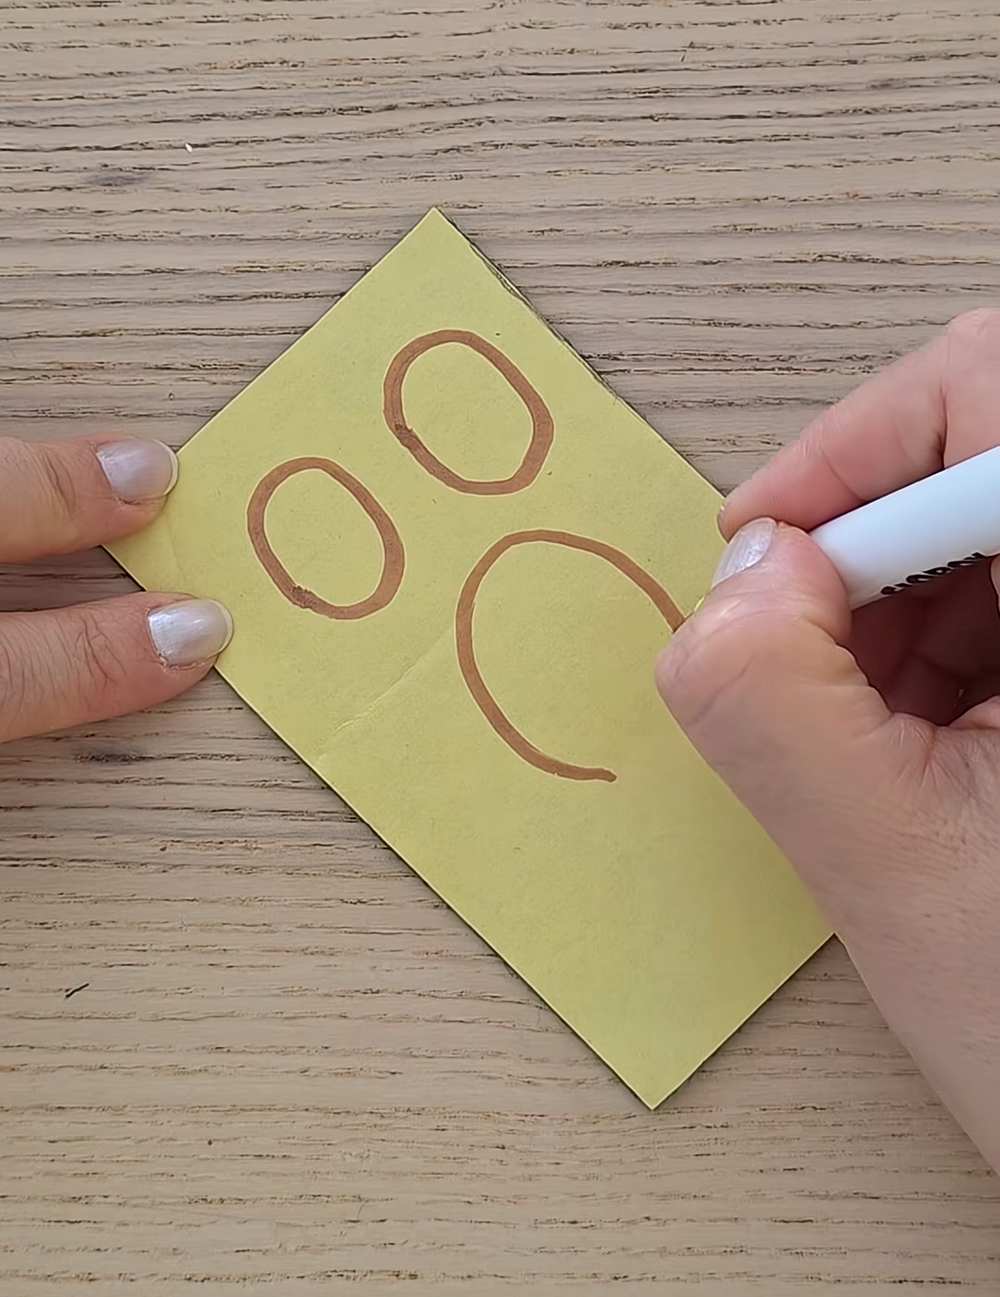
Draw two small ovals and one bigger circle on black felt. Use your scissors to cut them out. These will be the eyes and the mouth.
Step 5: Make the Witch Hat
-
The Bottom: Cut a small circle out of black felt.
-
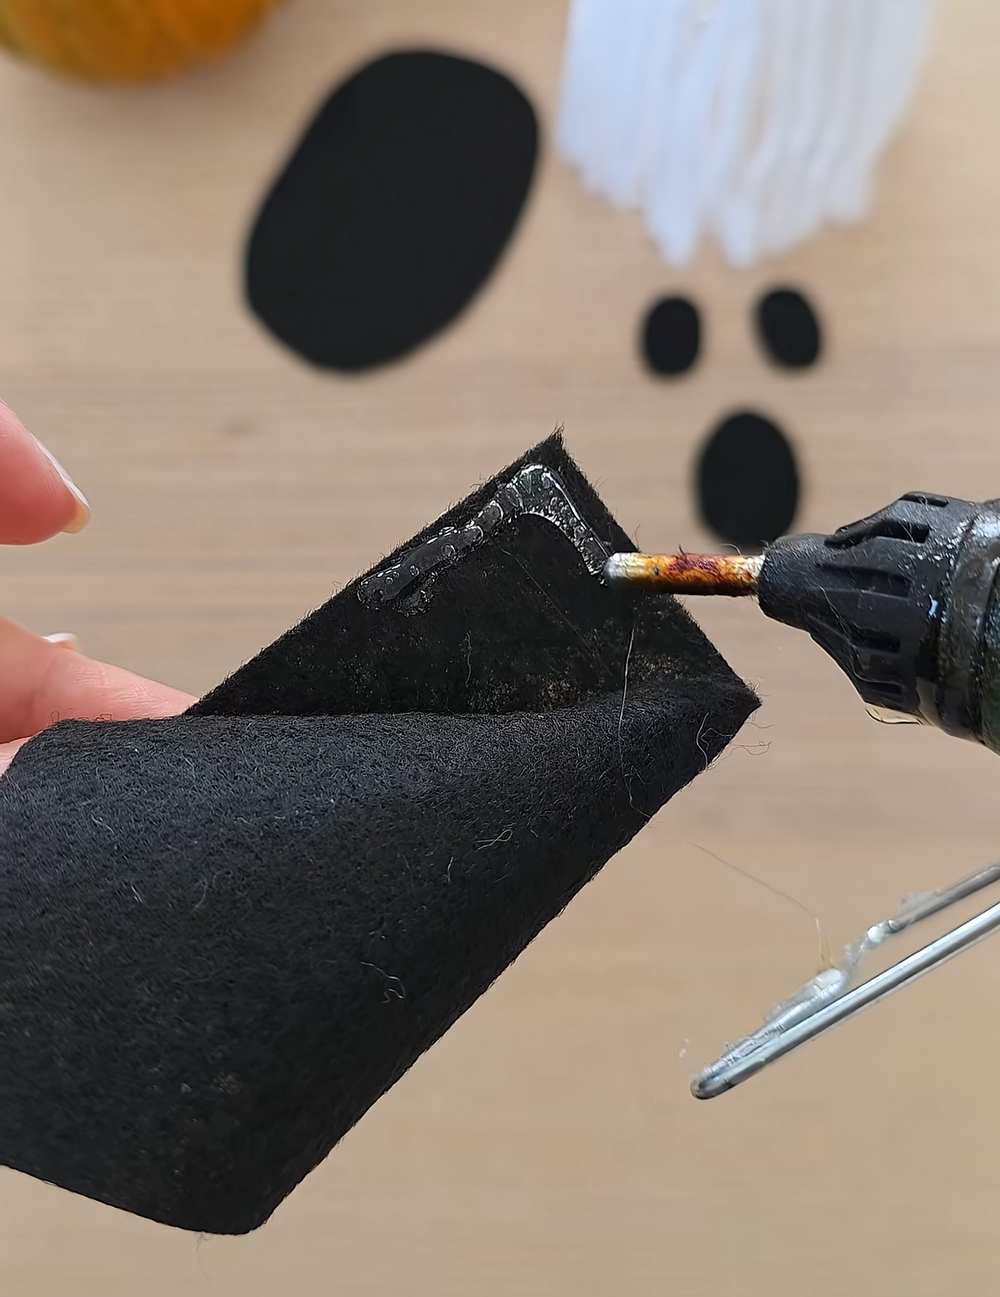
The Top: Cut a triangle-like shape of black felt, roll it into a cone, and glue it. Stick the cone onto the black circle.
-
The Band: Glue a thin purple strip of felt around the hat. Add a tiny green square for the buckle.
Step 6: Put it All Together
Use your tweezers and glue to stick the black eyes and mouth onto the front of the white ghost. Glue the witch hat on top of the ghost’s head.
Step 7: Light it Up
Turn on your small LED candle and place it on the table. Put the ghost over the light. Your ghost will glow beautifully!
