
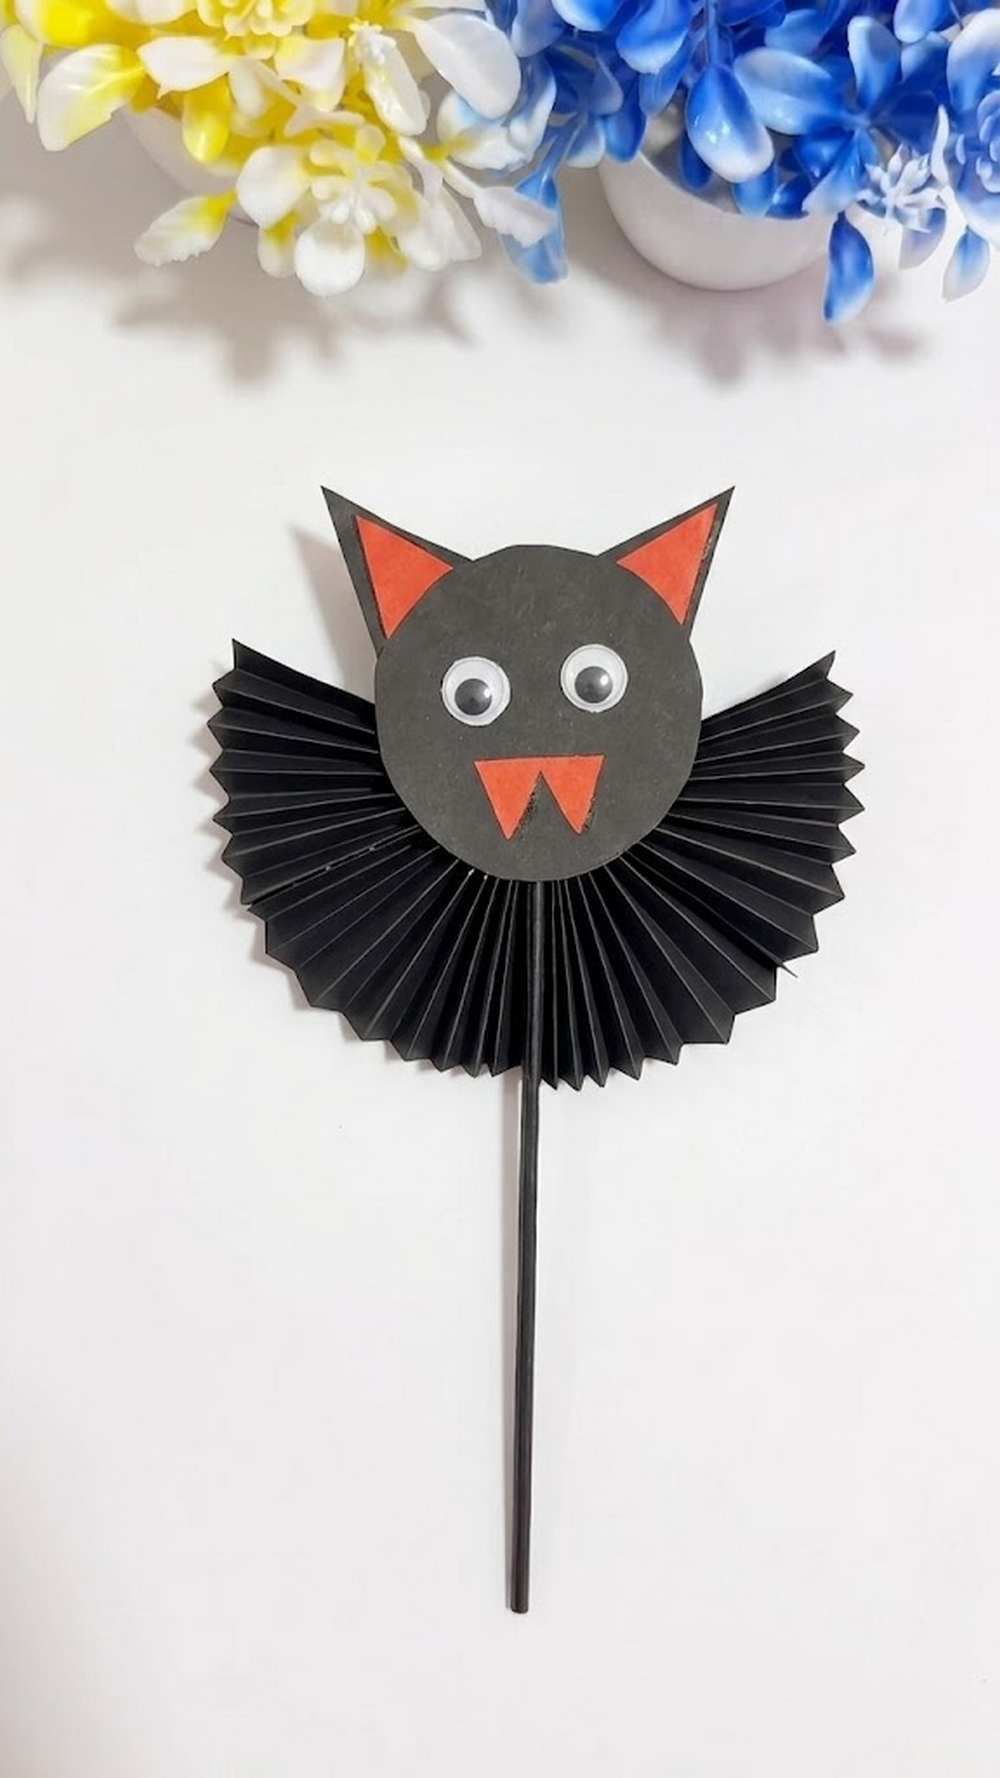
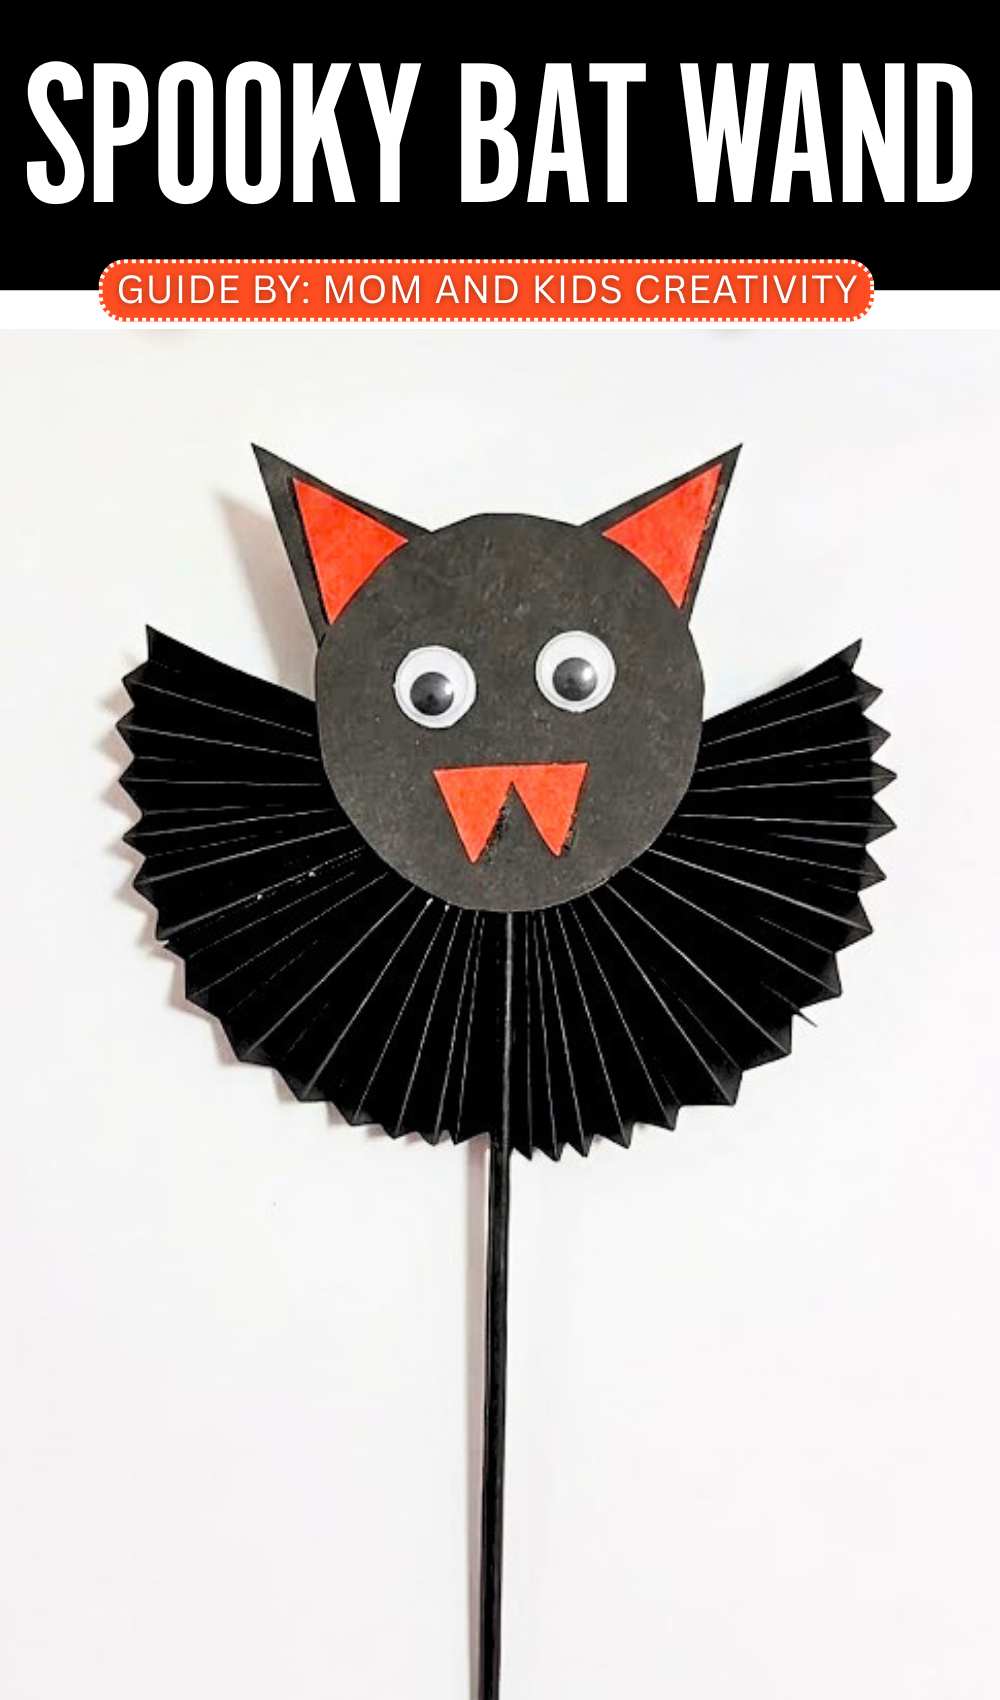
Learn how to make a CUTE googly-eyed paper bat Halloween wand for kids’ cosplay with this step-by-step tutorial + a written guide. It is an all-paper Halloween craft you can prepare in less than 5 minutes. Alongside being an accessory for kids, this can also be a Halloween party decoration.
The idea is to make a flying bat with the wings made out of an “accordion-folded” paper + a face made of a circle cutout with googly eyes and triangle ears.
You can make many of these Halloween bat wands and let each kid at the party hold one. You can make your Halloween wand in black, purple, and even pink. You can also draw the kawaii eyes on it using whitener. It is also an irresistible kids’ Halloween activity.
Tutorial to Make A Halloween Wand Bat Craft for Kids
This DIY Paper Bat Wand is a fun and easy craft. You can make it with just a few simple things. First, you take black paper and fold it back and forth like a fan. You do this two times. These will be the wings. Glue the two fans together.
Then, put a long stick in the middle so you can hold it. After that, make a small head using a black circle. Give the bat white eyes, red ears, and red teeth. Finally, glue the head onto the wings. Now you have a cute bat wand to play with!
How to Make a DIY Paper Bat Wand
What You Need:
-
Black paper
-
Red and white paper scraps
-
A glue stick
-
Scissors
-
A black marker
Video Tutorial!
Step-by-Step Instructions:
Step 1: Fold the Paper
Take a long rectangle of black paper. Fold a small strip at the bottom, then flip the paper over and fold it again. Keep doing this until the whole paper looks like a zig-zag (this is called an accordion fold). Do this with two pieces of paper.
Step 2: Make the Fans
Take one folded paper and fold it in half. Glue the two inside edges together to make a fan shape. Do the same with the second folded paper.
Step 3: Join the Wings
Glue the two fans together side-by-side. This creates a large, round wing shape for your bat.
Step 4: Add the Handle
Take a thin strip of black paper and roll it up tightly to make a stick (or use a popsicle stick). Glue this stick to the back of the wings so you can hold it like a wand.
Step 5: Make the Bat’s Face
Cut a small circle out of black paper.
-
Ears: Glue two small red triangles to the top.
-
Eyes: Glue two white circles in the middle and draw black dots inside them with your marker.
-
Teeth: Glue two tiny red triangles at the bottom for fangs.
Step 6: Finish the Wand
Put some glue on the back of the head and press it firmly onto the center of the wings.
Your paper bat wand is now finished! You can wave it around and watch the wings bounce.