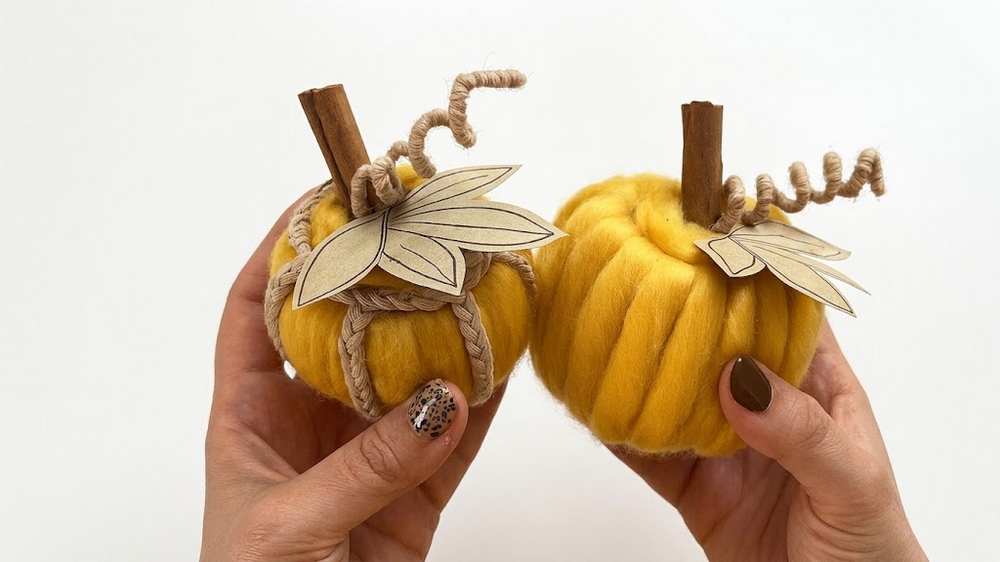
Learn how to DIY a velvety, soft, and CUTE pumpkin plushie using our wool batting and cardboard for this year’s fall decorations with today’s step-by-step FEATURED tutorial. We will use a cinnamon stick, hand-cut leaves, and braids as well.
You can make your pumpkin in golden yellow, aqua, blue, and even off-white, and this method makes it super easy to make a pumpkin plush in 5 minutes.
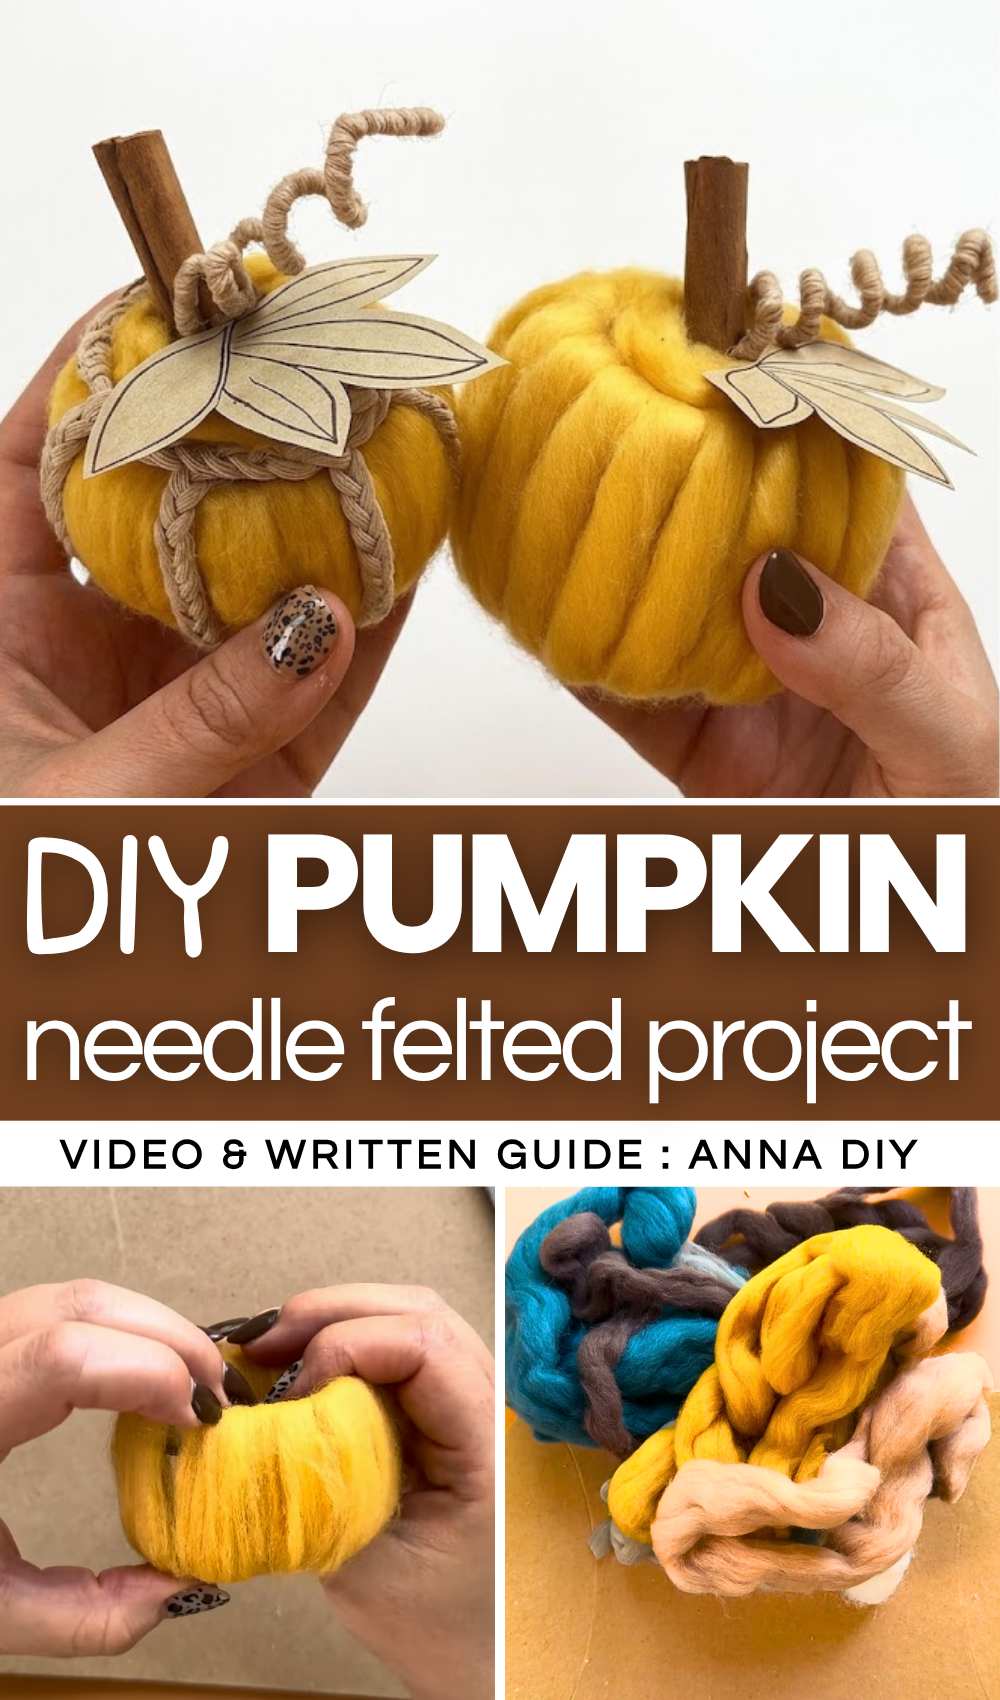
All you have to do is cut the cardboard pieces, wrap the felting around them, and needle-felt to make the ridges. You can add this cozy fall pumpkin decoration to Halloween wreaths, Christmas garlands, table decorations, and even my previously recommended DIY Sakura-inspired pumpkin branch. Now, continue reading to learn more about this DIY pumpkin for fall project!
[ez-toc]
Tutorial to Make a Halloween & Fall Felting Pumpkin Craft
This project is about making two yellow pumpkins. You use yellow yarn, cardboard, glue, and wood. First, you make rings from cardboard. You use tape to hold the rings. You glue brown cloth to the bottom of each ring. Next, you wrap thick yellow yarn around the rings until they look like pumpkins.
You cut small sticks of wood for the stems. You draw and cut leaves from paper. You twist rope to make vines. You glue the stems, leaves, and vines on top. These pumpkins look nice and are easy to make at home.
Detailed Guide for DIY Yarn Pumpkins
What you will need:
-
Chunky yellow yarn (roving yarn works best)
-
Cardboard (for rings and leaves)
-
Burlap fabric (hessian)
-
Masking tape
-
Cinnamon sticks (for stems)
-
Braided rope or thick string
-
Scissors
-
Hot glue gun
-
Pencil
Video Tutorial?
Step-by-Step Instructions
1. Create the Cardboard Bases
Cut two strips of cardboard. Roll them into rings and secure them with masking tape. Make one ring slightly larger than the other so you have two different-sized pumpkins.
2. Add the Bottoms
Cut two circles out of burlap fabric that are slightly larger than the cardboard rings. Use the hot glue gun to stick a burlap circle to the bottom of each cardboard ring. This creates a base for your pumpkins.
3. Wrap the Yellow Yarn
Take your thick yellow yarn. Glue one end to the inside of the cardboard ring. Wrap the yarn over the outside and back through the center hole. Continue wrapping the yarn around the entire ring until the cardboard is completely hidden and the pumpkin looks thick and soft.
4. Prepare the Top
Glue a small piece of burlap into the center hole at the top of the yarn. This provides a flat surface to attach the stem and leaves.
5. Add the Stem
Take a cinnamon stick and cut it into two small pieces (about 2 inches long). Put a drop of hot glue on the burlap in the center of the pumpkin and press the cinnamon stick into it.
6. Make the Cardboard Leaves
Draw leaf shapes on a piece of cardboard or heavy paper using a pencil. You can draw “veins” on the leaves for more detail. Cut the leaves out with scissors. Glue the leaves onto the top of the pumpkin next to the cinnamon stick stem.
7. Create the Curly Vines
Take a piece of rope or yarn. Wrap it tightly around a pencil to make a spiral shape. Apply a small amount of glue to hold the shape, let it dry, and then slide it off the pencil. Glue these curly vines next to the stem.
8. Add Final Details (Smaller Pumpkin)
For the smaller pumpkin, you can add extra decoration. Take a long piece of braided rope and wrap it vertically around the pumpkin, tucking it between the yarn sections. Glue it at the top and bottom to make the “ribs” of the pumpkin stand out.
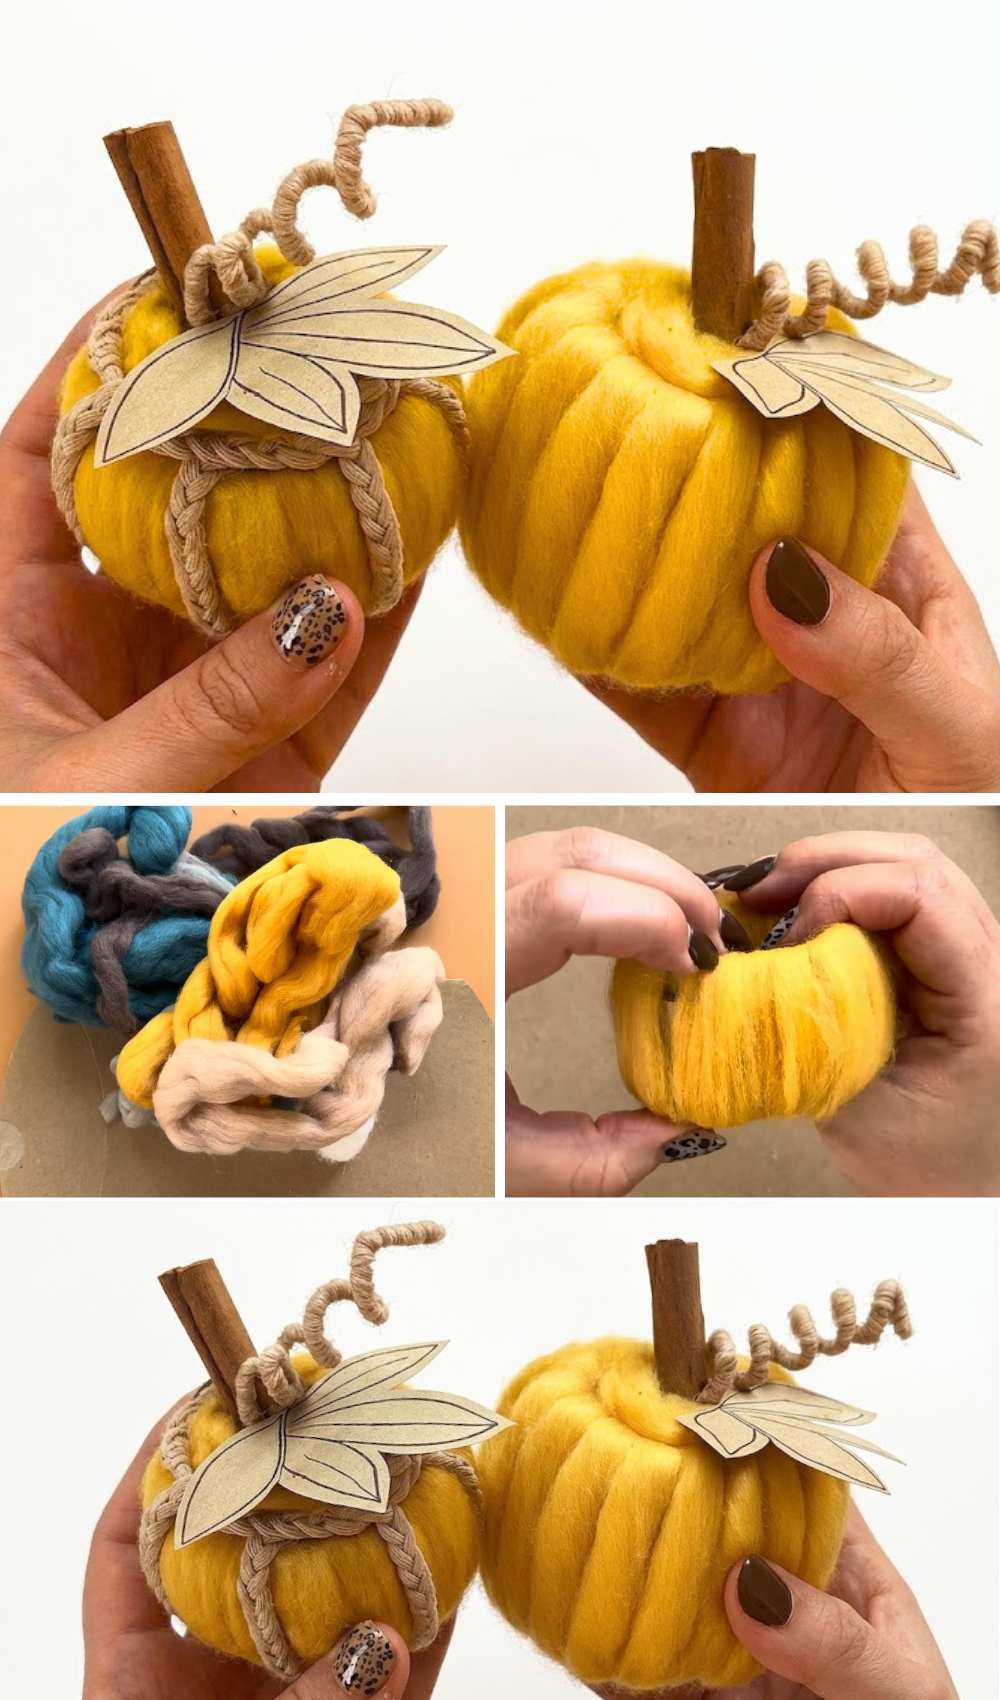
Your beautiful handmade yarn pumpkins are now finished and ready to display!