
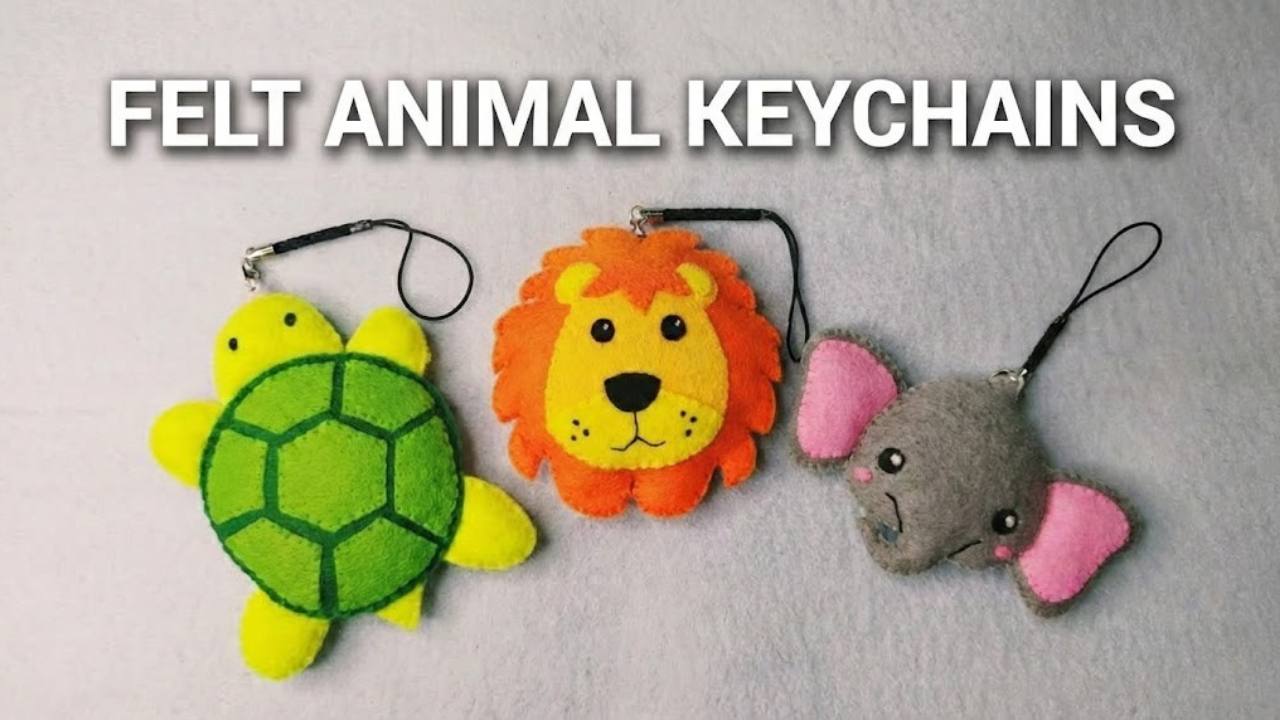
If you have developed some skill in drawing and needle sewing, why not try animal keychains? These need no pattern to follow for hours, just drawing, cutting, and joining. Let’s discuss these 6 ways to craft felt animal plushies, all cute, kawaii, and kid-friendly.
We shall discuss a simple cat plushie, a geometrical turtle, a curvy fox, and a lion, too. You can craft these keychains as bag charms and stress toys.
Suggestion #1: Craft A Felt Elephant
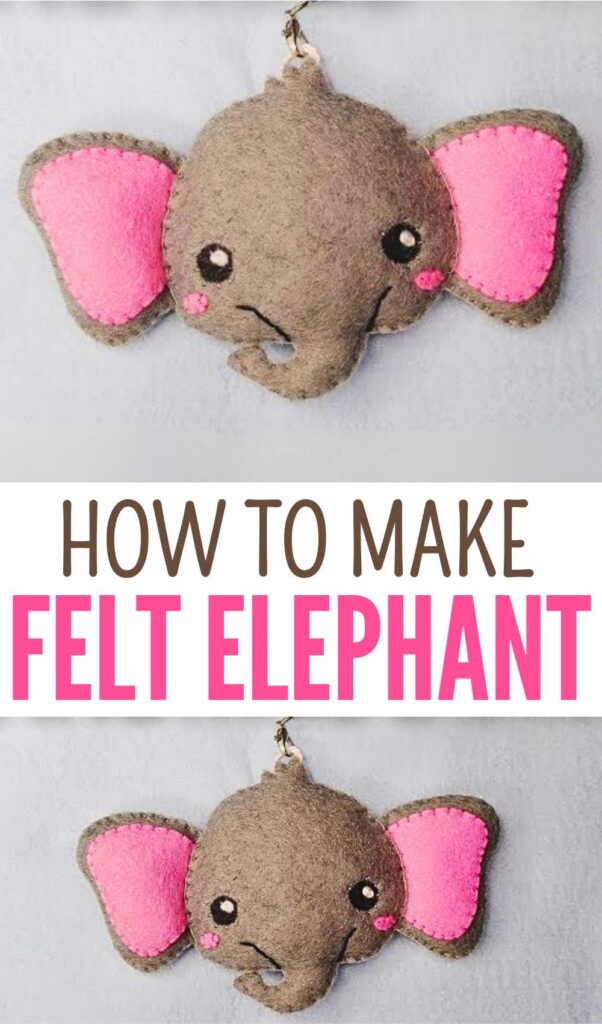
To craft this baby elephant felt keychain, draw a kawaii elephant face on shrink plastic. If you know a simpler elephant drawing, draw it. Now, be sure you have taped the corners of the standard rectangle sheet.
Also, label the parts by the color of the felt needed, like grey, pink, black, and white, for this elephant. Now, place a sheet of the size roughly of the size of the face and outline the face only.
Also, separately outline the eyes, blush, ear centre, and ear. Have a separate cut for the back of the head, too. Attach the squares of the felt using scotch tape, cut, and sew with a needle.
- Best for a safari trip.
Video Tutorial
Suggestion #2: Craft Plush Felt Lion
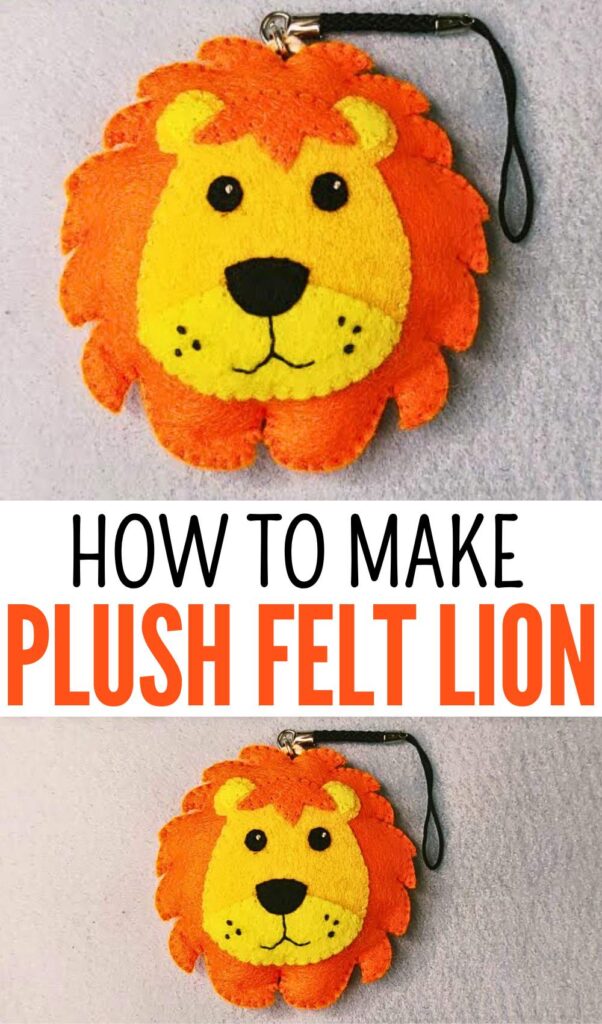
5 out of 5! This felt lion plush keychain is cute and small. You need 8 separate felt pieces to join, but it would depend on the level of detail you draw in your lion. The suggestion would be a baby kawaii lion with a face that quite matches the bear.
Your special focus (and it is a little tough, though) should be on the mane, as the more detailed, symmetrical, and accurate it is, the more it will look like a lion. Use orange, yellow, white, and black for it.
Some 3Dness can be added by separately cutting a small felt piece in the shape of hair. It can be attached to the top. The method is quite the same.
Video Tutorial
Suggestion #3: Craft A DIY Felt Turtle
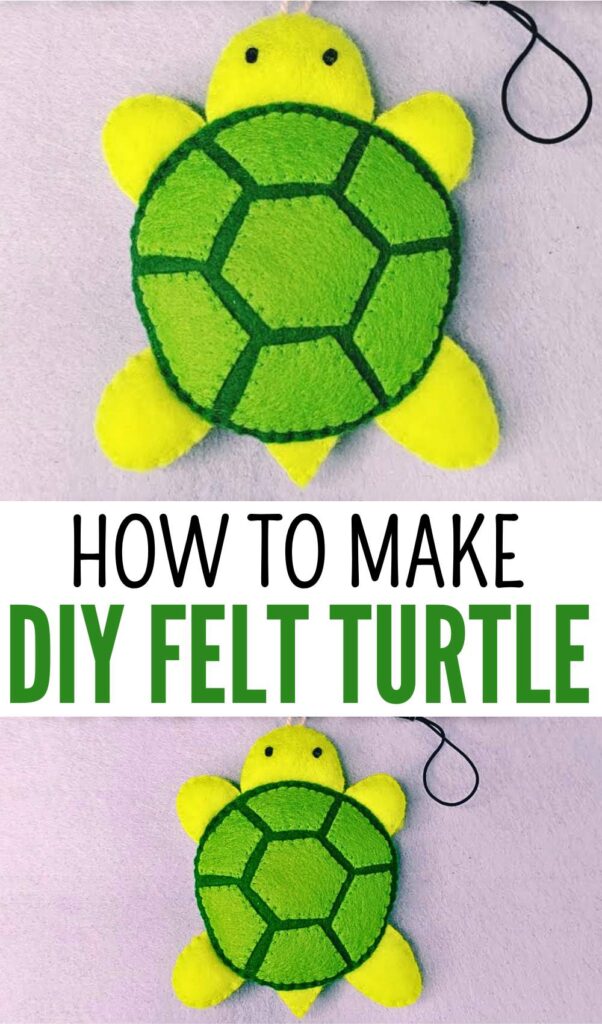
This cute full turtle plushie is the 2nd easiest we shall discuss, and kind of be a geometry class. First, draw on the standard shrink plastic a circle, and another circle of a smaller diameter than the first. In the centre, draw a hexagon.
Note that it is not necessary to be precise, but rough for a natural feel. Around the hexagon, in front of each side, draw an irregular pentagon and 4-gons.
Draw a triangle for the tail, an oval for the head, and four more ovals for the legs. We shall want green for the shell and parrot for the polygons we drew.
So, it shall provide a nice contrast. Cute two for the head, shell, legs, and arms, so you can stuff these parts.
Video Tutorial
Suggestion #4: Craft A Plush Felt Fox
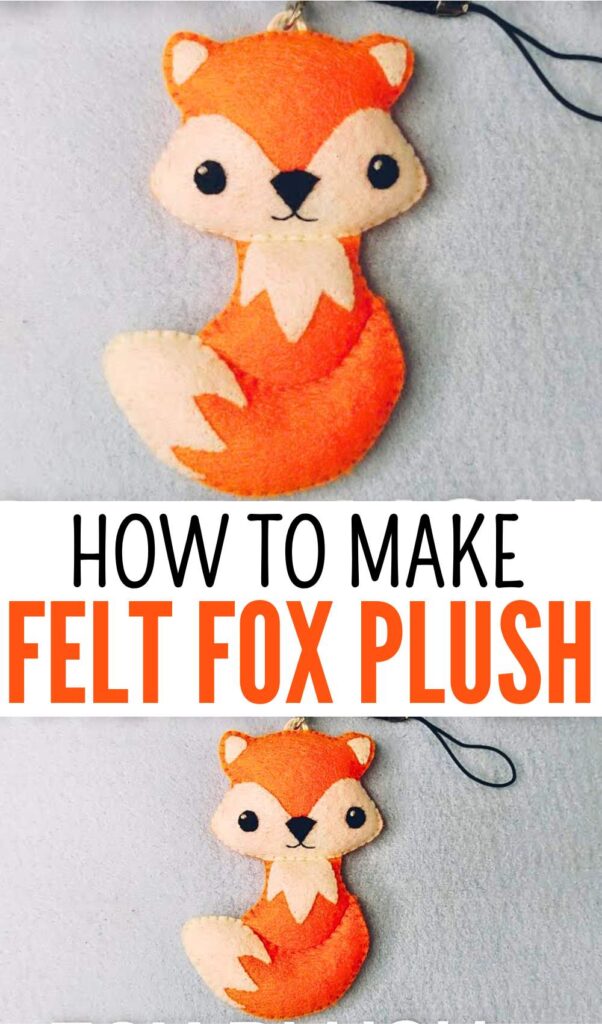
Acorn, squirrel, and fox are fall’s favorite plushie ideas. This method is about how to craft a felt fox that seems to me quite a kawaii ragdoll. While I am not sure if you are comfortable with drawing it or not, you should definitely try it.
This one only needs 6 drawing patterns, but since everything is curvy, intermediate artists should try it.
Use the precision knife to cut the pieces, and be sure to make a back panel for stuffed parts. The things kids will love are the tail, smile, and belly cutout. For cutouts, use hot glue.
- Best for fall and winter
Video Tutorial
Suggestion #5: Craft A Plush Felt Dog
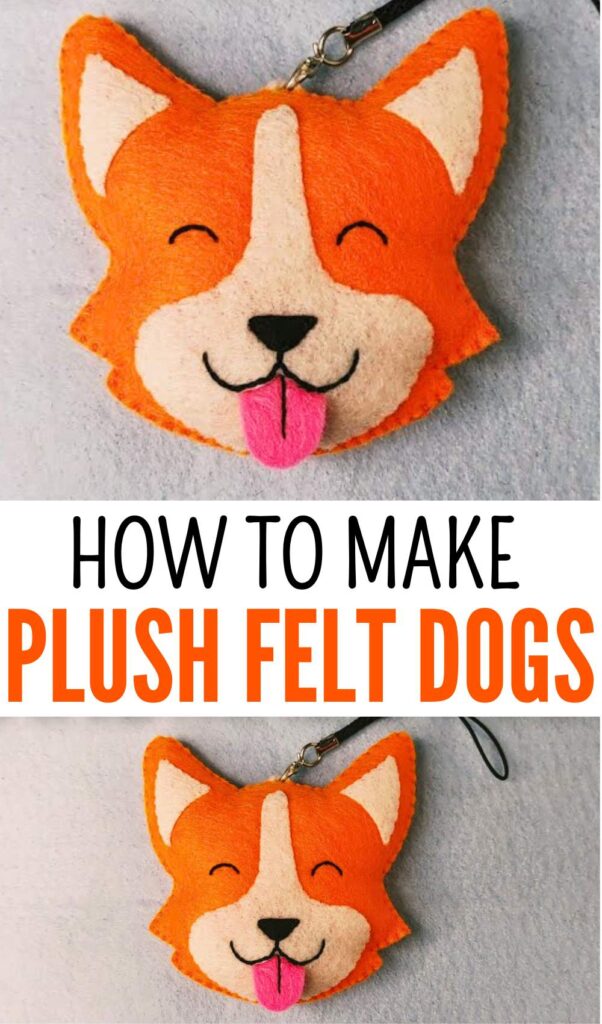
This puppy face felt plushie looks the cutest so far with smile eyes, outside tongue, and the orange. The pieces separate from the face are the muzzle, tongue, nose, and ear patches. The face overall is not difficult to draw.
You should, however, be good at embroidery, symmetry of drawing, and cutting. You have to use the same attachment method with the scotch tape and the cutting method. Also, cut a whole panel for the back of the face.
Video Tutorial
Suggestion #6: Craft A Black Cat Felt Cat
I was pretty sure that if you reached there, you needed a simple felt plushie. This is a basic Jiji felt plushie you can craft in minutes. The patches to sew are the least, and the drawing is the easiest.
- Best for Halloween

About "Talha"
Hey, I’m Talha, the Crafter on Craftstive.com. I love to share guides on folding cute origami models and paper crafts, and I am always ready to inspire your next craft project with my weekly craft discussions.