
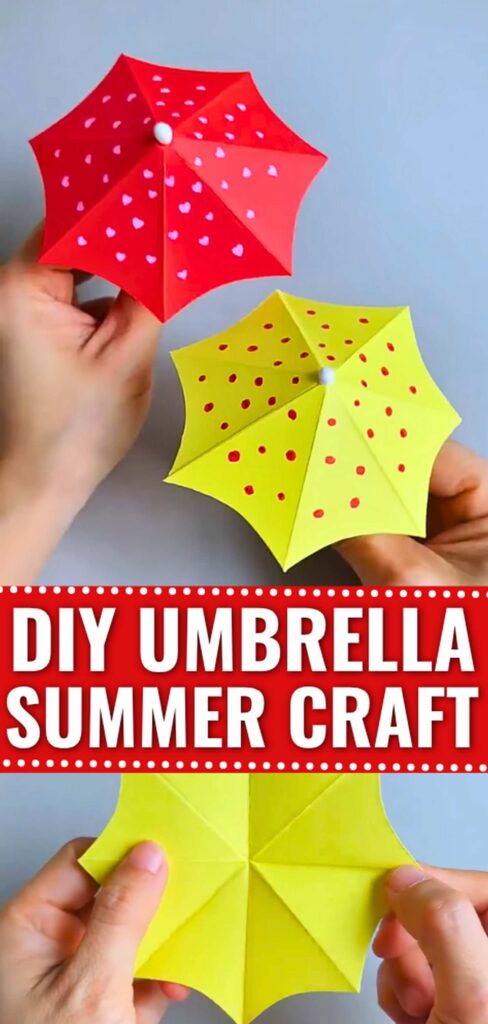
These instructions will show you how to craft a CUTE & miniature sun umbrella out of colored paper, glue, and a cotton swab. You can draw over it polka dots, hearts, or your favorite doodles using the marker, or make it with a pre-printed patterned sheet. Such as the one with strawberries, pineapple, gradient, or lemon all around.
Since there are poolside umbrellas, you can use them as lemonade straw toppers, cupcake toppers, or make kids’ home plays even more fun. I think this is the easiest method to make an umbrella, as we shall just fold a circle cutout and snip a sector out of it, unfold, and insert the cotton swab. Easy? Let me teach you in more detail!
Model Type: Variation of Traditional Paper Model with (Oriagmi with Scissors)
Difficulty Level: Beginner Level 1
Recommended Paper: Use the Tant paper for Texture. You can cut a circle of any diameter.
Starting Fold: Half Fold
Uses:
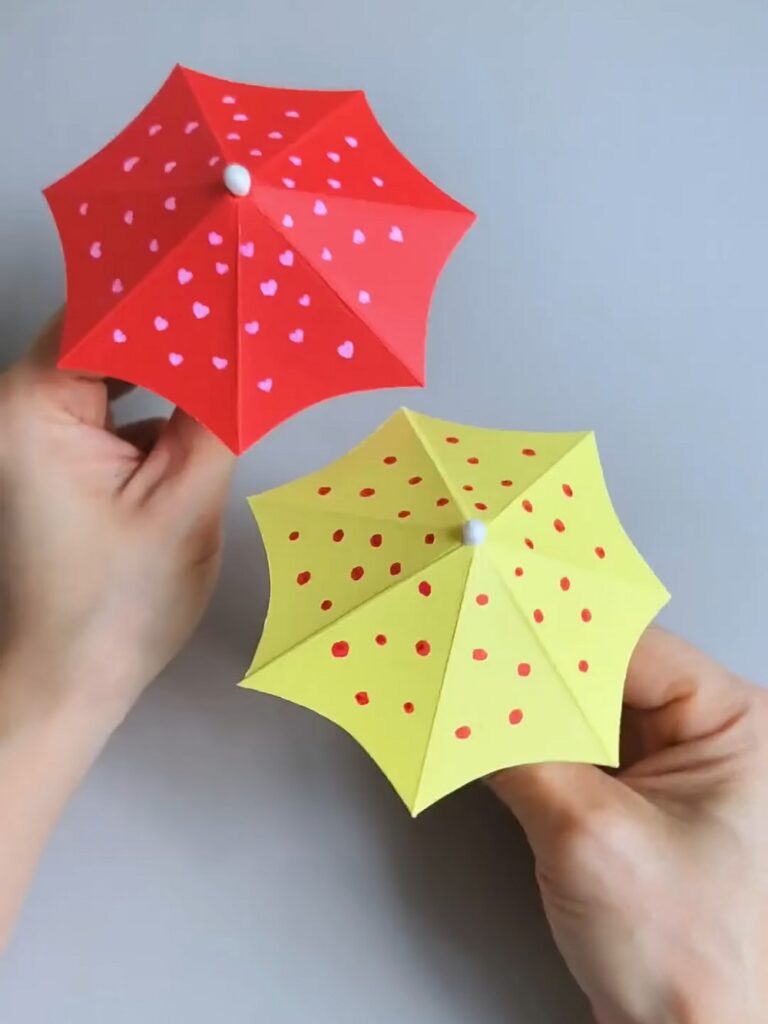
- Use them as cupcake or cake toppers for birthdays or summer parties.
- Add them to dollhouse poolside scenes.
- Trim the bottom of the cotton swab stick and use it as a drink garnish.
- Clip the back of the stick entirely flat and mount the 3D canopy to greeting cards or scrapbook pages.
Materials Needed
- Craft paper
- Cotton swab (to serve as both the pole and the top finial)
- Marker (for the decorative spots)
- Glue (a glue stick or precision craft glue)
- Scissors
Origami Umbrella: Step-by-Step Instructions
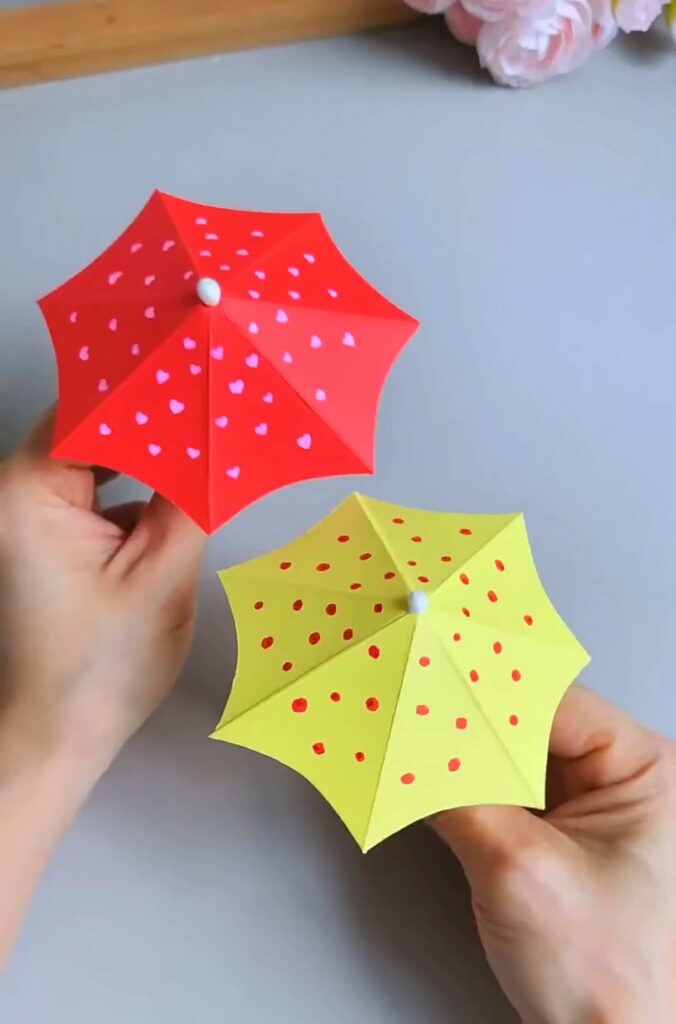
Follow these step-by-step instructions to make a paper umbrella:
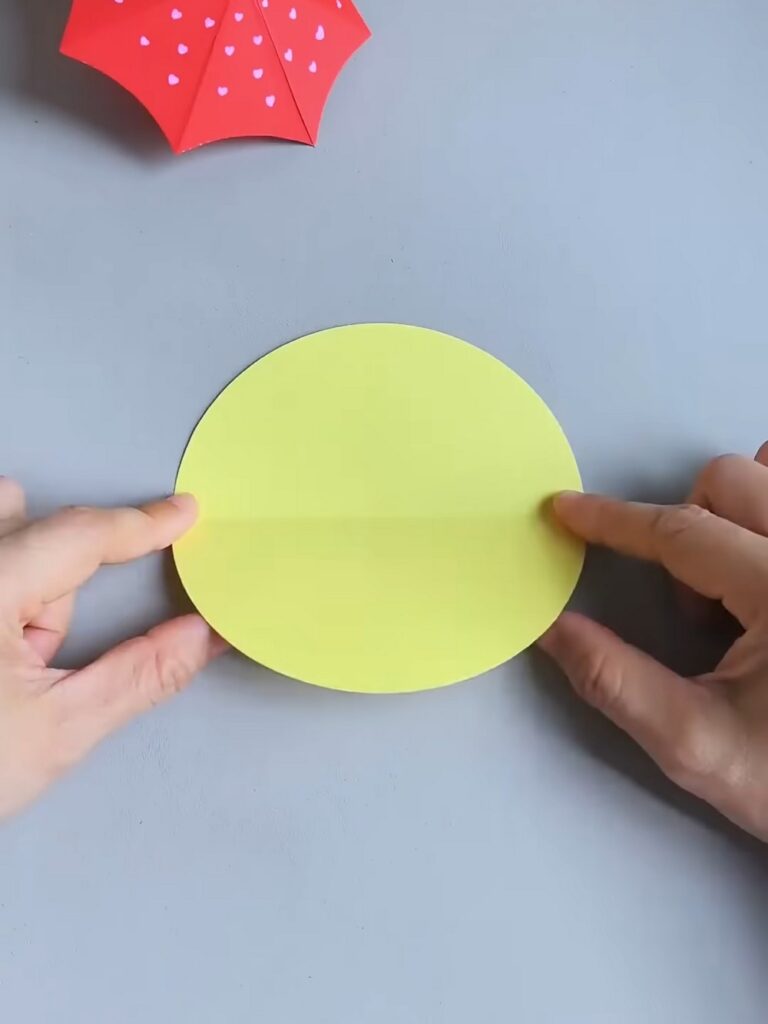
Step #1: Circle Cutout
Start with a circle cutout of your craft paper in red, yellow, or any color. The yellow was used for this demonstration, so we can draw the spots with the yellow color.
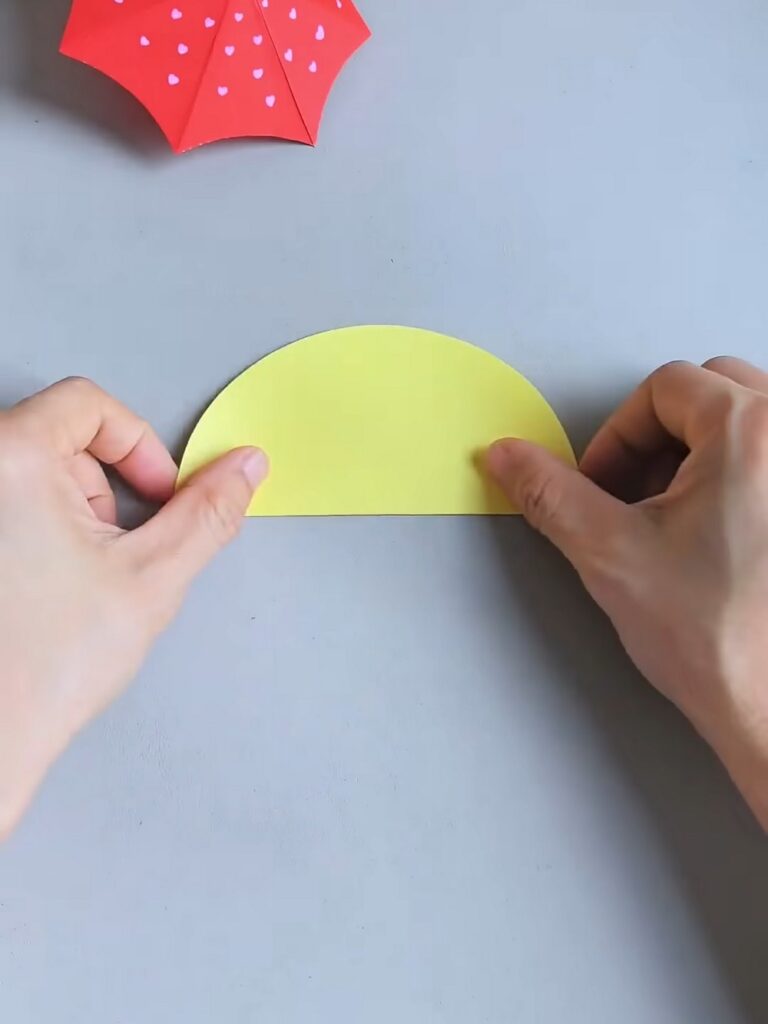
Step #2: Half
Fold the circle exactly in half to make a semicircle.
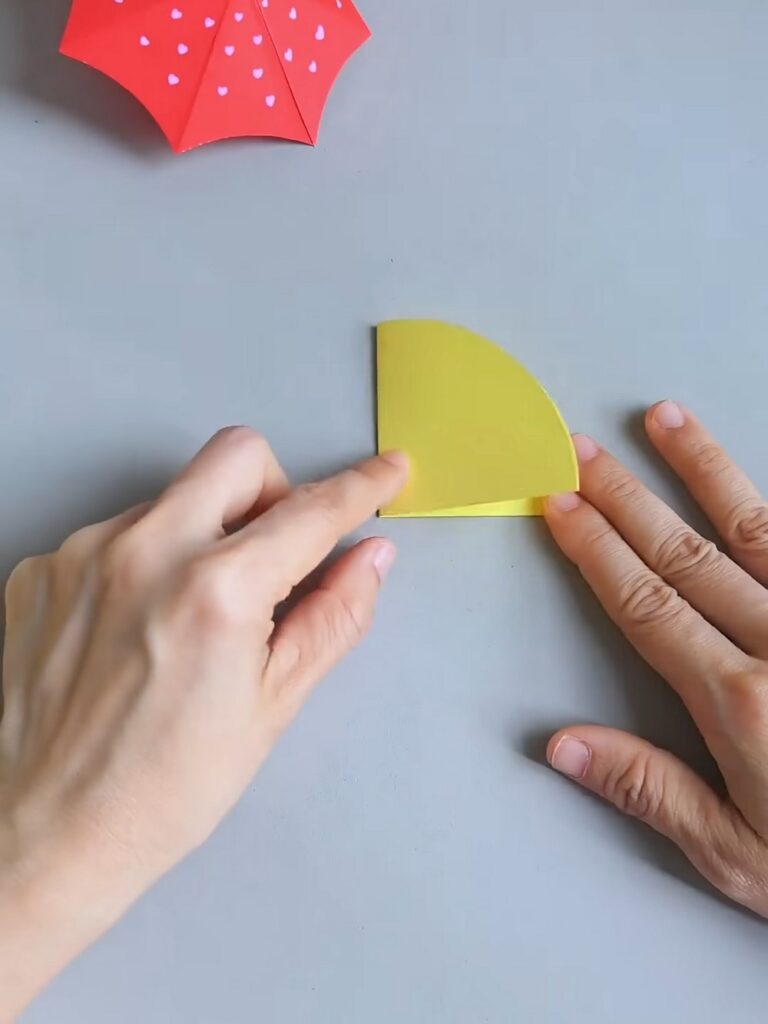
Step #3: Fourth
Fold the semi-circle in half again to create a quarter-circle.
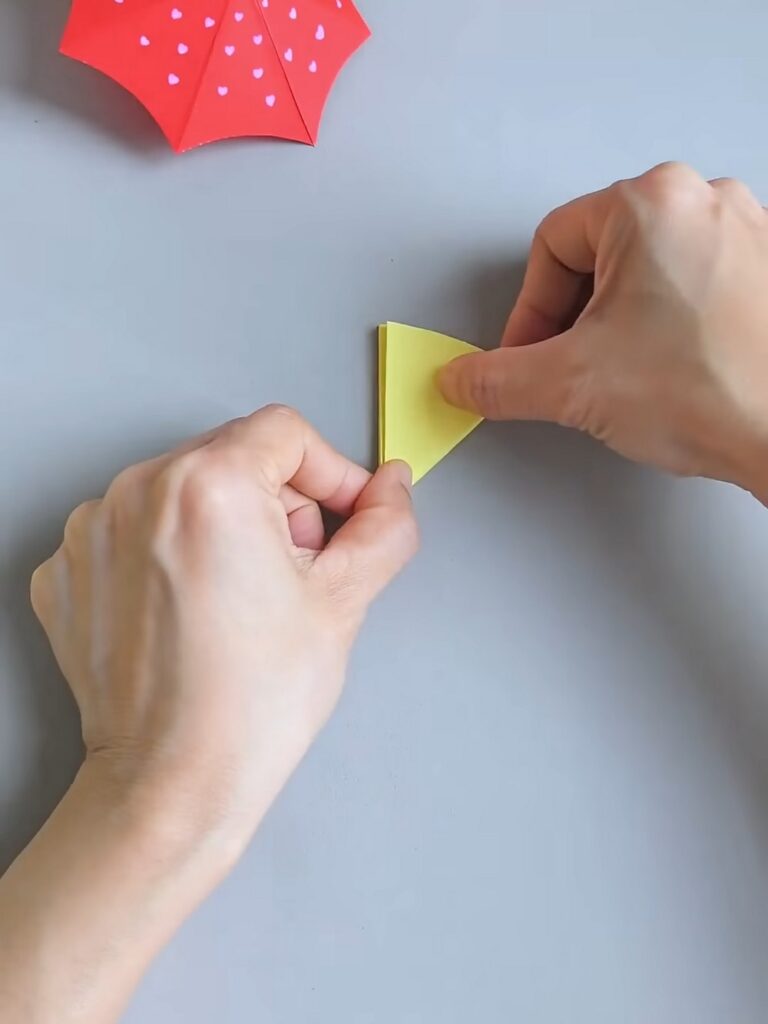
Step #4: Eighths
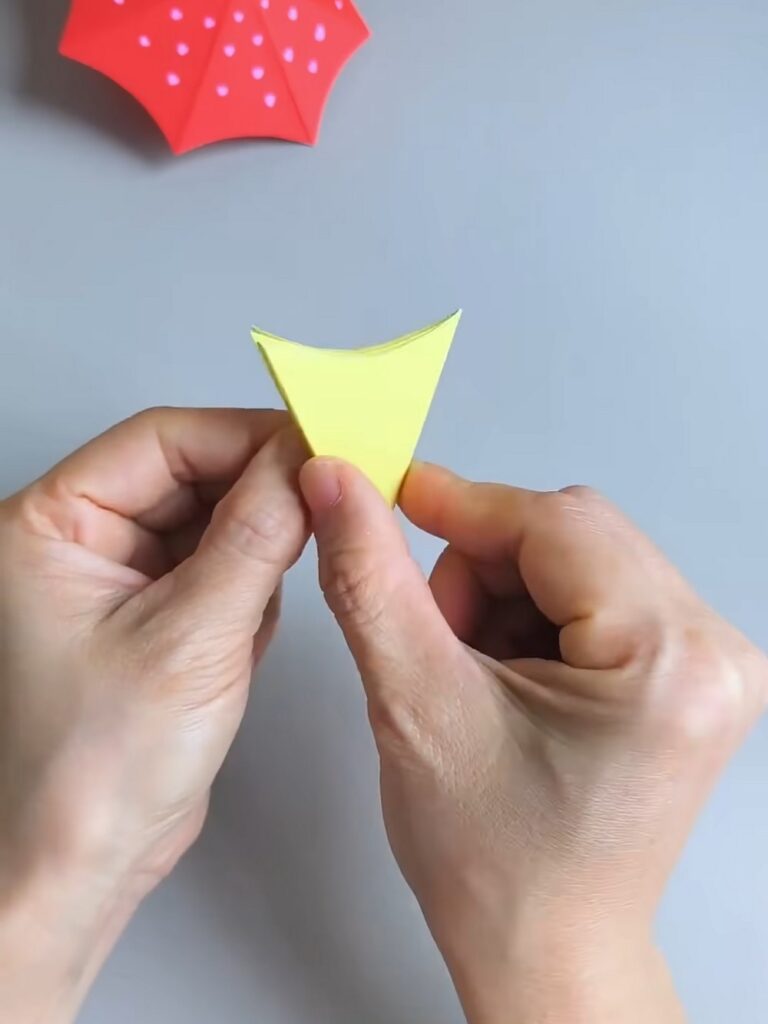
Fold it in half one final time. You will be left with a small, narrow triangular wedge (your paper is now divided into eighths). You will be left with a small, narrow triangular wedge (your paper is now divided into eighths).
Step #5: Concave Curve Cut
While holding the folded wedge in place by pressing, use your scissors to cut a shallow, concave curve across the top (wide) edge.
Step #6: Unfold
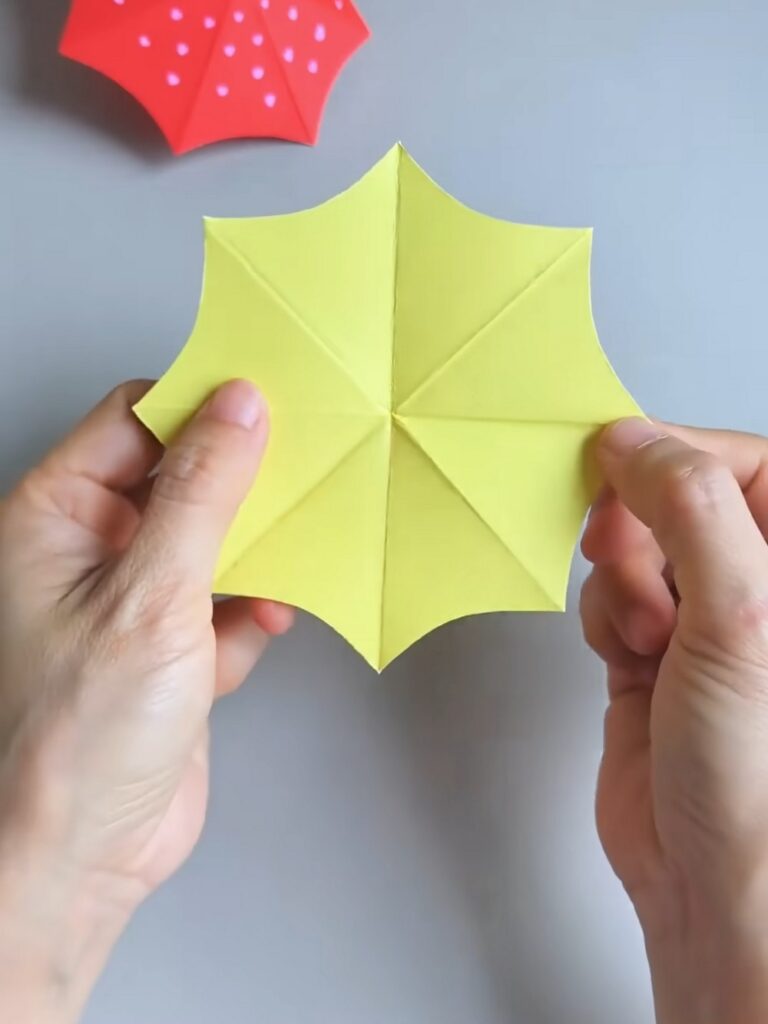
Unfold the paper completely. You will now have a scalloped canopy with eight distinct crease lines radiating from the center.
Step #7: Structure
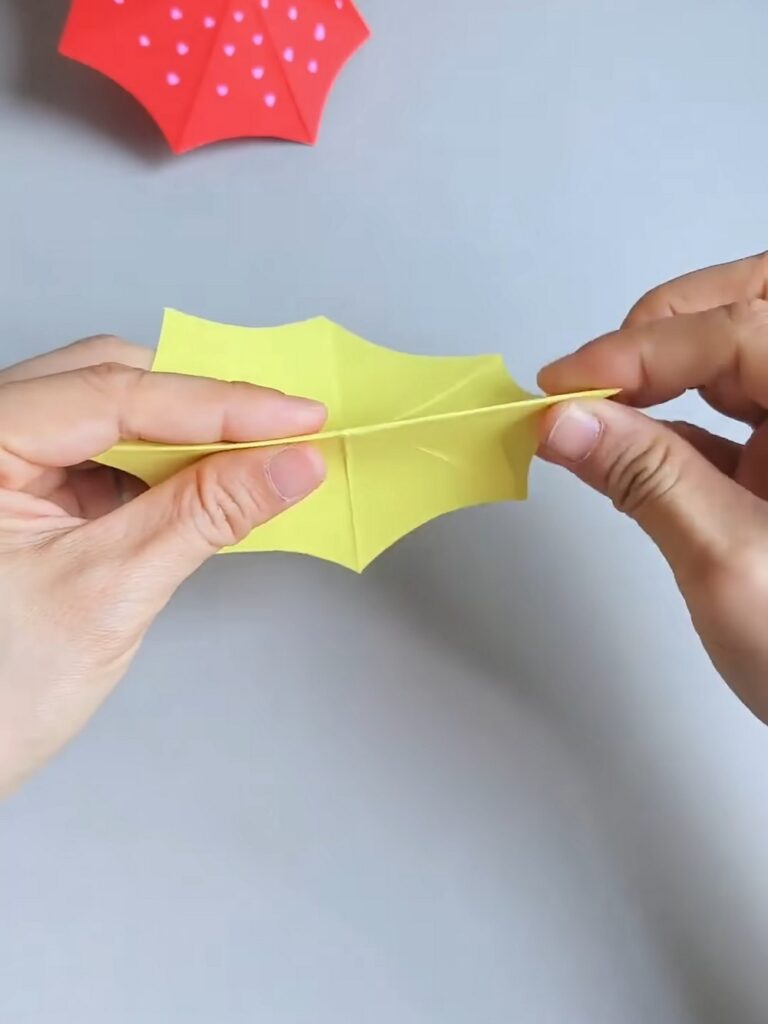
To give the umbrella its structure, pinch along the crease lines. Alternate between mountain folds (pointing up) and valley folds (pointing down) so the paper takes on a 3D shape.
Feels Difficult? Watch the Tutorial
Step #8: Cut
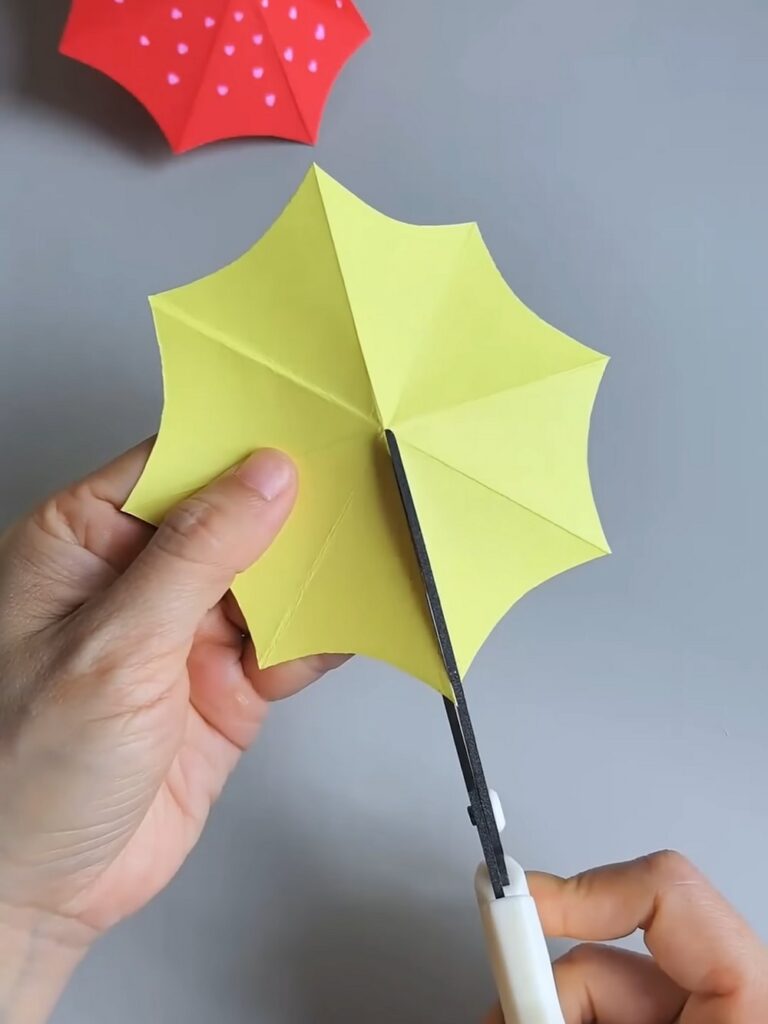
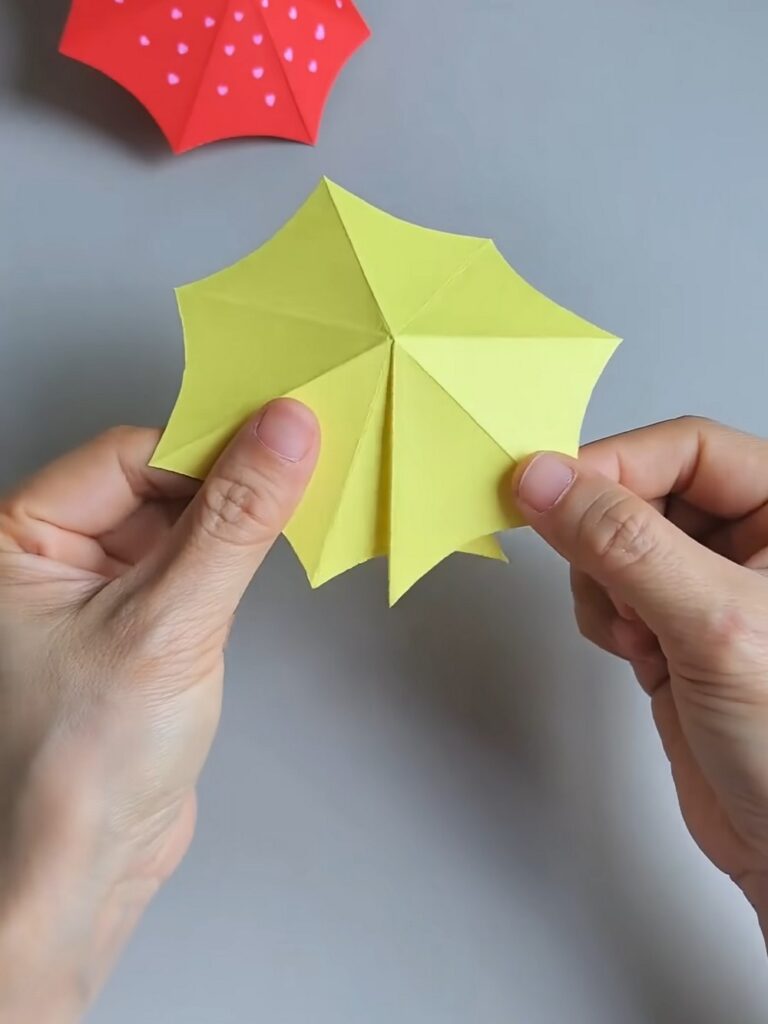
Use your scissors to cut a straight line along just one of the creases, starting from the outer scalloped edge and stopping exactly at the center point.
Step #9: Glue
Apply a thin layer of glue to one of the triangular panels immediately adjacent to the cut.
Step #10: Secure
Slide the panel from the opposite side of the cut over the glued section, overlapping exactly one full panel. This pulls the flat paper into a shallow cone. Press to secure.

Step #11: Decorate
Take your marker and dot the outside of the canopy to create a classic patterned look.

Step #12: Swab
Pierce the very center point of the canopy. Push the cotton swab up through the bottom until the cotton tip sits snugly on top of the umbrella, leaving the stick below as the support pole.
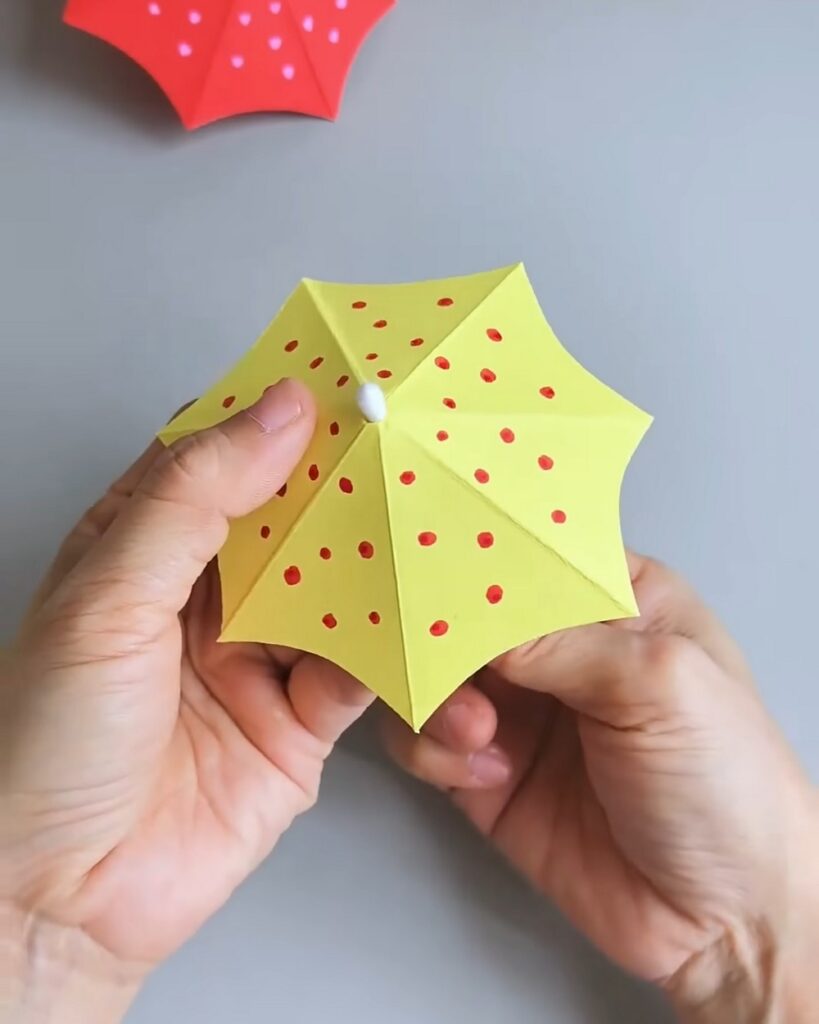
Tip: If the cotton swab feels a bit loose or tilts, flip the umbrella over and apply a tiny dab of glue right where the stick meets the underside of the paper to lock it in place.
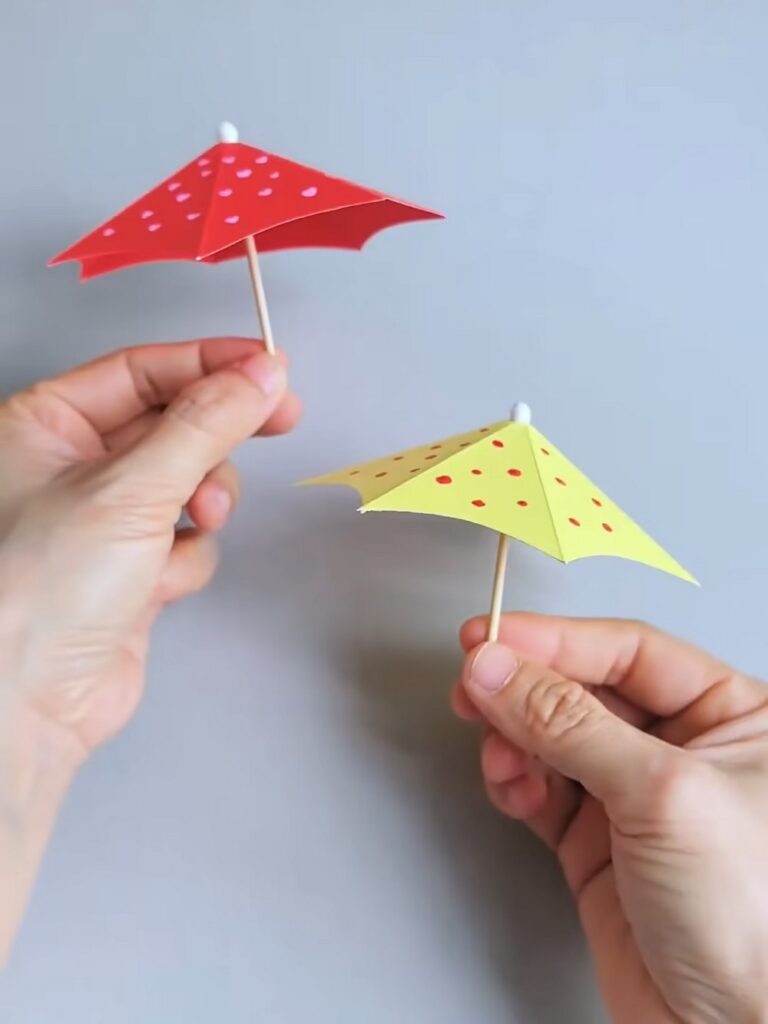
And here is how you can DIY an umbrella from the paper and a cotton swab!
Was this Tutorial Helpful? Tell us in the Comments.
Your feedback is a great way for us to improve the tutorials. Did you find the tutorial helpful? Be sure to subscribe to the creator’s channel!
About "MAKE DIY via YouTube"
She is running one of the most special corner of paper crafts that are all quick and easier and require no skill!

About "Talha"
Hey, I’m Talha, the Crafter on Craftstive.com. I love to share guides on folding cute origami models and paper crafts, and I am always ready to inspire your next craft project with my weekly craft discussions.